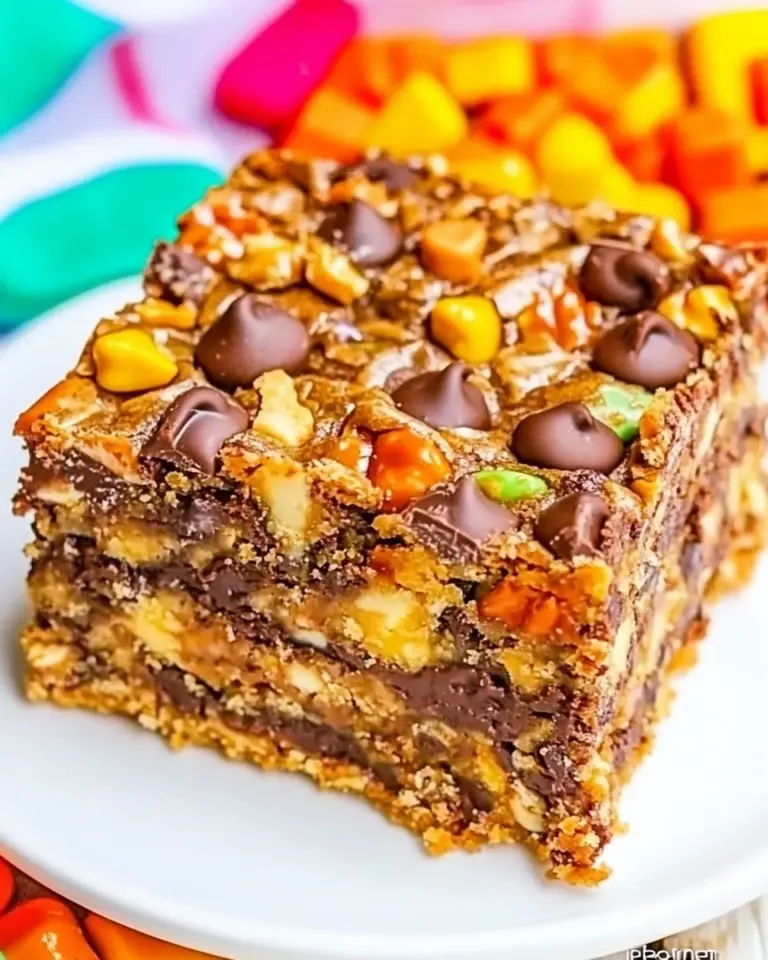
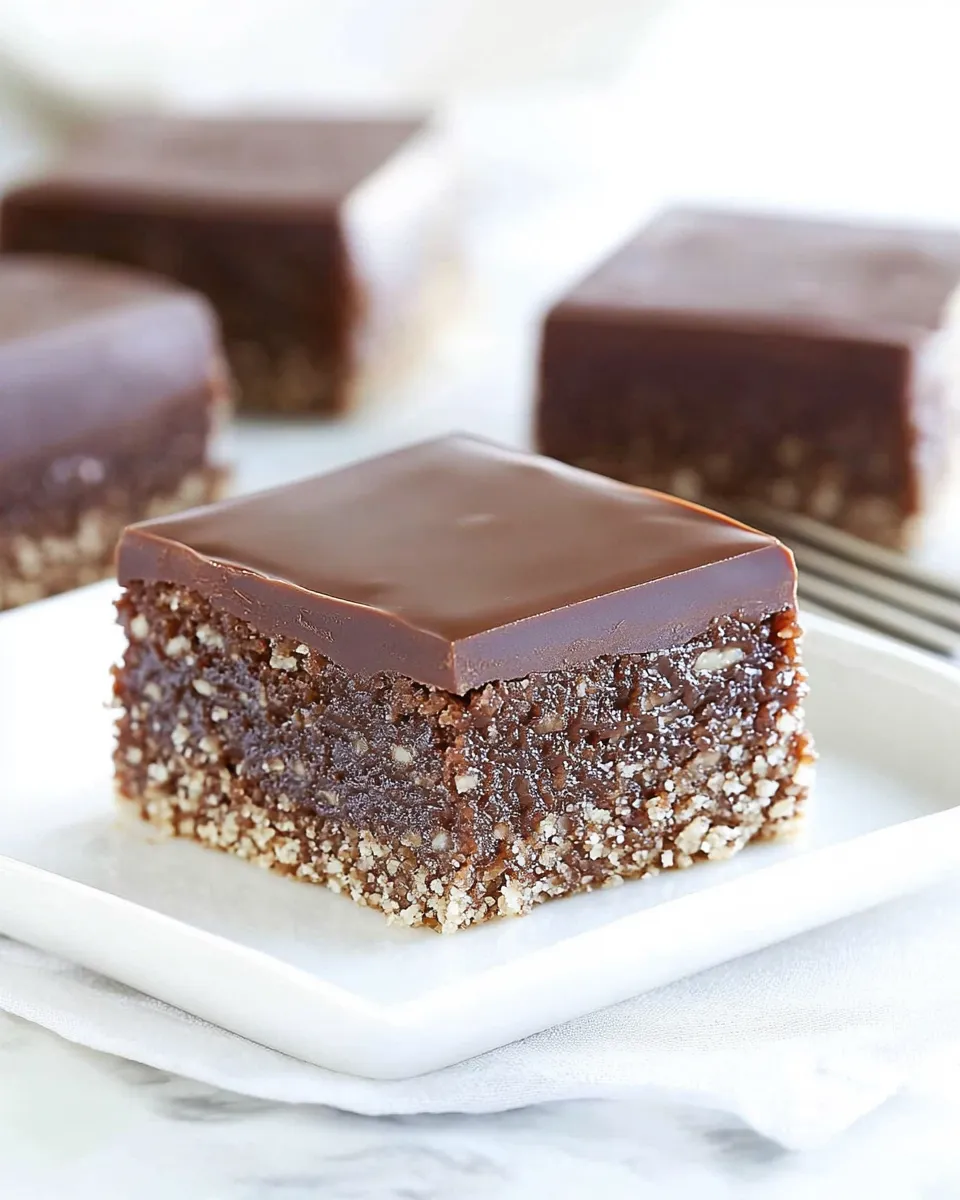
Chocolate Salted Caramel Scotcheroos
These Chocolate Salted Caramel Scotcheroos are the kind of traybake that disappears faster than you can cool the pan. They balance chewy caramel, a touch of salt, melty chocolate, and a satisfying crisp from the rice cereal. No complicated technique, just a couple of stovetop steps and a little patience while everything sets.
I make these for potlucks, school events, or whenever I need a sweet that travels well and stays indulgent without being fussy. The salted caramel chocolate hazelnut spread does a lot of the flavor work here—think of it as a shortcut to deep, nutty caramel notes.
Below you’ll find a clear ingredient checklist with tips, step-by-step directions following the original method, troubleshooting notes, equipment suggestions, and storage guidance. Read through once, assemble your mise en place, and you’ll have a reliably great batch every time.
Ingredient Checklist
- 1 cup Karo® Syrup — provides the liquid sweetener base and helps the caramel set firmly.
- ⅓ cup granulated sugar — adds sweetness and contributes to the syrup’s structure when heated.
- ⅓ cup packed light brown sugar — gives depth and a touch of molasses flavor to the first syrup stage.
- 1 cup salted caramel chocolate hazelnut spread — the signature flavor component; stir into the hot syrup to create a unified coating for the cereal.
- 6 cups crispy rice cereal (plain or cocoa flavored) — the main body of the bars; the cereal choice affects texture and overall chocolate intensity.
- ½ cup salted butter — fat and flavor for the caramel layer; salted adds an extra savory counterpoint.
- ½ cup packed light brown sugar — for the cooked caramel layer, supplying richness and color.
- 2 tablespoons Karo® Syrup — helps the caramel reach the right consistency and remain pliable while setting.
- ½ cup sweetened condensed milk — brings creaminess, body, and a stable, glossy caramel once cooked.
- 2 cups semisweet chocolate chips — melted and spread on top for the chocolate cap; choose good-quality chips for the best finish.
Chocolate Salted Caramel Scotcheroos: How It’s Done
- Line a 9 x 9-inch pan with foil and spray the foil with nonstick cooking spray; set pan aside.
- In a large saucepan, combine 1 cup Karo® Syrup, 1/3 cup granulated sugar, and 1/3 cup packed light brown sugar. Cook over medium heat, stirring until the sugars dissolve and the mixture comes to a low boil, then immediately remove the pan from the heat.
- Stir 1 cup salted caramel chocolate hazelnut spread into the hot syrup mixture until fully combined and smooth.
- Add 6 cups crispy rice cereal (plain or cocoa flavored) to the saucepan and stir gently but thoroughly until all the cereal is evenly coated.
- Pour the coated cereal into the prepared pan and press it evenly into an even layer using a spatula or lightly greased hands. Set aside.
- In a medium saucepan over low heat, combine 1/2 cup salted butter, 1/2 cup packed light brown sugar, 2 tablespoons Karo® Syrup, and 1/2 cup sweetened condensed milk. Stir until the butter melts and the mixture is uniform.
- Increase heat as needed to bring the mixture to a boil, stirring constantly. Once boiling, maintain a low boil and continue stirring constantly for about 5 minutes.
- Immediately pour the hot caramel evenly over the cereal layer in the pan and spread to cover. Let the bars sit until the caramel begins to set (it will thicken and stop running).
- In a small saucepan over low heat, melt 2 cups semisweet chocolate chips, stirring constantly until smooth (watch closely to prevent scorching).
- Spread the melted chocolate evenly over the caramel layer.
- Cool the pan at least 45 minutes, or until the bars are firm. Use the foil to lift the slab from the pan and cut into bars.
Why You’ll Love This Recipe
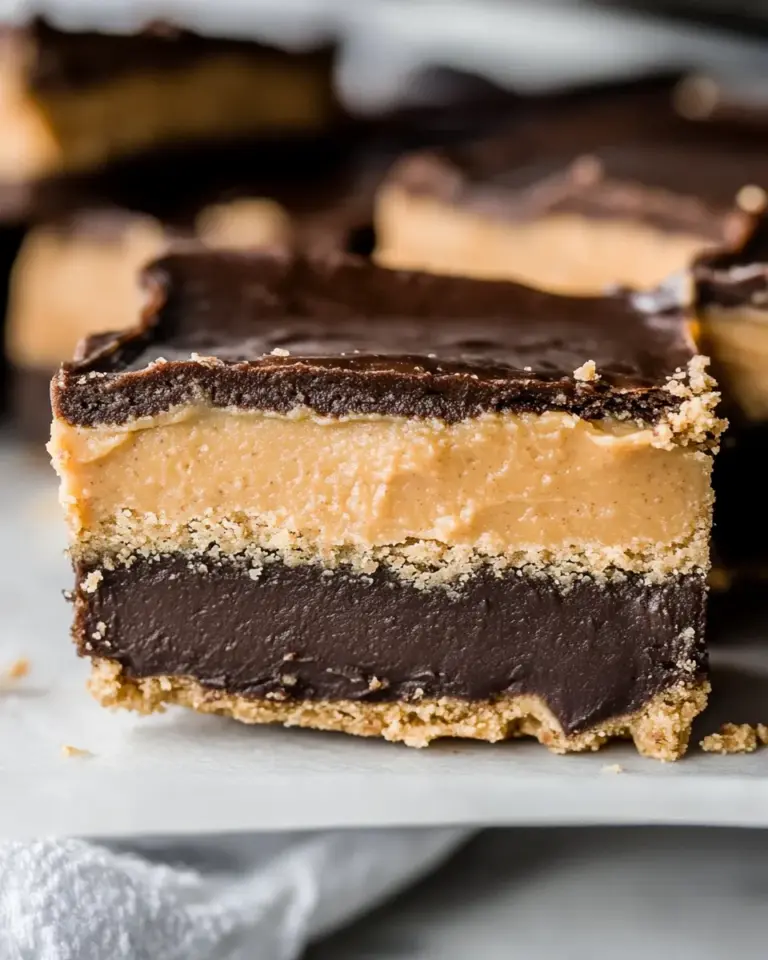
These bars are immediate crowd-pleasers. The salted caramel chocolate hazelnut spread lends complex, nutty caramel notes without a dozen extra steps. The layered approach—cereal base, cooked caramel, chocolate finish—creates texture contrast in every bite: airy crisp, chewy caramel, and glossy chocolate. They’re also portable, forgiving, and scale-friendly if you need a larger slab for a party.
Beyond taste, they’re reliable. The method uses simple stovetop techniques that don’t require candy thermometers or tempering. With a steady hand on the heat and attention during the caramel boil, results are consistently excellent.
No-Store Runs Needed
One of the nicest things about this recipe is that most ingredients are pantry staples: Karo® Syrup (or any light corn syrup alternative), brown sugar, sweetened condensed milk, cereal, and chocolate chips. If you already have basic baking supplies and a jar of flavored nut spread, you can assemble without an extra trip to the store.
If you do need to substitute anything, the best bet is to swap plain crispy rice cereal for the cocoa variation if you want less chocolate intensity, not the other way around. Avoid substituting the sweetened condensed milk with evaporated milk; they behave differently in caramel.
Equipment & Tools
- 9 x 9-inch baking pan — for the correct thickness and set time.
- Aluminum foil and nonstick spray — lining the pan makes removal and cutting clean and simple.
- Large and medium saucepans — large one to coat the cereal, medium one for cooking the caramel; having two prevents cross-contamination of textures.
- Spatula or lightly greased hands — to press the cereal into an even layer.
- Wooden spoon or heatproof silicone spatula — for constant stirring during the caramel boil to prevent scorching.
- Small saucepan for melting chocolate — or use a double boiler if you prefer gentler heat.
- Sharp knife — for neat cutting after chilling; chilling well will make cleaner slices.
Frequent Missteps to Avoid
- Not lining the pan: If you skip foil, bars can stick and tear when removed. Foil allows you to lift the slab out easily.
- Overheating the chocolate: Melt over low heat and stir constantly. Scorching makes chocolate grainy and dull.
- Under-boiling the caramel: The recipe specifies maintaining a low boil for about 5 minutes—this develops the right caramel thickness. Too short and the caramel will run; too long and it can seize or darken too much.
- Pressing the cereal too hard: You want an even layer but not a rock-hard slab. Press gently so the caramel can sit properly between the cereal bits.
- Rushing the set time: Cutting too early leads to messy edges. Wait at least 45 minutes or until firm.
Seasonal Serving Ideas
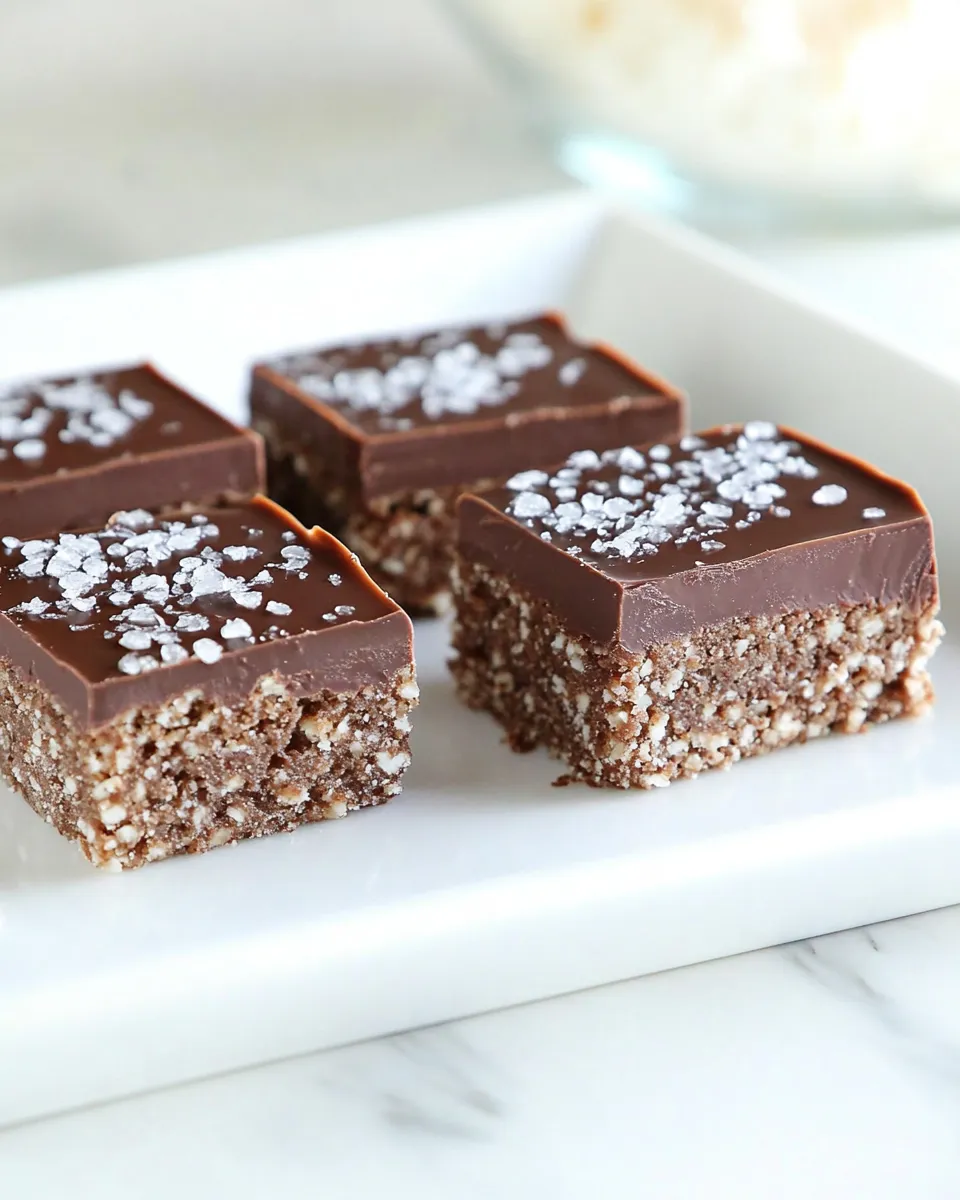
These bars are flexible for holidays and seasons. Around winter holidays, cut into bite-sized squares and arrange on a platter with other cookies. For spring or summer picnics, serve slightly chilled so the chocolate stays firm. During back-to-school season, wrap individual bars in parchment for an easy lunchbox treat.
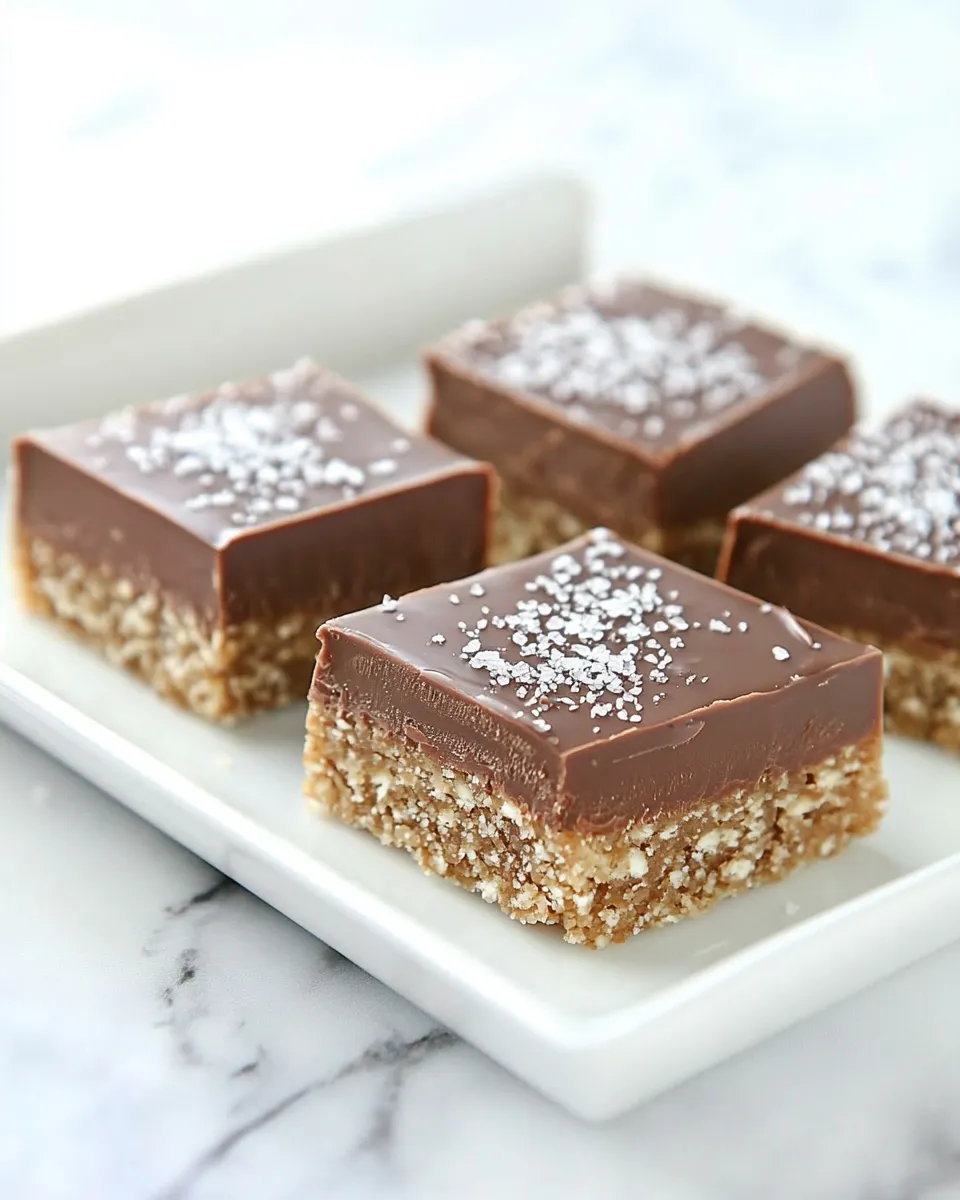
Want a themed twist? Top with a light dusting of flaky sea salt in colder months for contrast. In warmer months, store them chilled and let them sit at room temperature a few minutes before serving so the chocolate softens slightly.
Recipe Notes & Chef’s Commentary
Use the exact amounts listed in the original method for the most reliable texture. The two-stage sweet approach—first coating the cereal with a syrup plus hazelnut spread, then adding a cooked caramel layer—creates that signature chew and structural integrity. The hazelnut spread contributes flavor and moisture; don’t skip it or attempt to replace with plain nut butter unless you adjust sweetness and texture expectations.
When stirring the cereal into the hazelnut-syrup mix, be gentle but thorough so you retain crispness. For cleaner cuts, chill the slab until very firm, then use a sharp knife dipped in hot water and wiped dry between cuts. This gives neat sides without dragging melted chocolate.
Storage & Reheat Guide
Storage: Keep the bars in an airtight container at room temperature for up to 3 days. If your kitchen is warm or you prefer firmer chocolate, store in the refrigerator for up to 7 days. Place parchment between layers to prevent sticking.
Freezing: Wrap individual bars in plastic wrap and freeze in a sealed container for up to 2 months. Thaw in the refrigerator or at room temperature before serving.
Reheating: These aren’t intended to be reheated in the microwave, but if you want the chocolate slightly softened, unwrap and sit at room temperature for 15–30 minutes. If refrigerated, let them sit for a bit longer so the layers relax and you get a tender bite rather than a cold snap of chocolate.
Ask the Chef
Q: Can I use a different nut spread?
A: Using a regular chocolate-hazelnut spread (unsalted) will work but expect slightly different balance—salted caramel spread brings both salt and caramel notes that complement the bars. If you use unsalted, consider a light sprinkle of flaky sea salt on the chocolate layer after spreading.
Q: Can I make these gluten-free?
A: Yes if you choose a certified gluten-free crispy rice cereal. Check all labels—some chocolate chips and spreads can contain gluten or be processed on shared equipment.
Q: What if my caramel doesn’t thicken?
A: Continue the low boil for the full 5 minutes while stirring constantly. If you stop too early the caramel will stay loose. If it still seems thin, you can increase heat slightly for another minute or two, but watch carefully to avoid burning.
Wrap-Up
Chocolate Salted Caramel Scotcheroos strike a perfect balance between fuss-free and show-stopping. They’re fast to put together, store well, and travel. Follow the steps in order, respect the timing on the caramel, and give them enough time to set before slicing. You’ll end up with bars that look and taste like you spent much longer in the kitchen than you actually did.
Make a tray for a gathering or keep a pan in the fridge for spontaneous sweet moments—either way, these bars deliver dependable texture and flavor every time.

Chocolate Salted Caramel Scotcheroos
Ingredients
Equipment
Method
- Line a 9 x 9-inch pan with foil and spray the foil with nonstick cooking spray; set pan aside.
- In a large saucepan, combine 1 cup Karo® Syrup, 1/3 cup granulated sugar, and 1/3 cup packed light brown sugar. Cook over medium heat, stirring until the sugars dissolve and the mixture comes to a low boil, then immediately remove the pan from the heat.
- Stir 1 cup salted caramel chocolate hazelnut spread into the hot syrup mixture until fully combined and smooth.
- Add 6 cups crispy rice cereal (plain or cocoa flavored) to the saucepan and stir gently but thoroughly until all the cereal is evenly coated.
- Pour the coated cereal into the prepared pan and press it evenly into an even layer using a spatula or lightly greased hands. Set aside.
- In a medium saucepan over low heat, combine 1/2 cup salted butter, 1/2 cup packed light brown sugar, 2 tablespoons Karo® Syrup, and 1/2 cup sweetened condensed milk. Stir until the butter melts and the mixture is uniform.
- Increase heat as needed to bring the mixture to a boil, stirring constantly. Once boiling, maintain a low boil and continue stirring constantly for about 5 minutes.
- Immediately pour the hot caramel evenly over the cereal layer in the pan and spread to cover. Let the bars sit until the caramel begins to set (it will thicken and stop running).
- In a small saucepan over low heat, melt 2 cups semisweet chocolate chips, stirring constantly until smooth (watch closely to prevent scorching).
- Spread the melted chocolate evenly over the caramel layer.
- Cool the pan at least 45 minutes, or until the bars are firm. Use the foil to lift the slab from the pan and cut into bars.
Notes
If you prefer your bars to be thinner, you can use a 9 x 13-inch pan.