Chocolate Whipped Cream
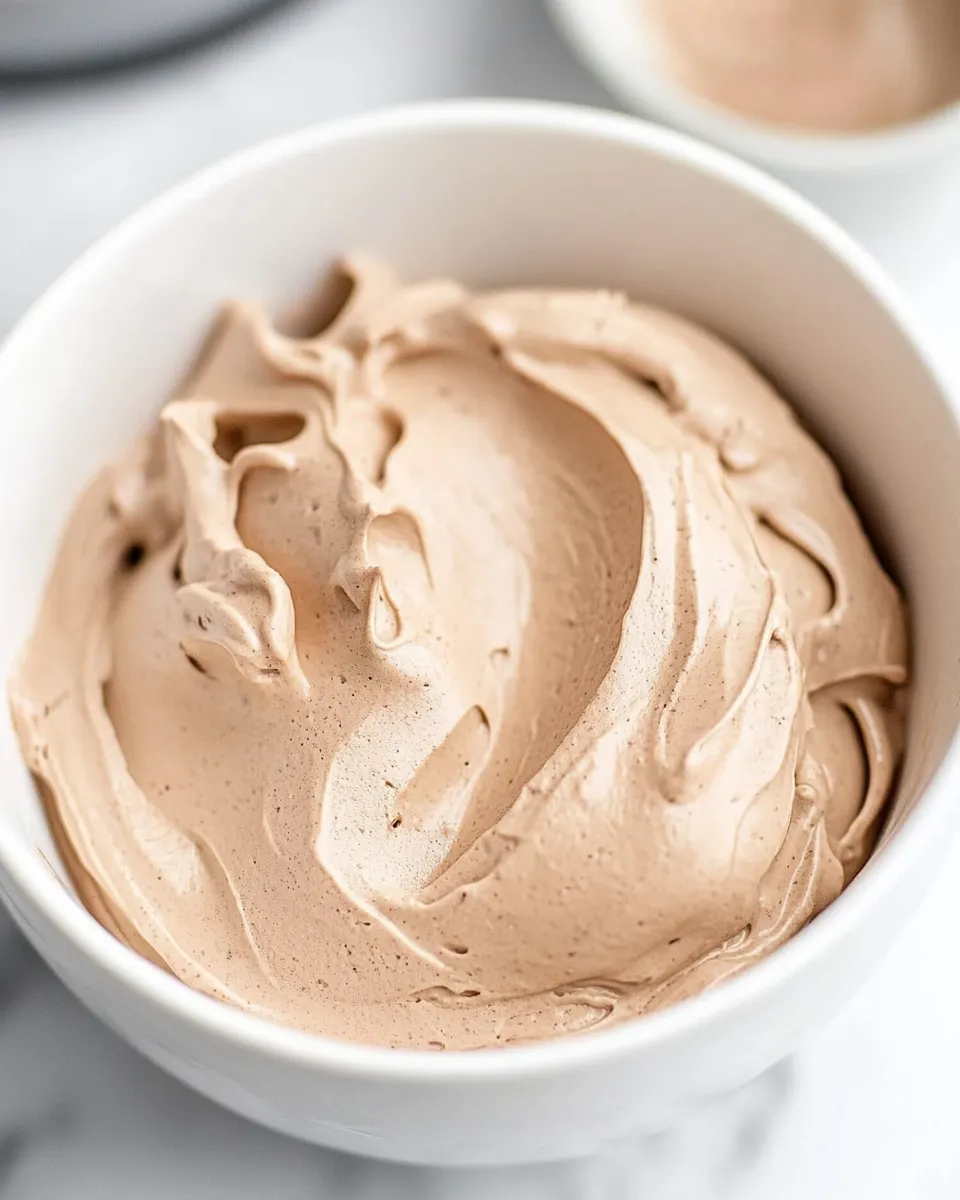
This is the easiest, most reliable way I know to make chocolate whipped cream that actually tastes like chocolate and holds its shape. It’s light, glossy, and quick — the sort of finish that turns a simple mug of hot chocolate, a bowl of fruit, or a slice of cake into something a little celebratory. I use it when I want a chocolate note without baking or melting chocolate.
There are a few small steps that make all the difference: chilling the bowl, sifting cocoa to avoid lumps, and tasting as you go so you get the balance of chocolate and sweetness you prefer. The recipe below is intentionally flexible for texture (soft peaks for spooning, stiff peaks for piping) while keeping quantities clear.
Read through once, gather the few items you need, and set a timer for 10–15 minutes to chill your tools if you can. You’ll be rewarded with a whipped cream that’s chocolatey, not chalky, and reliably stable for service.
Ingredient Rundown
Ingredients
- 1 cup heavy cream — the base; use cold, full-fat cream for the best whip and mouthfeel.
- ½ teaspoon vanilla extract — optional; adds background warmth and rounds the flavor.
- 2 tablespoons to ¼ cup (15–30 g) powdered sugar* — controls sweetness and helps stabilize the whipped cream; start low and taste.
- 3 tablespoons (15 g) unsweetened cocoa powder — sifted; provides the bulk of the chocolate flavor and structure.
- 2 tablespoons heavy cream — reserved; used to loosen texture if you want a spoonable cream.
- A couple drops vanilla extract — optional; reserved for final flavor adjustments.
- 1 to 2 teaspoons (3–5 g) powdered sugar* — reserved; for fine-tuning sweetness after tasting.
- 1 teaspoon (2 g) unsweetened cocoa powder — sifted; reserved to intensify chocolate without adding volume.
Method: Chocolate Whipped Cream
- (Optional) Chill a large mixing bowl and whisk or whisk attachment in the fridge or freezer for 10–15 minutes — this helps the cream whip more quickly.
- Sift the unsweetened cocoa powders: sift 3 tablespoons (15 g) and the 1 teaspoon (2 g) together into a small bowl; set aside. Also set aside the extra 2 tablespoons heavy cream, the 1–2 teaspoons (3–5 g) powdered sugar, and the couple drops vanilla extract — these are for adjusting flavor and texture later.
- In the chilled large bowl or the bowl of a stand mixer, combine 1 cup heavy cream, ½ teaspoon vanilla extract (optional), and 2 tablespoons to ¼ cup (15–30 g) powdered sugar. Add the sifted 3 tbsp + 1 tsp cocoa (you may add all the sifted cocoa now or start with the 3 tbsp and reserve the 1 tsp for adjustment).
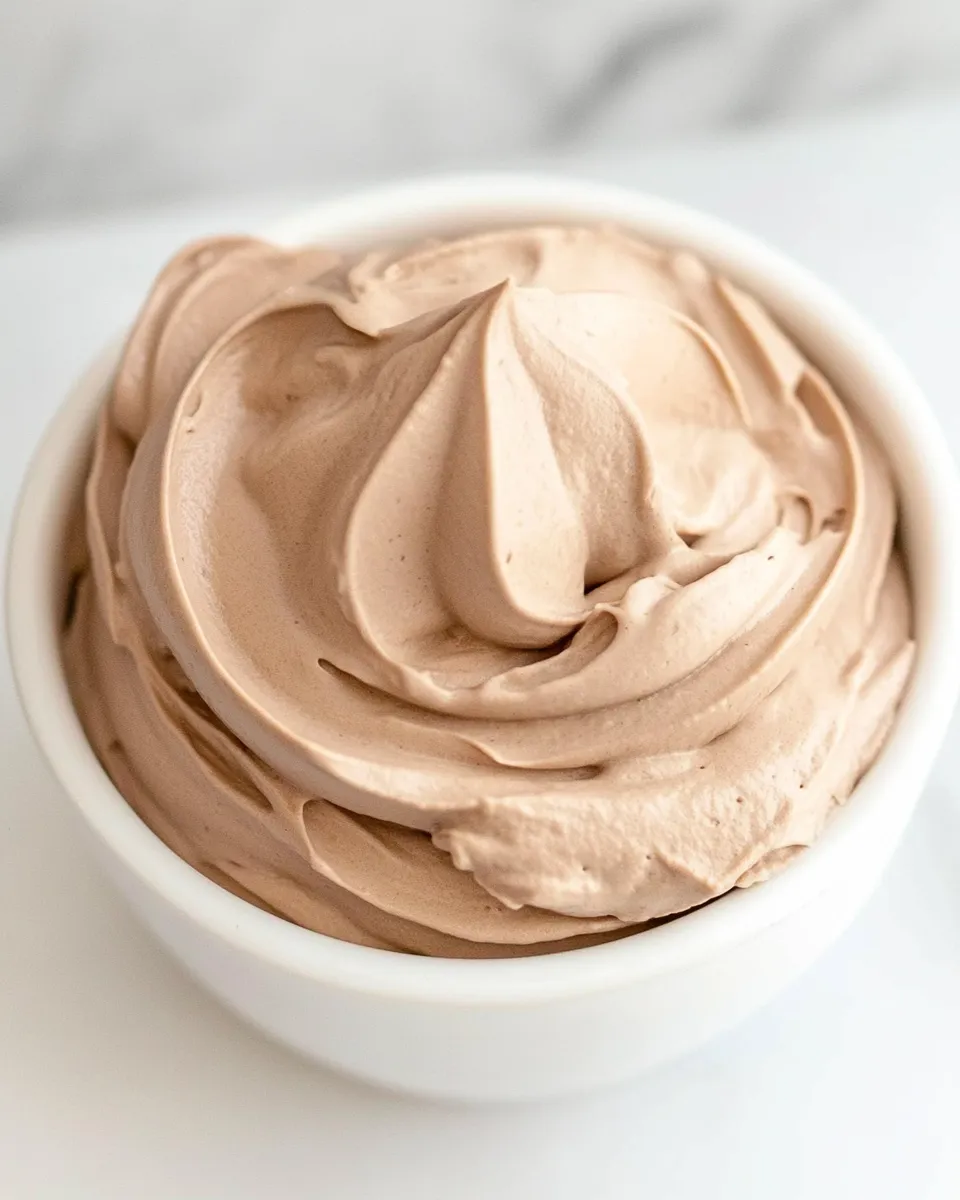
- Whisk with a hand whisk, handheld electric mixer, or the whisk attachment of a stand mixer on medium–high speed until the cream reaches the consistency you want: soft peaks for spooning over drinks, or stiff peaks for piping. Stop frequently to check texture.
- Taste and adjust if desired: for a stronger chocolate flavor or a touch more sweetness, add the reserved 1 teaspoon cocoa and/or 1–2 teaspoons powdered sugar and a couple drops vanilla; for a looser, spoonable texture, add up to the reserved 2 tablespoons heavy cream. Whisk briefly after each addition until fully incorporated and you reach the final peak consistency.
- Use immediately to spoon over drinks or transfer to a piping bag for decorating. Serve and enjoy.
Why Cooks Rave About It
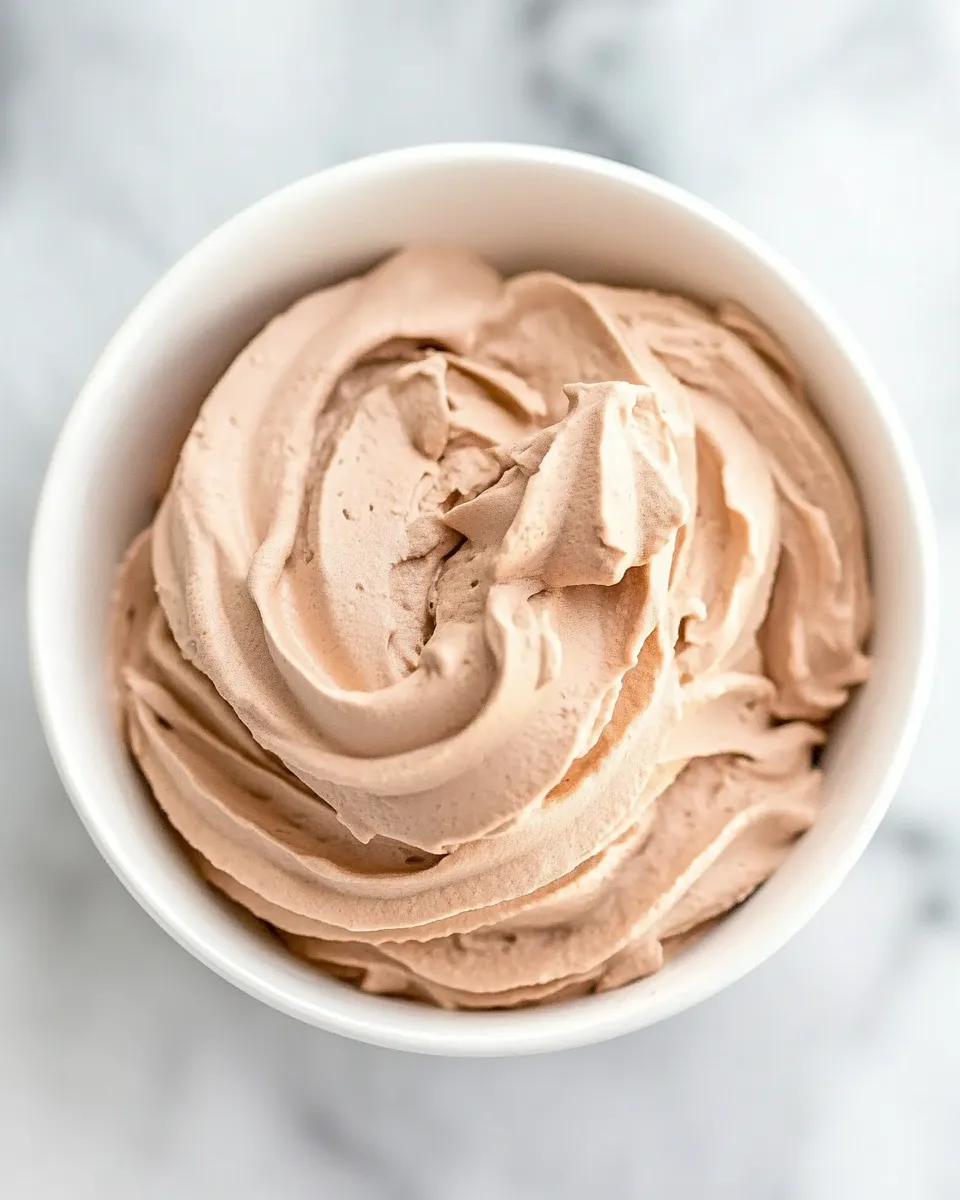
It’s fast and forgiving. With just one bowl and a few minutes, you get a topping that reads chocolate-forward without weighing down your dessert. The sifted cocoa prevents grit, and the powdered sugar both sweetens and stabilizes the foam so it keeps shape longer than plain whipped cream.
The recipe is flexible: soft peaks for a casual dollop on coffee or hot chocolate; stiff peaks for piping rosettes or glossy decorations. That flexibility, combined with the clean chocolate flavor, is why this shows up in my weeknight rotation and at dinner parties alike.
If You’re Out Of…
If you don’t have a chilled bowl, don’t panic — the cream will still whip, but it will likely take longer and may not reach the same stiffness. If that happens, keep an eye on the texture and cool the bowl briefly in the freezer between checks.
If you’re low on powdered sugar, start with the lower amount listed and taste. You can nudge sweetness with the reserved teaspoon(s) of powdered sugar in the recipe. If you lack the extra 2 tablespoons heavy cream for loosening, hold back on the initial whip slightly and stop at soft peaks if you want a spoonable texture.
Tools of the Trade
- Large mixing bowl — metal or glass chills well and helps the cream whip faster.
- Whisk or whisk attachment — manual whisk gives control; electric mixer saves time and effort.
- Sifter or fine-mesh sieve — for the cocoa powders so the whipped cream is silky, not lumpy.
- Measuring spoons and scale — the recipe includes small amounts where precision matters for balance.
- Spatula — to scrape the bowl and fold gently if needed when adjusting.
- Piping bag (optional) — if you want to pipe rosettes or borders.
Missteps & Fixes
Overwhipped, grainy, or turning to butter
If you whisk past stiff peaks and the cream begins to clump or look grainy, stop immediately. If it’s just slightly overwhipped, add a tablespoon of the reserved heavy cream and gently whisk by hand to smooth it out. If it’s fully separated toward butter, there’s no clean fix — start over with fresh cream.
Chocolate flavor feels muted
Taste while you whip. If the chocolate note is too subtle, add the reserved 1 teaspoon sifted cocoa and a small pinch (1–2 teaspoons) of the reserved powdered sugar, whisk briefly, and taste again. Small adjustments make a big difference.
Too soft or collapsed
If your cream collapses after adjustments, chill the bowl and whisk for a few minutes and then whisk again to see if you can rebuild peaks. If you used warm ingredients or room-temperature tools, that’s often the cause — cooling everything will help.
Customize for Your Needs
Want a sweeter finish? Use more of the 2 tablespoons–¼ cup powdered sugar range to suit your preference. Prefer a sharper chocolate note? Add that reserved 1 teaspoon sifted cocoa at the tasting stage. Looking for a looser, spoonable topping? Stir in up to the reserved 2 tablespoons heavy cream a little at a time until you reach the texture you want.
If you need to pipe and want firmer peaks, whip to the higher end of stiffness and chill the finished cream briefly before loading it into a piping bag. For spooning over warm drinks, stop at soft peaks so it spreads and melts attractively.
What Could Go Wrong
The most common problems are two: grainy texture from unsifted cocoa, and collapsed peaks from warm tools or overhandling. Sifting the cocoa powders and chilling your bowl go a long way to prevent both. Also, adding any liquid ingredients that are warm (like warm extracts or warm cream) will undermine structure — use everything cold unless the recipe explicitly states otherwise.
Another common issue is misjudging sweetness. Because cocoa is bitter, the balance lies between the initial powdered sugar amount and the reserved teaspoon(s). Taste, then adjust. It’s quicker to add than to take away.
Freezer-Friendly Notes
Whipped cream doesn’t travel through freeze–thaw cycles well if you want to maintain a fluffy texture. You can freeze dollops on a parchment-lined tray and then transfer them to a container to use as quick garnish later, but thawed whipped cream will be softer and a bit weepy. For best texture, use the cream fresh or, if you need a make-ahead, chill it well in the refrigerator for up to 24 hours.
If you freeze dollops, thaw partially in the fridge and then gently re-whisk if the structure needs refreshing. This won’t fully restore freshly whipped structure, but it can be workable for casual uses.
Your Questions, Answered
How long will this keep in the fridge?
Stored in an airtight container, freshly whipped chocolate cream will hold for about 24 hours at its best. The structure softens after that, though it may still be fine for spooning within 48 hours.
Can I make this ahead?
Yes — make it up to a day ahead and keep it chilled. If you need to prepare further in advance, freeze dollops as described above, but expect a change in texture on thawing.
How do I know when to stop whisking?
Stop when you reach the peak style you need: soft peaks that curl over for spooning, or stiff peaks that stand straight for piping. Check frequently and stop early; it’s easier to add stiffness than to reverse overwhipping.
Let’s Eat
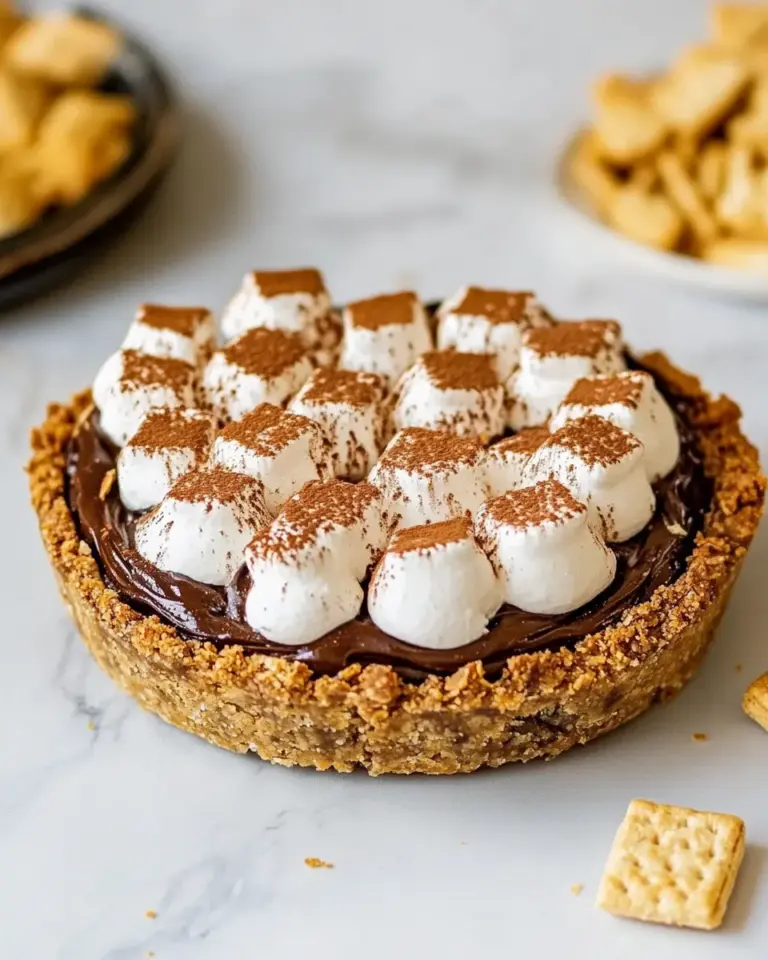
Spoon a generous dollop over hot chocolate, coffee, or warm apple slices. Pipe rosettes around a cake or use a few peaks to finish a simple tart. This whipped cream elevates desserts without complicated steps. It’s fast, adaptable, and genuinely chocolatey — exactly what I reach for when I want quick polish and a comfortable chocolate hit.
Make it tonight. Taste as you go. And if you try a slight tweak that really sings for you, jot it down so you can repeat it next time.

Chocolate Whipped Cream
Ingredients
Equipment
Method
- (Optional) Chill a large mixing bowl and whisk or whisk attachment in the fridge or freezer for 10–15 minutes — this helps the cream whip more quickly.
- Sift the unsweetened cocoa powders: sift 3 tablespoons (15 g) and the 1 teaspoon (2 g) together into a small bowl; set aside. Also set aside the extra 2 tablespoons heavy cream, the 1–2 teaspoons (3–5 g) powdered sugar, and the couple drops vanilla extract — these are for adjusting flavor and texture later.
- In the chilled large bowl or the bowl of a stand mixer, combine 1 cup heavy cream, ½ teaspoon vanilla extract (optional), and 2 tablespoons to ¼ cup (15–30 g) powdered sugar. Add the sifted 3 tbsp + 1 tsp cocoa (you may add all the sifted cocoa now or start with the 3 tbsp and reserve the 1 tsp for adjustment).
- Whisk with a hand whisk, handheld electric mixer, or the whisk attachment of a stand mixer on medium–high speed until the cream reaches the consistency you want: soft peaks for spooning over drinks, or stiff peaks for piping. Stop frequently to check texture.
- Taste and adjust if desired: for a stronger chocolate flavor or a touch more sweetness, add the reserved 1 teaspoon cocoa and/or 1–2 teaspoons powdered sugar and a couple drops vanilla; for a looser, spoonable texture, add up to the reserved 2 tablespoons heavy cream. Whisk briefly after each addition until fully incorporated and you reach the final peak consistency.
- Use immediately to spoon over drinks or transfer to a piping bag for decorating. Serve and enjoy.
Notes
*Granulated sugar can be substituted for powdered sugar. If using granulated sugar, use 2 to 3 tablespoons or 1 to 1½ teaspoons for a single serving
*If whipping the cream by hand, chill the bowl in the freezer for 15 minutes before starting. This will help your cream whisk up a little faster and more easily.
*Use a smaller bowl to make the single-serving whipped cream. You will need to use a handheld electric mixer or a whisk and arm power to make a single serving because a stand mixer is unable to process an amount this small.
This recipe will make approximately 2 cups of whipped cream. Approximate nutritional information is for a single serving of ¼ cup.
Leftover whipped cream can be stored tightly covered in the refrigerator for up to 48 hours.