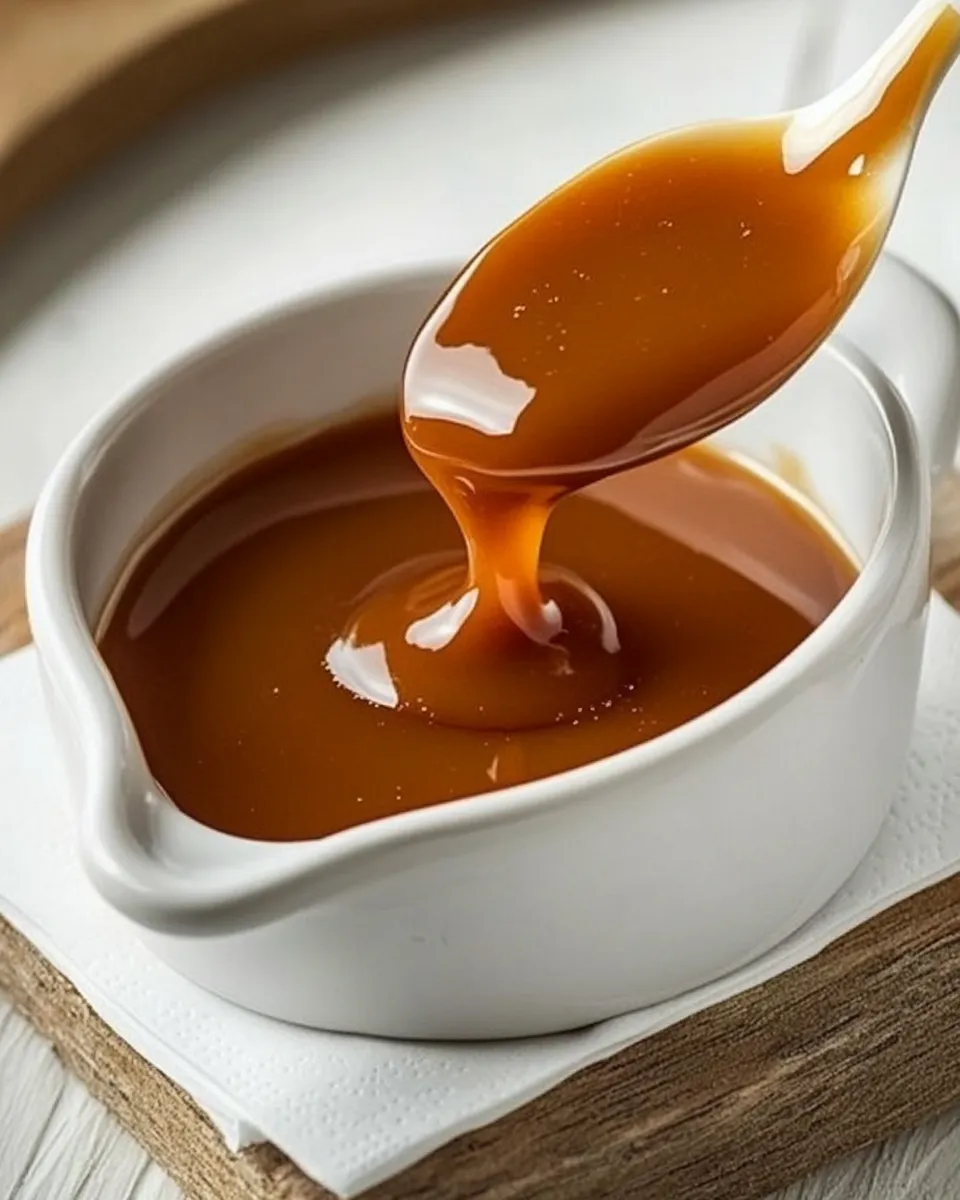
Classic Caramel Sauce
Caramel feels like a small kitchen miracle: three simple staples transform into something glossy, fragrant, and deeply comforting. This classic caramel sauce is exactly that — straightforward, trustworthy, and wildly useful. You don’t need special equipment or fancy ingredients to get a butter-rich, pourable caramel that holds its own on ice cream, pie, or a simple spoon.
I write this with an eye for practical details that make the difference between burned sugar and a smooth sauce. I’ll walk you through the exact ingredients, the step-by-step cooking sequence, and the little habits that help you succeed every time. Expect clear warnings where things go wrong and quick fixes when they do.
If you like control over texture and flavor, you’ll appreciate the notes on temperature and timing. Read the instructions once, prepare your mise en place, and then follow the steps — the method is reliable and forgiving when you respect a few straightforward rules.
What’s in the Bowl
Ingredients
- 1 cup cane sugar — the backbone of caramel; melts and browns to create flavor and color.
- 1/4 cup cold water — helps the sugar dissolve and ensures even heating as the syrup forms.
- ½ cup heavy cream — warmed briefly in the microwave — stops the cooking and creates a rich, pourable texture.
- 4 tablespoons unsalted butter — adds silkiness, body, and a rounded mouthfeel.
- 1 teaspoon quality pure vanilla extract — a finishing flavor note that brightens the caramel.
- Small pinch of salt — see Note; balances sweetness and lifts the flavor.
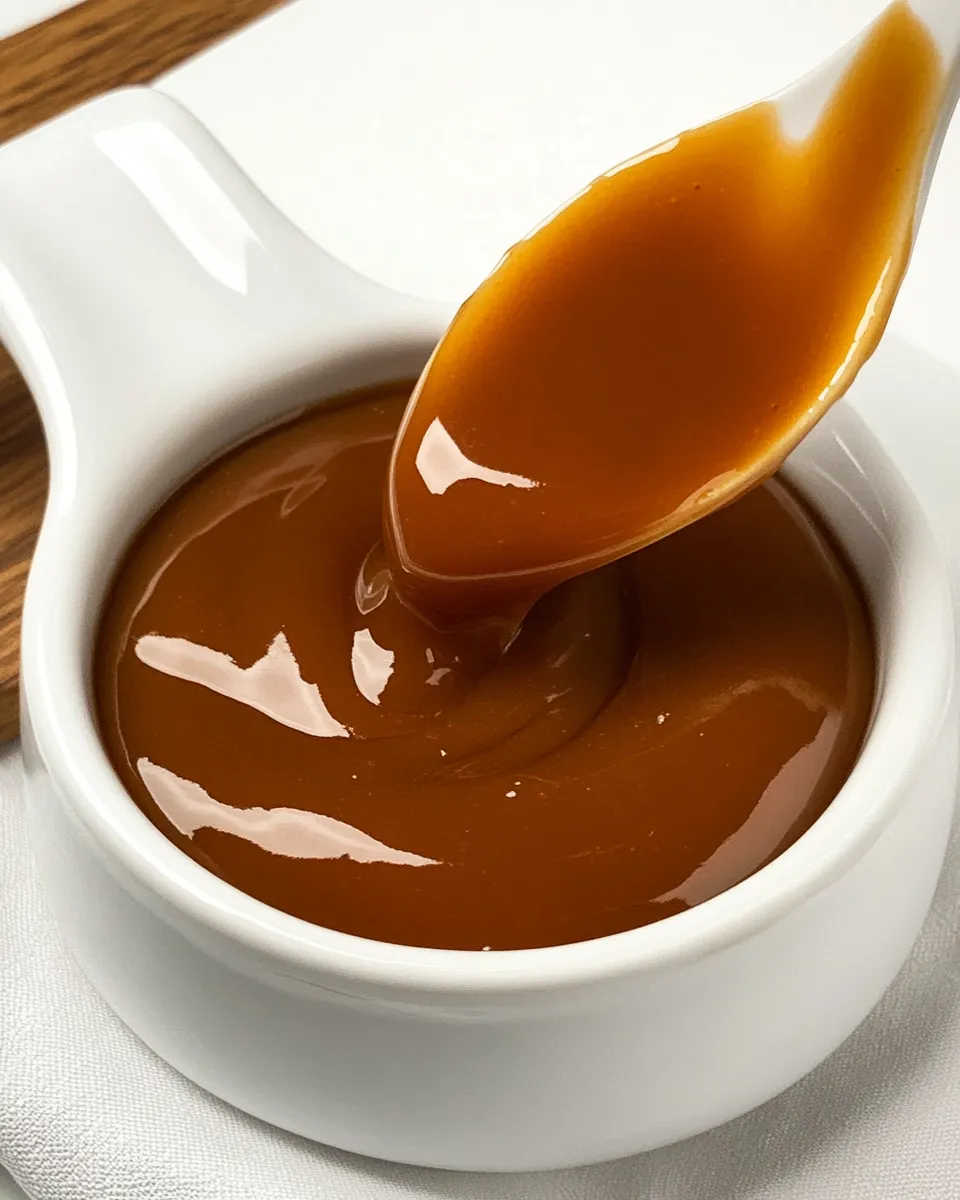
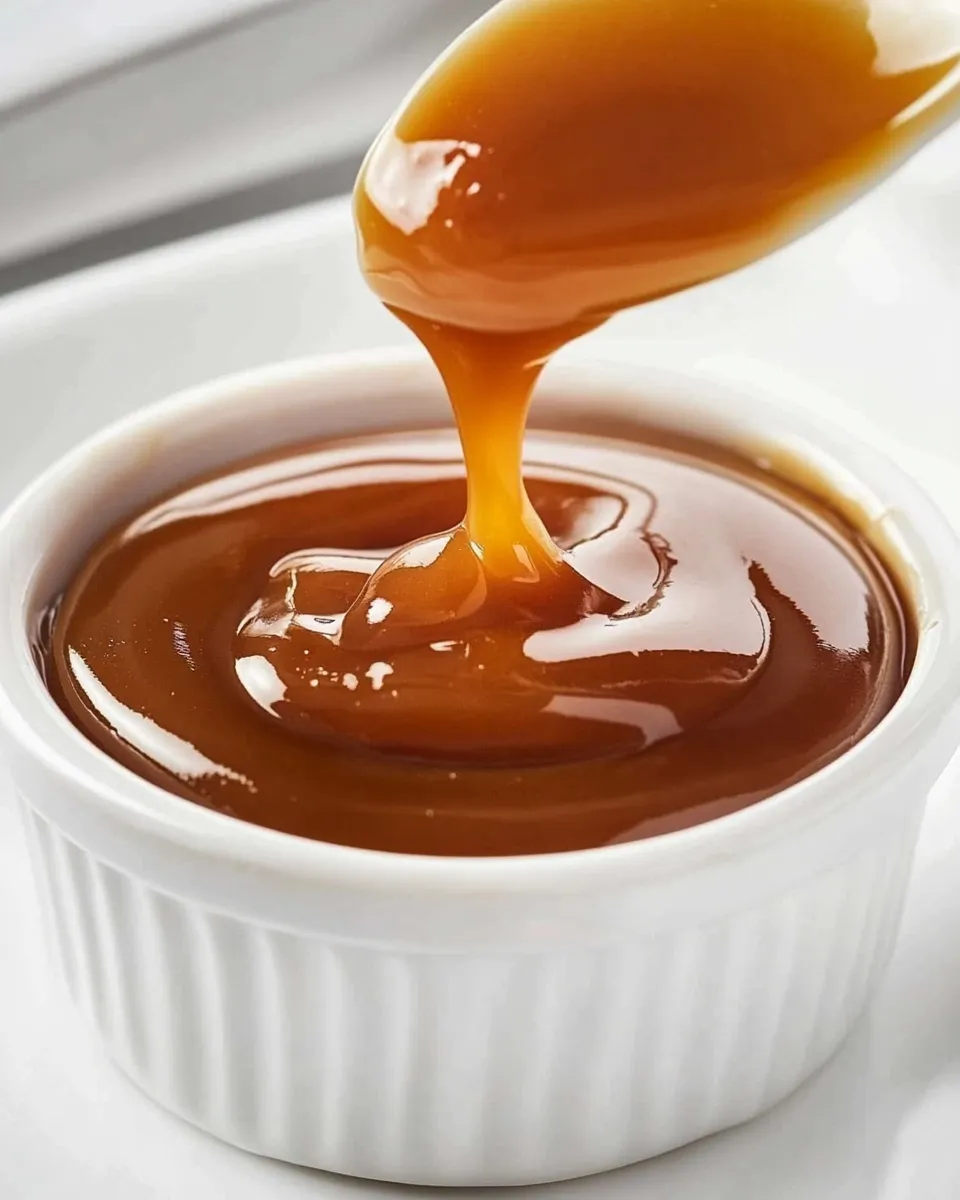
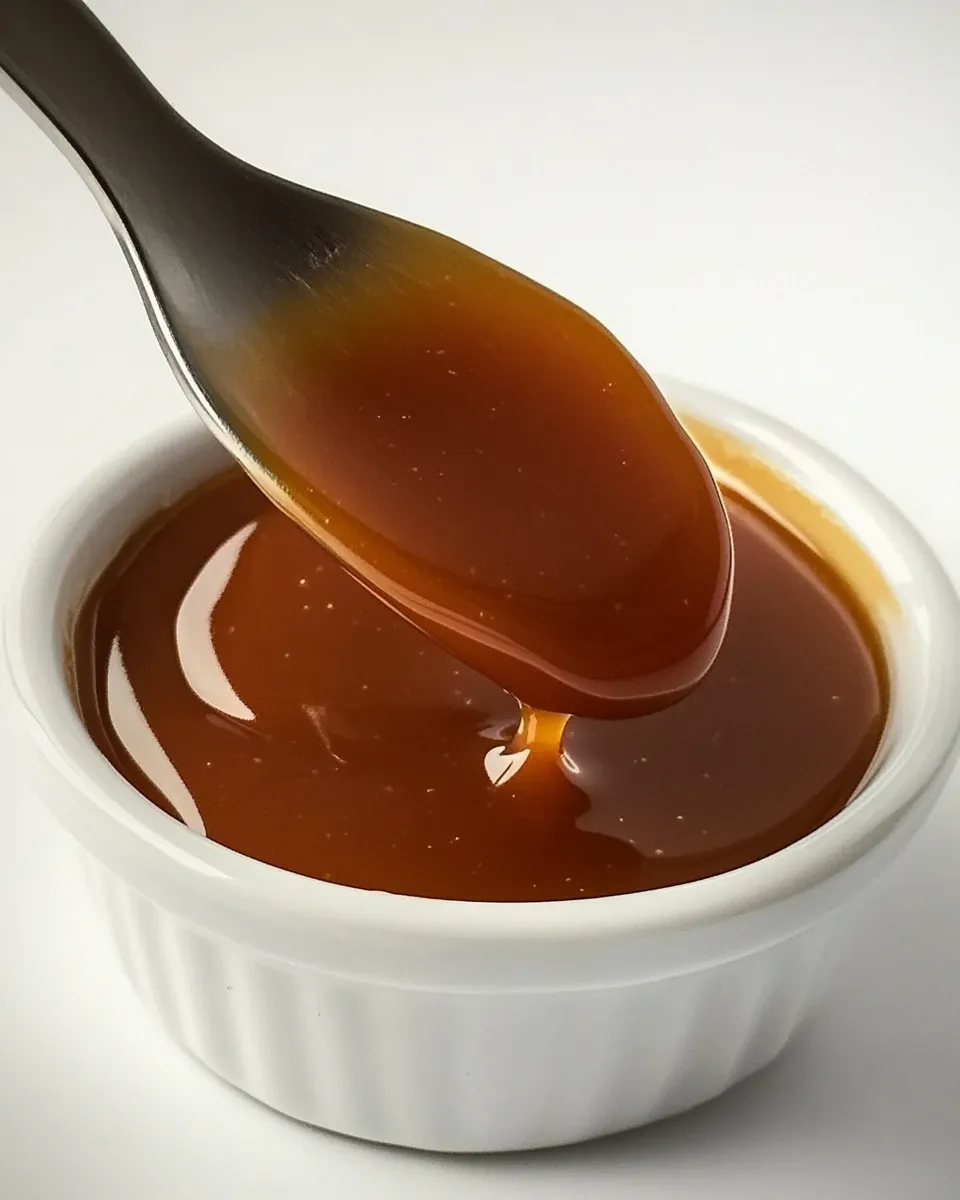
Classic Caramel Sauce in Steps
- Place 1 cup cane sugar and 1/4 cup cold water in a medium saucepan and stir just until the sugar is dissolved. Set the pan over medium-high heat and bring to a boil.
- Once boiling, stop stirring. Let the syrup cook undisturbed until it turns a dark golden amber color, about 10–12 minutes. (A candy thermometer is optional: aim for about 230°F for a thicker but pourable sauce or about 225°F for a slightly thinner sauce.)
- When the caramel reaches the desired color or temperature, remove the pan from the heat.
- Slowly pour in the warm cream (½ cup, warmed briefly in the microwave) in a thin stream while whisking constantly. The mixture will bubble vigorously—use caution.
- Return the pan to low heat and simmer, stirring, for 1–2 minutes until the sauce is smooth and slightly thickened.
- Remove from heat and whisk in 4 tablespoons unsalted butter, 1 teaspoon vanilla extract, and a small pinch of salt until fully incorporated and smooth.
- Let the caramel cool slightly, then serve warm or transfer to a container and store in the refrigerator. To use again, reheat briefly in the microwave until pourable.
Why This Recipe is a Keeper
This caramel works because it respects what sugar needs: gentle, even heat and timing. The small amount of cold water at the start gives you a smooth syrup and reduces the need to stir aggressively while the sugar cooks. That means fewer crystals and a cleaner, clearer caramel.
The method emphasizes temperature and color rather than guesswork. You can use a thermometer, but learning to read the syrup’s color — from pale gold to deep amber — gives you control over flavor intensity. Lighter caramel is sweeter and milder; darker caramel has deeper, slightly bitter notes that taste like toasted sugar.
Finally, the order of operations matters. Adding warm cream and whisking while the mixture cools prevents the caramel from seizing into lumps. Finishing with butter and vanilla smooths the emulsion and gives the sauce that classic, luxurious mouthfeel.
Flavor-Forward Alternatives
- Salted finish — a sprinkle of flaky finishing salt right before serving amplifies contrast and makes the sauce taste more complex.
- Spiced variations — warm spices or a touch of espresso can deepen the flavor for seasonal desserts.
- Extracts and beans — swap or supplement vanilla extract with real vanilla bean for a more aromatic finish.
- Boozy edge — a small splash of aged spirits can add warmth and complexity if you want an adult twist.
- Nuts and textures — fold in finely chopped toasted nuts or drizzle over toasted nut brittle for contrast.
Prep & Cook Tools
- Medium saucepan — choose one with a heavy bottom for even heat distribution.
- Whisk — for smooth incorporation when you add cream and butter.
- Heatproof measuring cup or ladle — to pour the warm cream in a thin, controlled stream.
- Candy thermometer (optional) — useful if you want precise control over final thickness.
- Microwave-safe bowl or small saucepan — to warm the heavy cream briefly before adding.
- Heatproof container or jar with lid — for storage and reheating.
- Oven mitts or a heavy towel — to protect against steam and splattering when you add cream.
Slip-Ups to Skip
Caramel can go from perfect to bitter quickly. Here are the common mistakes and how to prevent them:
- Stirring after the boil begins — it encourages crystallization. Stop stirring and let the syrup cook undisturbed.
- Waiting too long — sugar changes color fast near the end. Watch closely in the last minute and remove from heat as soon as it hits a deep amber.
- Adding cold cream — it can cause the caramel to seize and harden. Warm the cream first, and add it slowly while whisking.
- Trying to rescue burned sugar — once it’s bitter, you can’t recover it. Start over rather than diluting burnt flavors.
- Using a thin pan — a lightweight pan heats unevenly and increases the risk of hot spots that burn the sugar.
Holiday & Seasonal Touches
Caramel is a seasonal chameleon. In cold months, pair it with warm spices and roasted fruits. In summer, use it as a cool counterpoint to vanilla ice cream or fresh stone fruit. For holidays, consider drizzling the sauce over pies, brûléed cheesecakes, or warm puddings.
Presentation matters. A shallow pour creates ribbons over desserts; a ladle of warm caramel poured at the table makes the moment feel special. For gifts, fill small jars and top with a handwritten label — people love a homemade touch.
Recipe Notes & Chef’s Commentary
Small pinch of salt — This is intentionally minimal in the recipe to let you control the salt intensity. Taste the finished sauce and add more if you like a pronounced salted-caramel profile. If using flaky salt as a finishing touch, sprinkle it on right before serving so the texture and contrast remain.
Temperature guidance — The recipe gives a temperature range for texture control: around 225°F yields a slightly thinner sauce; about 230°F makes a thicker but still pourable sauce. If you prefer a spoonable spread rather than a pourable drizzle, cook slightly longer to deepen the color, but watch it closely — a little more color quickly becomes burnt flavor.
Color, not time — Every stove and pan behaves differently. Use color as your primary guide: aim for a rich, amber hue that’s glossy. If you’re using a thermometer, combine that reading with visual cues for best results.
Storage & Reheat Guide
Transfer cooled caramel to a clean, airtight container and keep it in the refrigerator. The sauce firms as it cools, so expect it to thicken in the fridge. To use, reheat briefly until pourable: a short burst in the microwave or gentle warming on the stove while stirring will loosen it. Always stir after reheating to restore a smooth texture.
Label the container with the date you made it. If you plan to store it for a while, keep it sealed and chilled. Reheat only the amount you need; repeated heating and cooling can change texture and flavor over time.
Your Top Questions
Q: My caramel crystallized. What happened?
A: Crystallization results from sugar being disturbed during the early stages of cooking or from impurities. Avoid stirring once the mixture boils, and use a clean pan. If crystals form on the pan sides, brush them down with a wet pastry brush while the syrup is still heating.
Q: How do I know when the caramel is done?
A: Look for a deep golden amber color and a syrupy but fluid consistency. If you use a thermometer, the range in the method (about 225–230°F) gives you texture control. Trust color and aroma: it should smell nutty and toasted, not burnt.
Q: Can I make this ahead?
A: Yes. The recipe stores well in the refrigerator. Warm it briefly before serving. Making it a day ahead can actually make life easier for desserts planned for the next day.
Q: My sauce separated after cooling. How do I fix it?
A: Gentle reheating while whisking will usually bring the emulsion back together. If separation persists, heat gently and whisk until smooth, then remove from heat and let cool slightly before chilling.
Q: Can I double the recipe?
A: You can scale, but use a larger, heavy-bottomed pan and watch the cooking more closely. More sugar increases carryover heat and changes cooking time, so rely on visual cues and a thermometer if you have one.
Wrap-Up
This Classic Caramel Sauce gives you a reliable foundation: a clear order of operations, predictable texture control, and flexible flavor choices. It’s simple to make, but it rewards attention. Follow the steps, warm your cream, and watch the color closely. In return you’ll get a glossy, buttery sauce that elevates everything from a humble scoop of ice cream to an elegant dessert.
Make a batch, taste as it cools, and learn how the color and aroma match the flavor you prefer. Once you know the cues, this recipe becomes a tool you’ll reach for again and again.
Classic Caramel Sauce
Ingredients
Equipment
Method
- Place 1 cup cane sugar and 1/4 cup cold water in a medium saucepan and stir just until the sugar is dissolved. Set the pan over medium-high heat and bring to a boil.
- Once boiling, stop stirring. Let the syrup cook undisturbed until it turns a dark golden amber color, about 10–12 minutes. (A candy thermometer is optional: aim for about 230°F for a thicker but pourable sauce or about 225°F for a slightly thinner sauce.)
- When the caramel reaches the desired color or temperature, remove the pan from the heat.
- Slowly pour in the warm cream (½ cup, warmed briefly in the microwave) in a thin stream while whisking constantly. The mixture will bubble vigorously—use caution.
- Return the pan to low heat and simmer, stirring, for 1–2 minutes until the sauce is smooth and slightly thickened.
- Remove from heat and whisk in 4 tablespoons unsalted butter, 1 teaspoon vanilla extract, and a small pinch of salt until fully incorporated and smooth.
- Let the caramel cool slightly, then serve warm or transfer to a container and store in the refrigerator. To use again, reheat briefly in the microwave until pourable.
Notes
* Want a salted caramel sauce? Simply increase the salt to 3/4 teaspoon.
* This caramel sauce can be made in advance and stored in the fridge, covered tightly, for up to 2 weeks.