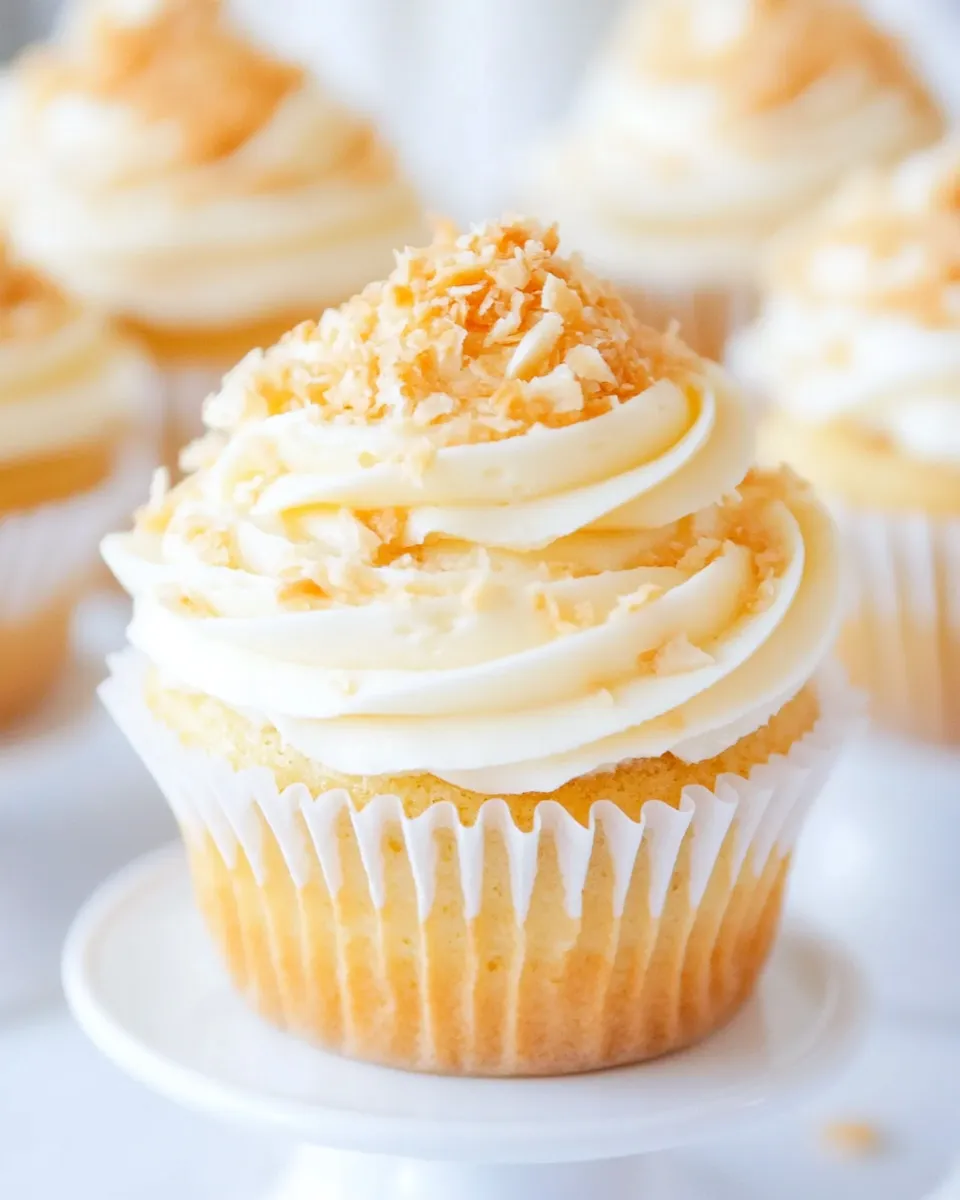
Coconut Buttercream Frosting
This frosting is one of those kitchen wins that feels special without being finicky. It relies on a handful of straightforward ingredients and a simple technique to deliver a silky, coconut-forward buttercream you can spread or pipe. I reach for it when I want a clean coconut flavor paired with classic buttercream texture.
You’ll find the recipe forgiving: a little patience with creaming and a light hand when adding water go a long way. I’ll walk you through the ingredients, the exact method, common slip-ups and fixes, and practical storage tips so your frosting turns out consistently well.
Ingredient Rundown
Ingredients
- 3 cups powdered sugar — Provides sweetness and body; sifting removes lumps for a silky texture.
- 1 cup unsalted butter, room temperature — The structure and creaminess of the frosting; room temp ensures smooth whipping.
- 2-3 teaspoons coconut extract — Primary flavor source; start with 2 teaspoons and adjust to taste.
- 1-2 tablespoons water — Controls consistency; add slowly, 1 teaspoon at a time, until spreadable or pipeable.
- Pinch salt — Balances sweetness and enhances the coconut notes.
Method: Coconut Buttercream Frosting
- Sift 3 cups powdered sugar and a pinch of salt into a large mixing bowl.
- Cut 1 cup unsalted butter (room temperature) into cubes and add to the sifted sugar and salt.
- Using an electric mixer, start on low speed to combine, then increase to medium-high and beat for 3–4 minutes until the mixture becomes thick, smooth, and creamy. At first it may look crumbly or grainy; stop once it is uniformly creamy. Scrape down the bowl and beaters with a spatula as needed.
- Add 2 teaspoons coconut extract and mix until incorporated. Taste and, if a stronger coconut flavor is desired, add up to 1 additional teaspoon (for a total of 2–3 teaspoons) and mix again.
- Add water 1 teaspoon at a time, whipping after each addition, until the frosting reaches the thickness you want. Continue until you achieve a spreadable or pipeable texture; you will likely need very little water. Do not exceed the 1–2 tablespoons total called for.
- If the frosting is too soft for piping, chill it briefly (few minutes) to firm up; if too stiff, add another 1 teaspoon of water and mix.
- Use the frosting to spread or pipe onto room-temperature baked goods. The frosting tastes best at room temperature.
- Store any leftover frosting in an airtight container. It will keep for up to five days without refrigeration; to extend shelf life refrigerate.
Why This Coconut Buttercream Frosting Stands Out
This buttercream is simple and focused. It doesn’t rely on multiple extracts or heavy additions; instead, it highlights coconut extract against a classic buttery base. That directness keeps the flavor clean rather than muddled.
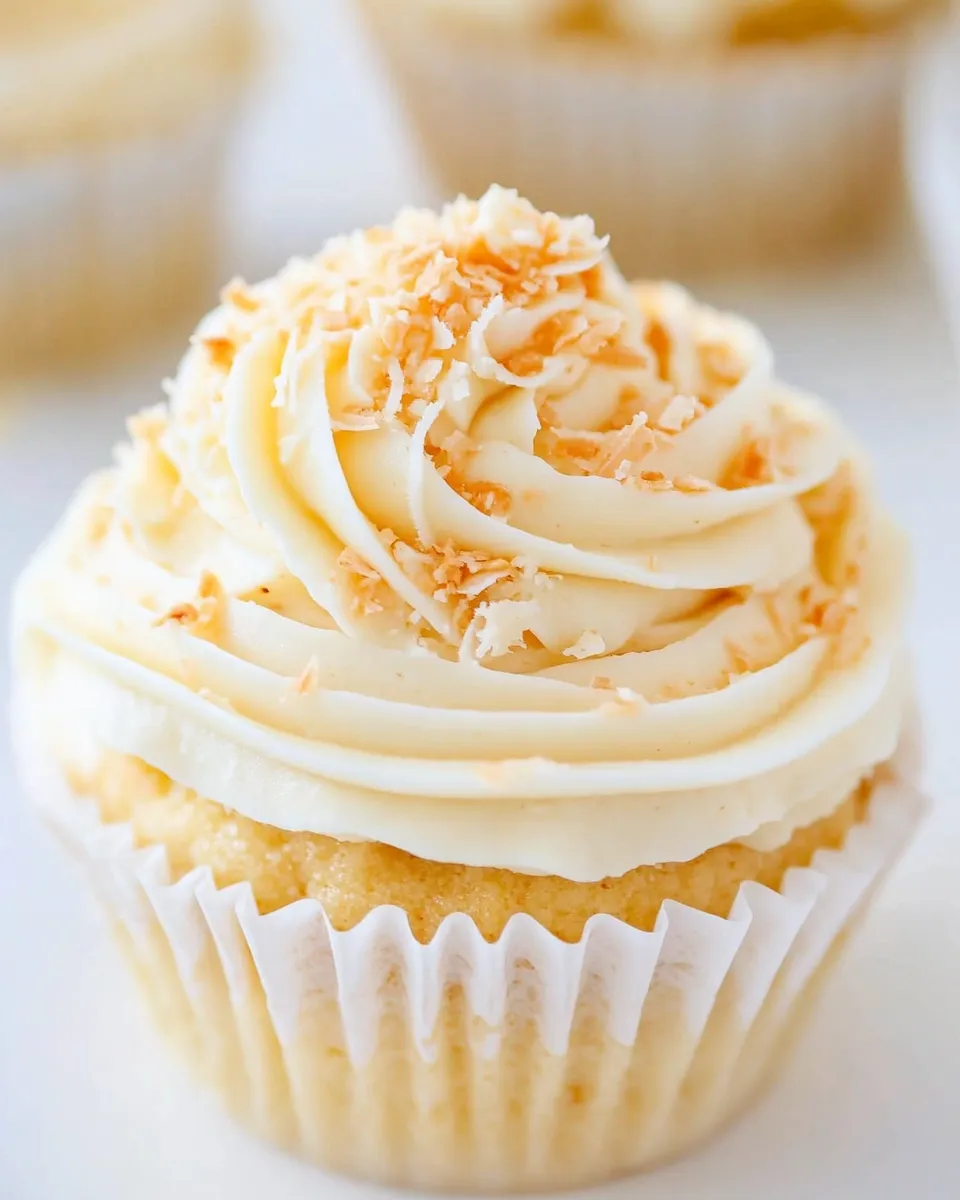
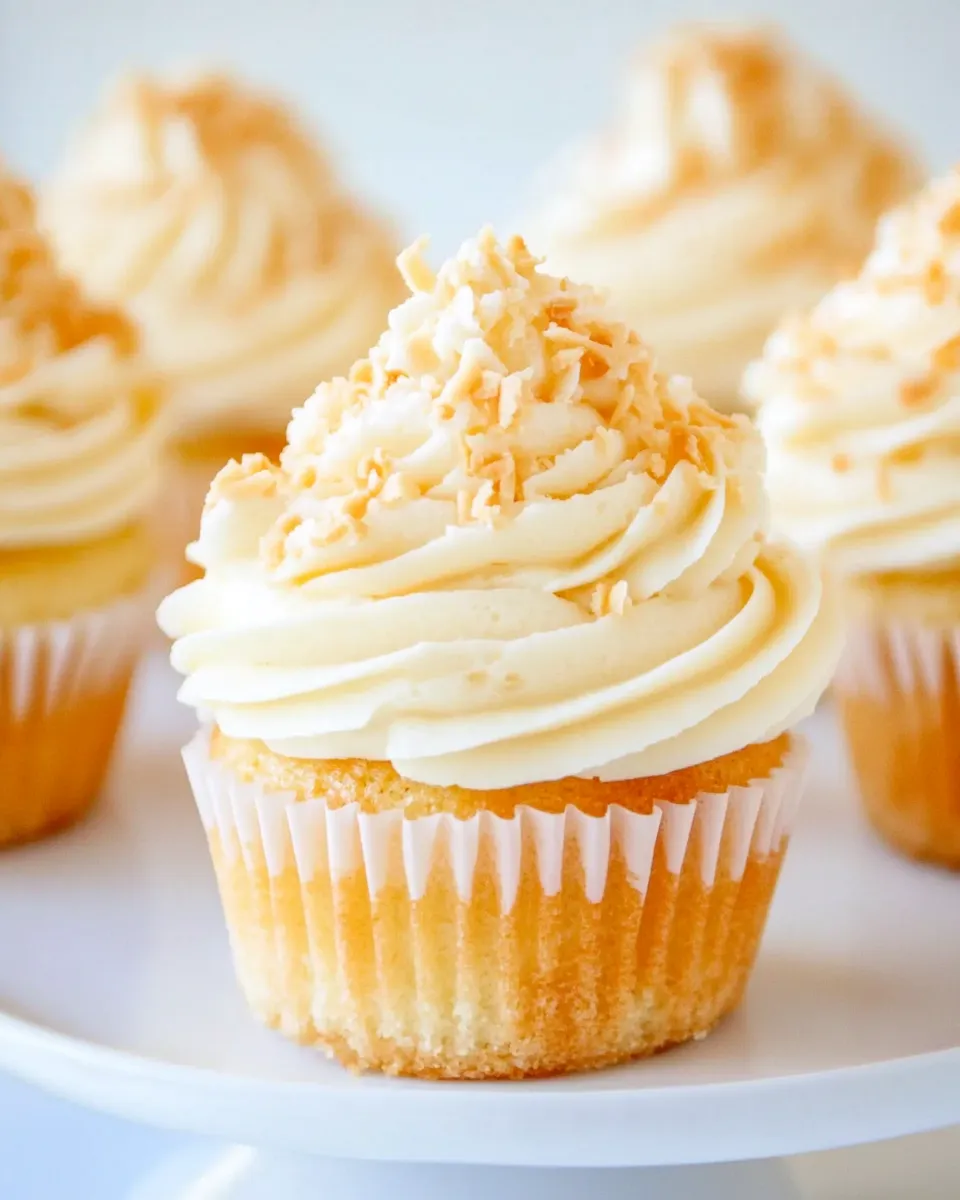
The texture is another advantage. With the right creaming time and the measured addition of water, you get a frosting that spreads smoothly and holds piped shapes when needed. It’s adaptable — quick to firm up in the refrigerator or loosen with a teaspoon of water — which makes it versatile for cupcakes, layer cakes, or simple cookie tops.
No-Store Runs Needed
Because the ingredient list is short, you can usually make this frosting from what’s already in a typical home pantry. Powdered sugar, butter, a pinch of salt and a little water are staples. Coconut extract is the only specialized item; if you already bake, you probably have a small bottle tucked away.
If you don’t have coconut extract on hand, you can still make a neutral buttercream following the same method and add the extract later when you have it. The technique remains the same: cream thoroughly, then thin to taste.
Kitchen Gear Checklist
- Electric mixer (handheld or stand mixer) — essential for achieving a smooth, airy texture.
- Large mixing bowl — gives room to cream without spilling powdered sugar.
- Sieve or sifter — to remove lumps from powdered sugar for the silkiest frosting.
- Spatula — for scraping down the bowl and smooth spreading.
- Measuring spoons and cups — for accurate amounts, especially with extract and water.
- Piping bag and tips (optional) — if you plan to pipe decorations or borders.
Learn from These Mistakes
Common problems and fixes
- Grainy or crumbly texture after adding butter — Often the butter was too cold or not beaten long enough. Beat on medium-high for the full 3–4 minutes and scrape the bowl frequently until uniformly creamy.
- Frosting too thin — You likely added too much water. Chill the frosting briefly to firm it. If it remains soft, add a little more powdered sugar in small increments (note: adding powdered sugar is a structural fix but changes sweetness).
- Frosting too stiff — Add 1 teaspoon of water and whip after each addition until you reach the desired consistency. Stop before the frosting becomes runny.
- Weak coconut flavor — Start with the base 2 teaspoons, taste, then add up to the 3rd teaspoon. It’s easier to add more than to try to dilute an overly strong extract.
- Frosting that slides off cake — The cake may be too warm. Cool baked goods to room temperature before frosting, and chill briefly after frosting if you need to set decorations.
Better-for-You Options
This recipe is already pared down, so “better-for-you” adjustments are mostly about portion control and pairing. Use thin layers of frosting between cake layers rather than heavy fillings. A light spread gives a satisfying coconut note without overwhelming a slice.
Another approach is to frost smaller baked goods — cupcakes or cookies — which naturally reduces per-serving sugar. The method stays identical: control texture with tiny amounts of water and rely on the coconut extract for flavor rather than extra sugary additions.
Recipe Notes & Chef’s Commentary
Texture is everything with a buttercream like this. The source-of-truth method emphasizes beating time and slow additions of water. Those are the two levers you’ll use most: beat until it’s uniformly creamy, then thin 1 teaspoon at a time. When you hit the sweet spot, the frosting will spread like silk and pipe crisply.
When tasting, remember the frosting will mellow slightly as it sits and when chilled. If you taste it immediately after adding extract, it can seem punchy. I recommend a final taste after the frosting has rested a few minutes and you’ve adjusted the consistency.
For decoration, chilling is your friend. If you need sculpted swirls or sharp edges, pipe and then chill briefly to set. For soft, rustic spreads, apply at room temperature and leave for a fluffy finish.
Store, Freeze & Reheat
Short-term storage: Place leftover frosting in an airtight container. At room temperature it will keep up to five days. This is convenient if you plan to use it the same week.
Longer-term storage: To extend shelf life, refrigerate the frosting. It will firm up when cold; bring it back to room temperature and re-whip briefly before using to restore spreadability and lightness.
Freezing: You can freeze the frosting in a freezer-safe container for up to 2–3 months. Thaw overnight in the refrigerator, then let it come to room temperature and re-whip to refresh texture. Avoid prolonged exposure to moisture while thawing to keep texture consistent.
Popular Questions
Q: Can I pipe this frosting? A: Yes. Get the texture right by adding water 1 teaspoon at a time until it’s pipeable. If it becomes too soft while piping, chill for a few minutes and then continue.
Q: How coconut-forward will the flavor be? A: The recipe’s 2–3 teaspoons of coconut extract gives a clear coconut note without being artificial when measured carefully. Start with 2 teaspoons and taste; add up to 1 more teaspoon if you want more punch.
Q: Will the frosting hold up in warm rooms? A: Buttercream will soften as temperatures rise. In warm conditions, keep finished cakes in a cool spot and consider brief chilling to set decorations.
Q: Can I make this ahead? A: Yes. Make the frosting a day or two in advance and store it airtight in the fridge. Bring to room temperature and re-whip before use.
The Takeaway
This Coconut Buttercream Frosting is straightforward and dependable. With a small set of pantry-friendly ingredients and a focus on technique — thorough creaming, careful flavor adjustment, and cautious thinning — you’ll get a smooth, coconut-accented buttercream that spreads and pipes well. Follow the method, watch your textures, and you’ll have a versatile frosting ready for cupcakes, layer cakes, or cookies.
Keep the extract measured, add water slowly, and don’t rush the creaming step. Those simple habits will save you time and frustration. Happy frosting — enjoy the clean coconut flavor and the easy, satisfying results.
Coconut Buttercream Frosting
Ingredients
Equipment
Method
- Sift 3 cups powdered sugar and a pinch of salt into a large mixing bowl.
- Cut 1 cup unsalted butter (room temperature) into cubes and add to the sifted sugar and salt.
- Using an electric mixer, start on low speed to combine, then increase to medium-high and beat for 3–4 minutes until the mixture becomes thick, smooth, and creamy. At first it may look crumbly or grainy; stop once it is uniformly creamy. Scrape down the bowl and beaters with a spatula as needed.
- Add 2 teaspoons coconut extract and mix until incorporated. Taste and, if a stronger coconut flavor is desired, add up to 1 additional teaspoon (for a total of 2–3 teaspoons) and mix again.
- Add water 1 teaspoon at a time, whipping after each addition, until the frosting reaches the thickness you want. Continue until you achieve a spreadable or pipeable texture; you will likely need very little water. Do not exceed the 1–2 tablespoons total called for.
- If the frosting is too soft for piping, chill it briefly (few minutes) to firm up; if too stiff, add another 1 teaspoon of water and mix.
- Use the frosting to spread or pipe onto room-temperature baked goods. The frosting tastes best at room temperature.
- Store any leftover frosting in an airtight container. It will keep for up to five days without refrigeration; to extend shelf life refrigerate.
Notes
Add water sparingly, 1 teaspoon at a time, to reach desired consistency.
Store in an airtight container; refrigerate to extend shelf life.