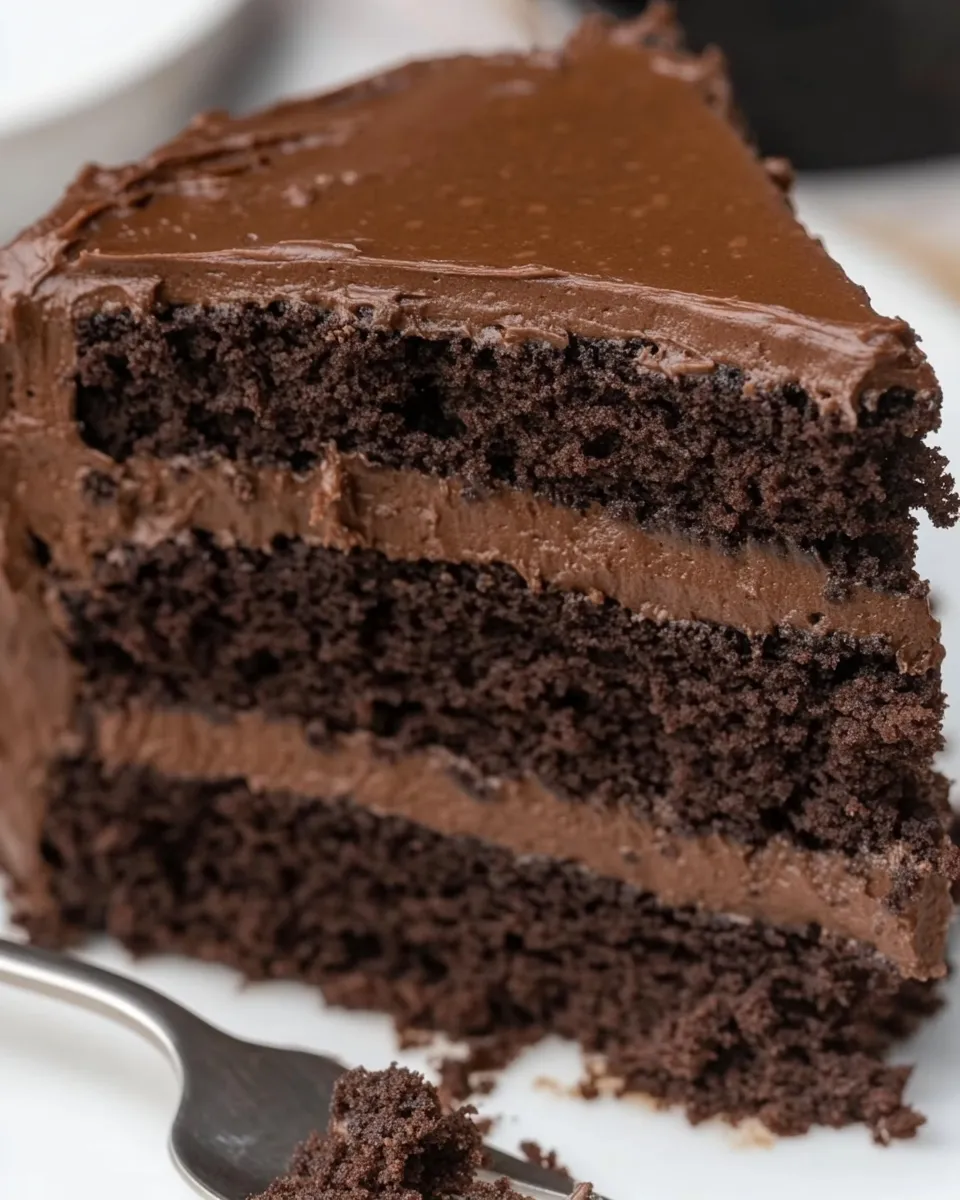
Coconut Flour Chocolate Cake
I make this cake when I want something deeply chocolatey but not made from the usual wheat-and-butter base. It’s dense, rich, and holds together in a way that surprises people who assume “gluten-free” means dry. The texture comes from coconut flour and eggs; the flavor is from cocoa, maple syrup, and coconut oil. Simple, honest ingredients — and a straightforward method — give a layer cake that stands up to frosting and celebration.
There’s a rhythm to this recipe: dry together, wet together, fold, bake, cool, and frost. The batter is thick, so don’t expect it to behave like a light wheat cake batter. That density is part of what makes the slices satisfying. With three 8-inch layers you get a proper show-stopper without exotic steps.
I’ll walk you through what goes in the bowl, the exact steps to make it (kept true to the recipe), and practical tips for avoiding the small mistakes I learned the hard way. If you like dependable, chocolate-forward desserts that feel a little special but aren’t fussy, this one’s for you.
What’s in the Bowl
This cake leans on coconut flour’s absorbency and arrowroot’s lightness to create structure without gluten. Cocoa provides the chocolate punch, while eggs and melted coconut oil give richness and bind everything together. Maple syrup keeps it sweet and a little syrupy, so the crumb remains tender even after baking.
Ingredients
- 1 1/2 cups coconut flour, sifted — very absorbent; sifting helps prevent lumps and ensures even incorporation.
- 1 1/2 cups arrowroot flour — light binder that balances coconut flour’s density.
- 1 tablespoon baking soda — adds lift; use a level tablespoon for best results.
- 1 tablespoon baking powder — works with the soda to give a predictable rise.
- 1/2 teaspoon salt — enhances the chocolate flavor and balances the sweetness.
- 2/3 cup coconut oil, melted — adds moisture and a subtle coconut note; melt gently and cool slightly before mixing with eggs.
- 1 1/2 cups maple syrup or honey — primary sweetener; maple keeps a clean flavor, honey will add floral notes.
- 1 1/2 cups cocoa powder — the backbone of the chocolate flavor; use a good-quality unsweetened cocoa for best depth.
- 6 large eggs — provide structure and moisture; bring to room temperature for an even mix.
- 1 1/2 cups milk (I used unsweetened almond milk) — thins the batter enough to fold; use the milk you prefer.
- 1 tablespoon vanilla extract — rounds and brightens the chocolate notes.
- 1–2 cups chocolate frosting — for assembly and exterior coverage; adjust amount depending on how thickly you frost.
Coconut Flour Chocolate Cake, Made Easy
- Preheat oven to 180°C / 350°F. Grease three 8-inch springform cake pans and set aside.
- In a large bowl, whisk together 1 1/2 cups sifted coconut flour, 1 1/2 cups arrowroot flour, 1 tablespoon baking soda, 1 tablespoon baking powder, and 1/2 teaspoon salt until evenly combined.
- In a separate large bowl, combine 2/3 cup melted coconut oil, 1 1/2 cups maple syrup (or honey), and 1 1/2 cups cocoa powder. Whisk until the mixture is smooth and glossy.
- Add the 6 large eggs to the wet mixture one at a time, whisking after each egg until fully incorporated. Then whisk in 1 1/2 cups milk (I used unsweetened almond milk) and 1 tablespoon vanilla extract until combined.
- Add the dry ingredients to the wet ingredients and gently fold with a spatula until fully combined. The batter will be thick and dense.
- Divide the batter evenly among the three prepared cake pans and smooth the tops.
- Bake for 27–30 minutes, or until a skewer inserted into the centers comes out mostly clean (a few moist crumbs are fine).
- Remove the pans from the oven and let the cakes cool in the pans for about 10 minutes. Then release the springform sides and transfer the cake layers to a wire rack to cool completely.
- To assemble, place one cooled layer on a serving plate and spread with chocolate frosting (use from the 1–2 cups chocolate frosting). Add the second layer, spread more frosting, then add the final layer. Use the remaining frosting to cover the top and exterior of the cake.
- Let the assembled cake sit about 20 minutes to allow the frosting to set before slicing and serving.
Why It’s Crowd-Pleasing
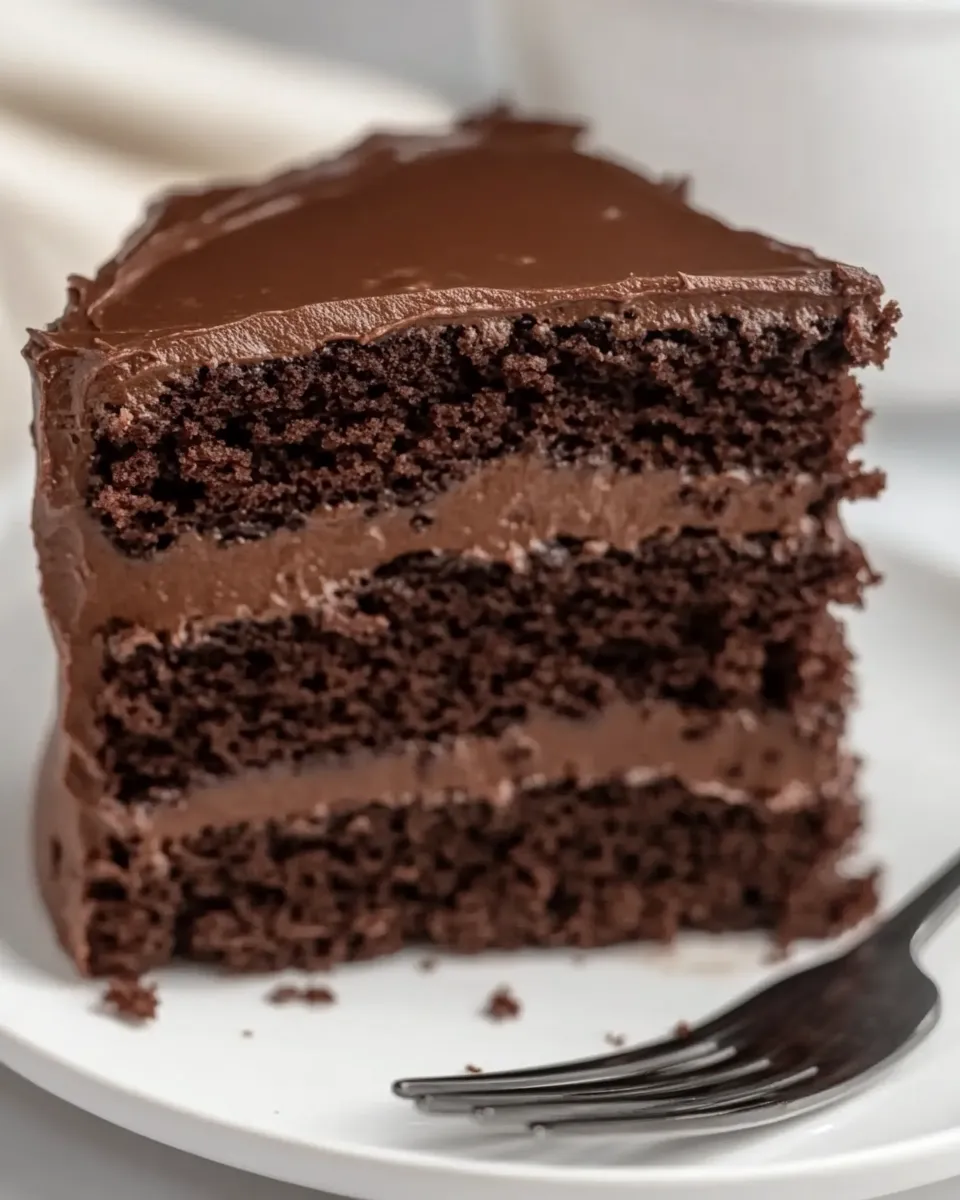
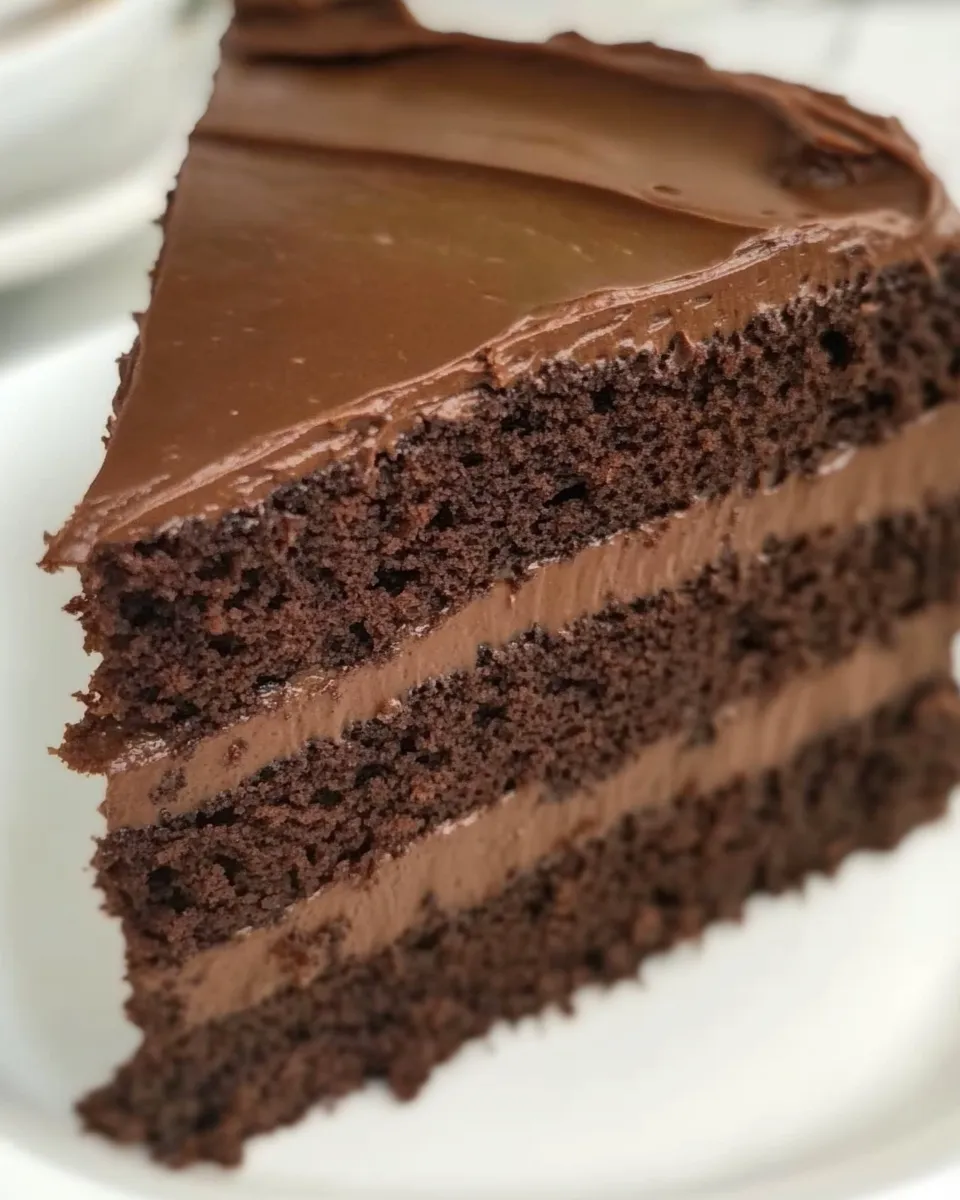
The cake is unapologetically chocolate-first. The cocoa is front and center, so even people who aren’t seeking gluten-free options happily take seconds. Texture-wise, the cake is dense but moist — sturdy enough to hold three layers and frosting without collapsing. That makes it ideal for birthdays or gatherings where you want a centerpiece that slices cleanly.
It also hits a sweet spot for different dietary preferences without announcing itself as niche. The flavors are familiar: brown-chocolate, a touch of coconut from the oil, and the natural roundness from maple syrup. Simple, satisfying, and crowd-friendly.
No-Store Runs Needed
- If you keep basic pantry staples (eggs, a neutral milk, a sweetener, and cocoa), you’re already most of the way there.
- Coconut oil and coconut flour are the only slightly specialized items; arrowroot flour is the one other non-typical pantry item. If you already bake gluten-free, these are probably on your shelf.
- Chocolate frosting can be store-bought if you’re short on time. Use 1–2 cups depending on how generously you like to frost.
Gear Checklist
- Three 8-inch springform cake pans — the recipe calls for these specifically for easy release.
- Large mixing bowls — one for dry, one for wet.
- Whisk and spatula — whisk for wet ingredients; spatula for folding the thick batter.
- Measuring cups and spoons — accurate measuring matters with coconut flour.
- Wire rack — for cooling layers completely before frosting.
- Skewer or toothpick — to test doneness.
- Oven set to 180°C / 350°F.
Avoid These Mistakes
- Overmixing the batter — fold gently. The batter is meant to be thick; vigorous mixing can make the crumb tougher.
- Measuring coconut flour incorrectly — scoop and level or spoon into the cup, then sift if the recipe calls for it; packing will give you dense, dry results.
- Baking too long — watch the 27–30 minute window. Pull the layers when a skewer comes out mostly clean; a few moist crumbs are normal.
- Frosting warm layers — always cool completely before assembling, or the frosting will slide and melt.
- Skipping the pan release — grease the pans as directed and allow the cakes to cool briefly before releasing springform sides to avoid tearing.
Dietary Swaps & Alternatives
This recipe already nods to flexibility. The recipe lists maple syrup or honey as the sweetener, so choose the one that fits your pantry and flavor preference. The milk listed includes an example (unsweetened almond milk); use the milk you prefer or have on hand.
If you need to keep things dairy-free, stick with plant milks and a dairy-free frosting. For a slightly different flavor profile, swap sweeteners between maple and honey. Because coconut flour absorbs a lot of liquid, be cautious replacing it with a different flour without adjusting ratios — those adjustments aren’t part of this recipe and will require testing.
Flavor Logic
Understanding what each ingredient does makes small adjustments safer. Coconut flour soaks up liquid and builds structure; arrowroot lightens that density and keeps the crumb from collapsing into a dense puck. Eggs provide both moisture and structure; they’re essential in the quantities listed. Coconut oil adds moisture and a subtle coconut layer, while maple syrup contributes sweetness and a gentle flavor note that pairs well with cocoa. Baking powder and baking soda give the lift this dense batter needs to become a sliceable layer cake. Vanilla ties the flavors together and rounds out the chocolate.
Keep-It-Fresh Plan
Storage: once frosted, store at room temperature for up to a day if your kitchen is cool. If your home is warm or the frosting contains dairy, refrigerate. Slices stay good for 3–4 days in an airtight container in the fridge.
Freezing: you can freeze single slices wrapped tightly in plastic and foil for up to a month. Thaw in the refrigerator overnight, then bring to room temperature before serving so the texture becomes tender again.
Reheat: if you like a slightly warm slice, microwave a single portion for 10–15 seconds once thawed or at room temperature. Be gentle — the cake can dry out if overheated.
Common Qs About Coconut Flour Chocolate Cake
Q: Can I make this into two layers instead of three?
A: Yes. If you prefer two thicker layers, divide the batter into two 8-inch pans and reduce baking time slightly — start checking at 25 minutes. The recipe defines three 8-inch layers, so two layers will be thicker and will need a little extra monitoring.
Q: My batter is too thick to pour. Is that normal?
A: Yes. This batter is meant to be thick and dense because of the coconut flour. Use a spatula to spread it into pans. It won’t behave like a classic sponge cake batter.
Q: Can I use a different oil?
A: The recipe specifies melted coconut oil, which adds a subtle coconut note. If you prefer a neutral oil, you can swap it, but the coconut flavor and some of the texture will change. I haven’t changed the amount listed here.
Q: How much frosting should I plan to use?
A: The recipe lists 1–2 cups chocolate frosting. If you like a thin coat, 1 cup may suffice; if you want a thick, bakery-style finish, plan for closer to 2 cups.
Q: Do I have to use springform pans?
A: Springform pans make it easy to remove layers without damaging them. Regular 8-inch cake pans can work if you line them and invert carefully, but the recipe calls for springform for convenience.
Bring It Home
This Coconut Flour Chocolate Cake is reliable and rewarding. Follow the ingredient list and the step-by-step directions exactly for best results — the balance of flours, eggs, and sweetener is what makes the layers hold up and taste great. Give yourself time to cool and assemble; the frosting looks best when the layers are completely cool. Slice with a sharp knife, serve with a cup of strong coffee or a glass of milk, and enjoy that familiar chocolate comfort with a little twist.
Coconut Flour Chocolate Cake
Ingredients
Equipment
Method
- Preheat oven to 180°C / 350°F. Grease three 8-inch springform cake pans and set aside.
- In a large bowl, whisk together 1 1/2 cups sifted coconut flour, 1 1/2 cups arrowroot flour, 1 tablespoon baking soda, 1 tablespoon baking powder, and 1/2 teaspoon salt until evenly combined.
- In a separate large bowl, combine 2/3 cup melted coconut oil, 1 1/2 cups maple syrup (or honey), and 1 1/2 cups cocoa powder. Whisk until the mixture is smooth and glossy.
- Add the 6 large eggs to the wet mixture one at a time, whisking after each egg until fully incorporated. Then whisk in 1 1/2 cups milk (I used unsweetened almond milk) and 1 tablespoon vanilla extract until combined.
- Add the dry ingredients to the wet ingredients and gently fold with a spatula until fully combined. The batter will be thick and dense.
- Divide the batter evenly among the three prepared cake pans and smooth the tops.
- Bake for 27–30 minutes, or until a skewer inserted into the centers comes out mostly clean (a few moist crumbs are fine).
- Remove the pans from the oven and let the cakes cool in the pans for about 10 minutes. Then release the springform sides and transfer the cake layers to a wire rack to cool completely.
- To assemble, place one cooled layer on a serving plate and spread with chocolate frosting (use from the 1–2 cups chocolate frosting). Add the second layer, spread more frosting, then add the final layer. Use the remaining frosting to cover the top and exterior of the cake.
- Let the assembled cake sit about 20 minutes to allow the frosting to set before slicing and serving.
Notes
TO STORE:
Store the leftover cake in an airtight container at room temperature for 1-2 days or in the refrigerator for up to 1 week.
TO FREEZE:
Freeze individual cake slices in a freezer-safe container for up to 3 months. Let the cake thaw overnight in the fridge.

![Homemade Poppy Chow [Chocolate & Peanut Butter-Covered Popcorn] photo](https://oventoasted.com/wp-content/uploads/2025/12/Poppy_Chow_Chocolate__Peanut_Butter-Covered_Popcorn-1-768x960.webp)