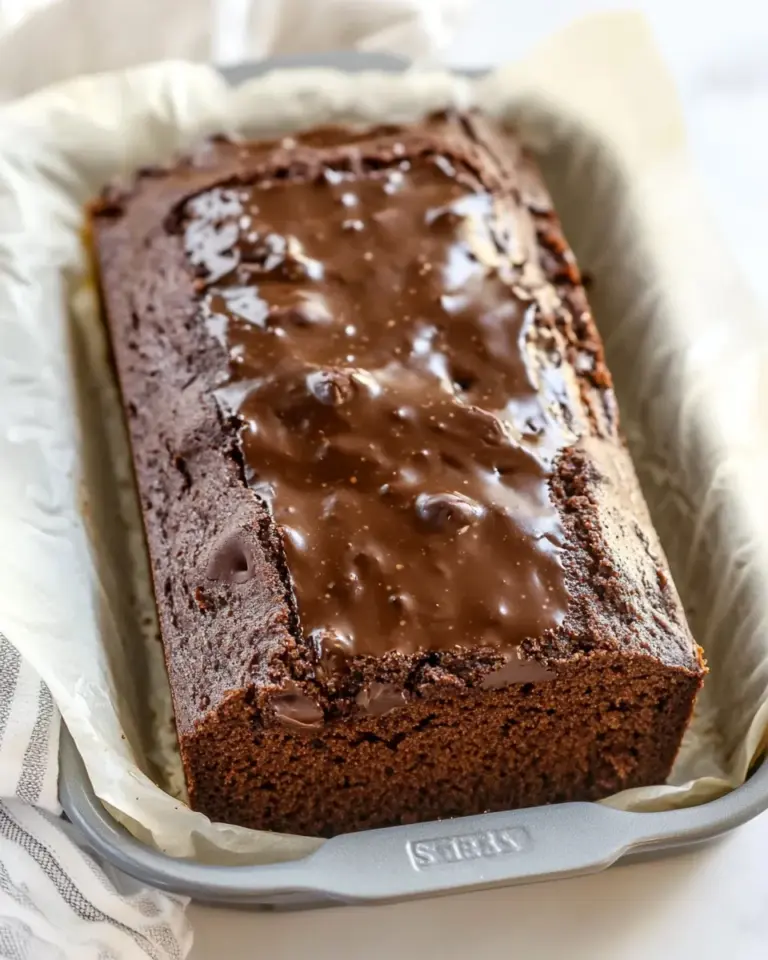
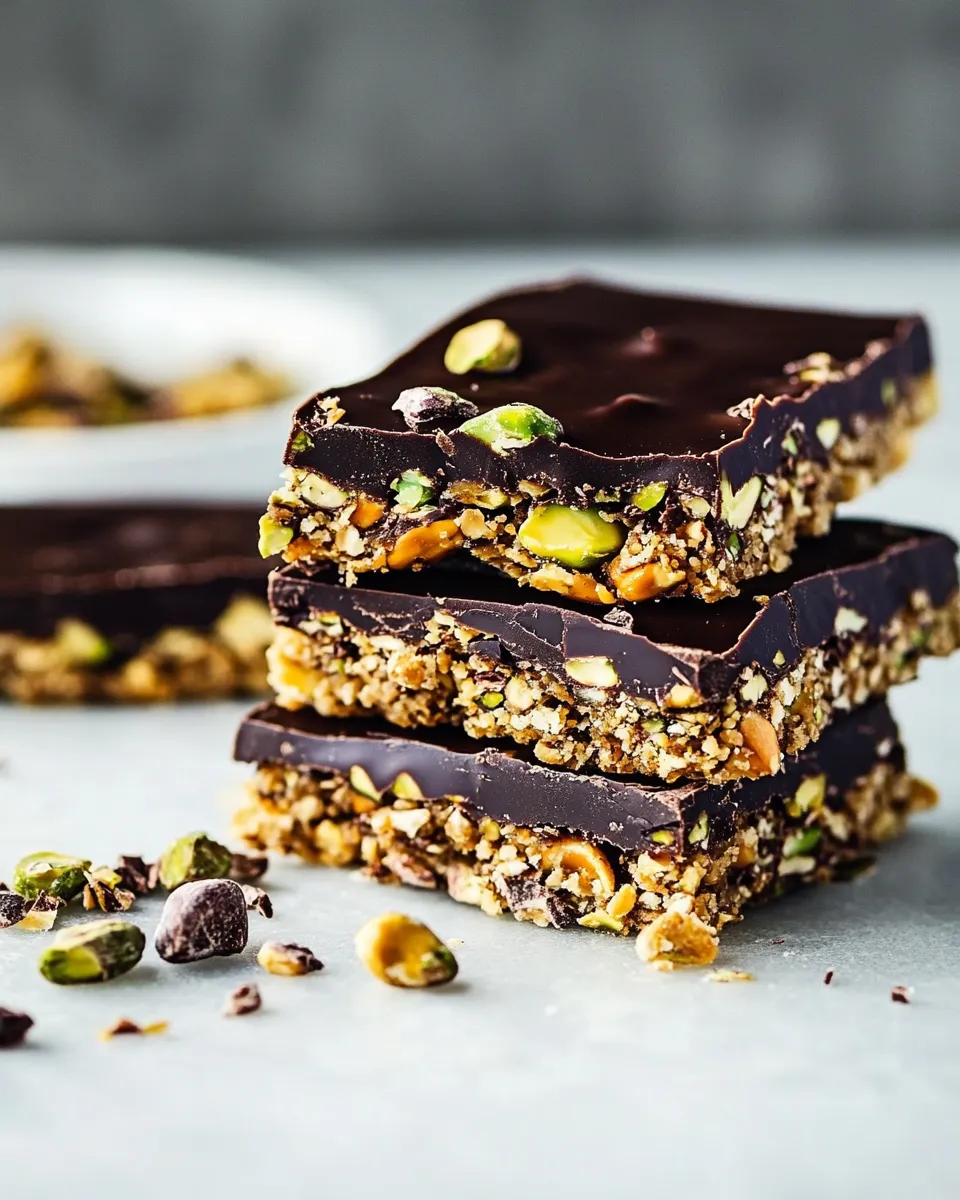
Dark Chocolate Pistachio Bars
These bars have become my go-to when I want something that feels indulgent but is actually straightforward to make. They’re chewy, nutty, and satisfyingly chocolatey — the kind of snack you reach for at 3 p.m. or serve with coffee after dinner. No baking, just a little pressing and patience while the chocolate sets.
I love that the base comes together in minutes thanks to dates and peanut butter, and that the topping is quick to melt and pour. The texture contrast — dense, oat-studded base with a crisp chocolate top and pops of pistachio — is exactly what I look for in a bar. They travel well and hold up in a lunchbox or picnic tin.
Below you’ll find a tight, practical walkthrough: what to buy, a clear step-by-step guide with the exact directions I follow every time, sensible substitutions that stick to the recipe’s ingredients, and tips to avoid the little mistakes that can make these less than perfect.
What to Buy
Stick to a short shopping list and prioritize quality where it counts: good dates, real dark chocolate (or your preferred milk chocolate), and fresh pistachios. The ingredient list is small, so each item plays an obvious role.
Ingredients
- 1 cup packed pitted dates — the sweet, sticky binder for the base; use soft Medjool if you can.
- ⅓ cup creamy peanut butter — adds richness and helps bind the dates and oats together; creamy blends most easily.
- ⅓ cup pure maple syrup — adds moisture and a gentle sweetness that complements the chocolate.
- 1 teaspoon vanilla extract — rounds the flavor and pulls the sweetness together.
- ½ cup quick 1-minute oats — melts into the mixture to soften texture without making it gummy.
- 1 cup old-fashioned oats — gives chew and structure; don’t swap both oat types unless you know the texture you want.
- ¾ cup shelled and chopped pistachios — the salty, nutty crunch; chop them so they distribute evenly.
- ½ cup miniature dark chocolate chips — an interior pop of chocolate; miniature chips spread through the base nicely.
- 1 cup dark or milk chocolate chips — for the top layer; choose based on how rich or sweet you want the bars.
- 2 teaspoons coconut oil — thins and smooths the melted chocolate so it spreads into a glossy layer.
How to Prepare Dark Chocolate Pistachio Bars
- Line an 8×8-inch pan with parchment paper or foil, leaving an overhang on two opposite sides for easy removal; do not spray the pan. Set aside.
- Place 1 cup packed pitted dates in a small blender jar or food processor and pulse until they form a very thick, sticky paste. If the dates are dry, soak them in warm water until softened, then drain and dry very well before processing.
- Transfer the date paste to a large bowl. Microwave ⅓ cup creamy peanut butter and ⅓ cup pure maple syrup together for 15–20 seconds to loosen them, then add them to the date paste. Add 1 teaspoon vanilla extract and stir until evenly combined.
- Stir in ½ cup quick 1-minute oats and 1 cup old-fashioned oats until incorporated.
- Add ¾ cup shelled and chopped pistachios and ½ cup miniature dark chocolate chips to the oat mixture. Mix thoroughly (use a spoon and then knead with clean hands if needed) until the nuts and mini chips are evenly distributed.
- Press the mixture firmly and evenly into the prepared 8×8-inch pan using a spatula or the back of a spoon. Set the pan aside while you melt the topping chocolate.
- In a large microwave-safe bowl combine 1 cup dark or milk chocolate chips and 2 teaspoons coconut oil. Microwave in 15-second increments, stirring between each increment, until the chocolate is fully melted and smooth.
- Pour the melted chocolate over the pressed base and tilt/tilt-and-spread the pan so the chocolate forms an even layer across the top.
- Cover the pan and refrigerate until the chocolate is set (about 30–60 minutes). Use the parchment or foil overhang to lift the slab from the pan, place on a cutting board, and cut into bars. If desired, warm a knife under hot water, dry it, and then use it to make cleaner cuts.
Why It’s My Go-To
This recipe hits three practical marks: minimal hands-on time, pantry-friendly ingredients, and reliable texture. I can make the base while the kettle boils and have the whole thing chilling within half an hour. It’s also forgiving — if dates are a touch drier, a quick soak fixes them; if your chocolate is on the sweeter side, choosing dark chips balances it out.
Beyond convenience, there’s a predictably satisfying contrast between the chewy oat-date base and the snap of the chocolate top. For hosting, they look polished without much effort. For snacks, they’re sturdy and transport well. That combination of practicality and good flavor keeps me returning to this recipe.
Smart Substitutions
Because the ingredient list is short, substitutions should be conservative and use the items already present in the recipe:
- Choose dark or milk chocolate chips (the recipe already permits both) depending on how sweet you want the bars; dark yields more contrast with the dates.
- If you only have one type of oats, you can use all old-fashioned oats for a chewier texture; keeping some quick oats softens the mix more quickly.
- If your peanut butter is thicker, microwaving for the full 20 seconds helps it loosen so it blends cleanly into the date paste.
Tools of the Trade
Simple tools are all you need. I keep this list short because complicated equipment only slows a no-bake recipe down.
- 8×8-inch pan lined with parchment or foil (the overhang is essential for lifting the slab out).
- Food processor or small blender jar for pureeing dates.
- Large bowl and spatula for mixing and pressing into the pan.
- Microwave-safe bowl for melting chocolate, or a small heatproof bowl and double boiler if you prefer stovetop melting.
- Sharp knife and cutting board for slicing the bars cleanly; warming the knife with hot water helps.
Errors to Dodge
Few missteps will ruin these bars, but the ones below are worth watching for:
- Don’t skip the date soaking if your dates are dry. Dry dates won’t form the sticky paste needed to bind the base.
- Do not spray the pan. The recipe relies on the parchment or foil overhang to remove the slab; spraying interferes with the paper holding correctly and can make edges soggy.
- Don’t add too much heat to the chocolate. Microwave in short bursts and stir often. Overheated chocolate can seize and become grainy instead of glossy.
- Avoid pressing the base unevenly. Thin spots under the chocolate can make bars brittle; press firmly and evenly so the top layer sits on a uniform surface.
Smart Substitutions
This second substitutions section is intentional — a few practical alternatives I frequently use depending on what’s on hand:
- If you prefer a softer interior, increase the proportion of quick oats slightly and reduce old-fashioned oats (still keep the combined oat amount similar to maintain structure).
- Swap between dark or milk chocolate chips for the topping — the listed ingredient allows either; pick dark for richer, less sweet results.
- If coconut oil isn’t your thing, use the smallest amount needed to get a glossy pourable chocolate; the recipe calls for 2 teaspoons to thin the melt.
Chef’s Rationale
Every ingredient has a purpose. Dates are the glue and the natural sweetener; they bring moisture and chew without refined sugar. The peanut butter adds fat and richness, helping the base set and giving depth to the flavor profile. Using a mix of quick and old-fashioned oats manages texture: quick oats absorb and soften, old-fashioned oats keep chew and structure. Mini chips inside add small chocolate pockets that don’t overwhelm the base, and the chopped pistachios give the nutty, slightly savory contrast that makes these bars interesting instead of flat.
The melted chocolate top serves two roles: it’s the visual sign that these are a treat, and it adds a crisp textural layer. A little coconut oil in the melt keeps the chocolate glossy and easy to slice through without cracking into jagged pieces.
Make-Ahead & Storage
These bars are excellent for make-ahead planning. Once the chocolate is set, you can cut them and store them in an airtight container.
- Refrigerator: Store for up to 7–10 days. Keep them layered with parchment between layers to prevent sticking.
- Freezer: Freeze for up to 3 months. Wrap the slab or individual bars tightly in plastic wrap and then in foil or an airtight bag. Thaw in the refrigerator before serving to avoid condensation on the chocolate surface.
- Room temperature: If your kitchen is cool, they’ll hold for a day or two at room temperature. In warm climates, keep refrigerated to prevent the chocolate from melting.
Quick Q&A
Can I use a different nut butter?
The recipe specifies creamy peanut butter. If you already have a substitute you rely on, it may work, but variations can alter texture and flavor. If possible, stick to creamy peanut butter for the texture the recipe expects.
What if my dates are tough?
Soak them briefly in warm water until they soften, then drain and pat completely dry before processing. Soft dates make a much smoother paste.
How do I get clean chocolate cuts?
Warm a sharp knife under hot water, dry it thoroughly, then slice in a single confident stroke. Wipe the blade between cuts.
Make It Tonight
Want to make these this evening? Here’s a quick plan:
- Gather ingredients and line your pan (5 minutes).
- Soak dates if needed; otherwise process them into paste (5–10 minutes).
- Mix base and press into pan while you heat the chocolate (10 minutes).
- Melt and pour the chocolate, then chill (30–60 minutes). Use that chilling time to tidy up and relax — prep is short; the fridge does the rest.
These bars are a reliable, no-bake solution when you want something homemade without a long oven session. I keep a batch in the fridge for quick snacks and to satisfy unexpected guests. They look like effort, taste like a treat, and really — they’re simple to make. Enjoy.
Dark Chocolate Pistachio Bars
Ingredients
Equipment
Method
- Line an 8x8-inch pan with parchment paper or foil, leaving an overhang on two opposite sides for easy removal; do not spray the pan. Set aside.
- Place 1 cup packed pitted dates in a small blender jar or food processor and pulse until they form a very thick, sticky paste. If the dates are dry, soak them in warm water until softened, then drain and dry very well before processing.
- Transfer the date paste to a large bowl. Microwave 1/3 cup creamy peanut butter and 1/3 cup pure maple syrup together for 15–20 seconds to loosen them, then add them to the date paste. Add 1 teaspoon vanilla extract and stir until evenly combined.
- Stir in 1/2 cup quick 1-minute oats and 1 cup old-fashioned oats until incorporated.
- Add 3/4 cup shelled and chopped pistachios and 1/2 cup miniature dark chocolate chips to the oat mixture. Mix thoroughly (use a spoon and then knead with clean hands if needed) until the nuts and mini chips are evenly distributed.
- Press the mixture firmly and evenly into the prepared 8x8-inch pan using a spatula or the back of a spoon. Set the pan aside while you melt the topping chocolate.
- In a large microwave-safe bowl combine 1 cup dark or milk chocolate chips and 2 teaspoons coconut oil. Microwave in 15-second increments, stirring between each increment, until the chocolate is fully melted and smooth.
- Pour the melted chocolate over the pressed base and tilt/tilt-and-spread the pan so the chocolate forms an even layer across the top.
- Cover the pan and refrigerate until the chocolate is set (about 30–60 minutes). Use the parchment or foil overhang to lift the slab from the pan, place on a cutting board, and cut into bars. If desired, warm a knife under hot water, dry it, and then use it to make cleaner cuts.