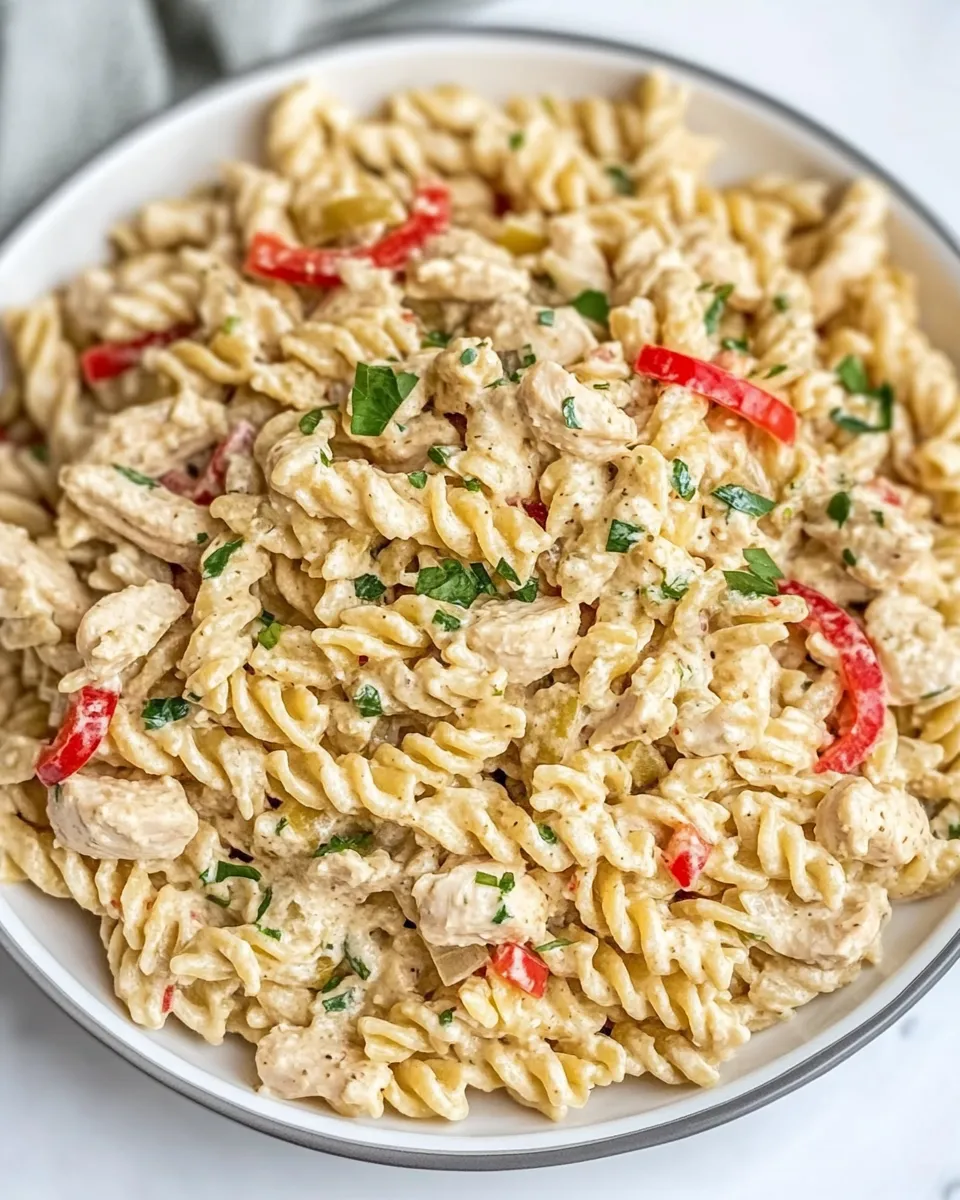
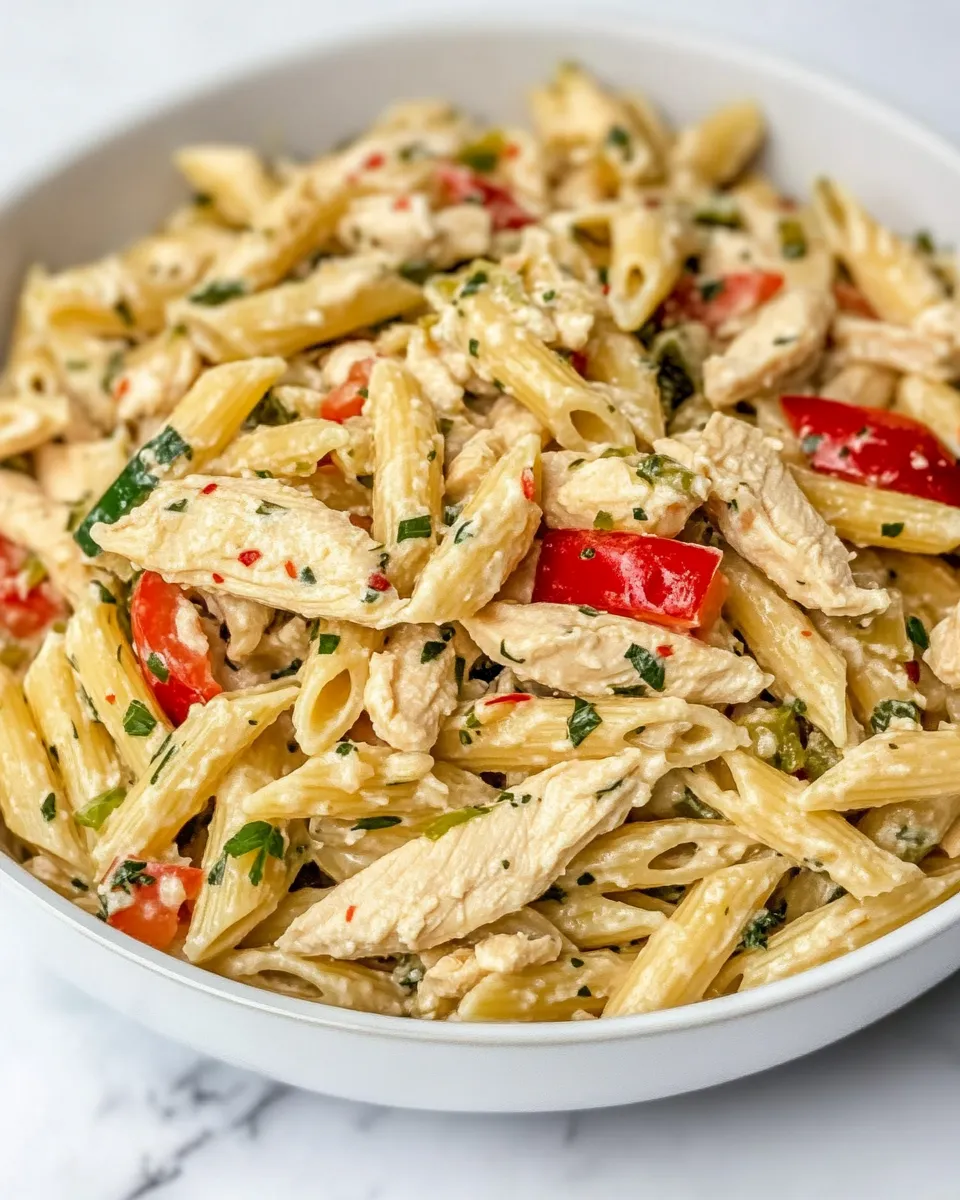
Easy Creamy Chicken Pasta With Bell Peppers
Weeknight dinners should be comforting, fast, and a little bit indulgent — that’s exactly what this dish delivers. I’ve been making variations of this creamy chicken pasta for years: it comes together with pantry basics, it’s easy to scale, and the bell peppers add a bright pop of color and crunch that keeps the richness from feeling heavy.
On busy nights I lean on recipes that let me do one thing at a time — boil, sauté, finish — and still produce something that feels special. You’ll find this version hits that sweet spot: simple technique, straightforward timing, and a sauce that clings nicely to rotini so every bite is satisfying.
The Ingredient Lineup
Ingredients
- 12 ounces rotini pasta — twists that trap the creamy sauce and bits of chicken and pepper.
- 1 pound (about 2 small) boneless skinless chicken breasts cut into 1-inch cubes — the main protein; cubed for quick, even cooking.
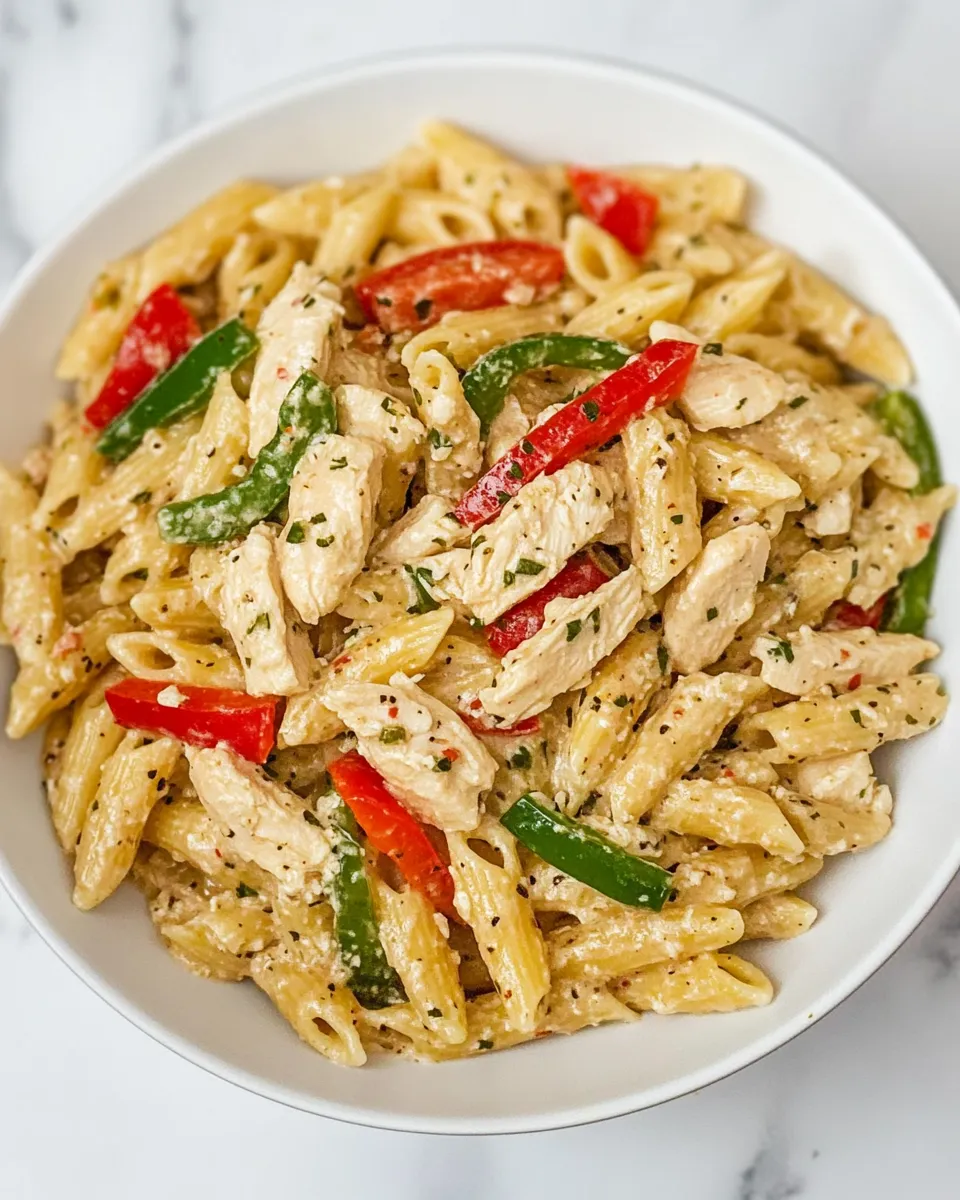
- 1 small green bell pepper diced small — adds color, mild flavor, and crunch.
- 1 small red bell pepper diced small — sweetness and a visual pop against the green.
- 2 cups half-and-half — creates the creamy sauce without being as heavy as heavy cream.
- 1/2 cup (4 oz) butter — builds the sauce base and gives a silky mouthfeel.
- 3/4 cup (3 oz) shredded Parmesan cheese plus more for topping — salty, nutty flavor that melts into the sauce.
- 1 teaspoon chives or green onions minced, optional — a mild onion finish; optional but nice for freshness.
- 1/2 teaspoon dried oregano — warms the sauce with herbal notes.
- 1/2 teaspoon dried basil — complements the oregano and Parmesan.
- 1/2 teaspoon salt — seasons the whole dish; adjust to taste at the end.
Creamy Chicken Pasta With Bell Peppers: Step-by-Step Guide
- Bring a large pot of water to a boil. Salt the water lightly and add 12 ounces rotini. Cook according to package instructions, then drain and set the pasta aside.
- While the pasta cooks, heat a large nonstick skillet over medium heat. Add 1 pound cubed boneless skinless chicken breasts and the diced small green and red bell peppers. Cook, stirring occasionally, until the chicken is cooked through and the peppers are tender, about 6–8 minutes. (If you prefer crunchier peppers, add the peppers after 2–3 minutes of cooking the chicken.) Transfer the chicken and peppers to a bowl and set aside.
- In the same skillet, melt 1/2 cup (4 oz) butter over medium heat. Pour in 2 cups half-and-half and bring to a low simmer. Cook, stirring occasionally, until the mixture reduces and thickens slightly, about 5–8 minutes.
- Remove the skillet from the heat. Stir in 3/4 cup (3 oz) shredded Parmesan cheese, 1/2 teaspoon dried oregano, 1/2 teaspoon dried basil, 1/2 teaspoon salt, and 1 teaspoon minced chives or green onions (if using). Stir until the Parmesan is melted and the sauce is smooth.
- Return the cooked chicken and peppers to the skillet, add the drained rotini, and toss gently to coat everything evenly with the sauce. Warm briefly over low–medium heat if needed, about 1–2 minutes.
- Serve immediately, topping with additional Parmesan if desired.
Why This Recipe Works

This recipe is built around simple chemistry: starch from the pasta and fat from the butter and half-and-half create a sauce that clings. Melting Parmesan off-heat prevents graininess and keeps the texture silky. Cubing the chicken ensures fast, even cooking so the meat stays tender rather than drying out. The peppers add contrast — both flavor and texture — which prevents the dish from feeling one-note.
Technique matters more than fuss here. Let the half-and-half reduce and thicken slightly so the sauce is concentrated enough to coat the rotini without turning thin. Also, using the same skillet for sauce and protein keeps all those browned bits (technical flavor) in the final dish.
Vegan & Vegetarian Swaps
Vegetarian option
- Replace the chicken with firm tofu, cubed and sautéed until crisp, or use sautéed mushrooms for a meaty texture.
- Use a vegetarian Parmesan or nutritional yeast in place of Parmesan to maintain that savory profile.
Vegan option
- Substitute the half-and-half with an unsweetened, thick plant-based cream (e.g., cashew cream or a commercial vegan creamer). Use vegan butter in place of the butter.
- Swap Parmesan for a store-bought vegan Parmesan or 2–3 tablespoons nutritional yeast and a pinch of salt to mimic umami.
- Remember to check labels: some rotini and cheese substitutes can contain milk or eggs if you want to keep it fully vegan.
Recommended Tools
- Large pot for boiling pasta — big enough so the rotini can move freely.
- Large nonstick skillet — makes cooking and tossing the pasta easy and limits sticking when melting the sauce.
- Colander — for draining the rotini without shocking it in cold water (you want it warm to grab the sauce).
- Tongs or a large spoon — for tossing pasta and sauce together evenly.
Frequent Missteps to Avoid
- Skipping the reduction step: if you don’t reduce the half-and-half slightly, the sauce can be too thin and won’t cling to the rotini.
- Overcooking the chicken: cook just until no longer pink. Overcooked chicken becomes dry; cubed pieces cook quickly, so watch the time.
- Adding cheese on high heat: Parmesan can seize and become grainy if added to a boiling liquid. Remove from heat first, then stir in the cheese for a smooth finish.
- Not seasoning the pasta water: a lightly salted boil seasons the pasta from the inside out and improves the overall balance.
Customize for Your Needs
Want more heat? Stir in a pinch of red pepper flakes when you add the dried oregano and basil. Prefer more green? Toss in a couple of handfuls of baby spinach at the last minute; it will wilt instantly into the warm sauce. Need a faster version? Use leftover rotini and pre-cooked chicken — sauté the peppers, melt the butter, finish the sauce, then toss everything together to heat through.
For a lighter plate, serve with half the butter and add a squeeze of lemon juice at the end to brighten the flavors. If you want it heartier, stir in cooked bacon crumbles or top with toasted breadcrumbs for crunch.
If You’re Curious
Why rotini? Its grooves and twists catch sauce and small bits of chicken and pepper so you get flavor in every forkful. Why half-and-half and not heavy cream? Half-and-half gives a luxurious mouthfeel without being too heavy, and it reduces faster than heavier creams, shaving a little cook time while still producing a creamy finish.
If you’re wondering about swapping dried herbs for fresh: use about 1 tablespoon chopped fresh basil and 1 tablespoon chopped fresh oregano if you have them, added at the end off-heat to preserve their brightness.
How to Store & Reheat
Store leftovers in an airtight container in the refrigerator for up to 3 days. The sauce will firm up in the fridge as the fat solidifies; when reheating, add a splash of milk or half-and-half and warm gently over low heat, stirring until the sauce loosens and the pasta is heated through. Alternatively, microwave in short intervals (30–45 seconds), stirring and adding a bit of liquid as needed.
Avoid freezing if you can — the texture of half-and-half and Parmesan changes after freezing and thawing. If you must freeze, separate into portions and plan to reheat gently with added liquid and slow heat to coax the sauce back together.
Ask & Learn
If you try this recipe and tweak it, tell me what worked — did you swap a protein, add spices, or change the pasta? I love hearing adaptations and troubleshooting issues. If the sauce broke or became grainy, mention the exact step where it happened and I’ll walk you through how to salvage it or prevent it next time.
Questions about scaling the recipe, adjusting for dietary needs, or timing for a crowd? Ask away — I’ll reply with practical tips and shortcuts based on what worked for me in a small kitchen with a busy weeknight schedule.
Before You Go
This Creamy Chicken Pasta With Bell Peppers is one of those reliable weeknight stars: quick, forgiving, and customizable. Keep the ingredients list handy, remember the reduction step for the sauce, and err on the side of slightly undercooking the chicken so it stays juicy. If you make it, take a quick photo and share how you plated it — I love seeing your versions and swapping ideas.
Happy cooking — and don’t forget the extra Parmesan on top.
Easy Creamy Chicken Pasta With Bell Peppers
Ingredients
Equipment
Method
- Bring a large pot of water to a boil. Salt the water lightly and add 12 ounces rotini. Cook according to package instructions, then drain and set the pasta aside.
- While the pasta cooks, heat a large nonstick skillet over medium heat. Add 1 pound cubed boneless skinless chicken breasts and the diced small green and red bell peppers. Cook, stirring occasionally, until the chicken is cooked through and the peppers are tender, about 6–8 minutes. (If you prefer crunchier peppers, add the peppers after 2–3 minutes of cooking the chicken.) Transfer the chicken and peppers to a bowl and set aside.
- In the same skillet, melt 1/2 cup (4 oz) butter over medium heat. Pour in 2 cups half-and-half and bring to a low simmer. Cook, stirring occasionally, until the mixture reduces and thickens slightly, about 5–8 minutes.
- Remove the skillet from the heat. Stir in 3/4 cup (3 oz) shredded Parmesan cheese, 1/2 teaspoon dried oregano, 1/2 teaspoon dried basil, 1/2 teaspoon salt, and 1 teaspoon minced chives or green onions (if using). Stir until the Parmesan is melted and the sauce is smooth.
- Return the cooked chicken and peppers to the skillet, add the drained rotini, and toss gently to coat everything evenly with the sauce. Warm briefly over low–medium heat if needed, about 1–2 minutes.
- Serve immediately, topping with additional Parmesan if desired.
Notes
*You can substitute 2/3 cup heavy cream + 1 1/3 cup milk (any percentage) for the half and half.
For optimal timing, put water on to boil and cut chicken and veggies and measure out the rest of your ingredients. Begin cooking the chicken and peppers and then add your noodles to the boiling water after 2 or 3 minutes.
If you have everything cut and prepared in advance, the rotini and sauce should finish at almost the same time.