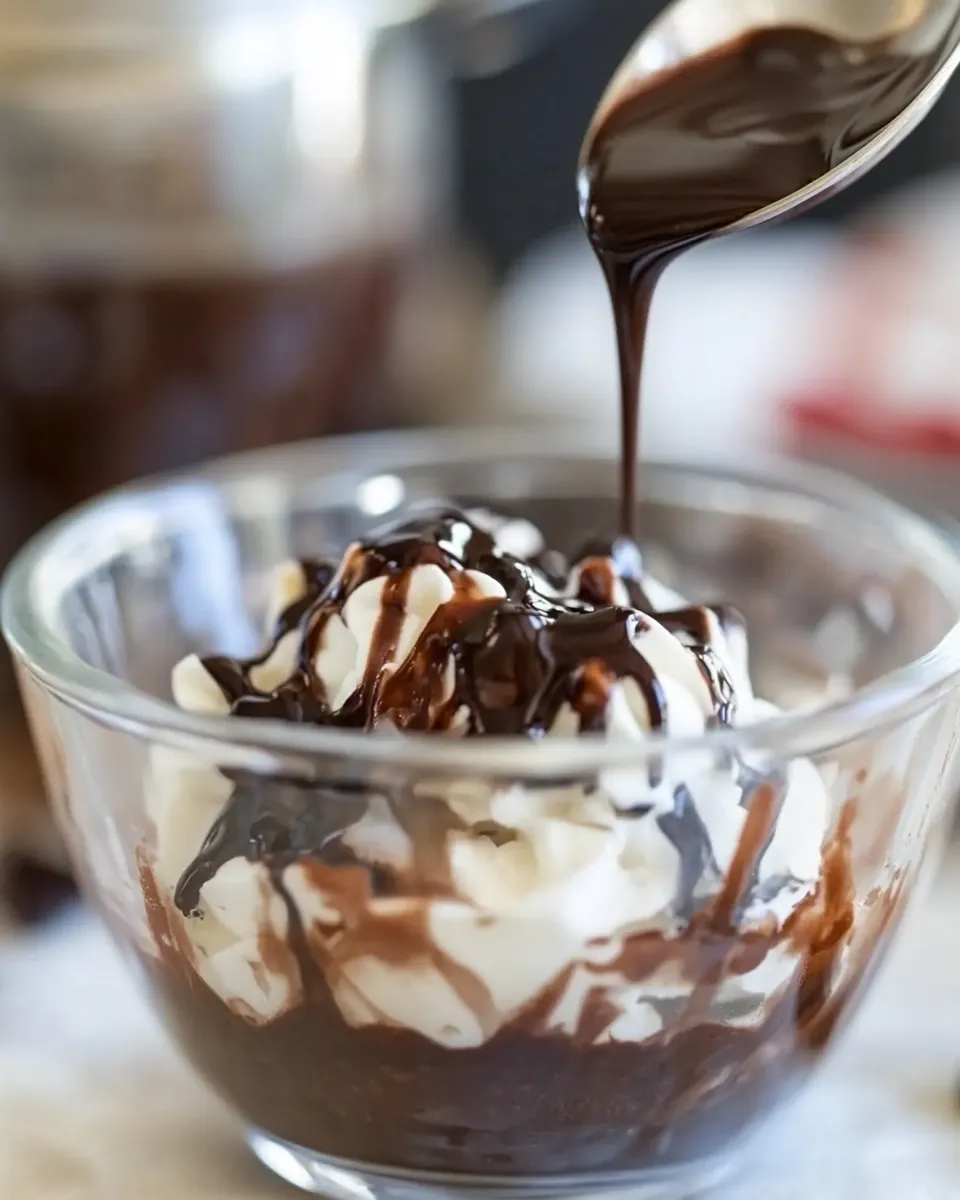
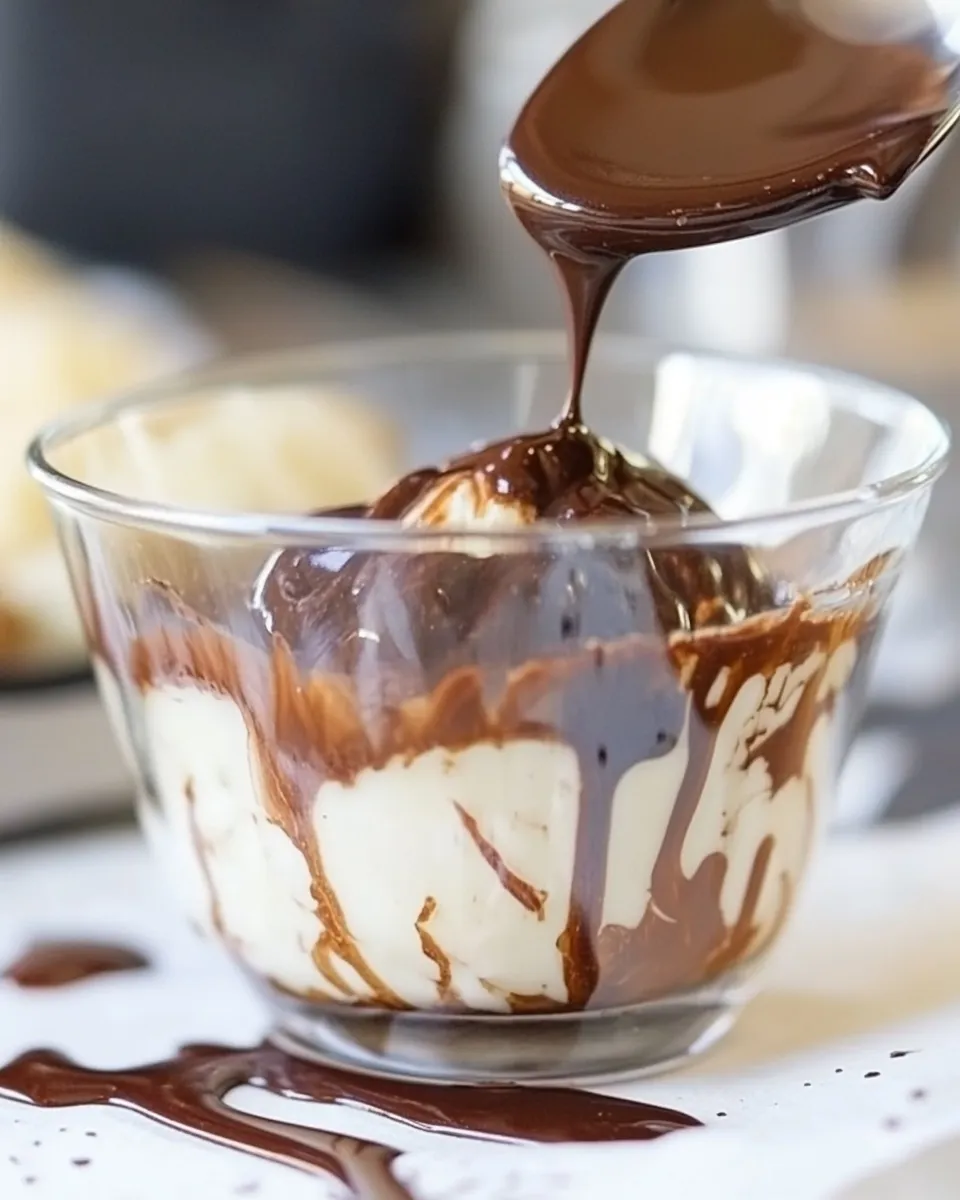
Easy Homemade Chocolate Syrup Recipe
I make this chocolate syrup on loop in my kitchen. It’s the kind of pantry staple that fixes a sad bowl of vanilla ice cream, rescues a rushed latte, and elevates a simple batch of pancakes without drama. The flavor is straightforward: deep cocoa, honest sweetness, and a touch of vanilla to round everything out.
You’ll be in and out of the kitchen in about ten minutes. The method is forgiving; the syrup thickens as it cools, so don’t panic if it looks runny while it’s still hot. I’ll walk you through the small details that keep it smooth and glossy.
Store it in the fridge and you’ll thank yourself every morning for having this on hand. I’ll cover equipment, common missteps, storage, and a few practical swaps and tips so you can tailor it to your routine.
What You’ll Gather
Gather these basic pantry items and a small saucepan. The recipe is intentionally minimal: cocoa, sugar, water, salt, and vanilla. No cream, no butter, no special tools required.
Ingredients
- 1 cup good quality unsweetened cocoa powder — provides the chocolate backbone; choose Dutch-processed or natural depending on the depth of flavor you prefer.
- 1 cup granulated sugar* — balances the bitterness; dissolve it fully for a smooth syrup.
- 1 cup cold water — hydrates the cocoa and brings the syrup together; start with cold to help dissolve sugar and cocoa evenly.
- 1/2 teaspoon kosher salt (or to taste) — brightens and balances the sweetness; adjust slightly after tasting.
- 1 tablespoon pure vanilla extract — adds warmth and rounds the chocolate flavor; stir in off the heat to preserve aroma.
Homemade Chocolate Syrup Recipe Cooking Guide
- In a medium saucepan, whisk together 1 cup unsweetened cocoa powder and 1 cup granulated sugar until evenly blended and free of lumps.
- Add 1 cup cold water and 1/2 teaspoon kosher salt (or adjust to taste). Whisk until the mixture is smooth.
- Place the saucepan over medium heat. Whisk constantly and bring the mixture to a gentle boil. Once it starts to boil, continue whisking and cook for about 3 minutes, until it begins to thicken. (The syrup will be fairly thin while hot and will thicken as it cools.)
- Remove the pan from the heat and stir in 1 tablespoon pure vanilla extract until fully incorporated.
- Allow the syrup to cool to room temperature. Taste and, if desired, while the syrup is still warm, stir in additional granulated sugar or a little more kosher salt a small amount at a time until it reaches your preferred sweetness and seasoning.
- Transfer the cooled syrup to an airtight glass container and refrigerate. The syrup will keep in the refrigerator for at least one month.
What You’ll Love About This Recipe
It’s fast. From start to finish you’ll spend roughly ten minutes at the stove. No simmering for an hour, no tempering, no special chocolate to buy.
The flavor is clean and chocolate-forward. Because the recipe uses pure cocoa powder and vanilla, it reads like chocolate in its most honest form—no dairy to mute the cocoa.
Versatility. Use it for drinks, desserts, drizzling, or folding into batters. It’s a multi-tasker that reduces food waste because it keeps well and enhances simple things.
Vegan & Vegetarian Swaps

This recipe is naturally vegetarian and can be vegan as long as your granulated sugar is processed in a vegan-friendly way. The ingredient list contains no dairy or animal products.
If you have specific dietary concerns about sugar processing, choose a sugar explicitly labeled vegan or use a sugar product you trust. The rest of the ingredients—cocoa, water, salt, vanilla—are already compatible with vegan diets.
Equipment Breakdown
- Medium saucepan — heats gently and gives you room to whisk without splashing.
- Whisk — essential for removing lumps and keeping the mixture smooth as it cooks.
- Measuring cups and spoons — accurate measures keep texture consistent from batch to batch.
- Heatproof spatula — helpful for scraping the sides and transferring syrup into containers.
- Airtight glass container — glass holds flavor well and is safe for refrigeration.
Learn from These Mistakes
- Not whisking enough at the start — cocoa powder can clump. Whisk the dry ingredients well before adding water so the cocoa disperses evenly.
- Using high heat — bring to a gentle boil and keep whisking. High heat can scorch the cocoa and make the syrup taste bitter.
- Judging thickness while hot — the syrup thins when hot and thickens as it cools. If you overcook trying to reach a specific thickness, it can become too viscous once chilled.
- Skipping the vanilla off heat — adding vanilla while the pan is off preserves its aroma. Boiling vanilla reduces its fragrant notes.
- Storing in a warm container — transfer to a clean, cool glass container. Warm containers can speed spoilage and affect texture.
Make It Your Way
Want it sweeter or saltier? The recipe recommends tasting while the syrup is still warm and adding small amounts of sugar or salt to adjust. Do this gradually so you don’t overshoot your preferred balance.
If you like a thinner syrup for drinks, use it straight from the pot while it’s still warm. For a thicker drizzle, chill it first. Because the base is simple, minor adjustments like extra vanilla for warmth or a tiny pinch more salt for contrast will make a noticeable difference.
Cook’s Notes
Use good-quality cocoa powder. It makes a difference. Natural cocoa and Dutch-processed cocoa behave differently in baked goods, but for syrup, both work; Dutch will taste smoother and less acidic.
Whisk continuously as you heat. Cocoa plus sugar plus water can form a paste at the bottom if left unattended. A steady whisk prevents sticking and keeps the syrup silky.
When stirring in extra sugar to sweeten, let it dissolve fully while still warm. Undissolved sugar will crystallize in the fridge and create a grainy texture.
Save for Later: Storage Tips
Transfer the cooled syrup to an airtight glass container. A clean jar with a tight lid is ideal. Refrigerate promptly.
The syrup will keep in the refrigerator for at least one month. Before each use, give it a quick stir or shake; it may settle or thicken slightly in the cold.
If the syrup thickens more than you’d like after refrigeration, warm a small amount gently in the microwave or in a small saucepan until it loosens—do this briefly, and stir before using.
Questions People Ask
- How long does this syrup last? At least one month refrigerated, stored in an airtight glass container.
- Will it thicken as it cools? Yes. It will be fairly thin while hot and will thicken as it cools to room temperature and then chill.
- Can I use milk instead of water for a richer syrup? The recipe uses water to keep the syrup shelf-stable in the fridge. If you use milk, store and consume it more quickly and keep in mind the texture and storage expectations will change.
- My syrup is grainy. What happened? Graininess usually comes from undissolved sugar. When adjusting sweetness, stir in sugar while the syrup is still warm and allow it to dissolve fully.
- Can I double the recipe? Yes. Use a larger saucepan and keep the method the same. Stay attentive while whisking, especially as volume increases.
Time to Try It
Make a batch this weekend. Keep the cookware simple and the technique steady: whisk, heat gently, taste, and store. You’ll have a multipurpose chocolate syrup that improves breakfasts, desserts, and drinks with almost no effort.
Come back and tweak it for your household—more vanilla, a tad more salt, or a warmer cocoa if that’s your thing. Practical, fast, and reliably delicious. Let me know how you use it—I love hearing new ideas for drizzles and mix-ins.
Easy Homemade Chocolate Syrup Recipe
Ingredients
Equipment
Method
- In a medium saucepan, whisk together 1 cup unsweetened cocoa powder and 1 cup granulated sugar until evenly blended and free of lumps.
- Add 1 cup cold water and 1/2 teaspoon kosher salt (or adjust to taste). Whisk until the mixture is smooth.
- Place the saucepan over medium heat. Whisk constantly and bring the mixture to a gentle boil. Once it starts to boil, continue whisking and cook for about 3 minutes, until it begins to thicken. (The syrup will be fairly thin while hot and will thicken as it cools.)
- Remove the pan from the heat and stir in 1 tablespoon pure vanilla extract until fully incorporated.
- Allow the syrup to cool to room temperature. Taste and, if desired, while the syrup is still warm, stir in additional granulated sugar or a little more kosher salt a small amount at a time until it reaches your preferred sweetness and seasoning.
- Transfer the cooled syrup to an airtight glass container and refrigerate. The syrup will keep in the refrigerator for at least one month.
Notes
Consistency Tips
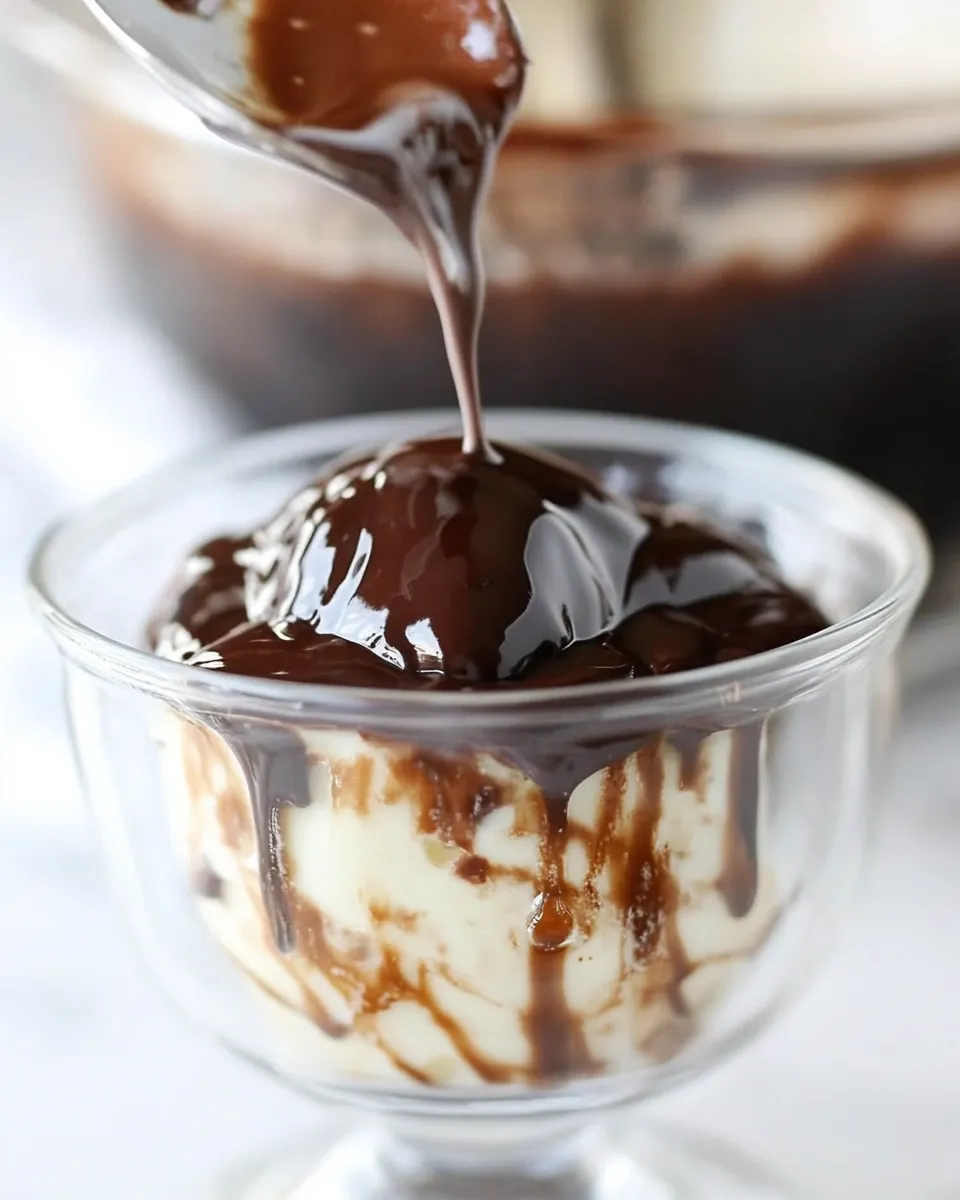
If it’s too thick, it cooked for too long. Try cooking for less time. If your current batch has thickened up too much, try heating the sauce gently and thin with a bit of water. If your syrup appears too thin, try cooking it for a bit longer, but if it’s coating the back of your spoon it’s probably the right consistency. Remember, it thickens a lot once it cools.
*Sugar/Sweetness Notes
Recipe as written makes a nice, dark, slightly less sweet chocolate sauce. Add up to 1/2 cup more sugar for a sweeter syrup. If you add the sugar after cooking the syrup, be sure to taste your chocolate syrup while it’s still warm and if it’s not quite as sweet as you’d like, add some more sugar, a couple of tablespoons at a time, until it’s sweet enough for you. Be sure to let it cook a bit more so that the sugar dissolves!
Storage Tips
Store syrup in an airtight glass container in the refrigerator. The syrup should keep, refrigerated, for at least a month. I haven’t yet tried freezing/thawing this homemade chocolate syrup, but I think it would work fine.
I have had readers ask if they can can this recipe, and my answer is that I wouldn’t do it, just because you have to be really careful what you preserve via canning. I’m not sure the pH for the chocolate syrup would make it a safe candidate.