Fat Witch Brownies
These brownies are the kind I make when friends call and say, “Bring something dangerously chocolatey.” The recipe is straightforward, but the finish is what earns the grin: crackly top, fudgy center, and an aroma that announces itself before you walk in the door. I like them warm from the pan, but they also slice neatly once cooled.
I keep this version faithful to the original proportions because small changes here alter the texture in ways that matter. The method is forgiving if you follow the rhythm: melt, whisk, fold, bake, cool. No standing over a mixer or complex temperature tricks — just attention to heat and timing.
Below you’ll find exactly what I use, the full step-by-step method, and practical tips for predictable results. If you’re short on time, there are pointers here to avoid a last-minute run to the store and ways to rescue a brownie that looks like it’s going sideways.
What We’re Using

Ingredients
- 14 Tbsp unsalted butter — fat and flavor; melt gently to avoid scorching.
- 10 Tbsp bittersweet chocolate chips (Ghiradelli) — adds deep chocolate flavor and glossy texture when melted with butter.
- 1¼ cups sugar — provides sweetness and helps form the crackly top.
- 4 large eggs — give structure and fudgy chew; room temperature helps emulsify.
- 1 tsp vanilla extract — rounds the chocolate and lifts flavor.
- 10 Tbsp unbleached all-purpose flour — the minimal flour keeps these brownies dense and fudgy.
- pinch of salt — balances sweetness and enhances chocolate notes.
Make Fat Witch Brownies: A Simple Method
- Preheat oven to 350°F. Grease and flour a 9-inch square pan, tapping out any excess flour.
- In a small saucepan over low heat, melt 14 Tbsp unsalted butter and 10 Tbsp bittersweet chocolate chips, stirring frequently until smooth. Remove from heat and let cool until warm and no longer hot to the touch.
- In a medium bowl, whisk together 1¼ cups sugar, 4 large eggs, and 1 tsp vanilla extract until thoroughly combined and slightly thickened.
- Stir the cooled chocolate-butter mixture into the egg-sugar mixture until evenly blended.
- Sift 10 Tbsp unbleached all-purpose flour and a pinch of salt over the chocolate mixture. Using a rubber spatula or spoon, fold gently until just combined and no dry streaks remain.
- Spread the batter evenly into the prepared pan and smooth the top.
- Bake for 33 minutes, or until a toothpick inserted near the center comes out with moist crumbs but no wet batter.
- Remove from the oven and cool in the pan on a wire rack for 1 hour. Cut into 16 squares.
What You’ll Love About This Recipe
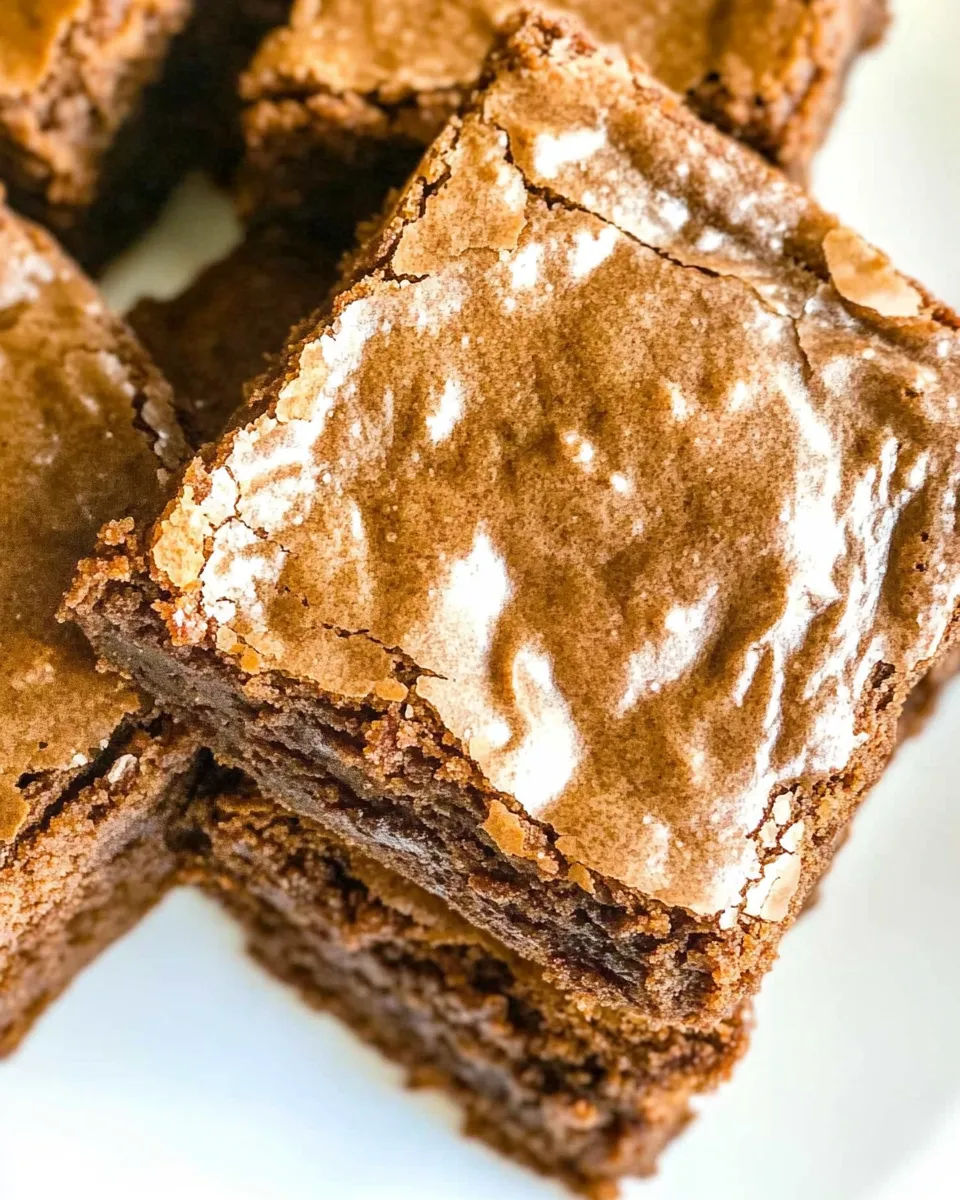
This recipe balances intense chocolate with a dense, fudgy crumb — not cakey, not runny. The cracked surface that develops during baking gives a professional look without extra fuss. Because the flour is minimal and eggs do a lot of the structural work, you get that beloved chew that holds together when you pick up a square.
It’s also very forgiving. Melted chocolate and butter are combined off the heat and cooled slightly before they meet the eggs, which lowers the risk of scrambling. The mixing is gentle and brief; overworking the batter is the main enemy, so this method sets you up for success.
No-Store Runs Needed
Most of the ingredients are pantry staples: sugar, flour, eggs, butter, salt. If you have bittersweet or semisweet chocolate chips, either will work here — Ghiradelli is noted for its consistent flavor, but use what you have. Vanilla is optional if you’re out; the brownies will still be chocolate-forward without it.
If you’re missing chocolate chips but have a chocolate bar, chop it finely and melt it with the butter. If your butter is salted, reduce the added pinch of salt or omit it entirely; the recipe’s salt mention is minimal, so taste afterward if you’re unsure.
Before You Start: Equipment
- 9-inch square baking pan — the recipe is calibrated for this size to achieve the fudgy center.
- Small saucepan — for gently melting butter and chocolate.
- Medium mixing bowl — for whisking eggs and sugar.
- Rubber spatula or spoon — for folding the flour in without overmixing.
- Sieve or sifter — to sift the flour and keep the batter lump-free.
- Wire rack — to cool the pan evenly after baking.
- Toothpick — for the doneness test near the center of the pan.
Problems & Prevention
Common issues and how to avoid them
- Dry, cakey brownies — Usually caused by overbaking or too much flour. Stick closely to the 33-minute guideline and the toothpick test: you want moist crumbs, not wet batter.
- Curdled texture after adding chocolate — That happens if the chocolate-butter mixture is too hot when combined with the eggs. Let it cool until only warm to the touch.
- Soggy center — Underbaking or a cold spot in the oven can be the culprit. Rotate the pan halfway through baking if your oven runs hot or has uneven heat.
- Stuck brownies — Make sure the pan is greased and floured well, tapping out excess flour. If you prefer, line the pan with parchment, leaving an overhang for easy removal.
Variations for Dietary Needs
Because this recipe is short on ingredients, making swaps is straightforward but worth doing carefully. For dairy-free needs, choose a high-quality plant-based butter and make sure the chocolate chips are dairy-free. Note that the texture will shift slightly because dairy-free butters often have different water content.
If you need to reduce sugar, the recipe will behave differently; sugar affects not only sweetness but also texture and the shiny top. For nut-free households, keep the recipe as-is and avoid adding any mix-ins. Gluten-free adaptations are possible with a 1:1 gluten-free flour blend, but results vary by blend; expect the crumb to be a touch denser.
Notes on Ingredients
Use good-quality chocolate for the best flavor payoff; the bittersweet chips are doing a lot of the heavy lifting here. The eggs contribute both moisture and structure, so large eggs at room temperature will mix more evenly with the melted chocolate mixture.
Flour is purposely minimal. Ten tablespoons of unbleached all-purpose flour preserves a fudgy texture. If you substitute with whole wheat or alternative flours, the crumb will change — proceed only if you understand the likely result.
Store, Freeze & Reheat
Storing
Once cooled and cut, store brownies in an airtight container at room temperature for up to 3 days. If you like the surface to remain slightly crisp, place a sheet of parchment between layers and avoid refrigeration.
Freezing
To freeze, wrap individual squares tightly in plastic wrap and place them in a zip-top bag or airtight container. They keep well in the freezer for up to 2 months. Thaw at room temperature for about an hour or unwrap and warm gently in a low oven.
Reheating
For that just-baked feeling, warm a square in a 300°F oven for 5–8 minutes or microwave for 12–18 seconds (times will vary by microwave). If you prefer a gooey center, warm longer at a lower temperature to avoid drying out the edges.
Reader Questions
Q: Can I use cocoa powder instead of chocolate chips? A: This recipe relies on melted chocolate for fat and body, so subbing straight cocoa will change the texture and require added fat. I don’t recommend a direct swap without adapting fat and sugar ratios.
Q: Why fold the flour instead of mixing vigorously? A: Folding preserves the dense, fudgy structure. Overmixing develops gluten, which leads to a cakier brownie — not what this recipe aims for.
Q: Can I bake in an 8-inch pan for thicker brownies? A: Yes, they’ll be thicker and may need additional baking time. Watch the toothpick test and expect a few extra minutes; check at 33 minutes and then every 3–4 minutes after.
Save & Share
If these brownies become your go-to, make a double batch for potlucks and neighborhood gatherings — they travel well when wrapped in parchment and stacked in a secure container. Share the recipe link, or better, bring a pan. Nothing says “I’m thinking of you” like handing over a warm square straight from the oven.
Pin this page for later, or save it to your recipe file. If you try the recipe, come back and tell me what you did differently, or what oven quirks you worked around. I read every comment and love hearing about the small adjustments that make a recipe feel like yours.
Fat Witch Brownies
Ingredients
Equipment
Method
- Preheat oven to 350°F. Grease and flour a 9-inch square pan, tapping out any excess flour.
- In a small saucepan over low heat, melt 14 Tbsp unsalted butter and 10 Tbsp bittersweet chocolate chips, stirring frequently until smooth. Remove from heat and let cool until warm and no longer hot to the touch.
- In a medium bowl, whisk together 1¼ cups sugar, 4 large eggs, and 1 tsp vanilla extract until thoroughly combined and slightly thickened.
- Stir the cooled chocolate-butter mixture into the egg-sugar mixture until evenly blended.
- Sift 10 Tbsp unbleached all-purpose flour and a pinch of salt over the chocolate mixture. Using a rubber spatula or spoon, fold gently until just combined and no dry streaks remain.
- Spread the batter evenly into the prepared pan and smooth the top.
- Bake for 33 minutes, or until a toothpick inserted near the center comes out with moist crumbs but no wet batter.
- Remove from the oven and cool in the pan on a wire rack for 1 hour. Cut into 16 squares.