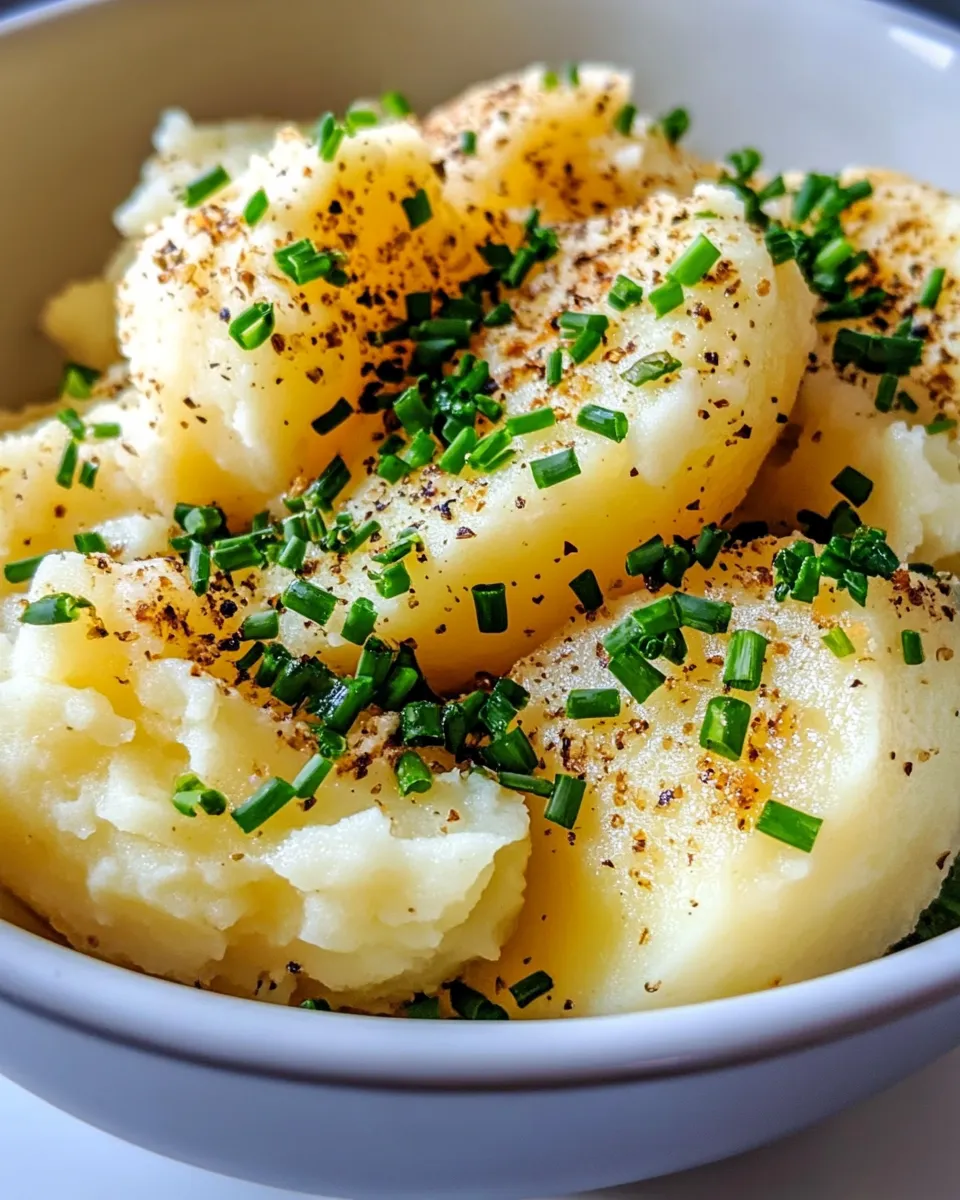
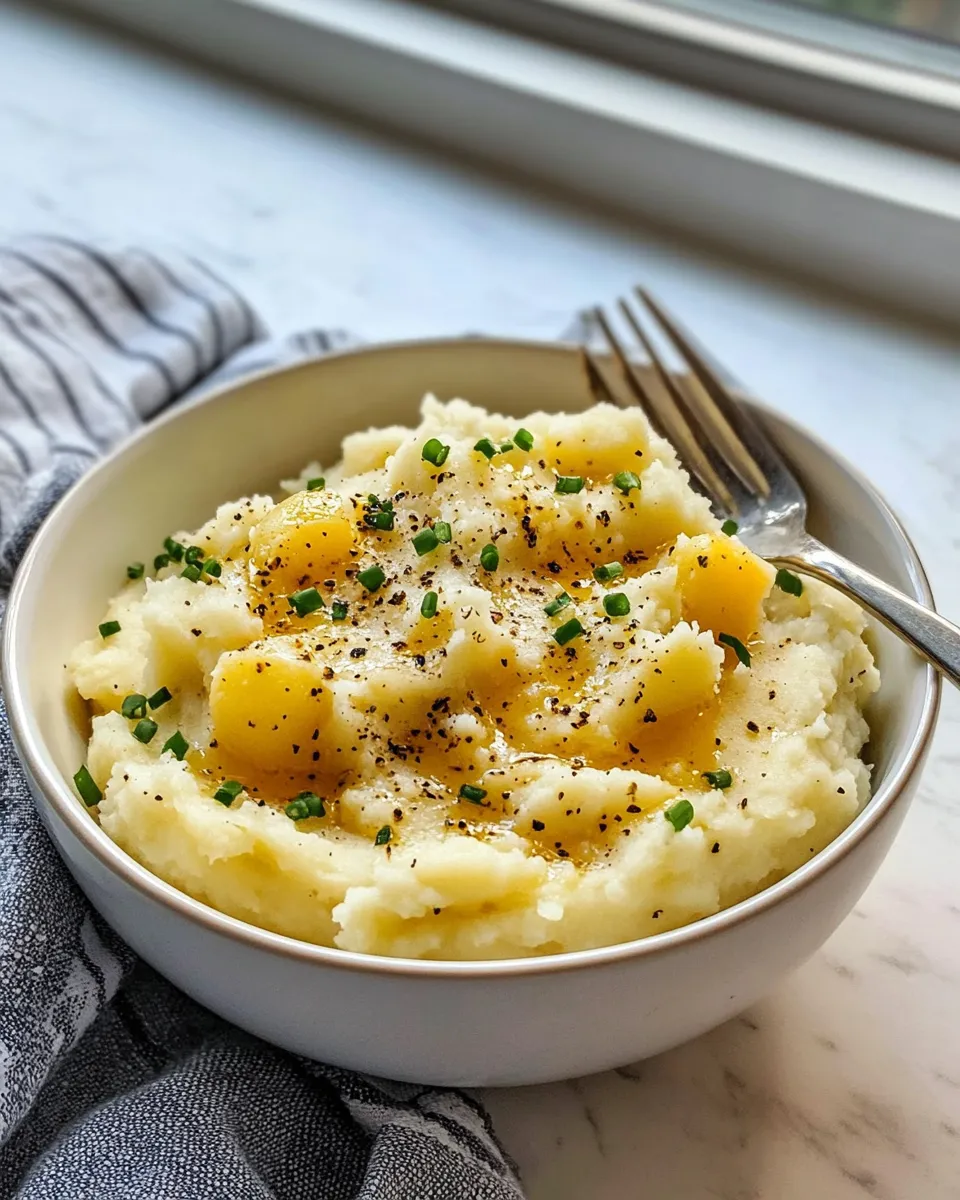
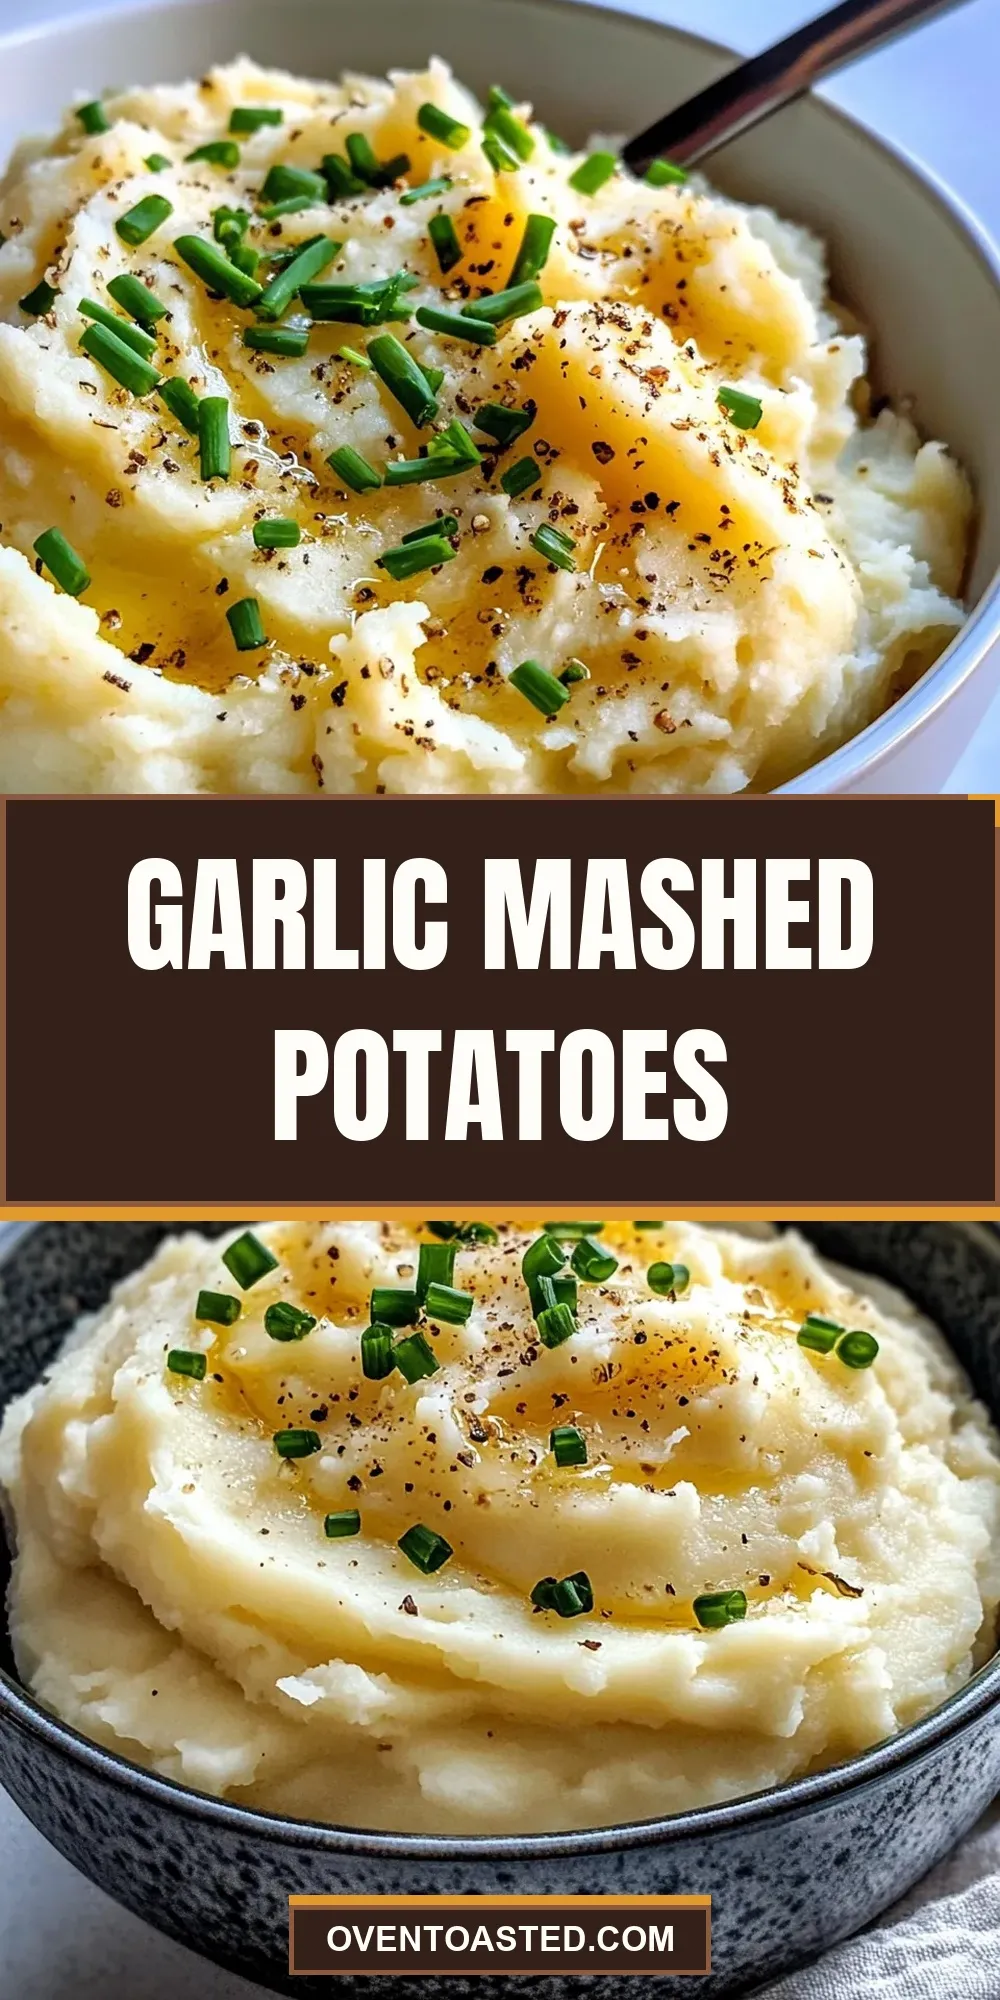
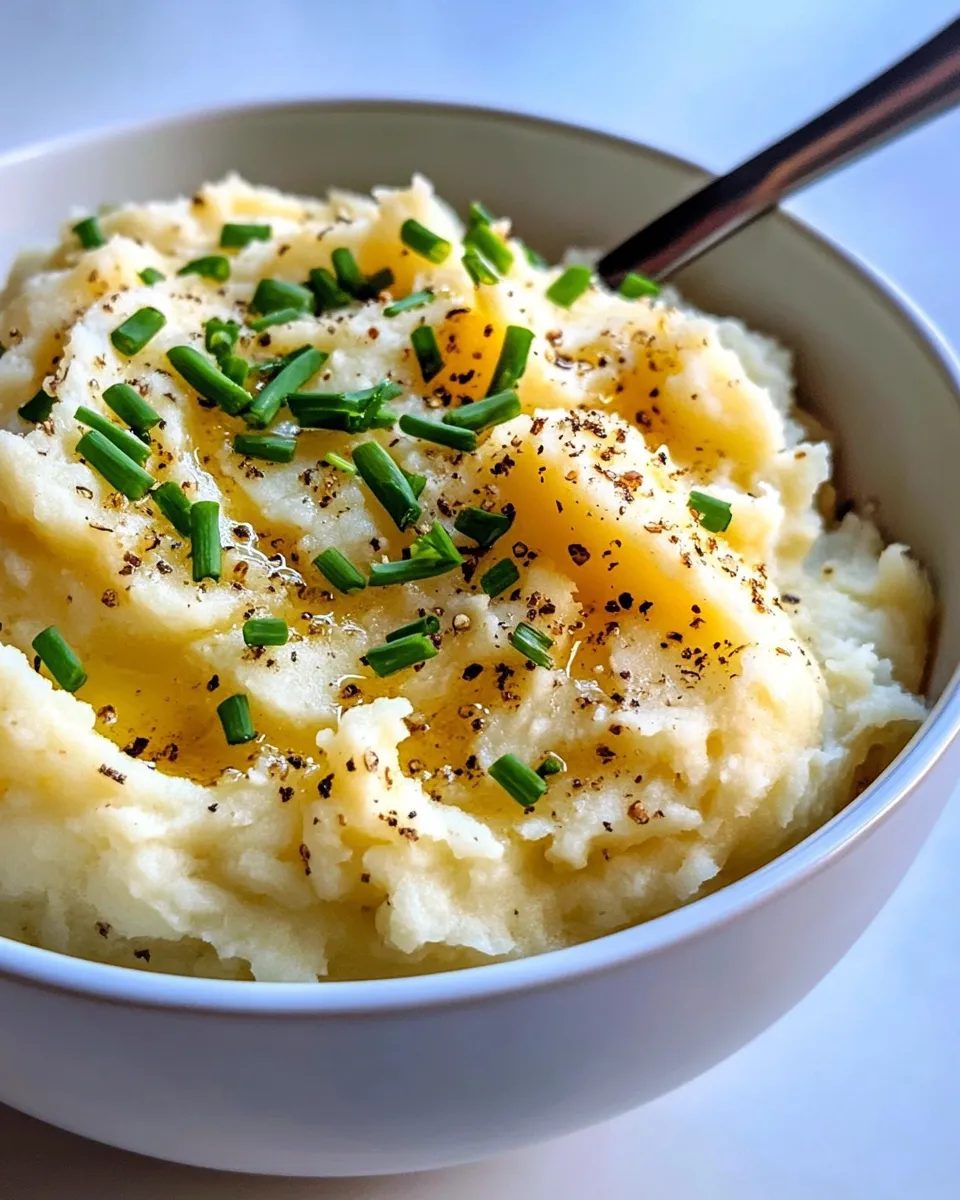
Garlic Mashed Potatoes
These garlic mashed potatoes are the kind of side dish that both comforts and elevates a meal. Roasting the whole garlic bulb pulls out sweet, caramelized flavor that melts into the potatoes. The texture is creamy without being greasy, and the olive oil keeps the taste bright.
I like this recipe because it’s straightforward and forgiving. You can roast the garlic while the potatoes simmer, and the two come together quickly at the finish. No need for heavy creams or obscure ingredients — just good potatoes, olive oil, salt, and pepper.
Follow the steps below exactly as written for a reliably tasty result. I’ll also walk through practical swaps, common mistakes to avoid, and how to store and reheat leftovers so nothing goes to waste.
Ingredients at a Glance

- 1 whole garlic bulb — the star for deep roasted garlic flavor; roast whole for sweetness and spreadability.
- Extra virgin olive oil, for drizzling — used to roast the garlic and finish the potatoes; adds richness and shine.
- Sea salt — a finishing and general seasoning; some is used in cooking water, and some in the potatoes.
- 2 pounds Yukon gold or butterball potatoes, peeled — choose waxy-to-all-purpose potatoes for a naturally creamy texture.
- 2 teaspoons sea salt, divided — one teaspoon goes in the cooking water; the rest seasons the mashed potatoes.
- ⅓ cup extra-virgin olive oil — part is used for drizzling the garlic, the remainder is folded into the potatoes for creaminess.
- Freshly ground black pepper — to taste; a final grind brightens the finished dish.
- Butter, optional for serving — optional for a richer finish if you prefer dairy.
- Chopped chives and/or rosemary, optional for sprinkling — simple herbs for color and a fresh note at service.
Garlic Mashed Potatoes: Step-by-Step Guide
- Preheat the oven to 350°F.
- Prepare and roast the garlic: Trim about 1/4 inch off the top of the garlic bulb to expose the tops of the cloves. Place the bulb cut-side up on a piece of foil. Drizzle the exposed cut surface with some of the 1/3 cup extra-virgin olive oil from the ingredient list and sprinkle with a little of the 2 teaspoons sea salt (reserve the remaining oil and salt for the potatoes). Wrap the garlic bulb tightly in the foil and roast in the preheated oven for 40 to 60 minutes, until the cloves are deeply golden brown and very tender. Remove from the oven and let cool until you can handle it.
- While the garlic roasts, cook the potatoes: Cut the peeled potatoes into even 1–2 inch chunks so they cook evenly. Place the potatoes in a large pot, add 1 teaspoon of the 2 teaspoons sea salt, and add cold water to cover the potatoes by about 1 inch. Bring to a boil, then reduce to a simmer and cook until the potatoes are fork-tender, about 15–25 minutes (depending on size).
- Drain and reserve cooking liquid: Drain the cooked potatoes into a colander, reserving 1 cup of the potato cooking liquid. Return the potatoes to the pot or place them into a large bowl for mashing.
- Make the roasted garlic paste: Unwrap the cooled roasted garlic, squeeze or scoop the softened cloves from their skins into a small bowl, and mash the cloves into a smooth paste with the back of a knife or a small masher.
- Mash and finish the potatoes: Use a ricer or potato masher to mash the potatoes until smooth or to your desired texture. Fold in the roasted garlic paste, the remaining extra-virgin olive oil from the 1/3 cup in the ingredients, 1/2 cup of the reserved potato cooking liquid, and the remaining 1 teaspoon of the 2 teaspoons sea salt. Add freshly ground black pepper to taste. Continue folding until the mixture is creamy, adding up to the remaining 1/2 cup of reserved cooking liquid a little at a time if you prefer softer, creamier potatoes.
- Serve: Transfer the mashed potatoes to a serving dish and serve hot. If desired, top with butter and sprinkle with chopped chives and/or rosemary and additional freshly ground black pepper.
What You’ll Love About This Recipe
First, the flavor. Roasting the garlic transforms its sharp raw bite into something sweet, nutty, and deeply savory that melds with the potatoes. It’s a gentle garlic; it never overpowers the dish.
Second, the texture. Yukon gold and butterball potatoes give you natural creaminess without the need for heavy cream. The reserved cooking liquid lets you dial in the consistency — a little at a time — so you get exactly the mouthfeel you want.
Third, practicality. You can roast the garlic while the potatoes cook, which saves active time. The steps are reliable and repeatable, which makes this a go-to for weeknights and holidays alike.
Substitutions by Category
If you need to swap, keep it simple and stick to ingredients already in this recipe when possible.
- Potatoes: The recipe lists Yukon gold or butterball. Either yields a creamy result. If you only have one, proceed with it — the technique remains the same.
- Fat for finishing: The recipe uses extra-virgin olive oil and lists butter as optional. For a dairy-free version, rely solely on the olive oil called for in the ingredients. For a richer finish, add a pat of butter at the end (ingredient provided).
- Herb garnish: Chives and rosemary are listed. Use whichever you prefer, or omit garnish entirely — the roasted garlic carries enough flavor on its own.
- Salt and pepper: Sea salt and freshly ground black pepper are specified. Keep the salt divisions as written for balanced seasoning.
What’s in the Gear List
- Oven — for roasting the garlic bulb at 350°F.
- Aluminum foil — to wrap the garlic securely while it roasts.
- Large pot — for boiling potatoes evenly and safely.
- Colander — to drain potatoes and reserve cooking liquid.
- Potato ricer or potato masher — for the final texture; a ricer gives the smoothest result.
- Small bowl and knife or small masher — to mash the roasted garlic into a paste.
- Serving dish or bowl — to transfer and present the mashed potatoes.
Slip-Ups to Skip
Here are the common mistakes I see and how to avoid them.
- Under-roasting the garlic: If the garlic isn’t deeply golden and tender, it won’t mash into a sweet paste and will taste sharp. Roast the full 40–60 minutes.
- Uneven potato chunks: If pieces vary in size, some will overcook while others remain firm. Cut the potatoes into 1–2 inch chunks for even doneness.
- Not reserving cooking liquid: Discarding it loses starch that helps the potatoes bind and smooth out. Reserve 1 cup, then add it slowly to reach your desired creaminess.
- Overworking the potatoes: Vigorous beating can make them gluey. Mash just until smooth or to your preference; don’t treat them like cake batter.
- Salting only at the end: If you don’t season the cooking water (1 teaspoon of the divided salt), the potatoes will taste flat. Add salt to the boiling water as instructed.
Make It Year-Round
This recipe adapts to any season with simple serving changes. In winter, pair the warm, garlicky mash with roasted meats and hearty stews. In spring and summer, lighten the plate with lemon- or herb-forward mains and let the potatoes play a supportive role.
Because the core ingredients are pantry staples — potatoes, garlic, olive oil, and salt — you can make this any time. Roast the garlic a day ahead if you’re prepping for a big meal. It keeps well in the fridge and speeds assembly on the day you serve.
Cook’s Notes
Texture and tools
For the silkiest mash, a ricer is unbeatable. A hand masher gives more control for a chunkier texture. Fold in the residual cooking liquid a little at a time; stop once the potatoes move smoothly and coat the spoon.
Timing the garlic
Forty minutes may be enough for small bulbs, but allow up to 60 minutes if your bulb is large or your oven runs cool. The cloves should be deep golden and yield easily to gentle pressure.
Seasoning tips
The recipe divides the 2 teaspoons of sea salt for a reason: some seasons the cooking water and some finishes the potatoes. Taste as you go, and add freshly ground black pepper at the end for brightness.
Cooling, Storing & Rewarming
Cool leftovers quickly by transferring the mashed potatoes to a shallow container. Refrigerate within two hours of cooking and use within 3–4 days.
To rewarm: place mashed potatoes in a saucepan over low heat, add a splash of the reserved cooking liquid or a little extra-virgin olive oil from the recipe, and stir gently until heated through. If you prefer butter, add a knob while warming. Avoid high heat — it can dry them out.
Freezing is possible but changes texture. If you must freeze, pack into an airtight container and freeze for up to 1 month. Thaw overnight in the refrigerator before reheating as above.
Quick Q&A
Can I roast more garlic at once? Yes. Roast additional bulbs exactly the same way; mashed cloves store covered in the fridge for a few days.
What if my potatoes are gluey? That usually means overworked. For future batches, mash gently and stop as soon as they’re smooth. You can revive slightly gluey potatoes by stirring in a little olive oil and reserved cooking liquid to loosen them.
Can I skip peeling the potatoes? The recipe calls for peeled potatoes. If you prefer the texture and flavor of skins, you can leave them on, but the result will be more rustic and may be less uniformly smooth.
Can I make this ahead? Yes. You can make through step 6, cool, and refrigerate. Rewarm gently with a splash of reserved cooking liquid or olive oil and finish with any optional butter or herbs at service.
See You at the Table
These garlic mashed potatoes hit the right notes every time: sweet roasted garlic, simple seasoning, and a texture you control with the reserved cooking liquid. They’re dependable for weeknights, and elegant enough for company when topped with butter and fresh herbs.
Make the garlic ahead if you like, but try to mash and finish the potatoes close to serving time for the best warmth and texture. Put the dish on the table, pass a bowl of chopped chives, and let everyone dig in.
Garlic Mashed Potatoes
Ingredients
Equipment
Method
- Preheat the oven to 350°F.
- Prepare and roast the garlic: Trim about 1/4 inch off the top of the garlic bulb to expose the tops of the cloves. Place the bulb cut-side up on a piece of foil. Drizzle the exposed cut surface with some of the 1/3 cup extra-virgin olive oil from the ingredient list and sprinkle with a little of the 2 teaspoons sea salt (reserve the remaining oil and salt for the potatoes). Wrap the garlic bulb tightly in the foil and roast in the preheated oven for 40 to 60 minutes, until the cloves are deeply golden brown and very tender. Remove from the oven and let cool until you can handle it.
- While the garlic roasts, cook the potatoes: Cut the peeled potatoes into even 1–2 inch chunks so they cook evenly. Place the potatoes in a large pot, add 1 teaspoon of the 2 teaspoons sea salt, and add cold water to cover the potatoes by about 1 inch. Bring to a boil, then reduce to a simmer and cook until the potatoes are fork-tender, about 15–25 minutes (depending on size).
- Drain and reserve cooking liquid: Drain the cooked potatoes into a colander, reserving 1 cup of the potato cooking liquid. Return the potatoes to the pot or place them into a large bowl for mashing.
- Make the roasted garlic paste: Unwrap the cooled roasted garlic, squeeze or scoop the softened cloves from their skins into a small bowl, and mash the cloves into a smooth paste with the back of a knife or a small masher.
- Mash and finish the potatoes: Use a ricer or potato masher to mash the potatoes until smooth or to your desired texture. Fold in the roasted garlic paste, the remaining extra-virgin olive oil from the 1/3 cup in the ingredients, 1/2 cup of the reserved potato cooking liquid, and the remaining 1 teaspoon of the 2 teaspoons sea salt. Add freshly ground black pepper to taste. Continue folding until the mixture is creamy, adding up to the remaining 1/2 cup of reserved cooking liquid a little at a time if you prefer softer, creamier potatoes.
- Serve: Transfer the mashed potatoes to a serving dish and serve hot. If desired, top with butter and sprinkle with chopped chives and/or rosemary and additional freshly ground black pepper.
Notes
*Note: the roasted garlic can be made up to 3 days in advance and stored in the fridge until ready to use.