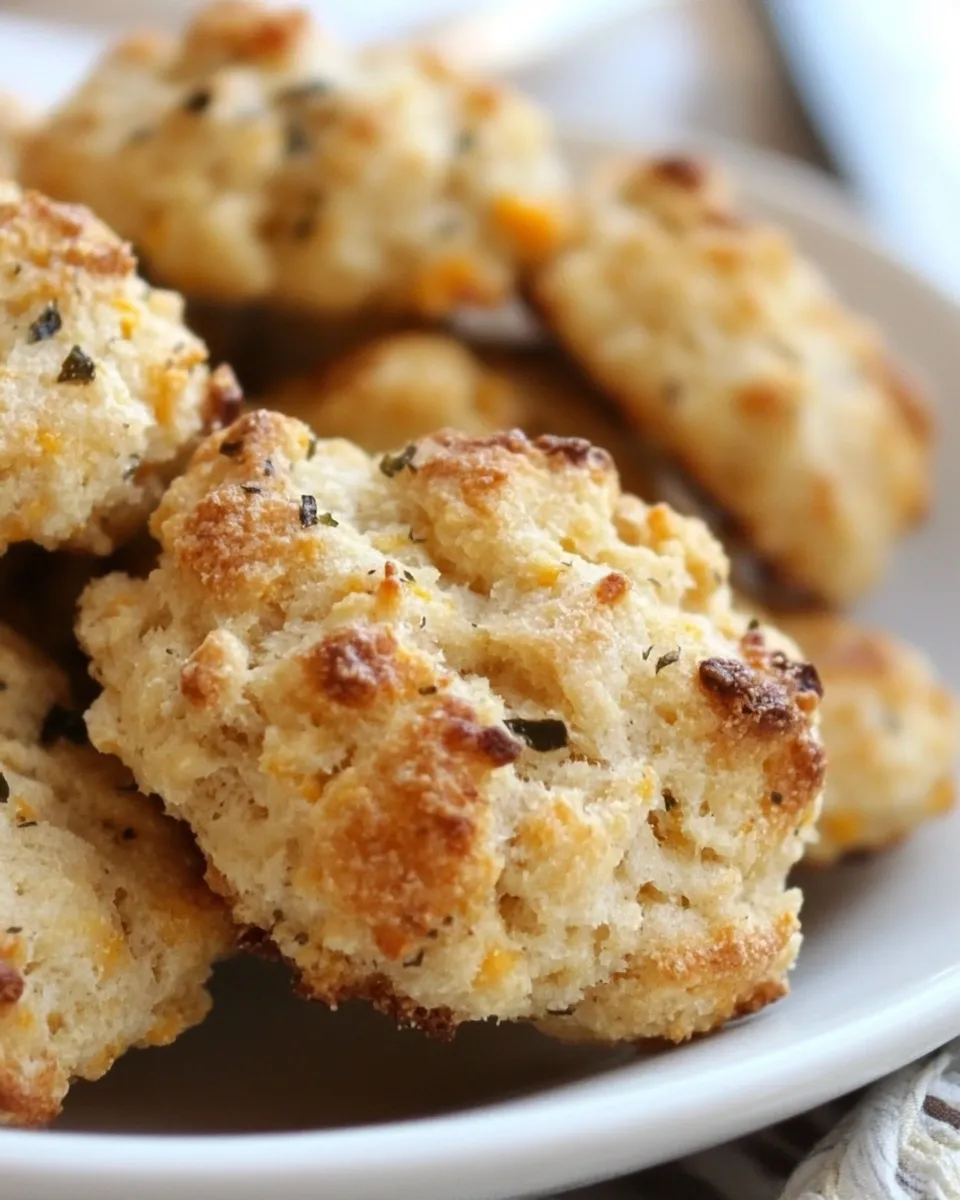
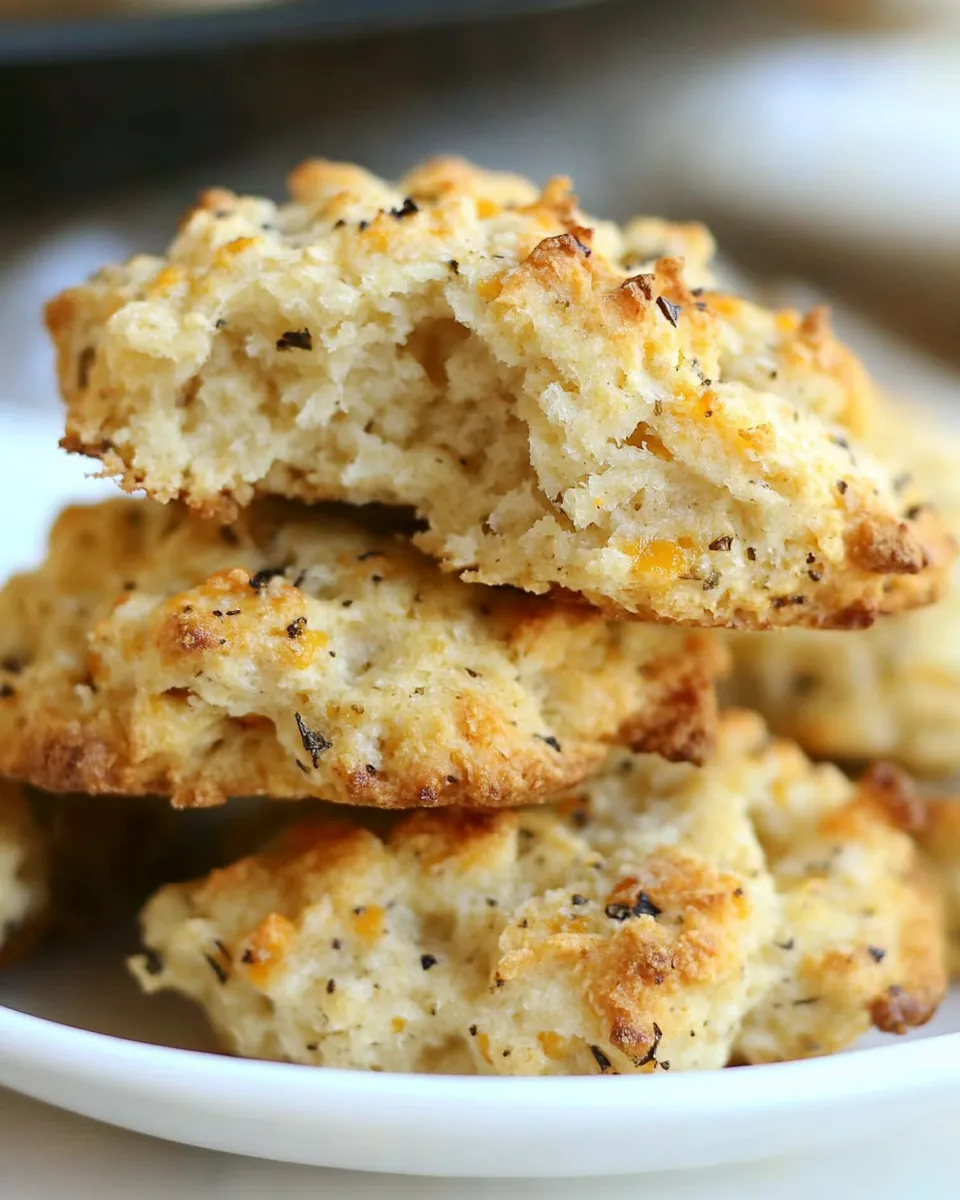
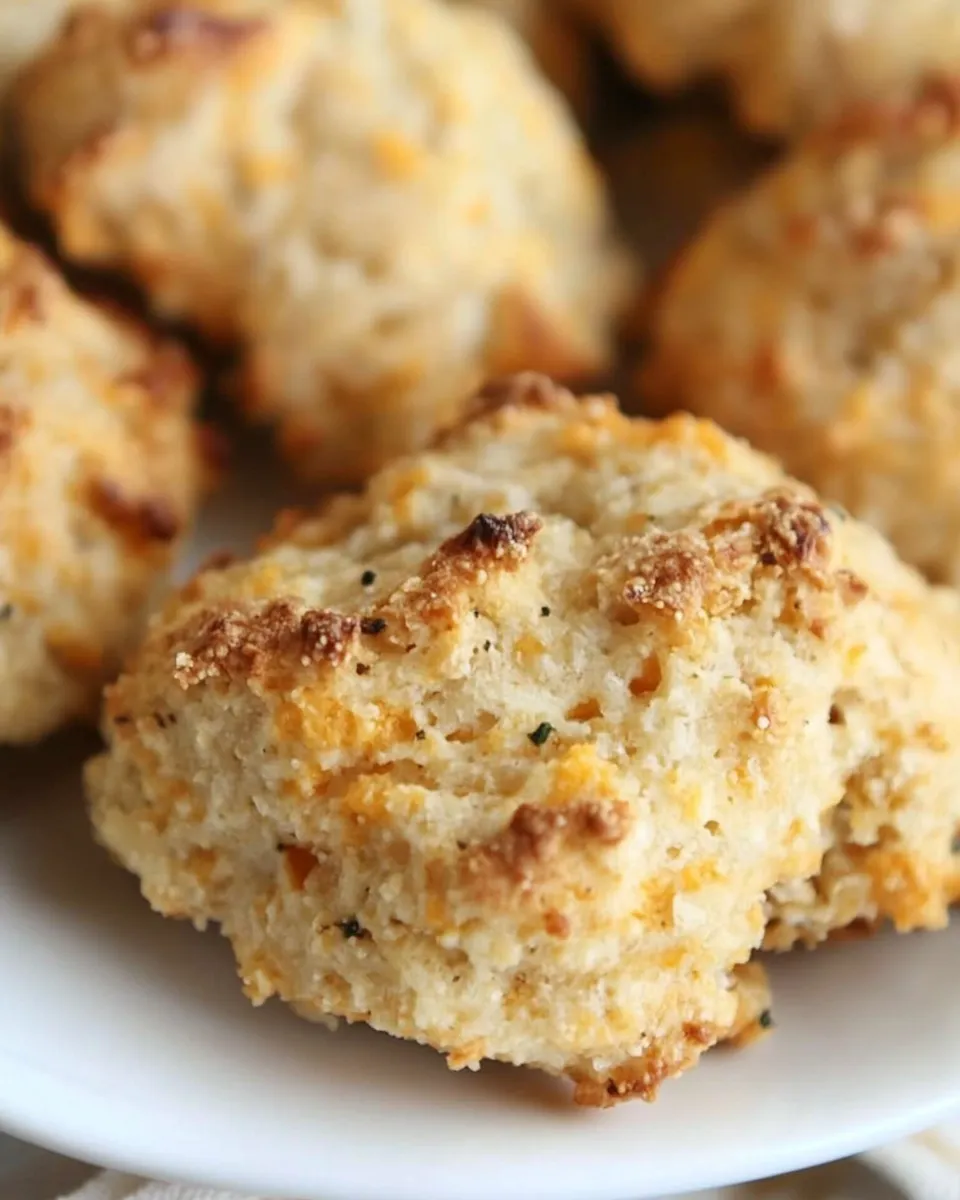
Gluten-Free Cheddar Bay Biscuits
These biscuits are the recipe I turn to when I want something flaky, savory, and impossibly easy to pull together. They’re the gluten-free version of that classic cheddar bay biscuit you crave—golden tops, cheesy interior, and a buttery garlic finish. No rolling, no complicated shaping. Just mix, spoon, bake, brush, and serve.
I’ve tested this recipe enough to know where people trip up and which small choices make the biggest difference: cold milk, cold butter, and a light hand when combining the dough. The result is a biscuit that’s tender inside with a fine crumb and enough cheddar in every bite to feel indulgent.
Below you’ll find exactly what to use, the step-by-step method I follow every time, troubleshooting tips, storage advice, and simple ways to make these fit weeknight dinners, holiday spreads, or picnic baskets. Let’s get to it—these come together fast and disappear even faster.
What We’re Using
We keep this straightforward: a gluten-free flour blend, a little sugar and leavening, sharp cheddar, and a roasted garlic & herb finishing butter that does double duty—folded into the dough and brushed on at the end. The equipment is minimal: a bowl, a pastry cutter (or forks), a baking sheet, and a spatula. If you have a silicone mat or parchment, use it—that makes cleanup and release effortless.
Ingredients
- 2 cups gluten free flour blend — I use and recommend Pamela’s; it provides structure so the biscuits aren’t crumbly.
- 2 tablespoons sugar — helps balance the savory notes and aids browning.
- 4 teaspoons baking powder — the primary leavening, gives lift and lightness.
- 1 teaspoon salt — essential for seasoning throughout.
- 1/2 teaspoon garlic powder — background garlic flavor without adding moisture.
- 3.5 oz container Private Selections Roasted Garlic & Herb Finishing Butter* (7 tablespoons) — split between the dough and brushing; it’s where the roasted garlic flavor comes from.
- 1 1/2 cups grated cheddar cheese — sharpness and melt; distributes pockets of cheesy goodness.
- 1 cup cold milk — keeps the butter bits intact while hydrating the dough; cold milk = flakier texture.
Gluten-Free Cheddar Bay Biscuits: From Prep to Plate
- Preheat oven to 400°F. Line a baking sheet with a silicone baking mat or parchment paper and set aside.
- In a large bowl, stir together the gluten-free flour blend, sugar, baking powder, salt, and garlic powder until evenly combined.
- Reserve 1 tablespoon of the roasted garlic & herb butter in a small bowl. Cut the remaining 6 tablespoons of butter into small pieces and add to the dry ingredients. Use a pastry cutter or two forks to cut the butter into the flour mixture until it resembles coarse crumbs with pea-sized pieces.
- Stir the grated cheddar cheese into the flour mixture until evenly distributed.
- Pour the cold milk into the bowl and gently mix with a spatula just until the dough is moistened and comes together. Do not overmix; the dough may be slightly sticky.
- Drop the dough by heaping spoonfuls onto the prepared baking sheet, leaving space between each biscuit.
- Bake for 15–17 minutes, until the tops are golden and biscuits are set.
- While the biscuits are hot, melt the reserved 1 tablespoon of roasted garlic & herb butter and brush it over the tops. Serve immediately.
Why You’ll Keep Making It
Because they hit every comfort-food note without the fuss. These biscuits are fast—mixing and baking takes under 30 minutes—and they taste like something you’d get at a restaurant: buttery, garlicky tops and a tender cheddar-studded interior. They’re dependable for dinner nights when you want a quick bread to pair with soup, a big salad, or grilled protein.
They’re also forgiving. The method tolerates small timing differences and doesn’t require perfect dough handling, so they’re ideal for home cooks who want a reliable result without a lot of technique. If you’re feeding someone who needs gluten-free options, these deliver on texture and flavor without making them feel like they’re missing out.
No-Store Runs Needed

If you cook semi-regularly, you probably have everything on hand. The pantry items are staples: gluten-free flour blend, sugar, baking powder, salt, and garlic powder. Cheddar and that finishing butter are the only perishables; if you keep a block of cheddar and a tub of flavored butter in the fridge, you’re always one mixing bowl away from biscuits.
If you don’t have the roasted garlic & herb finishing butter, you can still make the biscuits—use plain salted butter in the dough and top with a small pat of butter mixed with a pinch of garlic powder and herbs at the end. But if you do have the finishing butter, it’s worth using as directed; it’s the shortcut that gives these biscuits their signature flavor.
Setup & Equipment
- Oven — preheat to 400°F for reliable browning and rise.
- Baking sheet — rimmed or flat, lined with parchment or a silicone mat to prevent sticking.
- Large mixing bowl — for dry and wet ingredient mixing.
- Pastry cutter or two forks — to cut butter into the flour; a food processor can be used carefully but isn’t necessary.
- Spatula — to fold the milk in gently.
- Measuring cups and spoons — accurate measuring helps the gluten-free flour perform consistently.
- Small bowl and brush — for reserving and melting the finishing butter for brushing.
Slip-Ups to Skip
- Overmixing the dough — mix only until the dough comes together. Overworking will make the biscuits dense.
- Using warm milk or warm butter — keep milk cold and butter cold except the reserved tablespoon for brushing. Cold fats create flakiness.
- Not reserving the finishing butter — that final brush gives the biscuits their glossy, garlicky top. Don’t skip it.
- Crowding the pan — give biscuits breathing room so they brown and set evenly. Too close together reduces crisp edges.
- Letting them sit too long before brushing — brush while hot so the butter melts into the tops and carries the garlic herb flavor.
Seasonal Adaptations
These biscuits are a great base for seasonal serving ideas without changing the recipe itself. In spring, serve them warm with a bowl of chilled cucumber or herb-yogurt dip on the side. Summer pairs well with a fresh tomato and basil salad; the biscuits stand up to bold, juicy flavors. In fall and winter, they shine alongside hearty stews, roasted vegetables, or a bowl of chili—use them to sop up any sauce.
If you want a holiday table option, keep the base biscuit as written and place a small ramekin of softened finishing butter with herbs at the center of the platter so guests can top their own warm biscuits.
Behind the Recipe
The strategy here is simple: cold fat for pockets, enough leavening for lift, and shredded cheese mixed into the dry ingredients so it’s evenly distributed. Cutting the butter into pea-sized pieces creates tiny layers as the biscuits bake—those pockets steam and produce flakiness. Using grated cheddar rather than chunks avoids pockets of unmelted cheese and gives a consistent chew.
The roasted garlic & herb finishing butter is the shortcut that lifts the flavor profile without extra hands-on work. Mixed into the dough it adds depth; brushed on top it gives shine, aroma, and that unmistakable savory finish. Choosing a good-quality gluten-free flour blend is important here—some blends have more starch and yield crumblier results, while blends formulated for baking give better structure.
How to Store & Reheat
Cool the biscuits completely before storing to avoid sogginess from trapped steam. For short-term, place in an airtight container at room temperature for up to 2 days. For longer storage, freeze on a tray until solid, then transfer to a freezer-safe bag for up to 1 month.
To reheat from room temperature: warm gently in a 325°F oven for 6–8 minutes. From frozen: bake on a sheet at 350°F for 12–15 minutes, or until heated through and the exterior is re-crisped. If you like, brush a touch of melted finishing butter on top after reheating to refresh the flavor and gloss.
Frequently Asked Questions
Can I make the dough ahead? Yes. After mixing, cover the bowl and refrigerate up to 24 hours. When ready to bake, give the dough a gentle stir, scoop onto the sheet, and bake—allow an extra minute or two if the dough is cold.
Can I swap the finishing butter? The recipe uses a specific roasted garlic & herb finishing butter for flavor. If you don’t have it, plain salted butter mixed with a pinch of garlic powder and dried herbs will work as a substitute for brushing. The flavor will be slightly different but still lovely.
Is the dough sticky? How do I handle it? Yes, the dough may be slightly sticky—that’s normal. Use a heaping spoonful to drop onto the baking sheet rather than trying to roll it. Lightly wetting the spoon or your hands can help if you’re shaping by hand.
Can these be made dairy-free? This written recipe uses dairy: butter, cheddar, and milk. I haven’t tested a dairy-free swap for this exact version. If you need dairy-free, you would need suitable substitutes for each dairy component and expectation of texture/flavor changes.
Can I freeze baked biscuits? Absolutely. Freeze cooled biscuits in a single layer until solid, then transfer to a bag. Reheat from frozen as noted above for the best texture.
The Takeaway
These Gluten-Free Cheddar Bay Biscuits are one of those recipes that deliver big flavor with minimal fuss. Follow the few simple rules—cold milk, cold butter, minimal mixing—and you’ll end up with biscuits that are tender, cheesy, and perfectly garlicky. They’re versatile enough for weeknight dinners and special gatherings alike. Make them when you need a fast, comforting bread that disappears as quickly as you pull it from the oven.
Gluten-Free Cheddar Bay Biscuits
Ingredients
Equipment
Method
- Preheat oven to 400°F. Line a baking sheet with a silicone baking mat or parchment paper and set aside.
- In a large bowl, stir together the gluten-free flour blend, sugar, baking powder, salt, and garlic powder until evenly combined.
- Reserve 1 tablespoon of the roasted garlic & herb butter in a small bowl. Cut the remaining 6 tablespoons of butter into small pieces and add to the dry ingredients. Use a pastry cutter or two forks to cut the butter into the flour mixture until it resembles coarse crumbs with pea-sized pieces.
- Stir the grated cheddar cheese into the flour mixture until evenly distributed.
- Pour the cold milk into the bowl and gently mix with a spatula just until the dough is moistened and comes together. Do not overmix; the dough may be slightly sticky.
- Drop the dough by heaping spoonfuls onto the prepared baking sheet, leaving space between each biscuit.
- Bake for 15–17 minutes, until the tops are golden and biscuits are set.
- While the biscuits are hot, melt the reserved 1 tablespoon of roasted garlic & herb butter and brush it over the tops. Serve immediately.
Notes
*If you do not have Private Selection Finishing butter, simply use 7 tablespoons regular butter, 1 1/2 teaspoons garlic powder and 1 teaspoon italian seasoning