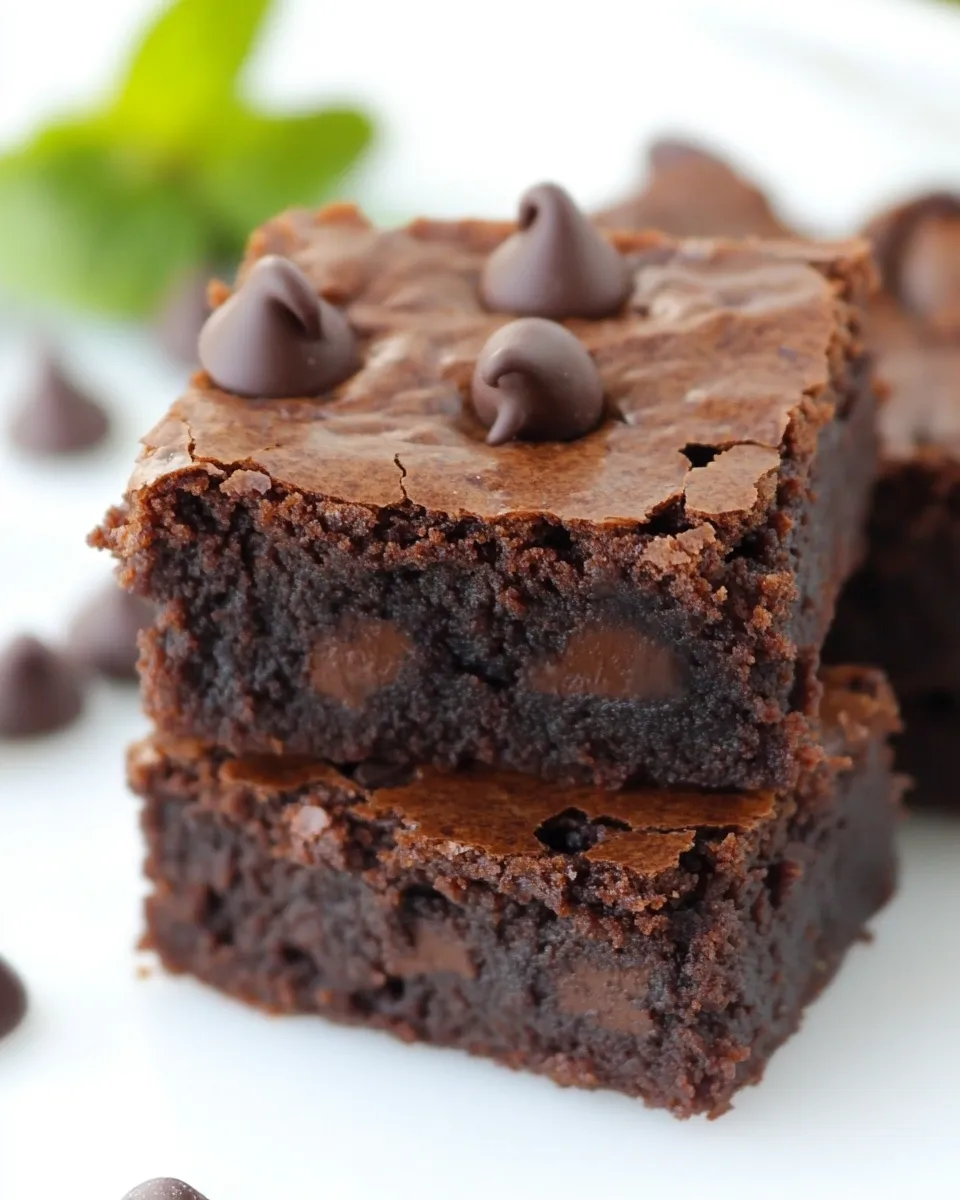
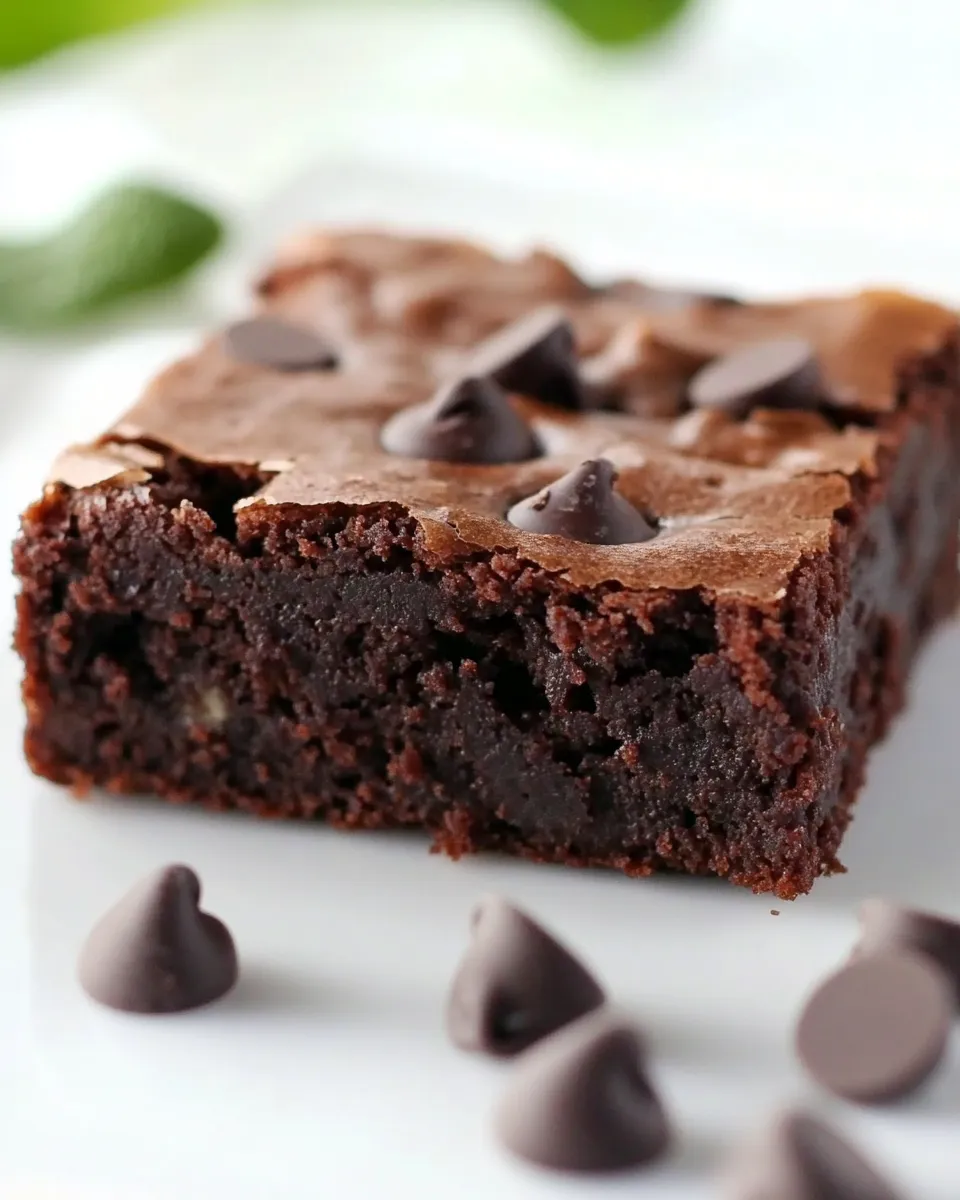
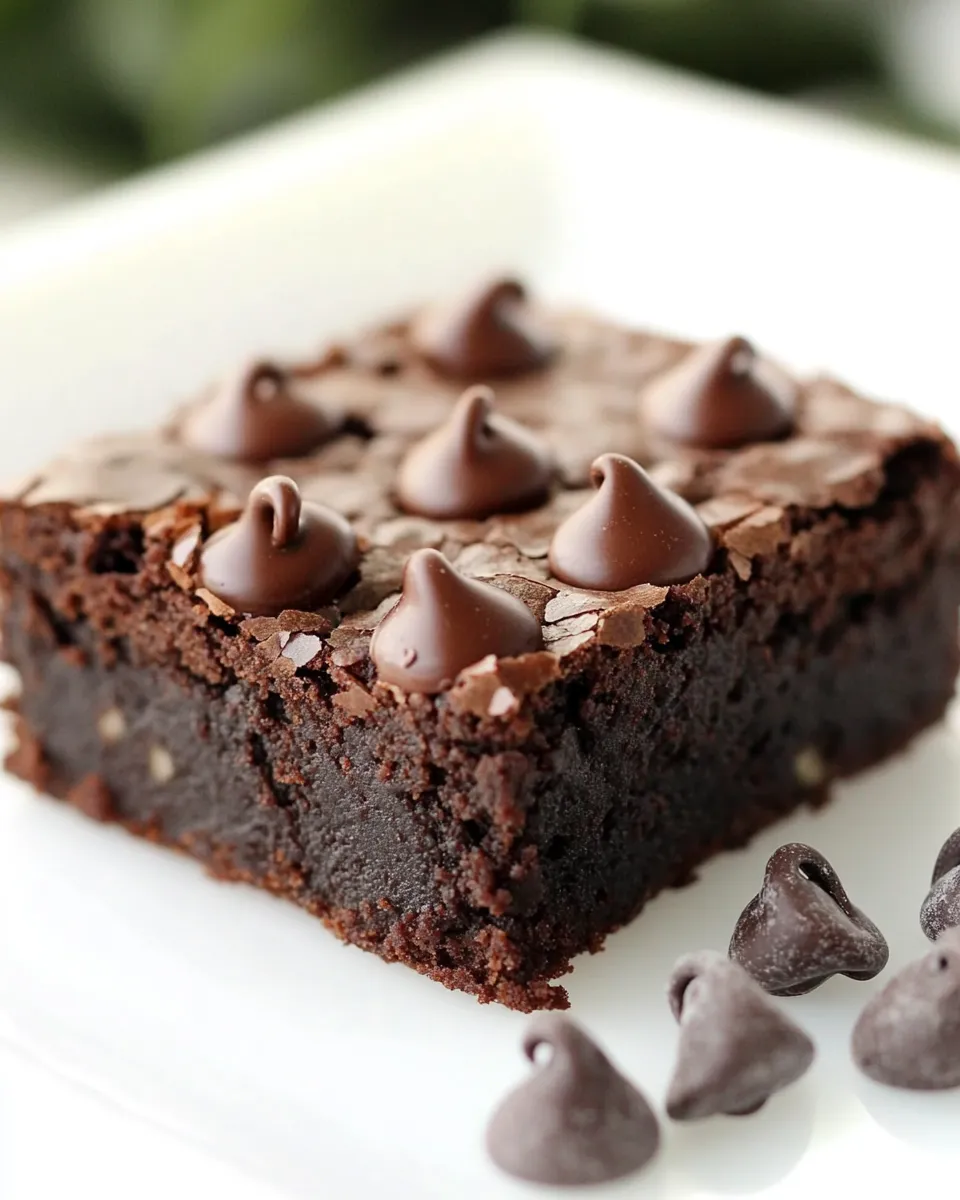
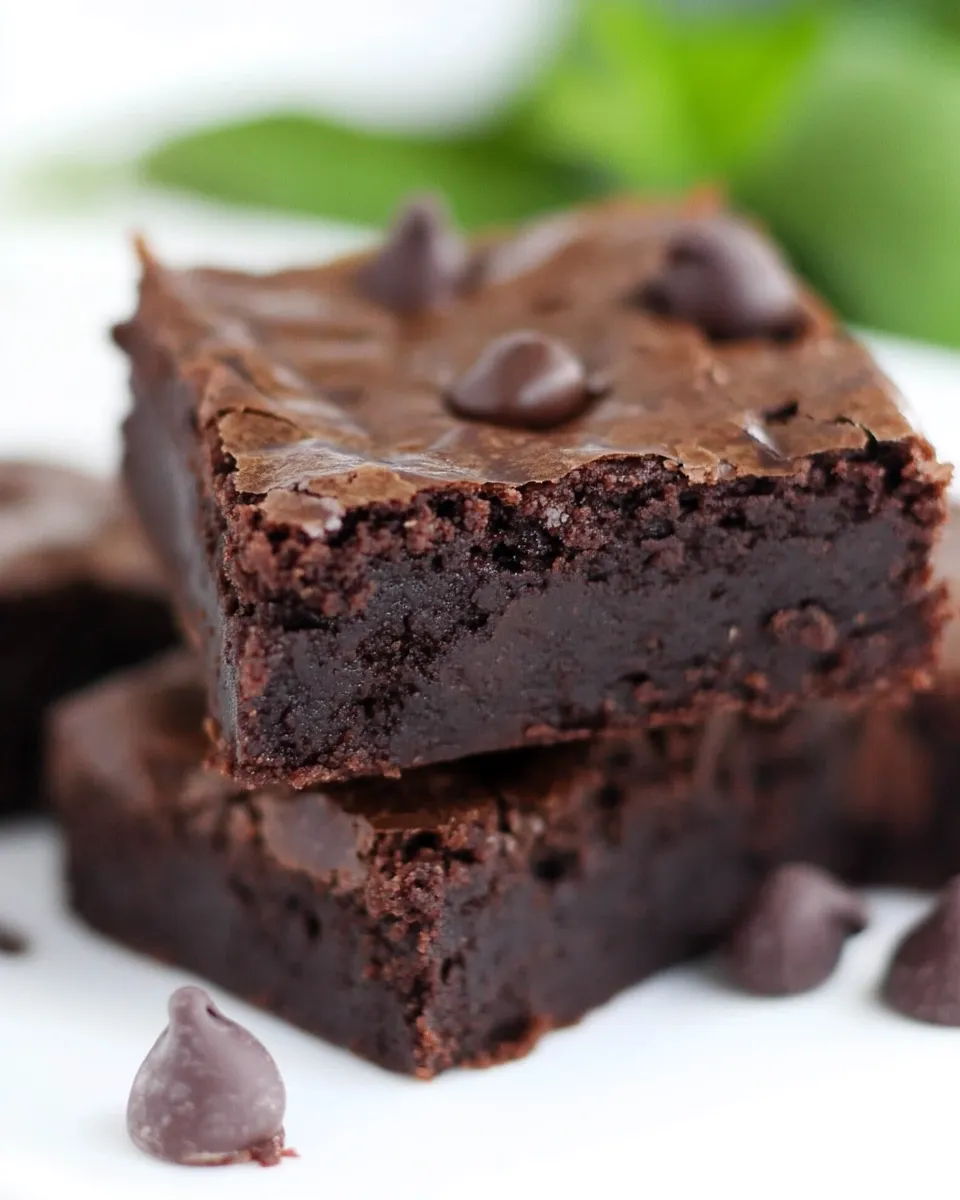
Gluten-Free Mint Chocolate Chip Brownies
These brownies are the sort I test until the edges are just crackled and the center is perfectly fudgy. They’re intentionally simple: a sturdy gluten-free base, intense Dutch-process cocoa, and a bright hit of peppermint. The result is a brownie that feels familiar and a little grown-up — chocolate-forward with a clean mint finish.
I developed this version to be straightforward in a busy kitchen. The batter comes together in one bowl, and the recipe uses pantry-friendly ingredients like buckwheat flour and semi-sweet chips. If you need dairy-free, the formula already allows for coconut oil instead of butter.
Below you’ll find a clear ingredient list with quick notes, step-by-step instructions used exactly as written in the test kitchen, and practical tips for swapping, storing, and troubleshooting. No drama — just reliable brownies that hold up whether you’re serving them at a casual dinner or packing them for a picnic.
Ingredient Checklist
Ingredients
- 1 cup buckwheat flour — for a gluten-free version; provides a nutty, sturdy crumb (or use whole wheat flour for a non-GF version).
- ¾ cup Dutch-process cocoa powder — gives deep chocolate flavor; sift if lumpy to avoid pockets in the batter.
- ¼ teaspoon salt — balances sweetness and brightens the chocolate.
- ¾ cup + 1 tablespoon unsalted butter or coconut oil — melted and cooled slightly; fat adds richness and controls texture.
- 1 ½ cups granulated sugar — sweetens and helps create that thin, shiny crust.
- 1 teaspoon pure vanilla extract — rounds the chocolate notes.
- 2 teaspoons peppermint extract — provides the mint character; use sparingly and taste if you’re unsure.
- 3 large eggs — room temperature; eggs give structure and chew.
- 1 ¼ cups semi-sweet chocolate chips — or other add-ins; most go-to chips work well here.
Gluten-Free Mint Chocolate Chip Brownies Made Stepwise
- Preheat the oven to 350°F. Line an 8″x8″ pan with parchment paper, leaving an overhang on two sides for easy removal.
- In a medium bowl, whisk together 1 cup buckwheat flour, 3/4 cup Dutch-process cocoa powder (sift if lumpy), and 1/4 teaspoon salt. Set the dry mixture aside.
- Measure 3/4 cup + 1 tablespoon unsalted butter or coconut oil, melt it, and let it cool slightly so it is warm but not hot.
- In a large bowl, combine the cooled melted butter or oil with 1 1/2 cups granulated sugar, 1 teaspoon pure vanilla extract, and 2 teaspoons peppermint extract. Stir until the sugar is evenly moistened.
- Add the 3 large eggs, one at a time, stirring after each egg just until incorporated. Do not overmix.
- Add the dry mixture to the wet ingredients and stir gently until almost no streaks of flour remain. Stop as soon as the batter is uniform—do not overmix.
- Reserve 1/4 cup of the 1 1/4 cups semi-sweet chocolate chips for topping. Fold the remaining 1 cup chocolate chips (or other add-ins) into the batter.
- Pour the batter into the prepared pan and smooth the top with a spatula. Evenly sprinkle the reserved 1/4 cup chocolate chips over the batter.
- Bake for 16–20 minutes, or until a thin crust has formed and the center appears set. A toothpick inserted into the center should come out with a few moist crumbs but not wet batter.
- Remove the pan from the oven and place it on a wire rack. Let the brownies cool completely in the pan; they will continue to firm up as they cool.
- When cool, use the parchment overhang to lift the brownies from the pan and cut into squares. Cover and store at room temperature for up to 4 days.
Why This Gluten-Free Mint Chocolate Chip Brownies Stands Out
First, the flour choice. Buckwheat flour gives these brownies a robust, slightly earthy backbone that holds up to heavy cocoa and mint. It’s not floppy the way some gluten-free baked goods can be. The cocoa used is Dutch-process, which emphasizes chocolate depth and keeps flavors smooth rather than bright or acidic.
Second, the peppermint extract is measured and paired with vanilla so the mint complements rather than dominates. It brightens every bite without turning the whole brownie into a candy-cane impersonation. The method—melting the fat, moistening the sugar, then adding eggs—creates a thin, glossy crust and a fudgy interior when you stop baking at the toothpick-with-moist-crumbs stage.
Finally, texture management matters here. The recipe balances tender chew from the eggs with enough structure from flour and chocolate. The reserved chips on top deliver a little crunch and visual appeal, and folding most chips into the batter means melty pockets throughout.
What to Use Instead
- Flour swap: whole wheat flour can replace buckwheat flour for a non-GF version (as noted in the ingredient list).
- Fat options: unsalted butter or coconut oil are both listed; choose butter for richer flavor, coconut oil for dairy-free needs.
- Chocolate chips: semi-sweet chips are recommended, but you can use dark chocolate chips, chopped chocolate, or dairy-free chips if needed.
- Flavoring: if peppermint extract is strong for you, reduce it slightly and compensate with a touch more vanilla.
Kitchen Gear Checklist
- 8″x8″ baking pan (metal or glass)
- Parchment paper (with enough overhang on two sides)
- Medium mixing bowl for dry ingredients
- Large mixing bowl for wet ingredients
- Spatula and whisk
- Measuring cups and spoons (accurate for small measurements)
- Wire cooling rack
- Toothpick or cake tester
Avoid These Mistakes
- Overmixing the batter — once the dry ingredients are added, stir only until streaks disappear to keep brownies tender.
- Using hot melted butter — it should be warm, not hot; too-hot fat can cook eggs prematurely.
- Ignoring the toothpick test — bake until a few moist crumbs cling to the tester; do not wait for a completely clean toothpick.
- Skipping parchment overhang — without it, removing the brownies cleanly is harder and cutting will be messier.
- Overbaking by a minute or two — those minutes turn fudgy centers into dry crumbs quickly.
Tailor It to Your Diet
Gluten-free: this version uses buckwheat flour and is written as a gluten-free recipe. If you’re strictly avoiding gluten, verify that your buckwheat flour and chocolate chips are certified gluten-free.
Dairy-free: choose coconut oil in place of the butter and use dairy-free chocolate chips. The recipe already accepts coconut oil, so the texture will stay close to the original.
Non-GF: if you don’t need gluten-free brownies, the recipe explicitly allows swapping in whole wheat flour for buckwheat flour.
Notes from the Test Kitchen
We ran this batch multiple times to pin down the bake window. The 16–20 minute range is deliberate: 16 minutes gives a very fudgy center in an 8″x8″ pan; 20 minutes shifts it to more of a chewy bar. Oven temperatures vary, so start checking at 16 minutes.
We also found that stirring the sugar with warm melted fat rather than creaming gives a crisper top. The reserved chips on top should remain distinguishable after baking — if they melt into the surface, your oven may be running hot or the chips were placed too close together.
Let the pan cool fully before attempting to cut. The brownies will set up as they cool; cutting while warm results in ragged edges and messy squares.
Cooling, Storing & Rewarming
Cool completely in the pan on a wire rack. When cool, use the parchment overhang to lift the slab out for easy cutting. Store covered at room temperature for up to 4 days as directed in the recipe.
To serve slightly warm, microwave a single piece for a few seconds until just warmed through — short bursts prevent melting the chips too much. If you need to transport, place them in a single layer or use parchment between layers to avoid sticking.
FAQ
Can I make these ahead? Yes. Bake, cool completely, then store at room temperature for up to 4 days. They can be cut ahead for easier serving.
Why use Dutch-process cocoa? It provides a richer, smoother chocolate flavor that pairs well with mint. It also affects pH and texture differently than natural cocoa, giving a more rounded chocolate note.
What if my brownies are crumbly? Crumbliness usually means they were overbaked or too much flour was added. Use the toothpick test and measure flour accurately.
Can I double the recipe? Yes, use a larger pan and check bake times; the center will take longer to set, so monitor closely.
Bring It Home
This is a do-it-every-time brownie: straightforward to assemble, forgiving in flavor swaps, and reliably delicious. The buckwheat and Dutch-process cocoa make a distinct but approachable base, and the peppermint keeps things lively. Follow the steps, watch the bake time, and you’ll have a tray of mint chocolate brownies that feel special without fuss.
If you try the recipe, measure precisely, don’t rush the cooling, and tell me how the peppermint level landed for you — a small adjustment there can make these exactly your kind of brownie.
Gluten-Free Mint Chocolate Chip Brownies
Ingredients
Equipment
Method
- Preheat the oven to 350°F. Line an 8"x8" pan with parchment paper, leaving an overhang on two sides for easy removal.
- In a medium bowl, whisk together 1 cup buckwheat flour, 3/4 cup Dutch-process cocoa powder (sift if lumpy), and 1/4 teaspoon salt. Set the dry mixture aside.
- Measure 3/4 cup + 1 tablespoon unsalted butter or coconut oil, melt it, and let it cool slightly so it is warm but not hot.
- In a large bowl, combine the cooled melted butter or oil with 1 1/2 cups granulated sugar, 1 teaspoon pure vanilla extract, and 2 teaspoons peppermint extract. Stir until the sugar is evenly moistened.
- Add the 3 large eggs, one at a time, stirring after each egg just until incorporated. Do not overmix.
- Add the dry mixture to the wet ingredients and stir gently until almost no streaks of flour remain. Stop as soon as the batter is uniform—do not overmix.
- Reserve 1/4 cup of the 1 1/4 cups semi-sweet chocolate chips for topping. Fold the remaining 1 cup chocolate chips (or other add-ins) into the batter.
- Pour the batter into the prepared pan and smooth the top with a spatula. Evenly sprinkle the reserved 1/4 cup chocolate chips over the batter.
- Bake for 16–20 minutes, or until a thin crust has formed and the center appears set. A toothpick inserted into the center should come out with a few moist crumbs but not wet batter.
- Remove the pan from the oven and place it on a wire rack. Let the brownies cool completely in the pan; they will continue to firm up as they cool.
- When cool, use the parchment overhang to lift the brownies from the pan and cut into squares. Cover and store at room temperature for up to 4 days.
Notes
* I prefer to use refined coconut oil, which has no coconut taste or smell. If you use unrefined coconut oil, these will likely have some coconut flavor to them.