Grasshopper Brownie Bars
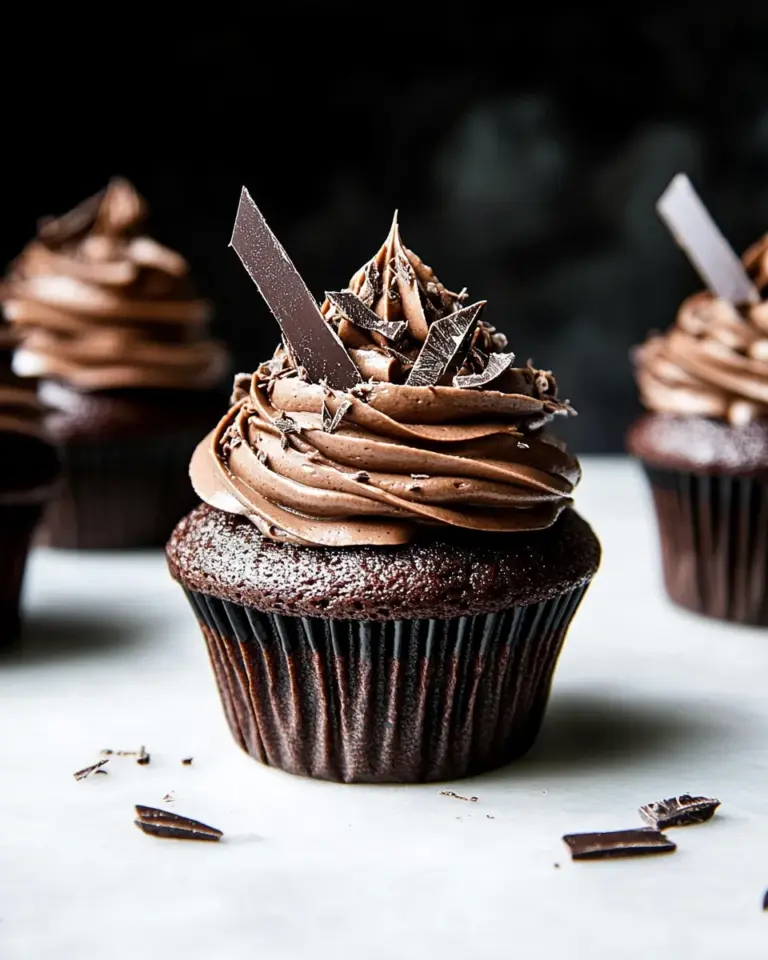
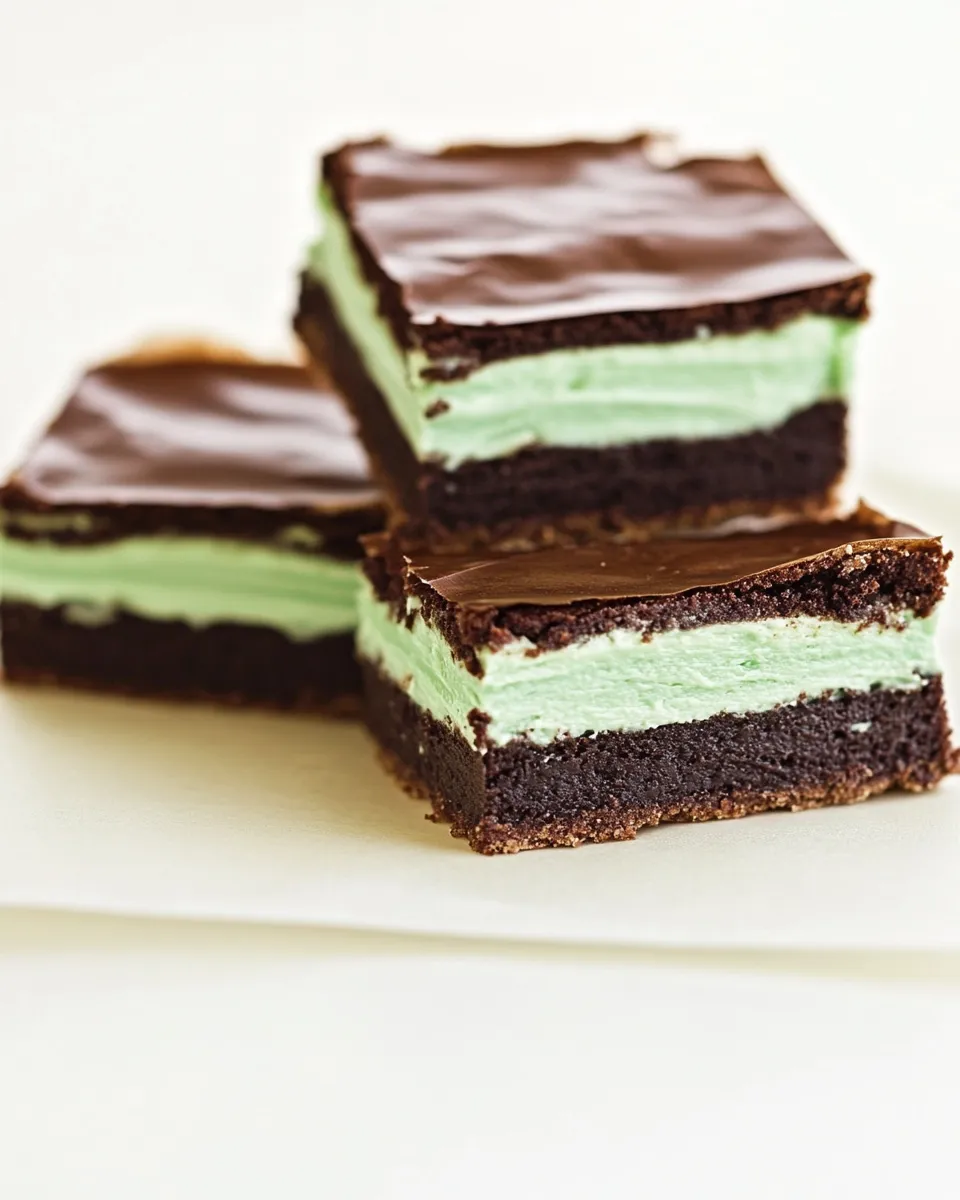
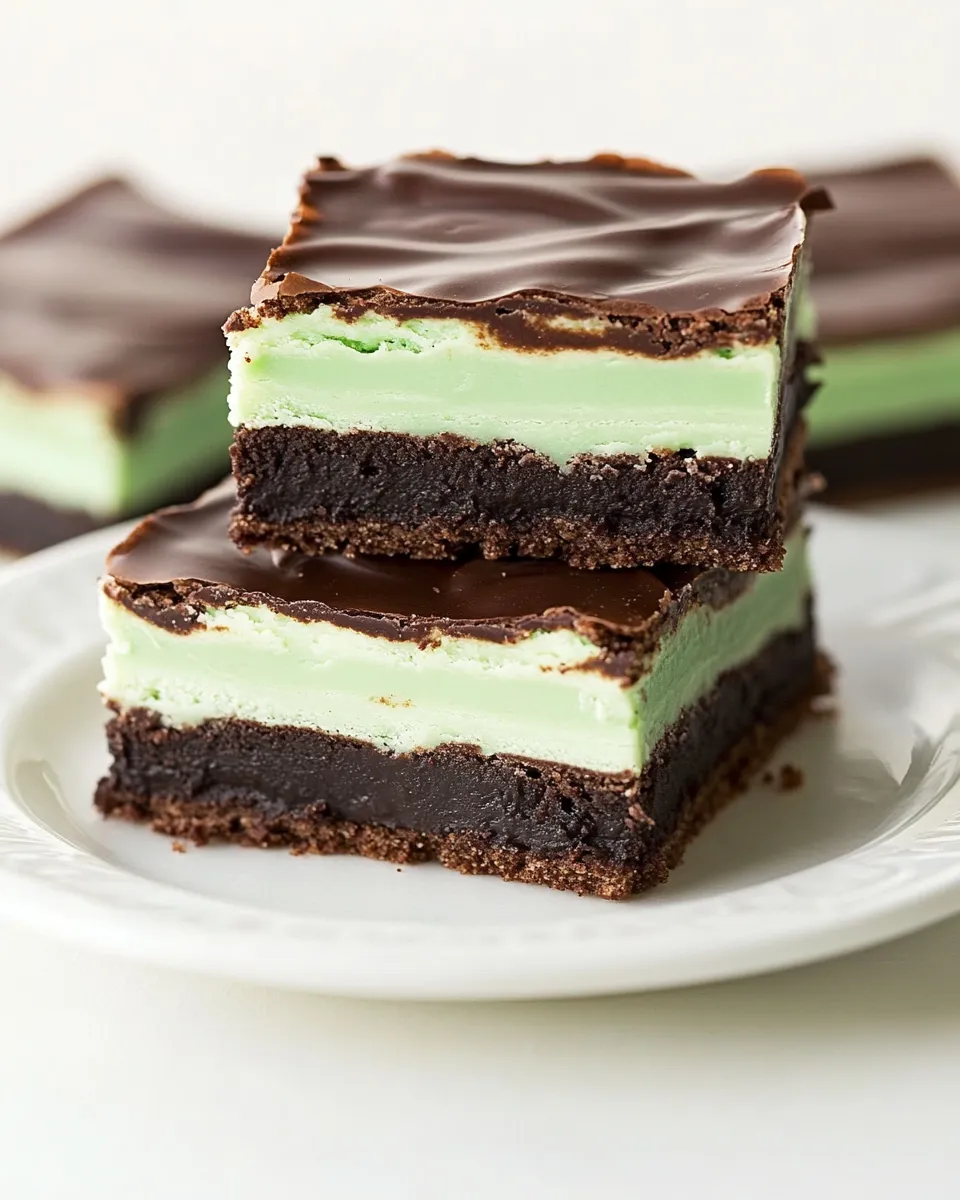
These Grasshopper Brownie Bars are a simple, reliably crowd-pleasing treat when you want something chocolatey with a cool mint finish. They stack a fudgy brownie base with a light mint buttercream and a glossy chocolate glaze — the textures contrast in the best way: dense, creamy, shiny.
I keep this recipe in rotation for dinner parties and holiday platters because it’s straightforward to make ahead and it slices cleanly when you warm the knife between cuts. The method uses familiar steps — a double boiler for the chocolate, a cooked custard-style buttercream, and a chilled assembly — but the payoff is worth the little patience it asks for.
Below you’ll find the exact ingredient list and step-by-step method I use. Read the full method before starting; there are short resting and chilling windows you can use to prep other parts of the meal or clean up. Let’s get to it.
What You’ll Need
Ingredients
- 3/4 cups flour — provides structure for the brownie base; sift or whisk to remove lumps.
- 1/2 teaspoon salt — balances sweetness and lifts chocolate flavor.
- 1 tablespoon dark unsweetened cocoa powder (like Valrhona) — deepens the chocolate notes in the batter.
- 5 ounces good quality dark chocolate (60 to 72%), coarsely chopped — melts into the brownie base; choose chocolate you like to eat on its own.
- 1/2 cup (1 stick) butter, cut into 1 inch cubes — enriches the batter and helps with fudgy texture; use unsalted if not specified elsewhere.
- 3/4 cups sugar — sweetens the brownie layer; one measure is for the batter.
- 1/4 cup firmly packed light brown sugar — adds moisture and a hint of molasses to the brownie layer.
- 3 large eggs, at room temperature — provide lift and structure; room temperature eggs incorporate more smoothly.
- 1 teaspoons vanilla extract — rounds the chocolate flavors in the batter.
- 3/4 cups sugar — the second measure of sugar, used for the buttercream filling to cook into a thickened custard.
- 2 tablespoons flour — thickens the milk mixture for the buttercream base.
- 3/4 cup milk — forms the liquid base of the cooked filling; whole milk gives the best texture.
- 2 tablespoons heavy cream — boosts richness and makes the filling silkier.
- 1 1/2 sticks (3/4 cup) butter, softened but still cool, cut into small cubes — whipped into the cooled custard to create the buttercream; keep it cool so it emulsifies.
- 3 tablespoons creme de menthe — gives the filling its minty green personality and mild boozy aroma; adjust to taste if needed.
- 1 teaspoon peppermint extract — intensifies mint flavor; use the brand you prefer.
- 6 ounces good-quality dark chocolate (60 to 72%), coarsely chopped — for the glossy chocolate glaze; again, pick a chocolate you enjoy.
- 1 teaspoon light corn syrup — helps the glaze stay shiny and pourable.
- 1/2 cup (1 stick) unsalted butter, softened, cut into cubes — enriches and smooths the glaze for a satin finish.
Method: Grasshopper Brownie Bars
- Preheat the oven to 325°F. Butter the sides and bottom of a 9-by-13-inch glass or light-colored metal pan. Line the bottom of the pan with a sheet of parchment paper, then butter the parchment.
- In a medium bowl, whisk together the 3/4 cup flour, 1/2 teaspoon salt, and 1 tablespoon dark unsweetened cocoa powder until evenly combined. Set aside.
- Set up a double boiler (a heatproof bowl set over, but not touching, simmering water). Place the 5 ounces coarsely chopped dark chocolate and 1/2 cup (1 stick) butter (cut into 1-inch cubes) in the bowl. Stir occasionally until fully melted and smooth.
- With the double boiler still assembled but the heat turned off, add the 3/4 cup granulated sugar and 1/4 cup firmly packed light brown sugar to the melted chocolate mixture. Whisk until the sugars are completely incorporated. Remove the bowl from the hot water and let the mixture cool to room temperature.
- When the chocolate mixture is at room temperature, whisk in the 3 large eggs one at a time just until combined, then stir in the 1 teaspoons vanilla extract. Do not overbeat.
- Sprinkle the reserved flour/cocoa/salt mixture over the chocolate mixture. Using a spatula (not a whisk), gently fold the dry ingredients into the wet just until only a trace of the dry mixture is visible.
- Pour the batter into the prepared pan and smooth the top with an offset spatula. Bake for 12 to 15 minutes, rotating the pan halfway through baking. The brownies should be slightly underbaked — about 1 minute shy of fully set. A toothpick inserted at an angle should come out with a few loose crumbs.
- Remove the pan from the oven and let the brownie layer cool completely in the pan on a wire rack while you make the filling.
- For the buttercream filling, combine the remaining 3/4 cup sugar and 2 tablespoons flour in a medium heavy-bottomed saucepan and whisk to blend. Add 3/4 cup milk and 2 tablespoons heavy cream and cook over medium heat, whisking occasionally, until the mixture comes to a boil and thickens, about 5 to 7 minutes.
- Transfer the thickened milk mixture to the bowl of an electric mixer fitted with the paddle attachment. Beat on high speed until the mixture has cooled to near room temperature.
- Reduce the mixer speed to low and add the 1 1/2 sticks (3/4 cup) softened but still cool butter, a few cubes at a time if needed, until incorporated. Increase the speed to medium-high and beat until the filling is light and fluffy.
- Add the 3 tablespoons creme de menthe and 1 teaspoon peppermint extract to the buttercream and mix until evenly combined. If the filling is too soft to spread, chill briefly in the refrigerator and then beat again until spreadable. If it is too firm, warm the bowl gently by placing it over a pot of simmering water and re-whip to a spreadable consistency.
- Spread the buttercream filling evenly over the cooled brownie layer. Refrigerate the pan for a minimum of 45 minutes to firm the filling while you make the glaze.
- For the chocolate glaze, place 6 ounces coarsely chopped dark chocolate, 1 teaspoon light corn syrup, and 1/2 cup (1 stick) unsalted butter (softened, cut into cubes) in a large non-reactive metal bowl set over a saucepan of simmering water. Stir until the mixture is completely smooth and glossy.
- Remove the glaze bowl from the heat and stir vigorously for 1 minute to release excess heat and ensure a smooth texture.
- Pour the warm glaze over the chilled creme de menthe layer and use an offset spatula to spread it into an even layer. Return the pan to the refrigerator and chill for about 1 hour, or until the glaze has fully hardened.
- Remove the pan from the refrigerator and let sit about 15 minutes at room temperature to slightly soften the glaze. Use a knife warmed under hot water and wiped dry between cuts to cut the bars into squares. Serve immediately or store.
- Store any leftovers tightly covered and refrigerated for up to 4 days.
Why This Grasshopper Brownie Bars Stands Out
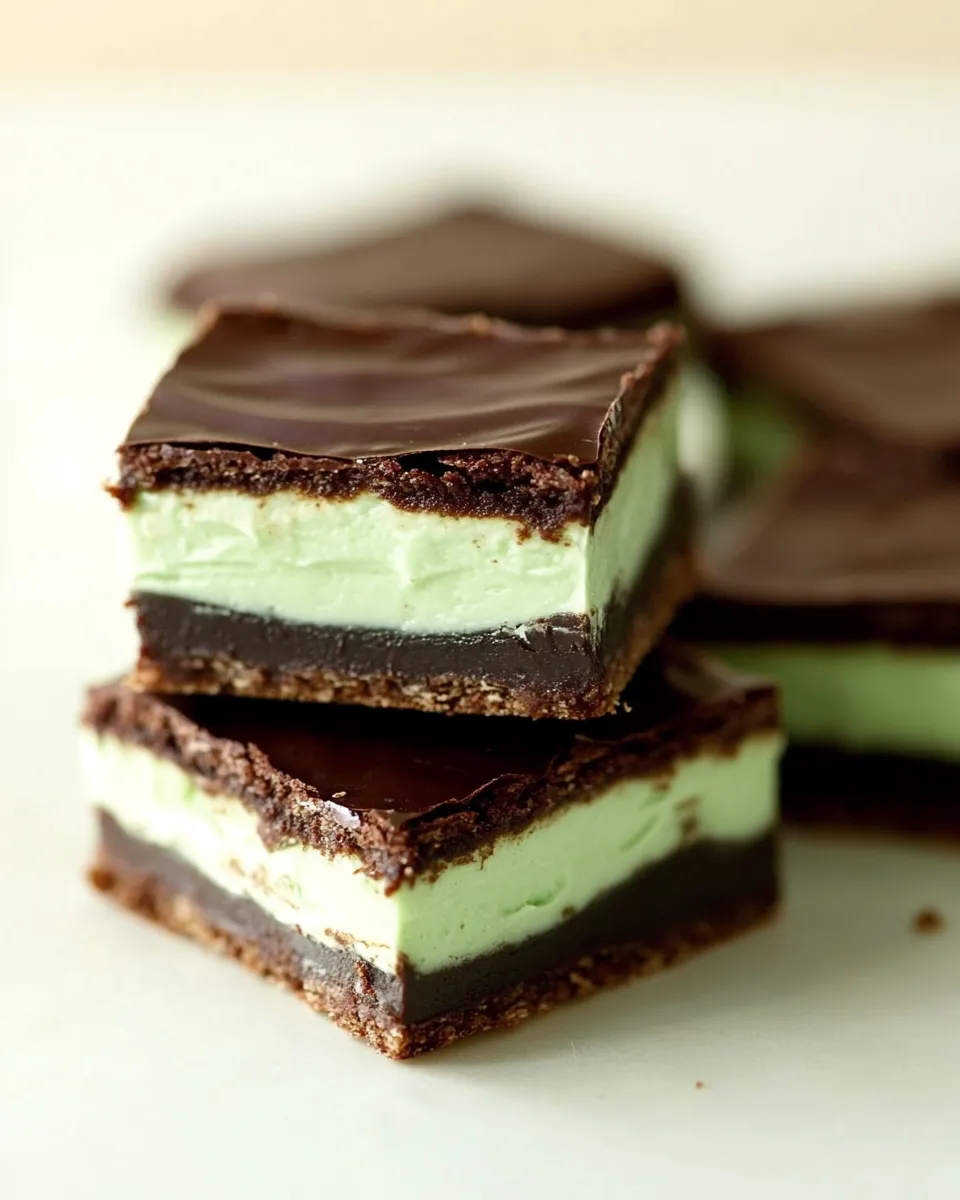
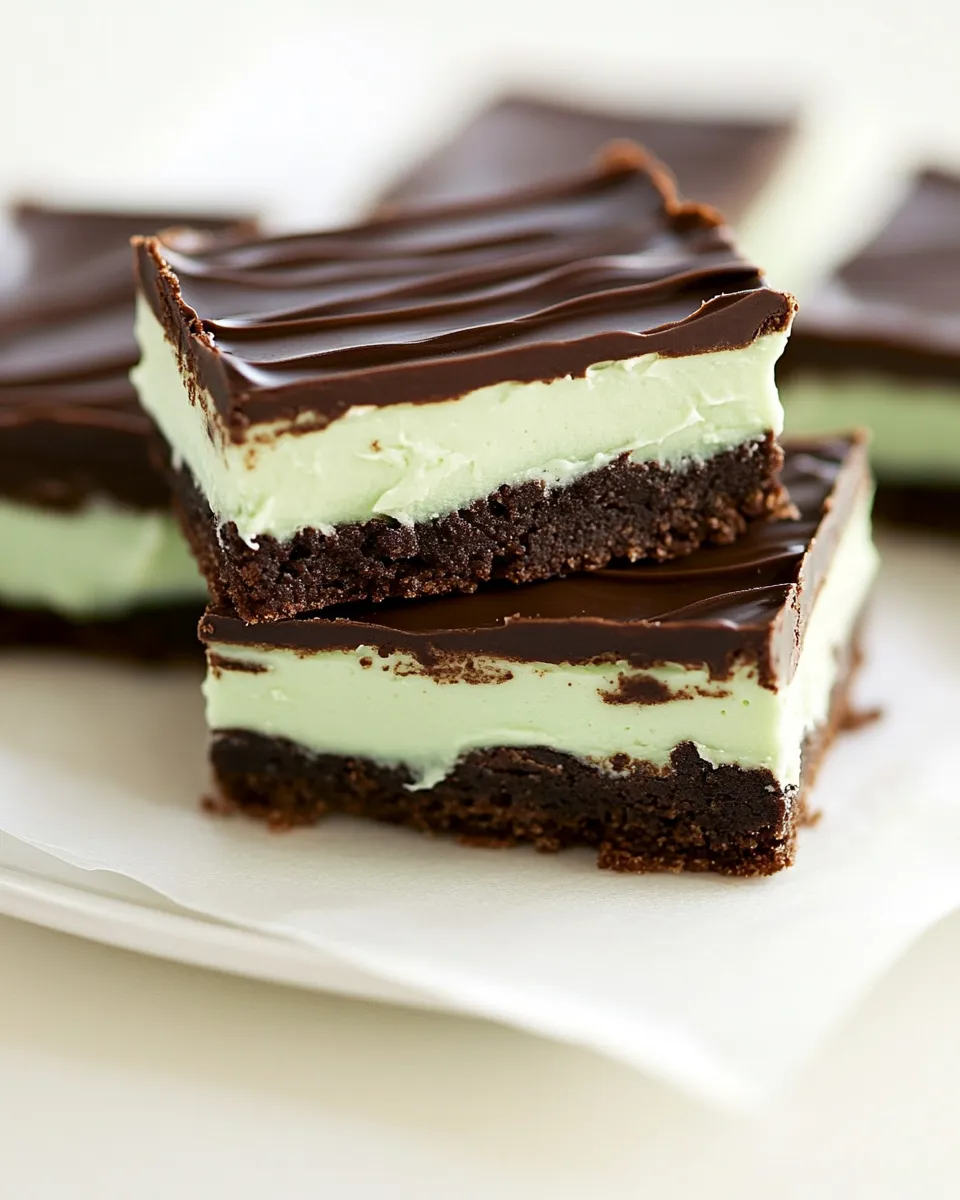
The flavor combination is classic but carefully balanced: a rich dark chocolate base keeps the bars from tasting cloyingly sweet, while the creme de menthe and peppermint extract give a bright, clean mint note. Texturally, the recipe layers three distinct elements — a fudgy brownie, a silky cooked buttercream, and a glossy ganache-like glaze — so every bite feels complete.
The method also prioritizes control. Using a double boiler to melt chocolate prevents scorching, and cooking the buttercream base gives it stability and a smoother mouthfeel than a simple butter-and-powdered-sugar frosting. Finally, the chilling steps are short and purposeful: they firm the layers for clean cutting without overworking the components.
Swap Guide
- Chocolate percentage: If you prefer a sweeter glaze or base, choose dark chocolate at the lower end of the 60–72% range; for a more bitter profile, go higher.
- Alcohol-free mint: Omit the creme de menthe and increase the peppermint extract by a small amount (start with an extra 1/4 teaspoon), then taste — extract potency varies by brand.
- Dairy alternatives: Use a full-fat plant milk and a plant-based butter in both the filling and glaze for a non-dairy version; expect slight textural differences in the buttercream.
- Flavor swaps: Replace peppermint extract with orange extract for a chocolate-orange version, or drop in 1 tablespoon espresso for a mocha twist.
What’s in the Gear List
- 9-by-13-inch glass or light-colored metal baking pan — the recipe is scaled for this size for even baking.
- Parchment paper and butter for lining — ensures bars lift cleanly from the pan.
- Heatproof bowl and saucepan for a double boiler — gentle heat for melting chocolate and tempering mixtures.
- Offset spatula — smooths layers and helps get even edges.
- Electric mixer with paddle attachment — speeds up cooling and creates a stable buttercream.
- Wire rack, metric/US measuring tools, and a sharp knife warmed between cuts — small details that improve the final presentation.
Frequent Missteps to Avoid
Do not overbake the brownie layer. The instructions intentionally call for slightly underbaked bars — that fudgy center is essential. If the top looks set and a toothpick still has moist crumbs, you’re done.
A second common mistake is adding the butter to the cooked milk mixture when it’s too hot. Let the cooked custard cool to near room temperature before adding the butter or you’ll have a runny, separated filling. Conversely, if the filling becomes too firm from chilling, rework it gently with low heat and re-whip to the right spreadable texture.
When glazing, pour over a fully chilled buttercream so the glaze sets cleanly. Pouring while the filling is warm will cause the glaze to sink in and look dull.
Holiday-Friendly Variations
- Christmas platter: Tint the buttercream pale green (if you want a stronger visual) and garnish the cooled glaze with chopped peppermint candies or a dusting of edible glitter for festive shine.
- St. Patrick’s Day: Keep the creme de menthe and add a sprinkle of flaky sea salt on the glaze to highlight the dark chocolate and mint contrast.
- Valentine’s touch: Fold a few finely chopped raspberries into the brownie batter before baking for pockets of bright fruit that play well with chocolate and mint.
Cook’s Commentary
I make this recipe when I want something that looks composed but doesn’t demand tempering or complex piping. The cook-on-the-stovetop buttercream is a small step up from a basic butter-sugar frosting: a little patience yields a silkier, less sugary result. I also like that the glaze sets firm enough to get neat squares when you cut it properly.
One small habit I recommend: warm the knife between cuts. It’s a baker’s trick that transforms clean slices into a clean presentation. I’ll often slice these the night before a gathering and let them come to room temperature just before serving so the glaze has a slight sheen rather than a fridge-dulled look.
Make-Ahead & Storage
These bars are very make-ahead friendly. After glazing and chilling until the glaze is fully hardened, store them in an airtight container in the refrigerator for up to 4 days. For ease of serving, bring the pan (or plated squares) to room temperature for about 15 minutes before you want to serve so the glaze and filling are not overly firm.
If you need to freeze: wrap individual squares tightly in plastic and then foil for up to one month. Thaw in the refrigerator overnight and then sit at room temperature for 15–30 minutes before serving.
FAQ
- Can I skip the creme de menthe? Yes. Replace it with additional peppermint extract if you prefer no alcohol, but reduce extract increments and taste as you go.
- Why use cooked milk for the buttercream? Cooking the milk and sugar with flour stabilizes the filling and gives it a custard base, which whips into a smoother, less sugary texture than a standard butter-and-confectioners-sugar frosting.
- Do I need to use an electric mixer? It’s strongly recommended for the buttercream; the mixer helps the cooked mixture cool evenly and incorporates the butter to a light, fluffy texture.
- Can I use a different pan size? The recipe is designed for a 9-by-13-inch pan. If you change pan size, watch baking times closely — thinner or deeper layers will bake faster or slower respectively.
Time to Try It
These Grasshopper Brownie Bars are a great project when you want an impressive dessert that’s mostly hands-off. Follow the order of the method, respect the chilling windows, and you’ll have neat, rich bars with a lively mint finish. If you try them, slice a small piece for yourself before guests arrive — you deserve the quality control taste test.
Happy baking. If you have questions about timing, substitutions, or scaling the recipe, leave a note and I’ll help you troubleshoot it.
Grasshopper Brownie Bars
Ingredients
Method
- Preheat the oven to 325°F. Butter the sides and bottom of a 9-by-13-inch glass or light-colored metal pan. Line the bottom of the pan with a sheet of parchment paper, then butter the parchment.
- In a medium bowl, whisk together the 3/4 cup flour, 1/2 teaspoon salt, and 1 tablespoon dark unsweetened cocoa powder until evenly combined. Set aside.
- Set up a double boiler (a heatproof bowl set over, but not touching, simmering water). Place the 5 ounces coarsely chopped dark chocolate and 1/2 cup (1 stick) butter (cut into 1-inch cubes) in the bowl. Stir occasionally until fully melted and smooth.
- With the double boiler still assembled but the heat turned off, add the 3/4 cup granulated sugar and 1/4 cup firmly packed light brown sugar to the melted chocolate mixture. Whisk until the sugars are completely incorporated. Remove the bowl from the hot water and let the mixture cool to room temperature.
- When the chocolate mixture is at room temperature, whisk in the 3 large eggs one at a time just until combined, then stir in the 1 teaspoons vanilla extract. Do not overbeat.
- Sprinkle the reserved flour/cocoa/salt mixture over the chocolate mixture. Using a spatula (not a whisk), gently fold the dry ingredients into the wet just until only a trace of the dry mixture is visible.
- Pour the batter into the prepared pan and smooth the top with an offset spatula. Bake for 12 to 15 minutes, rotating the pan halfway through baking. The brownies should be slightly underbaked — about 1 minute shy of fully set. A toothpick inserted at an angle should come out with a few loose crumbs.
- Remove the pan from the oven and let the brownie layer cool completely in the pan on a wire rack while you make the filling.
- For the buttercream filling, combine the remaining 3/4 cup sugar and 2 tablespoons flour in a medium heavy-bottomed saucepan and whisk to blend. Add 3/4 cup milk and 2 tablespoons heavy cream and cook over medium heat, whisking occasionally, until the mixture comes to a boil and thickens, about 5 to 7 minutes.
- Transfer the thickened milk mixture to the bowl of an electric mixer fitted with the paddle attachment. Beat on high speed until the mixture has cooled to near room temperature.
- Reduce the mixer speed to low and add the 1 1/2 sticks (3/4 cup) softened but still cool butter, a few cubes at a time if needed, until incorporated. Increase the speed to medium-high and beat until the filling is light and fluffy.
- Add the 3 tablespoons creme de menthe and 1 teaspoon peppermint extract to the buttercream and mix until evenly combined. If the filling is too soft to spread, chill briefly in the refrigerator and then beat again until spreadable. If it is too firm, warm the bowl gently by placing it over a pot of simmering water and re-whip to a spreadable consistency.
- Spread the buttercream filling evenly over the cooled brownie layer. Refrigerate the pan for a minimum of 45 minutes to firm the filling while you make the glaze.
- For the chocolate glaze, place 6 ounces coarsely chopped dark chocolate, 1 teaspoon light corn syrup, and 1/2 cup (1 stick) unsalted butter (softened, cut into cubes) in a large non-reactive metal bowl set over a saucepan of simmering water. Stir until the mixture is completely smooth and glossy.
- Remove the glaze bowl from the heat and stir vigorously for 1 minute to release excess heat and ensure a smooth texture.
- Pour the warm glaze over the chilled creme de menthe layer and use an offset spatula to spread it into an even layer. Return the pan to the refrigerator and chill for about 1 hour, or until the glaze has fully hardened.
- Remove the pan from the refrigerator and let sit about 15 minutes at room temperature to slightly soften the glaze. Use a knife warmed under hot water and wiped dry between cuts to cut the bars into squares. Serve immediately or store.
- Store any leftovers tightly covered and refrigerated for up to 4 days.