Gyro Bread
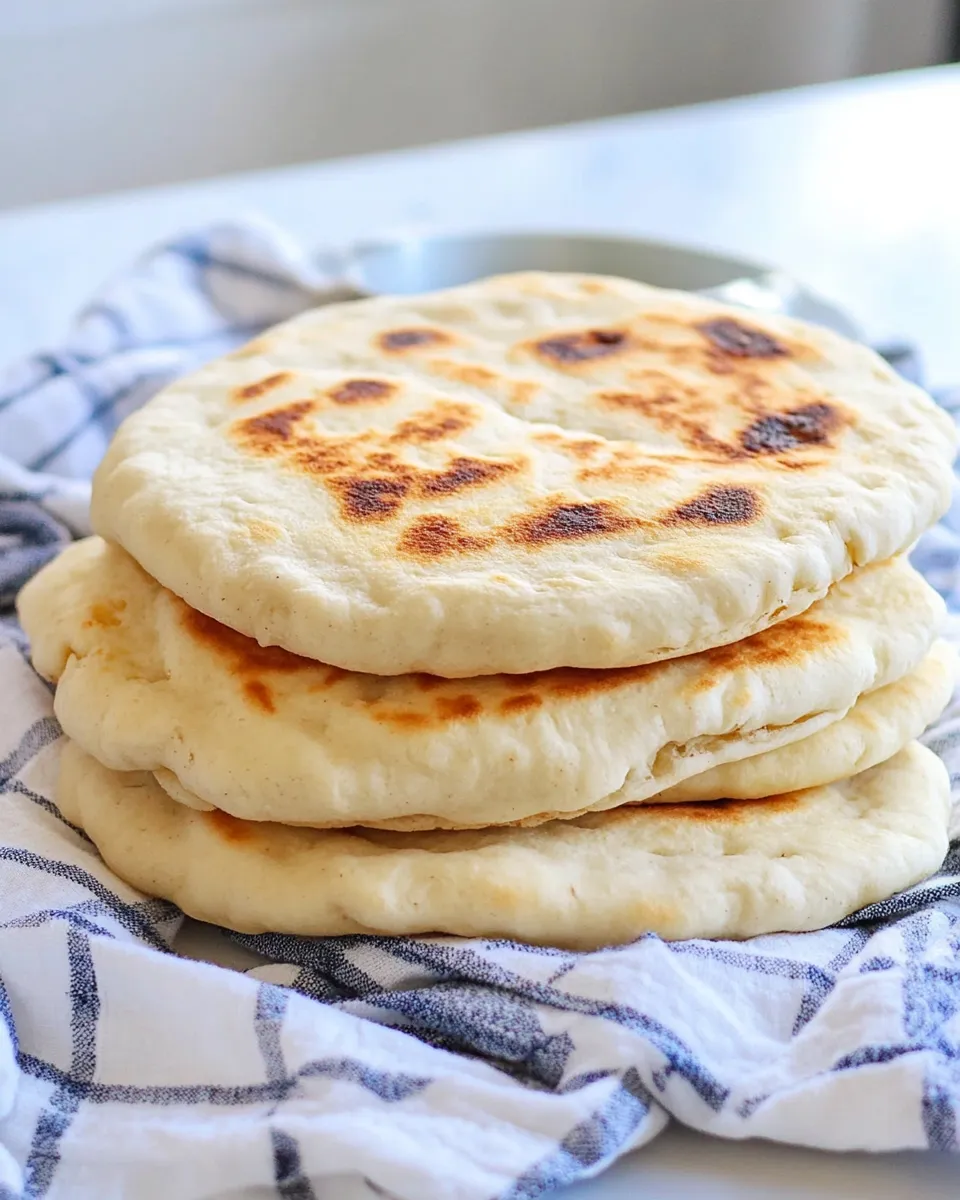
Gyro bread is the simple, forgiving flatbread that turns a quick gyro into something memorable. It puffs in spots, stays soft when wrapped, and doubles as an excellent scoop for sauces. The recipe below is straightforward and built for busy weeknights and last-minute gatherings alike.
I like to think of this dough as reliable: it wakes quickly, handles well, and rewards you with warm rounds in under an hour of active time. There’s no complicated resting schedule and no fancy equipment required. If you can measure, mix, knead briefly, and cook on a hot skillet, you’ll get bakery-style results.
Read through the steps once, gather the few tools you need, and follow the method as written. Small adjustments — a slightly warmer pan, a lighter hand when you roll — make a big difference. Below you’ll find the exact ingredient notes, the method to follow, troubleshooting tips, and practical storage and serving ideas that keep this bread in regular rotation.
Ingredient Breakdown
- 1 1/2 cups warm water (about 105°F) — Activates the yeast; aim for warmth not scalding to bloom the yeast reliably.
- 1 1/2 teaspoons sugar — Feeds the yeast for a predictable rise; a small amount is all you need.
- 1 1/2 teaspoons active dry yeast — The leavening agent; check the date for best performance.
- 3 cups all-purpose flour — The structure and body of the bread; measure by spooning into the cup and leveling for consistency.
- 1 1/2 teaspoons salt — Seasons the dough; it also tightens the gluten a bit for better chew.
- 1 tablespoon olive oil plus extra for brushing — Adds tenderness and flavor; the extra is for oiling the pan and keeping cooked rounds soft.
The Method for Gyro Bread
- In a large bowl combine 1 1/2 cups warm water (about 105°F), 1 1/2 teaspoons sugar, and 1 1/2 teaspoons active dry yeast. Stir gently, then let sit 5 minutes or until the surface is foamy.
- Add 3 cups all-purpose flour, 1 1/2 teaspoons salt, and 1 tablespoon olive oil to the bowl. Mix with a wooden spoon or your hands until a shaggy dough forms.
- Turn the dough out onto a lightly floured surface and knead for 3–4 minutes, until the dough is smooth and elastic.
- Lightly oil a clean bowl, place the kneaded dough inside, and turn once to coat with oil. Cover the bowl with a cloth and set in a warm spot. Let the dough rise about 30 minutes or until doubled in size.
- Punch the dough down to release air. Divide the dough into 6 equal pieces and shape each piece into a smooth ball.
- On a lightly floured surface, flatten or stretch each ball into a roughly 6-inch circle. Use a rolling pin if you want more uniform rounds.
- Heat a cast-iron skillet (or heavy skillet) over medium heat until hot. Lightly brush the skillet with olive oil.
- Place one dough circle in the skillet and cook 2–3 minutes on the first side, until golden-brown spots appear and the bread begins to puff. Flip and cook 2–3 minutes more on the second side until it has golden-brown spots and is cooked through. Adjust the heat as needed to avoid burning.
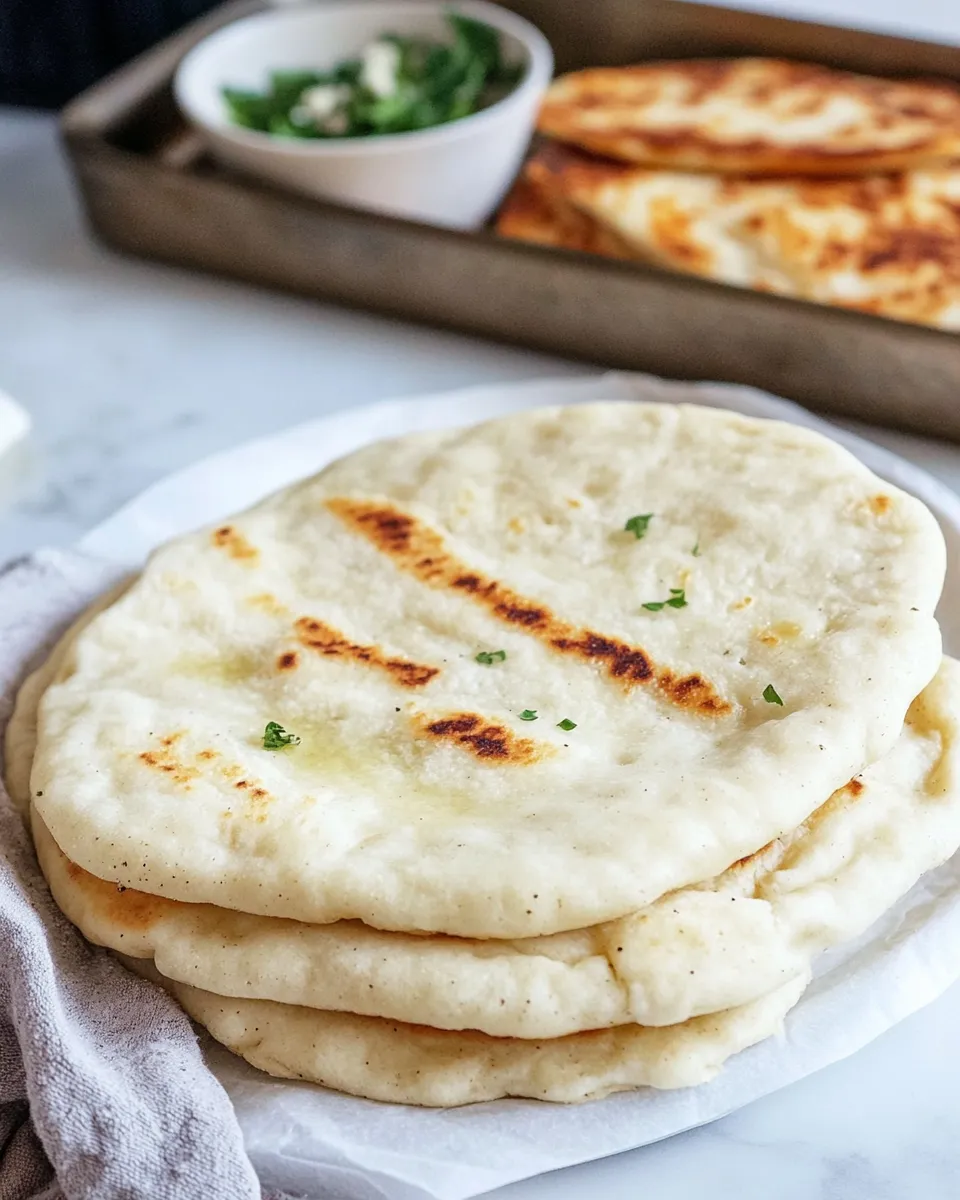
- As you finish each piece, stack the cooked breads and wrap them in a clean towel to keep them warm and soft. Re-brush the skillet with a little olive oil as needed between batches.
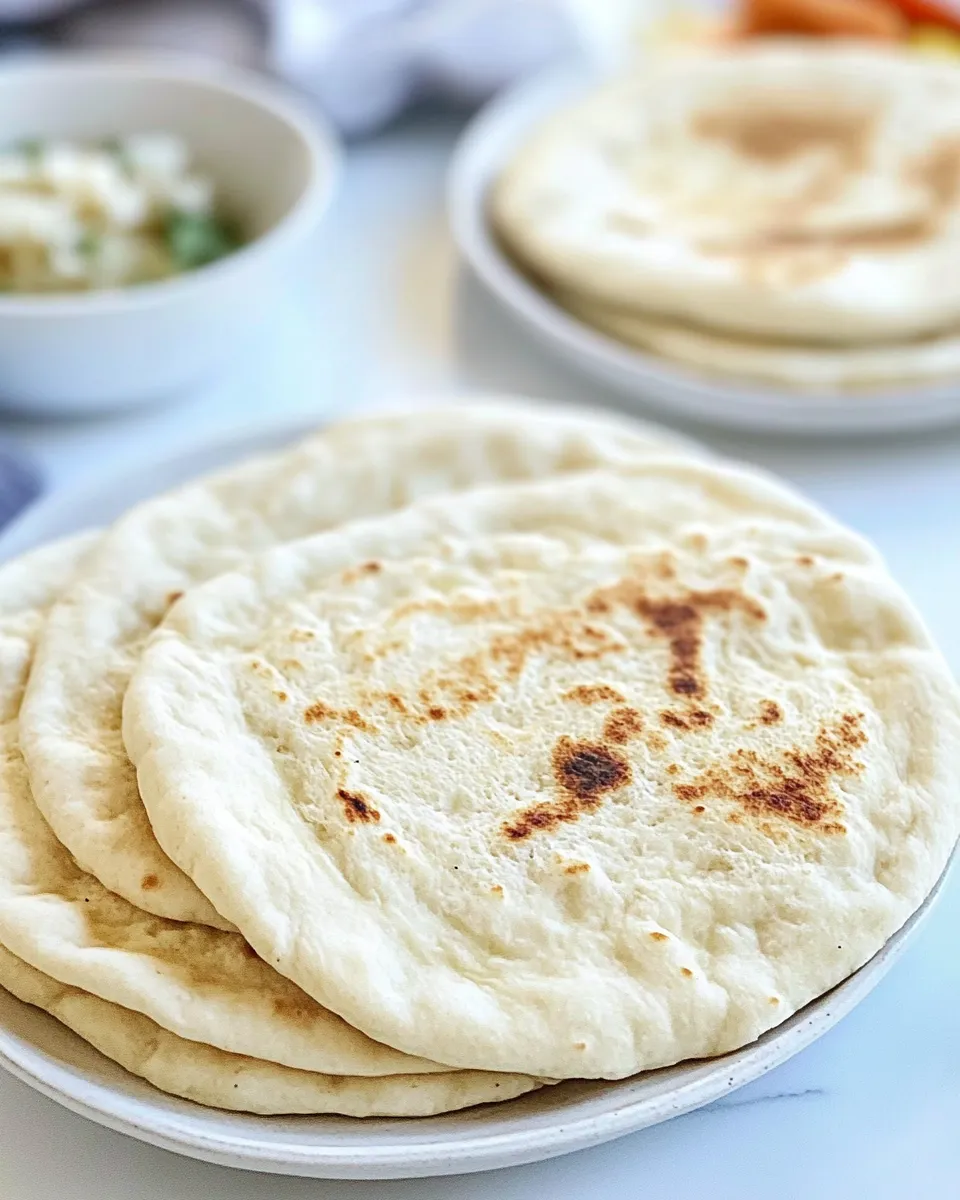
- Serve the gyro bread warm.
Why This Recipe Belongs in Your Rotation
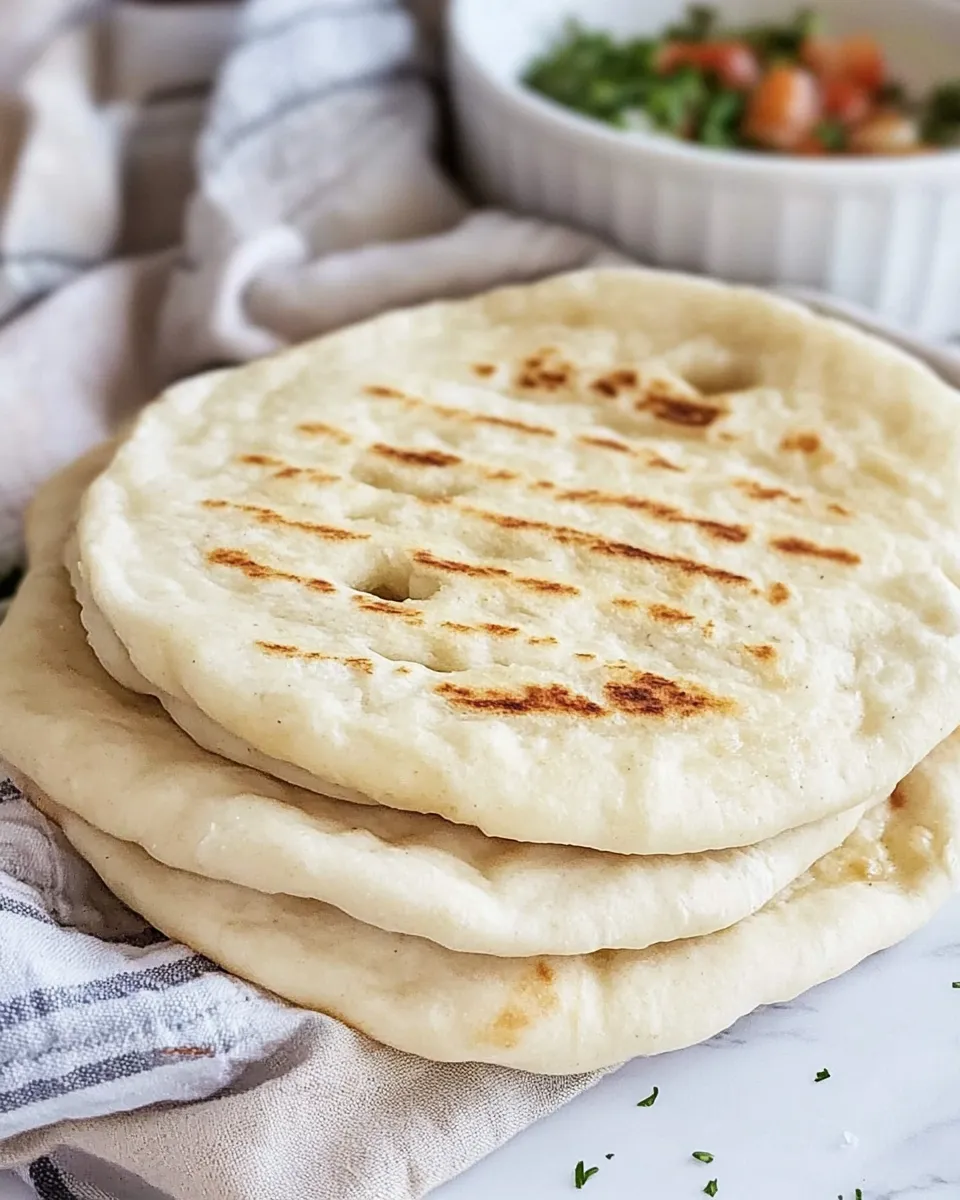
This gyro bread hits three practical marks: speed, texture, and versatility. You get soft, pliable rounds with a light chew that fold without cracking. The active time is modest; most of the process is hands-on brief kneading and straightforward skillet cooking. That makes it a reliable choice when you want homemade bread without a full baking day.
It’s also forgiving. The dough tolerates slight variations in flour measurement and oven or stovetop heat. If your pan runs a touch hot, lower the heat and cook a little longer. If the dough feels slightly tacky, a dusting of flour while shaping prevents sticking without drying out the finished bread.
Finally, this bread is neutral enough to pair with bold or subtle fillings. It does what flatbreads should: take heat well, fold cleanly, and showcase whatever you wrap inside.
Healthier Substitutions
If you want to nudge this recipe toward a lighter profile without changing core ingredients, focus on small adjustments rather than substitutions that alter the dough dramatically. Cut the sugar in half if you prefer less sweetness; the yeast will still bloom fine. Trim the oil used for brushing by wiping the skillet with a lightly oiled paper towel instead of heavy brushing—this reduces fat without changing texture noticeably.
If sodium is a concern, reduce the salt slightly; the bread will still rise and brown, though flavor will be milder. For a lower-oil cooking method, use a well-seasoned nonstick pan and rely on a very light oil wipe between batches instead of brushing.
Essential Tools for Success
- Cast-iron or heavy skillet — Holds steady heat for even browning.
- Mixing bowl — Large enough for the initial rise and easy stirring.
- Measuring cups and spoons — Accurate yeast-to-water ratio matters.
- Rolling pin or hands — For shaping uniform rounds; a pin is faster if you prefer consistency.
- Clean towel — Keeps cooked breads soft and warm when stacked.
- Thermometer (optional) — Handy to check water temperature around 105°F when you’re unsure.
Mistakes Even Pros Make
- Using water that’s too hot. It kills yeast. Aim for warm, not scalding.
- Over-flouring while shaping. Too much flour makes the rounds dry and prevents proper puffing.
- Cooking on a pan that’s not hot enough. You’ll miss color and the bread might take on a dense texture.
- Letting the dough overproof. If it rises far beyond doubled, the structure weakens and the breads can collapse in the pan.
- Skipping the oil in the pan entirely. A tiny amount helps browning and prevents sticking; you don’t need much.
Spring to Winter: Ideas
Spring: Use the bread for fresh wraps with crisp greens and lightly dressed vegetables. The bread’s soft texture pairs well with crunchy fillings and bright citrus-based dressings.
Summer: Make handheld dinners for yard grilling nights. These rounds are perfect for warm fillings straight off the grill; they handle juicy ingredients without falling apart.
Autumn: Serve warm with roasted vegetables or slow-simmered stews where the bread serves as a scoop for hearty flavors. Its mild flavor supports richer profiles.
Winter: Stack wrapped breads in a towel and serve alongside roast meats or warming sauces. The soft rounds are comforting and easy to reheat without losing texture.
If You’re Curious
Gyro bread is closely related to many Mediterranean flatbreads—its structure is simple: flour, water, a little fat, and yeast. That simplicity makes it adaptable and fast. The small yeast amount and the brief proofing time prioritize speed while still giving the dough enough lift to puff slightly in the pan.
The skillet method yields the classic spotted appearance and light chew. If you want extreme puffing, you can roll thinner and cook on a very hot surface for slightly shorter times, but the recommended 2–3 minutes per side balances color and internal cook.
Storage Pro Tips
Short-term: Keep gyro breads wrapped in a clean towel or in a shallow container at room temperature for up to 24 hours. The towel prevents condensation while keeping the rounds soft.
Long-term: For longer storage, stack the breads with parchment between each layer, place them in an airtight freezer bag, and freeze. To reheat, thaw at room temperature and warm briefly in a dry skillet or wrapped in foil in a moderate oven. Reheating briefly in a hot skillet revives the texture best.
To refresh slightly stale rounds, sprinkle lightly with water and warm covered in the skillet for 30–45 seconds per side. The small amount of steam brings back pliability.
Handy Q&A
Q: Can I make the dough ahead? A: Yes. After the first knead, refrigerate the dough in an oiled, covered bowl for up to 24 hours. Bring to room temperature before shaping and proceed with the recipe.
Q: My breads aren’t puffing. Why? A: Several causes: over-flouring, shaping too thick, or not enough initial heat in the pan. Check pan temperature and try rolling slightly thinner next time.
Q: Can I cook them in the oven? A: The skillet produces the classic spotted and slightly charred surface. An oven will bake them more uniformly but won’t give the same skillet texture.
Next Steps
Make a batch and keep one or two at hand for the week—gyro bread elevates quick meals. Once you’re comfortable with the basic method, experiment with thickness and pan temperature to dial in your favorite texture. Try pairing warm rounds with a variety of fillings and observe which combinations you reach for most often. That’s how a handy, home-baked flatbread becomes a weekly staple.
When you’re ready, scale the recipe up in multiples of six to feed a crowd. The dough scales predictably, and you can cook batches while keeping finished breads warm in a towel. Enjoy the process; the results are worth the small investment of time.
Gyro Bread
Ingredients
Equipment
Method
- In a large bowl combine 1 1/2 cups warm water (about 105°F), 1 1/2 teaspoons sugar, and 1 1/2 teaspoons active dry yeast. Stir gently, then let sit 5 minutes or until the surface is foamy.
- Add 3 cups all-purpose flour, 1 1/2 teaspoons salt, and 1 tablespoon olive oil to the bowl. Mix with a wooden spoon or your hands until a shaggy dough forms.
- Turn the dough out onto a lightly floured surface and knead for 3–4 minutes, until the dough is smooth and elastic.
- Lightly oil a clean bowl, place the kneaded dough inside, and turn once to coat with oil. Cover the bowl with a cloth and set in a warm spot. Let the dough rise about 30 minutes or until doubled in size.
- Punch the dough down to release air. Divide the dough into 6 equal pieces and shape each piece into a smooth ball.
- On a lightly floured surface, flatten or stretch each ball into a roughly 6-inch circle. Use a rolling pin if you want more uniform rounds.
- Heat a cast-iron skillet (or heavy skillet) over medium heat until hot. Lightly brush the skillet with olive oil.
- Place one dough circle in the skillet and cook 2–3 minutes on the first side, until golden-brown spots appear and the bread begins to puff. Flip and cook 2–3 minutes more on the second side until it has golden-brown spots and is cooked through. Adjust the heat as needed to avoid burning.
- As you finish each piece, stack the cooked breads and wrap them in a clean towel to keep them warm and soft. Re-brush the skillet with a little olive oil as needed between batches.
- Serve the gyro bread warm.