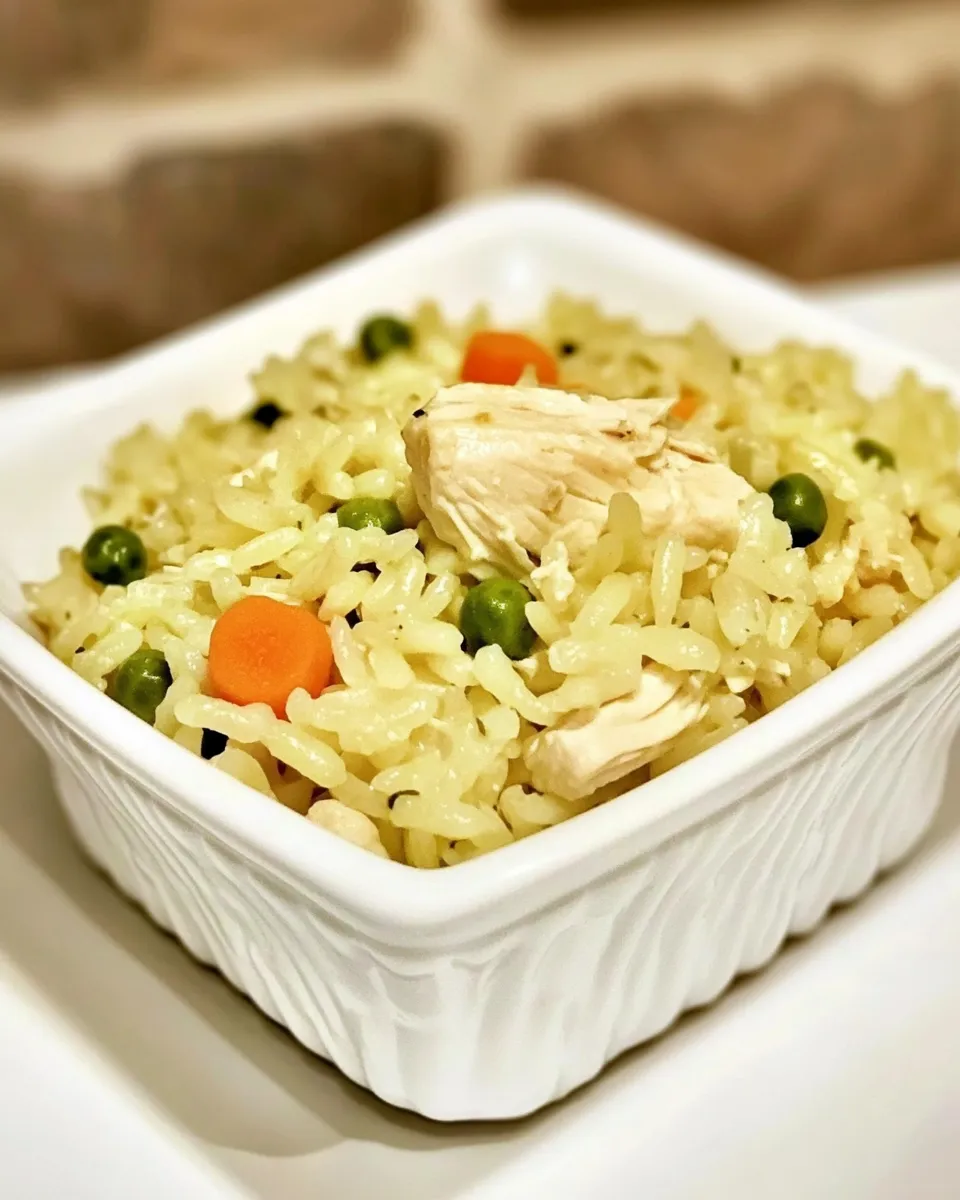
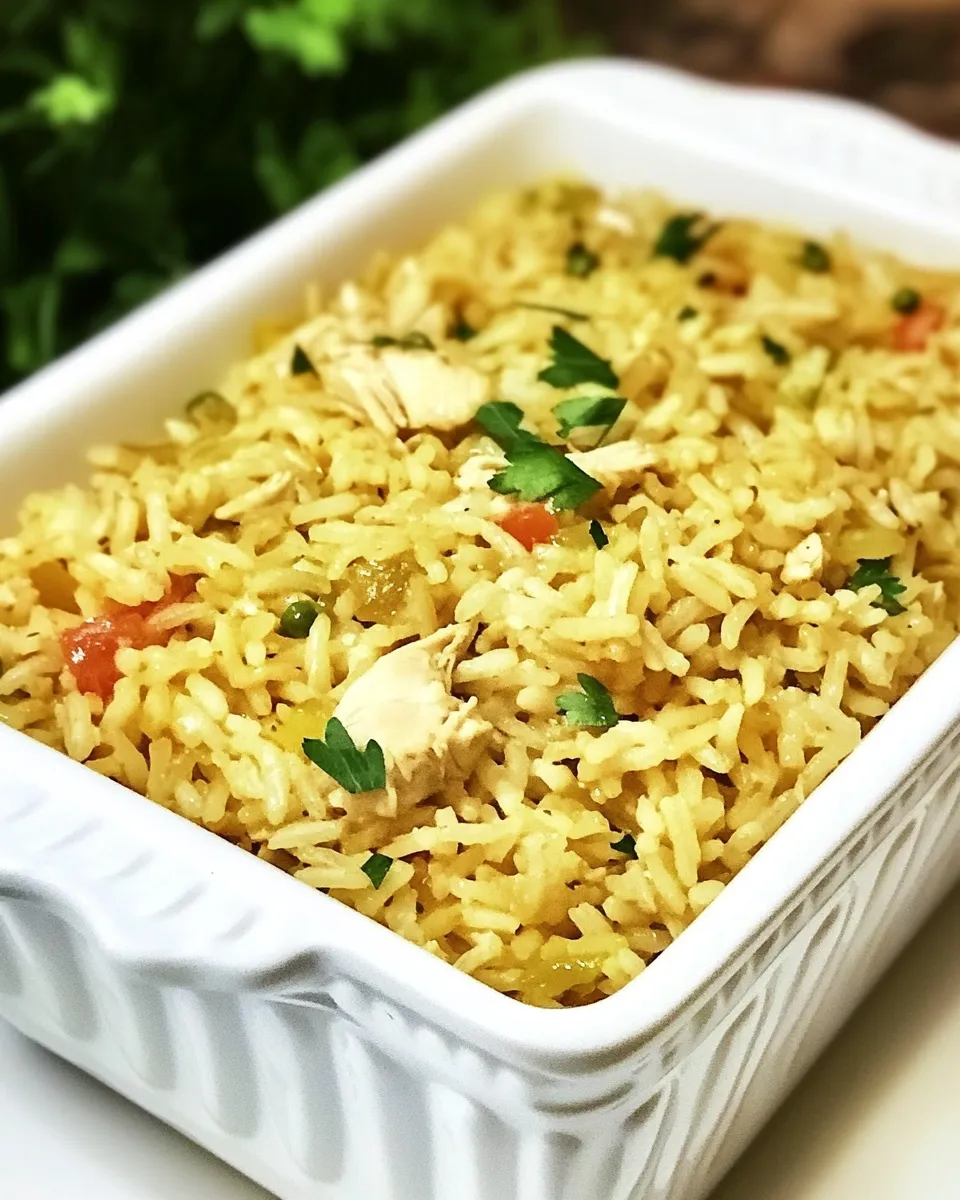
Homemade Chicken Rice-A-Roni
I grew up on the boxed stuff, but this simple scratch version has become my go-to when I want that comforting rice side without the additives. It’s fast, reliable, and hits the same savory notes—plus you control the butter and salt. You get lightly toasted vermicelli, fragrant broth, and rice that holds its texture instead of getting gummy.
This recipe takes pantry staples and turns them into something better than the sum of its parts. It’s perfect for weeknights, potlucks, or whenever you want a humble, crowd-pleasing side. Timing is forgiving and the technique is straightforward: toast, boil, simmer, and fluff.
Below I walk you through what to gather, each step in order, and the small tricks that make the difference. There are also swaps for vegetarians, storage tips, and answers to the most common questions I hear when friends try this at home.
What You’ll Gather
Everything you need is likely already in your pantry. Measure before you start, have a lid for your skillet, and a fork ready for fluffing when it’s done. The full ingredient list follows.
Ingredients
- 2-oz vermicelli, broken into half inch pieces (about 1/2 cup) — provides the toasted noodle flavor and a nutty crunch when browned.
- 1 cup long-grain rice, not instant — long-grain holds texture and steams up fluffy rather than mushy.
- 4 tsp chicken bouillon — the concentrated savory backbone; dissolves into the cooking water to flavor the rice.
- ½ tsp Italian seasoning — adds an herbaceous lift without overpowering the chicken flavor.
- 1 tsp dried parsley — brightens the finished dish and adds a hint of green color.
- ⅛ tsp garlic powder — small but important for warmth and depth.
- 2¾ cup water — the liquid that becomes the flavored broth for the rice.
- 2 Tbsp butter — used for toasting and flavor; gives the vermicelli and rice a glossy, savory start.
Build Homemade Chicken Rice-A-Roni Step by Step
- Melt 2 Tbsp butter in a large skillet over medium heat.
- Add the broken vermicelli (about 1/2 cup) and 1 cup long‑grain rice (not instant). Cook, stirring frequently, until the vermicelli is lightly golden and the rice is lightly toasted, about 3–5 minutes.
- In a measuring cup, stir 2¾ cups water with 4 tsp chicken bouillon until the bouillon dissolves.
- Pour the bouillon‑water into the skillet. Add ½ tsp Italian seasoning, 1 tsp dried parsley, and 1/8 tsp garlic powder; stir once to combine.
- Bring to a boil over medium‑high heat. Once boiling, reduce heat to low, cover, and simmer 15–20 minutes, stirring occasionally, until the water is absorbed and the rice is tender.
- Remove from heat and fluff the rice and vermicelli with a fork before serving.
What Makes This Recipe Special
There are three small moves that lift this from ordinary rice to something memorable. First, toasting the vermicelli and rice in butter builds nutty, caramelized flavors you won’t get from plain boiled rice. Second, dissolving the bouillon fully in the water ensures even seasoning—no salty pockets. Third, the relatively low simmer and covered finish let the grains steam gently so each piece stays separate and tender.
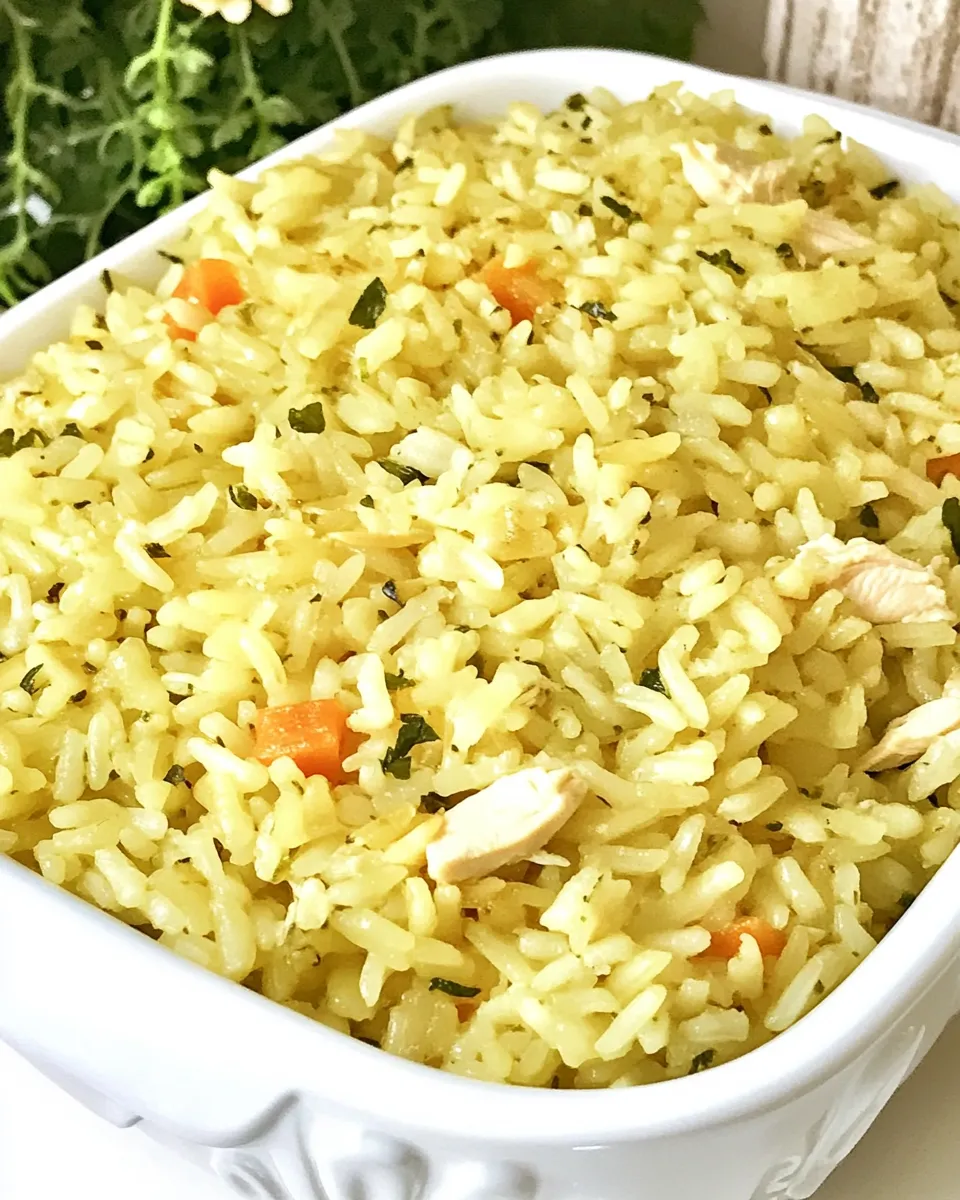
The texture contrast is satisfying: short, toasted vermicelli strands dispersed through pillowy rice, all carrying a gentle chicken-herb flavor. It’s simple enough to pair with almost anything, but it also stands up as a component in bigger bowls, casseroles, or stuffed peppers.
Vegan & Vegetarian Swaps
Want to keep the spirit of this dish but remove animal products? You can do that without losing comfort.
- Replace the 4 tsp chicken bouillon with an equal amount of vegetable bouillon or 2¾ cups low-sodium vegetable broth for a direct swap in flavor depth.
- Swap the 2 Tbsp butter for 2 Tbsp olive oil or a vegan buttery spread. Olive oil gives a slightly fruitier toast; vegan butter keeps the richer mouthfeel.
- Boost umami by stirring in a splash of tamari or a few teaspoons of miso dissolved in the broth if you want more savory complexity.
- If you prefer a herby profile, increase the dried parsley to 2 tsp and consider 1/4 tsp onion powder to round things out.
Tools & Equipment Needed
- Large skillet with a tight-fitting lid — gives even browning and keeps steam in while the rice cooks.
- Measuring cups and measuring spoons — exact amounts matter for liquid-to-rice ratio.
- Measuring cup or small bowl to dissolve the bouillon — ensures it’s fully dissolved before it hits the pan.
- Fork for fluffing — a gentle tool; no need for vigorous stirring that will mash the grains.
- Heatproof spatula or wooden spoon for stirring during toasting.
Steer Clear of These
- Don’t use instant rice. The recipe relies on a raw long-grain rice texture and a 15–20 minute simmer; instant rice will disintegrate or become gummy.
- Avoid burning the vermicelli—keep the heat at medium and stir frequently during the 3–5 minute toast. Golden, not dark, is the goal.
- Don’t skip dissolving the bouillon. Undissolved granules make unevenly seasoned rice with salty pockets.
- Resist the temptation to lift the lid constantly during the simmer. Each peek lets out steam and can increase cooking time or produce uneven texture.
Make It Year-Round
This recipe is a great base for seasonal improvisation. In spring and summer add blanched peas and chopped herbs at the end. In fall, stir in roasted diced sweet potato or sautéed mushrooms. In winter, this rice pairs beautifully with braised meats, roasted chicken, or a simple pan-seared fish.
For a more substantial main, fold in cooked shredded rotisserie chicken during the last few minutes so it warms through. Or use the rice as stuffing for bell peppers or tomatoes—fill, cover, and bake at 350°F for about 25 minutes until heated through.
Notes on Ingredients
Here’s why each ingredient is included and a few quick notes on substitutions or adjustments.
- Vermicelli — tiny broken pasta pieces brown quickly and add a toasty flavor. If you only have longer strands, break them or use angel hair cut into small pieces.
- Long-grain rice — chosen for separate, fluffy grains. Medium or short grain will be stickier; adjust liquid slightly if you use them.
- Chicken bouillon — concentrated seasoning; provides the chicken note without actual meat. Use low-sodium if you’re monitoring salt, then taste and adjust.
- Italian seasoning & dried parsley — these keep the flavor profile gentle and familiar. Fresh herbs can be used at the end for brightness.
- Garlic powder — adds background warmth. If you use fresh garlic, sauté finely minced 20–30 seconds with the vermicelli but reduce quantity to avoid burning.
- Water — the cooking medium. If you use broth instead of water, reduce or omit bouillon to prevent over-salting.
- Butter — aids in browning and richness. Use oil for a lighter or dairy-free version.
Meal Prep & Storage Notes
Cool leftover rice quickly and store in an airtight container in the refrigerator for up to 4 days. Reheat gently on the stovetop with a splash of water or broth and a lid to steam it back to life. Microwave reheat works too—cover loosely and stir halfway through.
For longer storage, freeze in portions for up to 3 months. Thaw overnight in the fridge, then reheat on the stovetop with a little liquid. Texture after freezing won’t be quite the same as freshly made, but the flavor will hold and it’s handy for meal prep.
Popular Questions
Can I use brown rice?
Yes, but brown rice needs a longer cooking time and more liquid. If you try brown rice, increase the liquid and simmer time—expect at least 40–50 minutes—so this recipe is most convenient with long-grain white rice.
Can I make this in a saucepan instead of a skillet?
Yes. Use a wide saucepan with a lid so the vermicelli and rice have room to toast evenly before you add the broth.
Why does the box mix taste different?
Commercial mixes include flavor enhancers and preservatives. This homemade version uses bouillon and simple herbs; it’s cleaner-tasting and fresher. You can tweak the seasoning to more closely match your favorite boxed variety if you like it saltier or more herby.
Can I add vegetables or meat directly while cooking?
Small, quick-cooking vegetables (peas, finely diced carrots) can go in during the last 5 minutes of simmering. For raw meat, fully cook it separately first; shredded cooked chicken can be stirred in at the end.
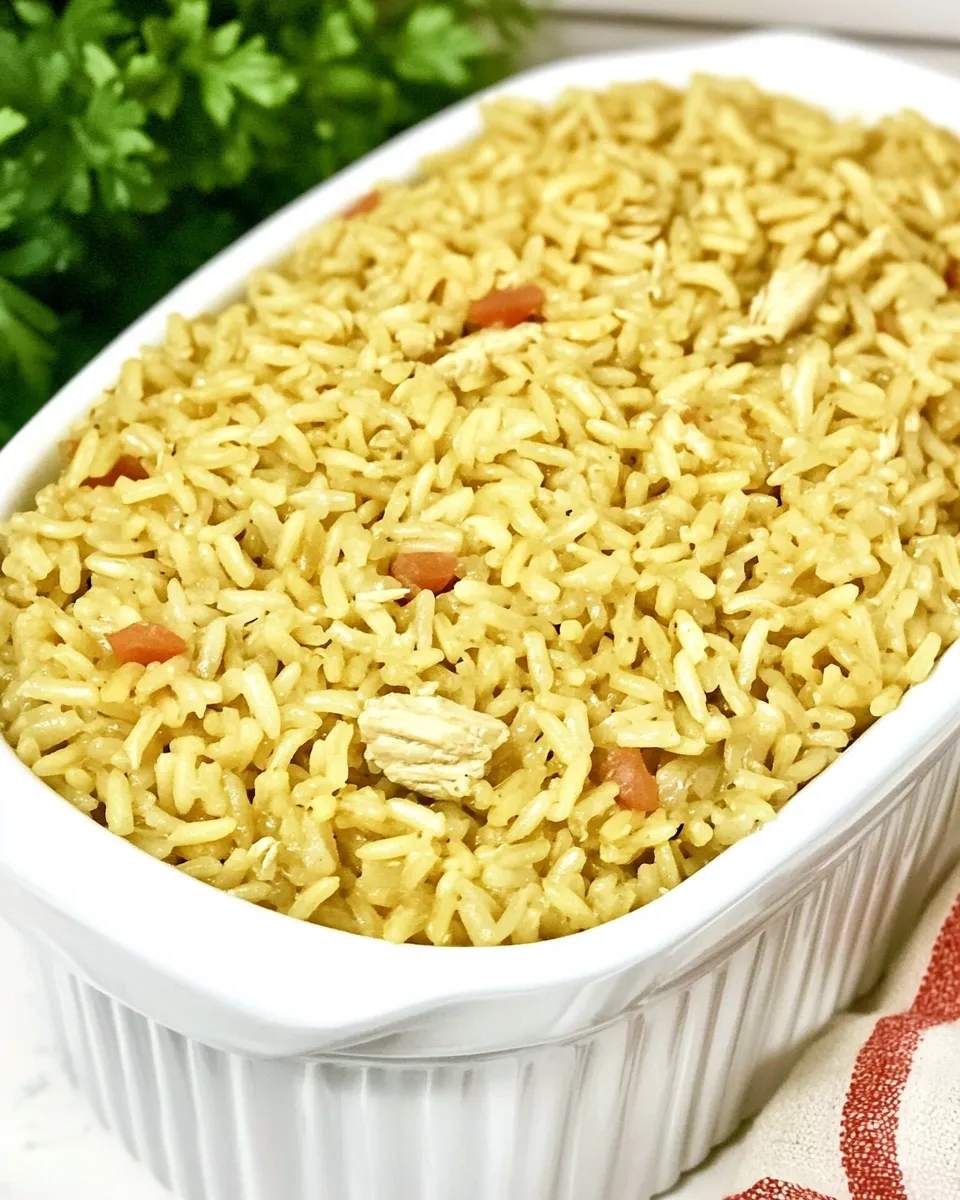
Let’s Eat
Serve this Homemade Chicken Rice-A-Roni alongside roasted vegetables, a simple green salad, or as a bed for pan-seared protein. I like it with a squeeze of lemon and a sprinkle of fresh parsley for brightness. It’s one of those recipes that’s humble but reliable—comforting, quick, and easy to customize.
Make it your own, keep a note of any tweaks, and if you try a version you love, tuck it into the back of your mental cookbook. Come back when you want more variations—I’ve got favorite add-ins for every season.
Homemade Chicken Rice-A-Roni
Ingredients
Equipment
Method
- Melt 2 Tbsp butter in a large skillet over medium heat.
- Add the broken vermicelli (about 1/2 cup) and 1 cup long‑grain rice (not instant). Cook, stirring frequently, until the vermicelli is lightly golden and the rice is lightly toasted, about 3–5 minutes.
- In a measuring cup, stir 2¾ cups water with 4 tsp chicken bouillon until the bouillon dissolves.
- Pour the bouillon‑water into the skillet. Add ½ tsp Italian seasoning, 1 tsp dried parsley, and 1/8 tsp garlic powder; stir once to combine.
- Bring to a boil over medium‑high heat. Once boiling, reduce heat to low, cover, and simmer 15–20 minutes, stirring occasionally, until the water is absorbed and the rice is tender.
- Remove from heat and fluff the rice and vermicelli with a fork before serving.