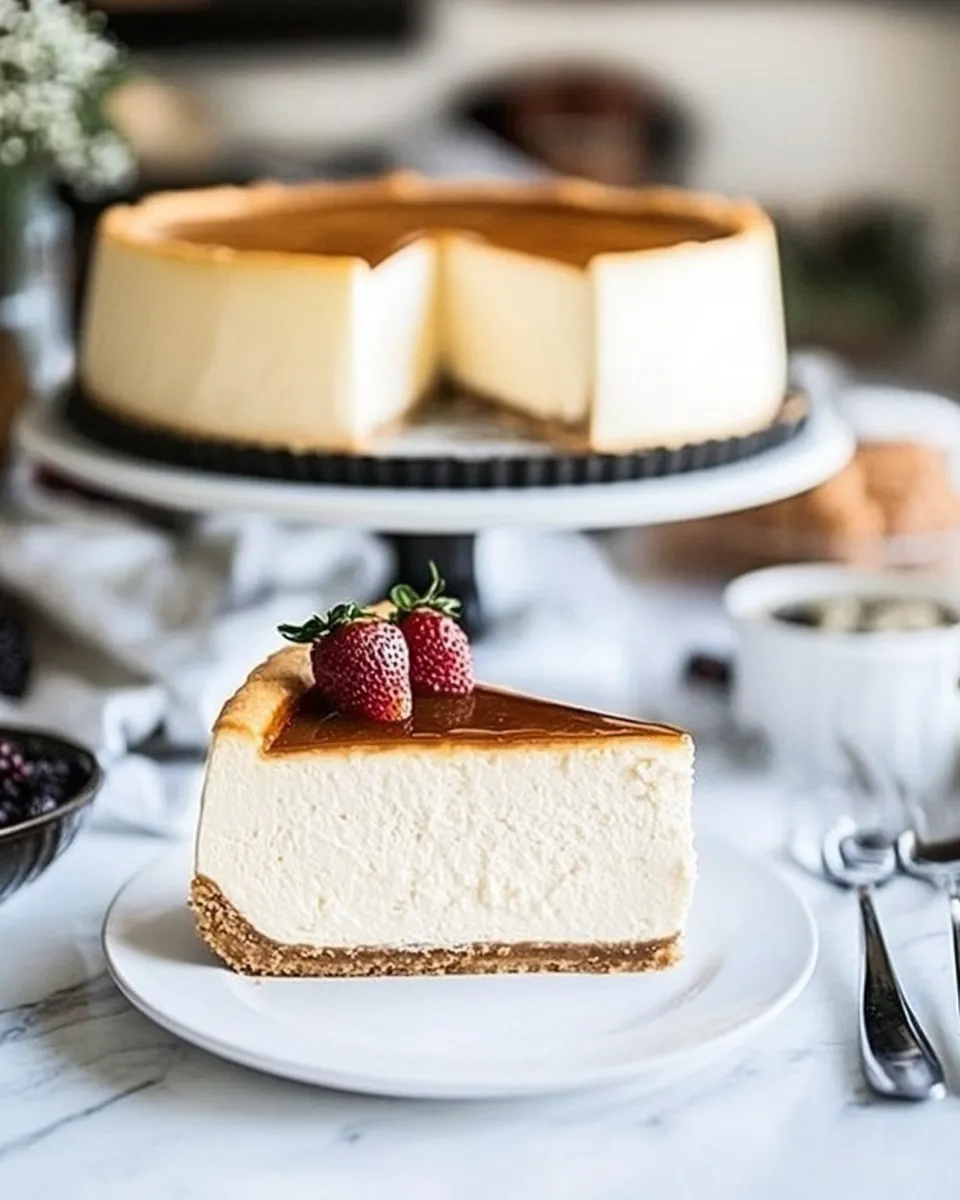
Homemade Classic Cheesecake Recipe
Making a cheesecake at home isn’t hard — it just asks for patience and a little technique. This classic cheesecake has a buttery graham crust and a dense, creamy filling that sets into a smooth, sliceable cake. You’ll get a reliably elegant dessert that serves well for gatherings or for a quiet Sunday treat.
I focus on clear steps, practical tips, and small checks that prevent cracks and watery textures. The recipe below follows a water-bath method and slow, gentle baking so the center finishes perfectly. Read through the ingredients and steps once before you start; it saves time and keeps the process calm.
What You’ll Need
Ingredients
- 1 ½ cups graham cracker crumbs — forms the crunchy base; press firmly to prevent a crumbly crust.
- 5 tablespoons melted unsalted butter — binds the crumbs and adds richness; use melted but not hot.
- 1 tablespoon sugar — balances the graham crumbs; small but important for flavor.
- pinch of sea salt — lifts the sweetness and deepens flavor in the crust.
- 2 ½ pounds softened cream cheese — the main structure for the filling; bring to room temperature for a smooth batter.
- 1 ½ cups sugar — sweetens the filling evenly; measure carefully for texture and browning.
- ¼ cup Bob’s Red Mill All-Purpose Flour — gives a little stability to the filling and helps prevent cracks.
- 1 tablespoon vanilla extract — classic flavoring that complements the cream cheese.
- 5 eggs — add structure; incorporate one at a time to avoid overmixing and curdling.
- ½ cup sour cream — adds tang and silkiness; fold in gently for a smooth finish.
Homemade Classic Cheesecake Recipe — Do This Next
- Preheat the oven to 325°F (163°C). Position a rack on the bottom third of the oven.
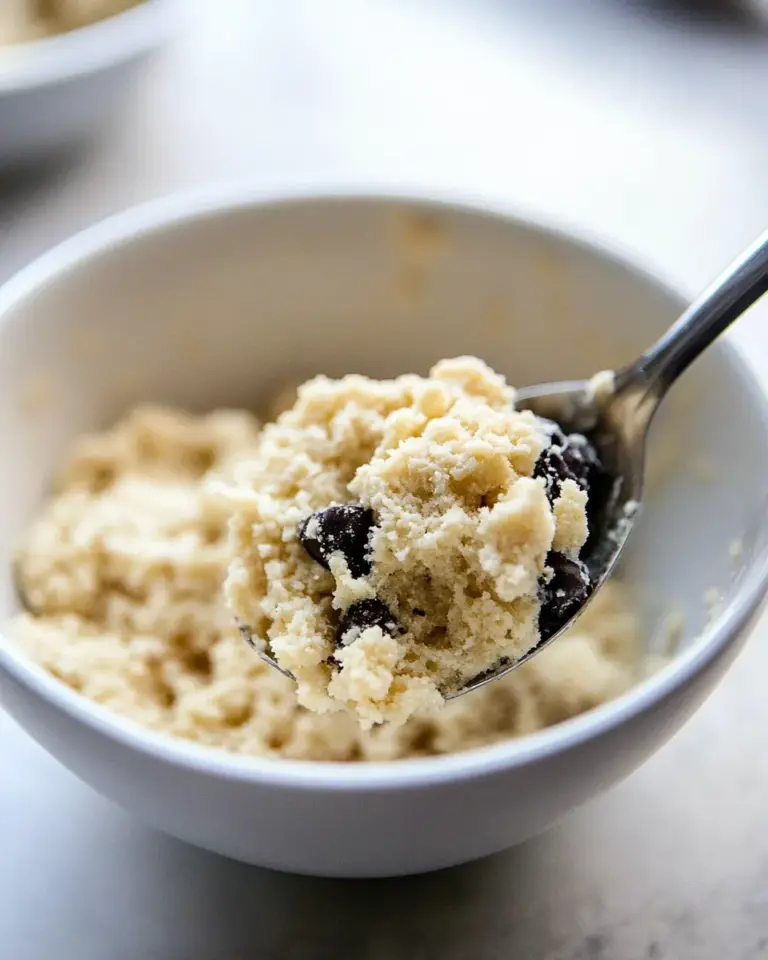
- Make the crust: combine 1 ½ cups graham cracker crumbs, 5 tablespoons melted unsalted butter, 1 tablespoon sugar, and a pinch of sea salt in a food processor and pulse until the mixture resembles a coarse meal.
- Transfer the crumb mixture to a 9-inch or 10-inch springform pan and press it firmly and evenly into the bottom of the pan to form the crust. Set the pan aside.
- In a stand mixer fitted with the whisk attachment, add 2 ½ pounds softened cream cheese, 1 ½ cups sugar, and ¼ cup Bob’s Red Mill All-Purpose Flour. Mix on high speed for 4–5 minutes, scraping the bowl at least once, until the mixture is soft and smooth.
- Add 1 tablespoon vanilla extract and mix briefly to combine.
- With the mixer running on low to medium speed, add the 5 eggs one at a time, waiting until each egg is completely incorporated before adding the next. Scrape the bowl as needed.
- Reduce the mixer to medium speed and add ½ cup sour cream. Mix until combined, then stop the mixer, scrape the bowl and paddle, and mix for an additional 1 minute to ensure a smooth batter.
- Pour the cheesecake batter over the prepared crust in the springform pan and smooth the top with a spatula.
- Wrap the outside of the springform pan tightly with aluminum foil to prevent water from seeping in.
- Place the wrapped springform pan inside a larger rectangular cake pan or roasting pan. Set the pan on the oven’s bottom rack. Carefully pour warm water into the outer pan until it reaches about halfway up the sides of the springform pan to create a water bath.
- Bake at 325°F for 90–105 minutes, or until the top is lightly browned and the center is only barely jiggly when the pan is gently shaken.
- Turn off the oven and leave the cheesecake in the oven (with the door closed) for a few minutes, then carefully remove the outer pan from the oven. Let the springform pan sit in the water bath at room temperature and cool for 45 minutes.
- After 45 minutes, remove the springform pan from the water bath, unwrap and discard the foil, and run a knife around the inner edge if needed. Allow the cheesecake to cool completely in the refrigerator for about 2 hours.
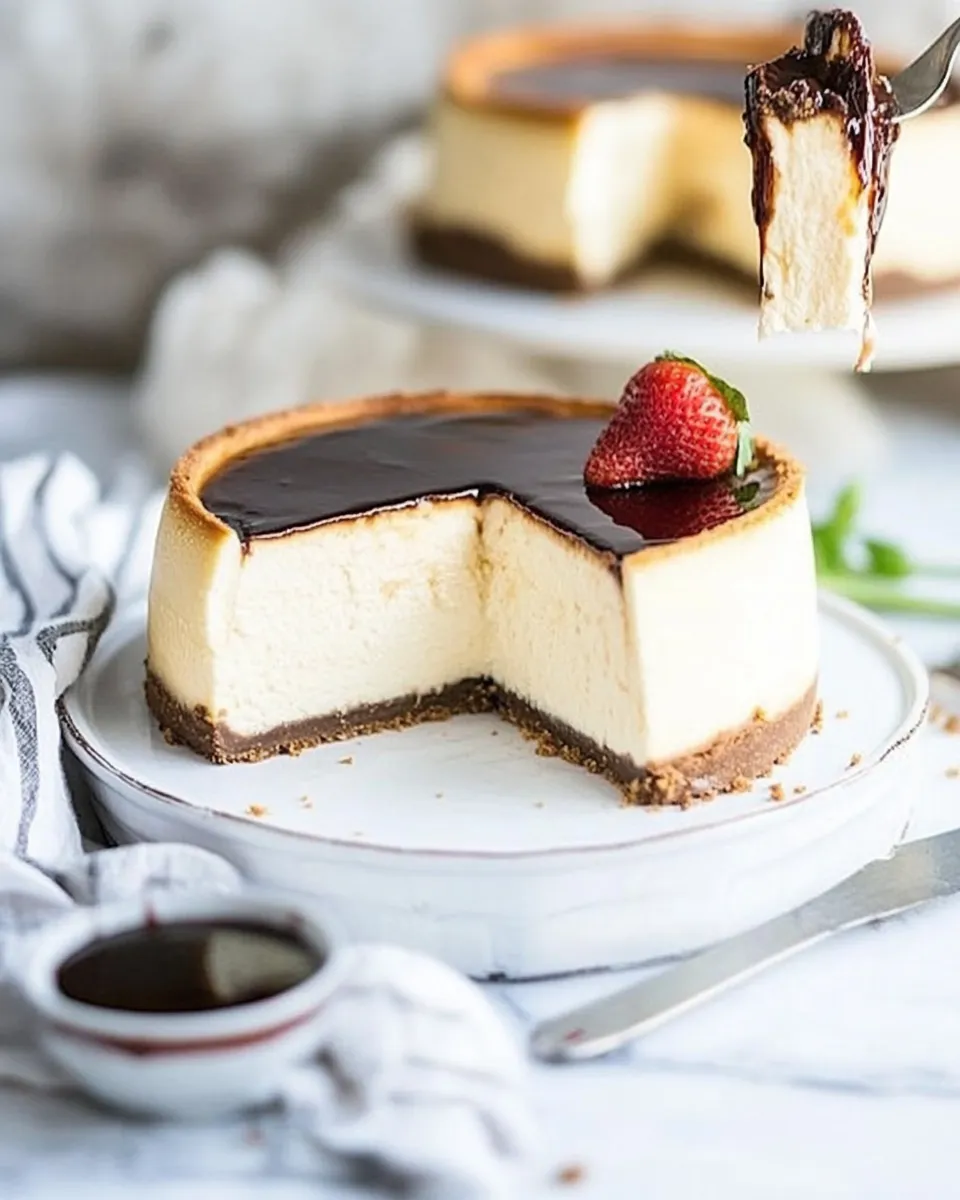
- When chilled, release and remove the outer ring of the springform pan, slice the cheesecake, and serve (optional: garnish with whipped cream, fresh berries, or chocolate sauce).
Why You’ll Love This Recipe
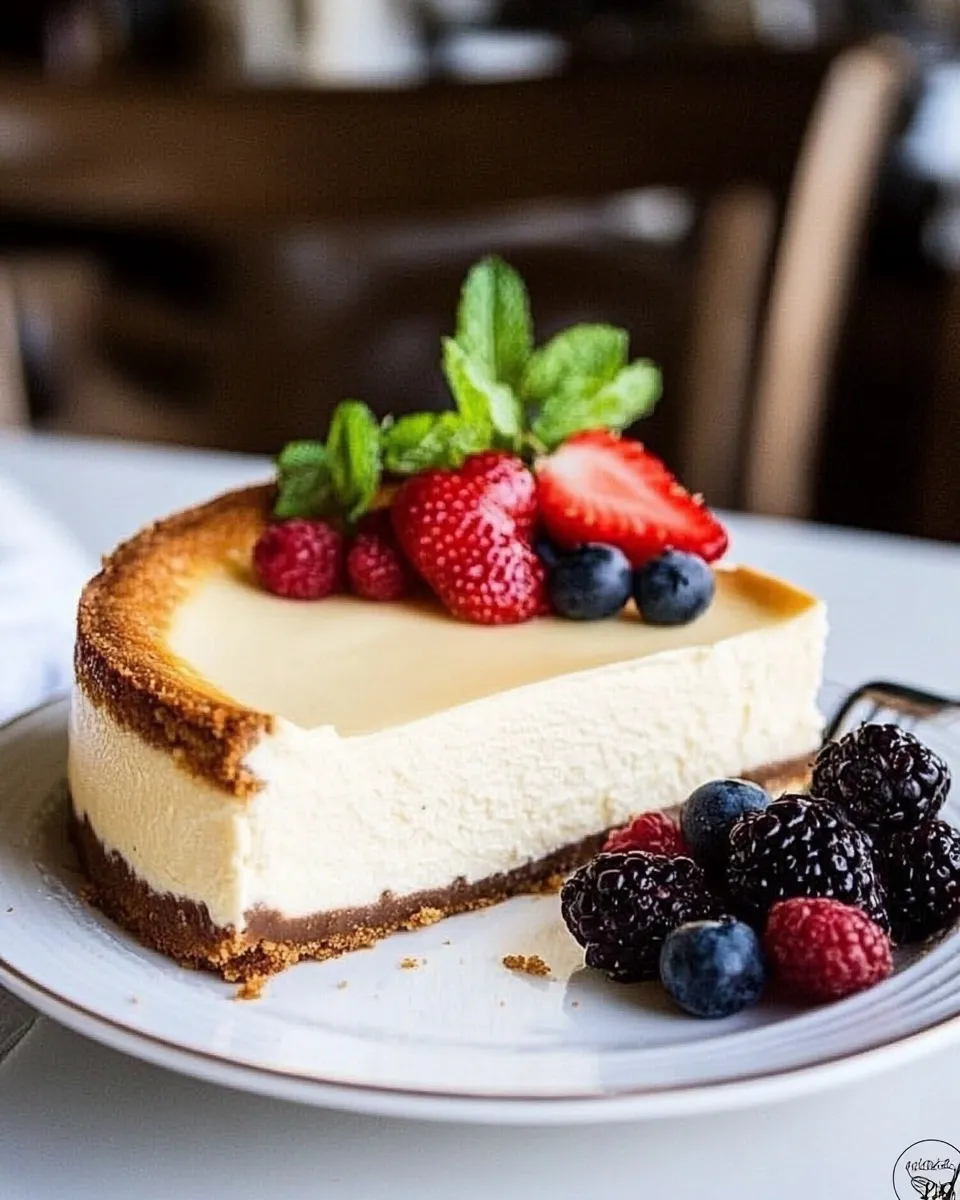
This cheesecake is reliably creamy and dense, but not heavy. The slow bake at a moderate temperature and the water bath make the texture uniform and reduce cracking. Using a little flour in the filling stabilizes it just enough so slices hold cleanly without turning cakey.
The method keeps things simple: a single bowl for the filling, a food processor for the crust, and a dependable pan setup for steaming. The results are the kind of classic dessert that feels special without requiring advanced pastry technique. It also keeps well, so you can make it a day ahead.
Smart Substitutions
- Graham cracker crumbs — replace with an equal amount of digestive biscuit crumbs or finely crushed plain cookies if graham crumbs aren’t available.
- Melted unsalted butter — you can use salted butter but omit the pinch of sea salt for balance.
- Bob’s Red Mill All-Purpose Flour — any neutral all-purpose flour works here; the amount is small and stabilizes the filling.
- Sour cream — plain Greek yogurt is a workable swap for similar tang and texture, used in the same quantity.
- Cream cheese — do not swap for low-fat versions if you want the traditional texture; full-fat gives the best body and mouthfeel.
Tools & Equipment Needed
- 9-inch or 10-inch springform pan — essential for easy removal of the cheesecake.
- Stand mixer (or a hand mixer and a large mixing bowl) — for the smoothest, lump-free filling.
- Food processor — makes the crust uniform; you can also use a zip-top bag and a rolling pin.
- Rectangular cake pan or roasting pan — to hold the water bath around the springform pan.
- Aluminum foil — for wrapping the springform and preventing leaks into the water bath.
- Spatula and bowl scraper — to level the batter and scrape the bowl cleanly.
Avoid These Mistakes
- Adding cold cream cheese to the mixer — it leads to lumps. Soften to room temperature first for a smooth batter.
- Overmixing after adding eggs — high speed or long mixing incorporates air and can cause cracks; add eggs slowly and mix just until incorporated.
- Skipping the foil seal — water will seep into the pan and swamp the crust if the springform isn’t wrapped tightly.
- Baking too hot or for too long — it encourages browning and dry edges. Stick to 325°F and watch the jiggle in the center.
- Rushing cooling — sudden temperature changes can crack the top. Let it cool gradually in the oven and then in the water bath before chilling.
Variations for Dietary Needs
You can adapt this blueprint while preserving technique:
– For gluten-free: use certified gluten-free graham crumbs or substitute with crushed gluten-free cookies for the crust. The filling’s flour can be replaced with a gluten-free all-purpose blend in an equal amount.
– For lower sugar: reduce the sugar slightly in the filling, but not too much; sugar also affects texture. Dropping more than 20% can change the set and mouthfeel.
– For vegetarian (egg-free): this recipe relies on eggs for structure, so replacing them requires tested egg replacers and technique adjustments; try a separate egg-free cheesecake recipe optimized for that approach.
– For dairy-free: this recipe is built on cream cheese and sour cream; use specialized dairy-free cream cheeses and sour cream alternatives, and be prepared for a different texture. These swaps may require recipe tweaks to match the set.
Flavor Logic
Cheesecake is a balance of fat, acid, and a little starch. The cream cheese provides richness and structure; sour cream contributes acidity and silkiness. A small amount of flour helps the filling hold together without making it cakey. Vanilla is the classic lift — simple but essential.
The water bath moderates oven heat and maintains moisture around the pan so the surface sets slowly. This slow set prevents rapid contraction and cracking. The crust is intentionally firm — enough butter to bind the crumbs but not drown them, so you get a pleasant texture contrast with each bite.
Storing Tips & Timelines
- Refrigerator: store the whole cheesecake, covered, for up to 5 days. Wrap loosely with plastic wrap or keep in an airtight container.
- Freezer: for longer storage, freeze sliced or whole in a single layer on a tray until firm, then wrap tightly with plastic and foil. Freeze for up to 2 months. Thaw overnight in the refrigerator.
- Serving after chilling: slice with a warm, clean knife for neat slices. Wipe the blade between cuts.
Quick Questions
Can I bake in a different pan size?
Use a 9-inch or 10-inch springform as instructed. A smaller pan will make the filling taller and may require longer baking; a larger pan makes it thinner and will reduce time. If you change size, watch the center’s jiggle rather than the clock.
Why is the center still jiggly after the timer?
The center should be only barely jiggly — it continues to set as it cools. If it’s very loose, it needs more time. If it’s solid but dry, it may have been overbaked.
Do I have to use a water bath?
The water bath is strongly recommended. It provides gentle, even heat and humidity, which reduces cracking and overbrowning.
The Takeaway
This Homemade Classic Cheesecake Recipe rewards a little patience with a reliably smooth, creamy dessert. Follow the ingredient list and the step-by-step method, take care with temperatures and mixing, and allow sufficient cooling time. The result is a timeless cake — firm enough to slice cleanly, rich in flavor, and perfect for adapting with your favorite toppings or simple, classic presentation. Enjoy the process; the payoff is excellent.
Homemade Classic Cheesecake Recipe
Ingredients
Equipment
Method
- Preheat the oven to 325°F (163°C). Position a rack on the bottom third of the oven.
- Make the crust: combine 1 ½ cups graham cracker crumbs, 5 tablespoons melted unsalted butter, 1 tablespoon sugar, and a pinch of sea salt in a food processor and pulse until the mixture resembles a coarse meal.
- Transfer the crumb mixture to a 9-inch or 10-inch springform pan and press it firmly and evenly into the bottom of the pan to form the crust. Set the pan aside.
- In a stand mixer fitted with the whisk attachment, add 2 ½ pounds softened cream cheese, 1 ½ cups sugar, and ¼ cup Bob’s Red Mill All-Purpose Flour. Mix on high speed for 4–5 minutes, scraping the bowl at least once, until the mixture is soft and smooth.
- Add 1 tablespoon vanilla extract and mix briefly to combine.
- With the mixer running on low to medium speed, add the 5 eggs one at a time, waiting until each egg is completely incorporated before adding the next. Scrape the bowl as needed.
- Reduce the mixer to medium speed and add ½ cup sour cream. Mix until combined, then stop the mixer, scrape the bowl and paddle, and mix for an additional 1 minute to ensure a smooth batter.
- Pour the cheesecake batter over the prepared crust in the springform pan and smooth the top with a spatula.
- Wrap the outside of the springform pan tightly with aluminum foil to prevent water from seeping in.
- Place the wrapped springform pan inside a larger rectangular cake pan or roasting pan. Set the pan on the oven’s bottom rack. Carefully pour warm water into the outer pan until it reaches about halfway up the sides of the springform pan to create a water bath.
- Bake at 325°F for 90–105 minutes, or until the top is lightly browned and the center is only barely jiggly when the pan is gently shaken.
- Turn off the oven and leave the cheesecake in the oven (with the door closed) for a few minutes, then carefully remove the outer pan from the oven. Let the springform pan sit in the water bath at room temperature and cool for 45 minutes.
- After 45 minutes, remove the springform pan from the water bath, unwrap and discard the foil, and run a knife around the inner edge if needed. Allow the cheesecake to cool completely in the refrigerator for about 2 hours.
- When chilled, release and remove the outer ring of the springform pan, slice the cheesecake, and serve (optional: garnish with whipped cream, fresh berries, or chocolate sauce).
Notes
Make-Ahead:
You can make this cake up to 1 day ahead of time.
How to Store:
Store this covered in the refrigerator for up to 5 days. I usually leave it in the springform pan when storing it. This will freeze well and be covered for up to 3 months. You should thaw the cake in the refrigerator for 1 day before serving.
Just like
in my
crème brulee recipe
, you can add ingredients to your recipe to make it unique, such as an Oreo Recipe, Cherry, Blueberry, Chocolate Cheesecake, and so on. The base, however, starts with this classic recipe.
I like
to use the backside of a measuring cup to press in the graham cracker crust.
It will
take about 4 to 5 minutes for the cream cheese to soften in the stand mixer.
Eggs and
fat don’t mix naturally, so when you mix in 1 egg at a time until it is thoroughly mixed in, it guarantees that all your ingredients are mixing. Take your time with this process.
You can
also run a knife around the cake right after it is done baking. If you do it after it is chilled, heat the knife you are using under hot water.