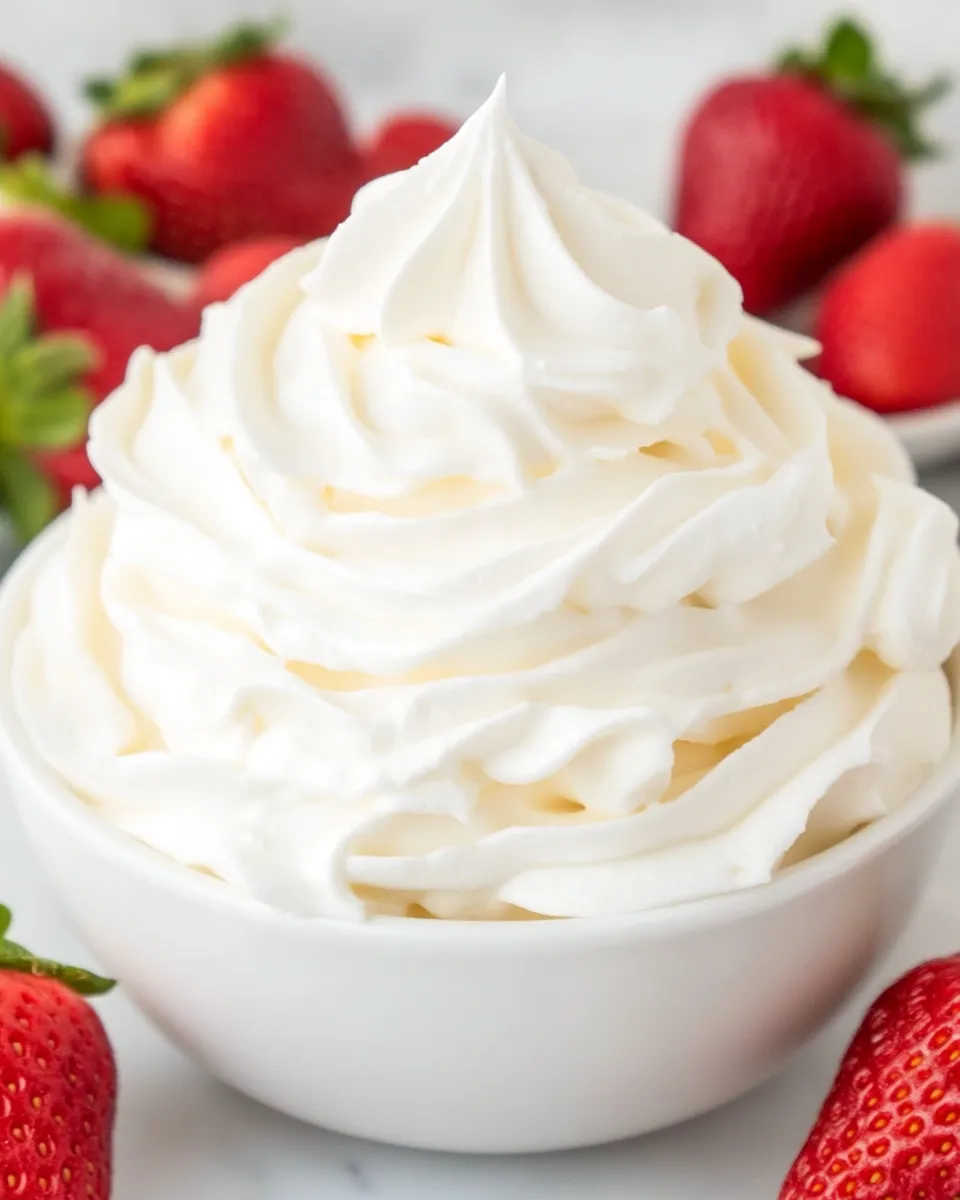
Homemade Cool Whip
If you’ve ever reached for a tub of Cool Whip in the supermarket, you might have noticed that it comes with a few unpronounceable ingredients. Why not make your own at home, where you control every creamy, delicious bite? Homemade Cool Whip is an easy and delightful alternative that’s perfect for topping your favorite desserts, and it only takes a handful of simple ingredients. Forgetting the store-bought stuff, you’ll love the fresh taste that you can whip up in no time!
Why This Recipe Is a Must-Try
Making your own Cool Whip at home not only guarantees freshness, but it also allows you to avoid a long list of preservatives and artificial flavorings. With just a few simple ingredients, you can create a silky, sweet topping that is perfect for pies, cakes, or even a spoonful straight from the bowl! This recipe perfectly balances creaminess and sweetness, making it a versatile addition to any dessert. Plus, it’s so easy to make, you’ll wonder why you didn’t try it sooner!
Ingredients
- ½ cup cold water
- 2 teaspoons unflavored gelatin
- 2 ¼ cup heavy whipping cream
- ¼ cup powdered sugar, sifted
- 1 tablespoon vanilla extract
How To Make Homemade Cool Whip
Step 1: Prepare the Gelatin
Start by blooming the gelatin. In a small bowl, pour ½ cup of cold water and sprinkle 2 teaspoons of unflavored gelatin over it. Let it sit for about 5 minutes to bloom. This step is essential for achieving the perfect texture.
Step 2: Dissolve the Gelatin
After the gelatin has bloomed, heat the water on the stovetop or in the microwave until it is just warm enough to dissolve the gelatin. Stir it gently until the gelatin completely dissolves in the water. Be careful not to let it boil.
Step 3: Whip the Heavy Cream
In a mixing bowl, pour in 2 ¼ cups of heavy whipping cream. Using an electric mixer, beat the cream on medium speed until it begins to thicken.
Step 4: Sweeten it Up
Once the cream starts to thicken, add ¼ cup of sifted powdered sugar and 1 tablespoon of vanilla extract. Continue beating until soft peaks form. This means the cream should be thick enough to hold a peak but still be smooth.
Step 5: Combine the Gelatin Mixture
Take the dissolved gelatin mixture and gradually pour it into the whipped cream while beating on low speed. This allows the gelatin to incorporate evenly without collapsing the whipped cream.
Step 6: Final Mixing
Once combined, increase the mixer speed back to medium and beat just until the mixture is smooth and fully incorporated. This is your homemade Cool Whip!
Step 7: Chill
Transfer your whipped topping into a container and let it chill in the refrigerator for at least one hour. This helps to set it up perfectly and enhances the flavor.
Expert Tips
- Make sure to use cold heavy cream for better whipping results.
- Don’t overbeat the cream; stop as soon as you reach soft peaks for a light and fluffy texture.
- For added flavor, consider using flavored extracts, like almond or butter extract, in place of vanilla.
- If planning to use it for topping hot desserts, allow the Cool Whip to sit at room temperature for a few minutes before serving for optimal texture.
Variations and Customizations
- For a chocolate version, fold in 2 tablespoons of cocoa powder along with the powdered sugar.
- Add a spoonful of peanut butter or Nutella for a creamy twist.
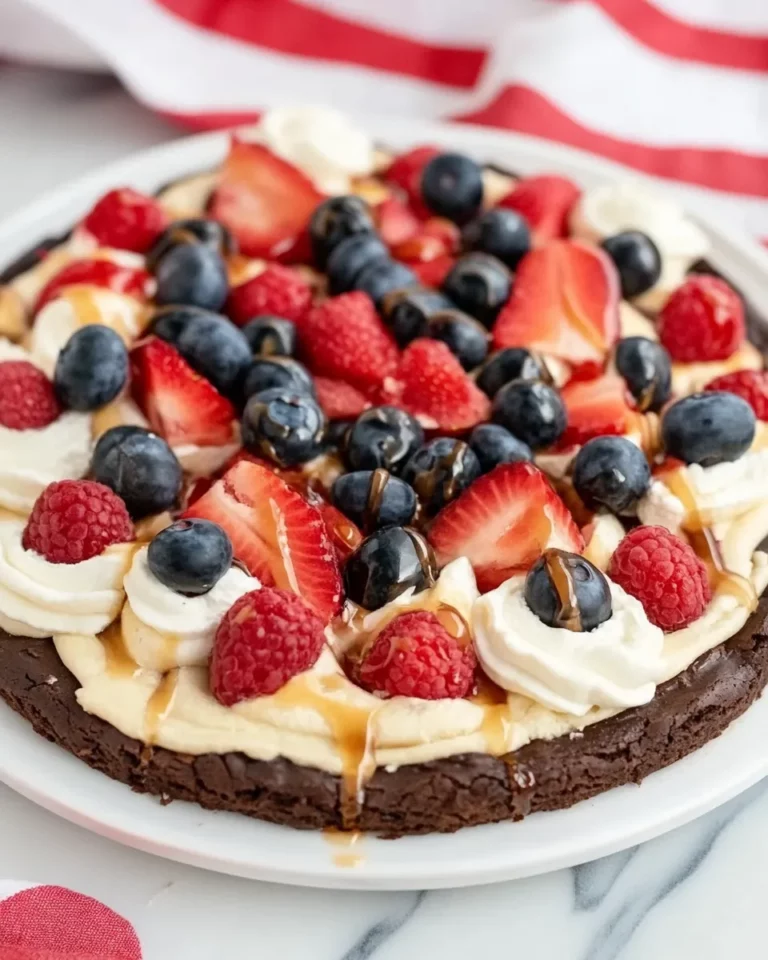
- Stir in a little fresh fruit puree, like strawberry or raspberry, for extra flavor and color.
- Make it dairy-free by substituting coconut cream for heavy whipping cream.
How to Store Leftovers
Any leftover homemade Cool Whip can be stored in an airtight container in the refrigerator for up to 5 days. If your Cool Whip starts to deflate, just give it a gentle whisk to restore its creamy texture before serving.
FAQ
Can I use different sweeteners in this recipe?
Absolutely! You can substitute powdered sugar with other sweeteners like honey, maple syrup, or even a sugar substitute if you prefer. Just remember that liquid sweeteners may alter the texture slightly.
Can I freeze Homemade Cool Whip?
Yes, you can freeze Homemade Cool Whip! Place it in an airtight container and freeze for up to 2 months. When ready to use, let it thaw in the refrigerator overnight and re-whip gently if needed.
Why do you use gelatin in this recipe?
Gelatin helps stabilize the whipped cream, so it holds its shape longer without weeping or collapsing. This results in a perfect texture for topping desserts or mixing into recipes.
Is there a way to make this dairy-free?
Yes! You can make a dairy-free version by using coconut cream instead of heavy cream. Just chill a can of coconut milk overnight, scoop out the solidified cream, and whip it just like heavy cream for a delightful alternative.
Conclusion
Making your own Homemade Cool Whip is a game-changer for dessert lovers. This fresh, creamy topping elevates everything from pies to cakes to fruit salads, bringing a touch of homemade goodness to your favorite treats. With just a few ingredients and easy-to-follow steps, you’ll never want to reach for that store-bought tub again. Enjoy creating and customizing your creamy masterpiece, and watch as it becomes a staple in your kitchen! Whether you’re hosting a party or simply satisfying your sweet tooth, homemade Cool Whip is sure to impress. Happy whipping!

Homemade Cool Whip
Equipment
- Mixing Bowl
- Electric Mixer
- Small Bowl
Ingredients
Ingredients
- ½ cup Cold Water
- 2 teaspoons Unflavored Gelatin
- 2 ¼ cups Heavy Whipping Cream Use cold for better whipping results.
- ¼ cup Powdered Sugar Sifted.
- 1 tablespoon Vanilla Extract
Instructions
- Step 1: In a small bowl, pour ½ cup of cold water and sprinkle 2 teaspoons of unflavored gelatin over it. Let it sit for about 5 minutes to bloom.
- Step 2: Heat the bloomed gelatin mixture until just warm enough to dissolve, stirring gently until completely dissolved.
- Step 3: In a mixing bowl, pour in 2 ¼ cups of heavy whipping cream and beat on medium speed until it begins to thicken.
- Step 4: Add ¼ cup of sifted powdered sugar and 1 tablespoon of vanilla extract, continuing to beat until soft peaks form.
- Step 5: Gradually pour the dissolved gelatin mixture into the whipped cream while beating on low speed.
- Step 6: Increase the mixer speed back to medium and beat until the mixture is smooth and fully incorporated.
- Step 7: Transfer the whipped topping into a container and let it chill in the refrigerator for at least one hour.