Homemade Crostini Recipe
I make crostini at home more than I probably should admit — they’re that easy, and they always disappear fastest at any gathering. A warm tray of crisped baguette slices is one of those small, reliable pleasures: crunchy base, whisper of olive oil, a finish of flaky salt. You can leave them plain, pile them high with toppings, or use them to sop up every last drop from a good stew.
This recipe strips the process down to what matters: good bread, a little oil, and the right oven timing. No elaborate steps, no special equipment. If you can slice a baguette and brush oil on toast, you can make better crostini than many restaurants — and with zero fuss.
Below I’ll walk you through what goes in the bowl, the exact bake method I use, quick swaps, tools to have on hand, traps to avoid, and seasonal serving ideas so you can turn a simple tray of crostini into something memorable. Let’s get comfortable with the basics so you can build from there.
What’s in the Bowl
Ingredients
- 1 fresh baguette — crusty; or ciabatta if you prefer a wider surface for toppings.
- 4 tablespoons olive oil — for brushing both sides so slices crisp evenly and brown without drying out.
- Flaky sea salt — for sprinkling at the end to add texture and bright seasoning.
Homemade Crostini, Made Easy
- Preheat the oven to 375°F (190°C; 170°C fan) and line a rimmed baking sheet with parchment paper.
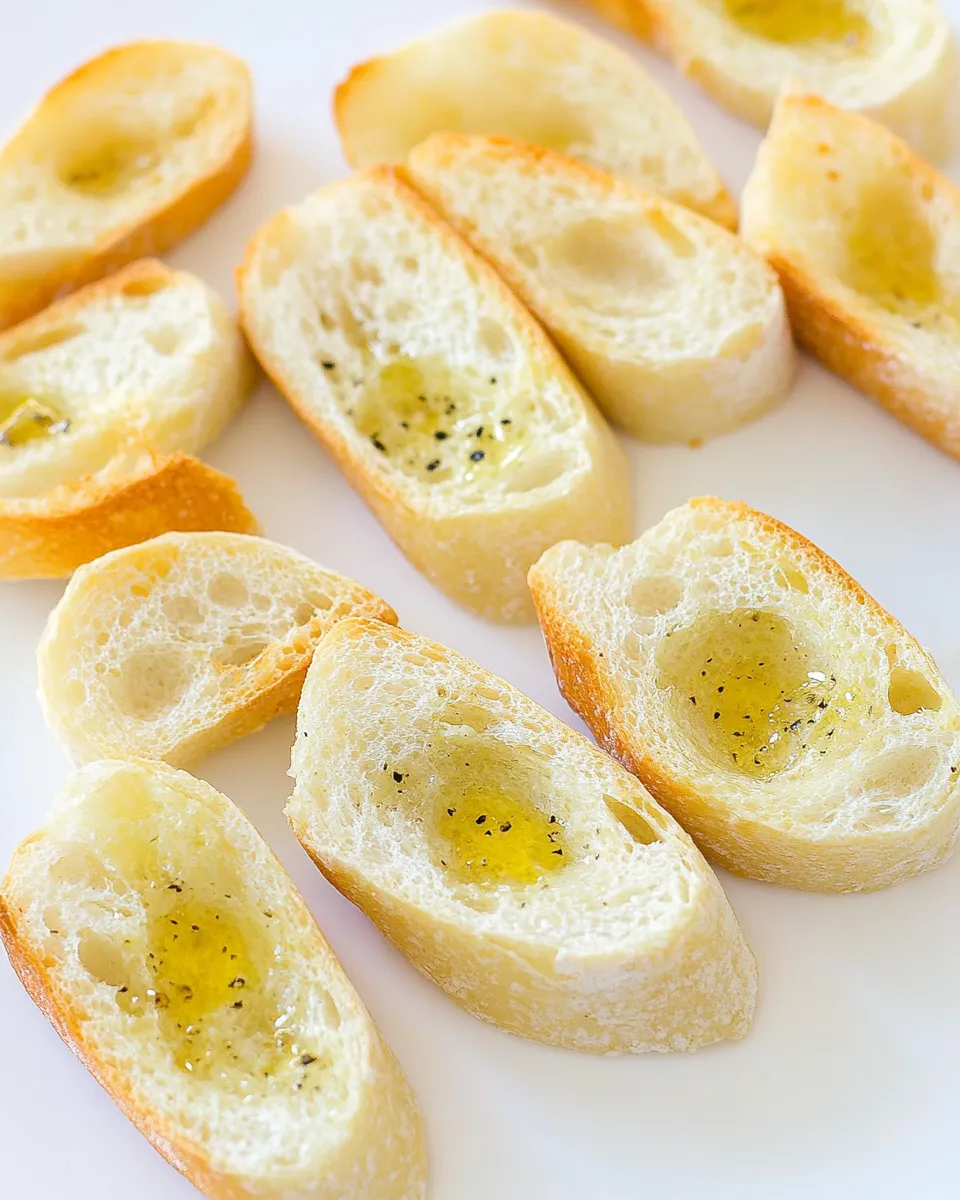
- Slice the baguette (or ciabatta) into about 1/2-inch thick slices.
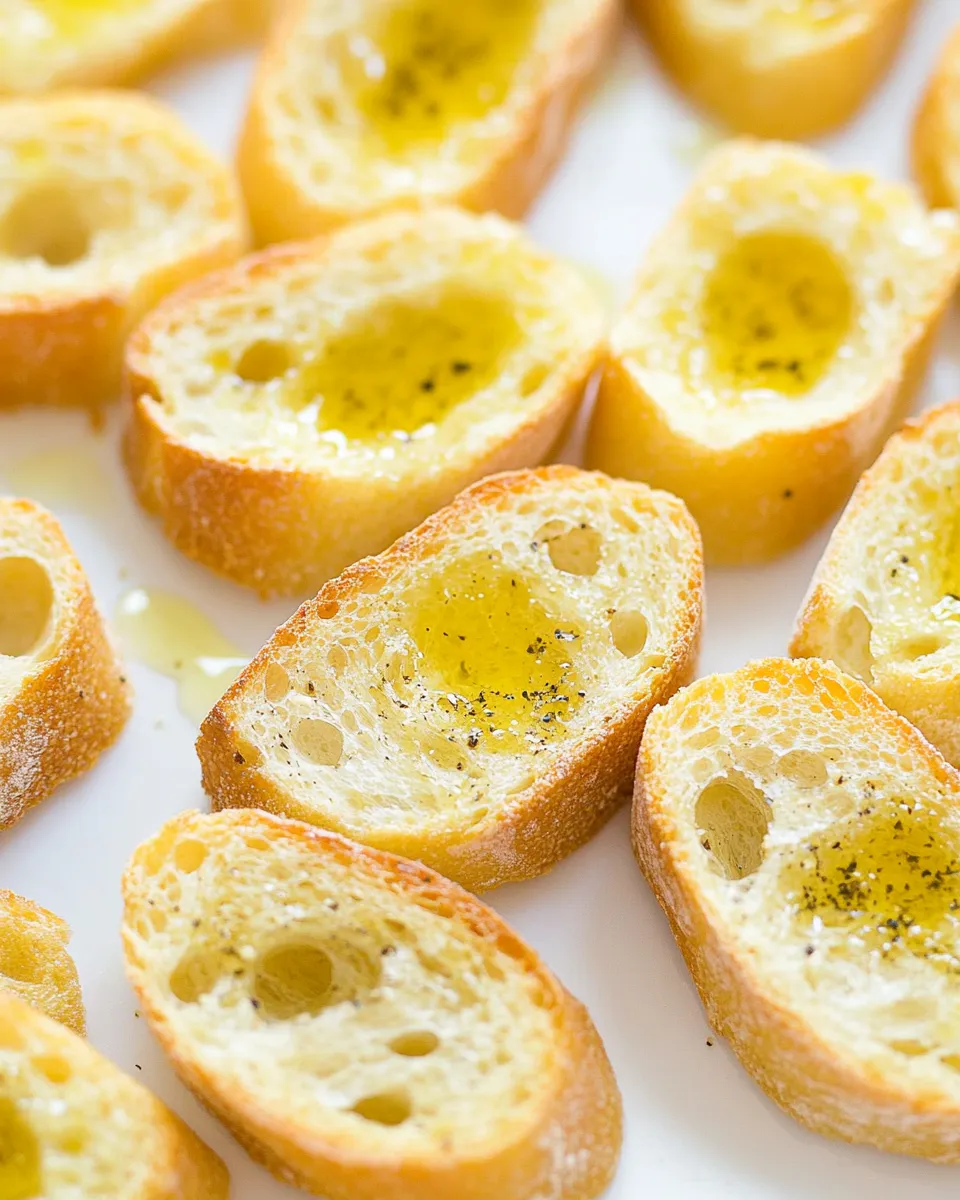
- Pour the 4 tablespoons olive oil into a small bowl or shallow dish. Using a pastry brush or spoon, brush both sides of each slice with the oil, using the 4 tablespoons in total.
- Arrange the oiled slices in a single layer on the prepared baking sheet so they do not overlap.
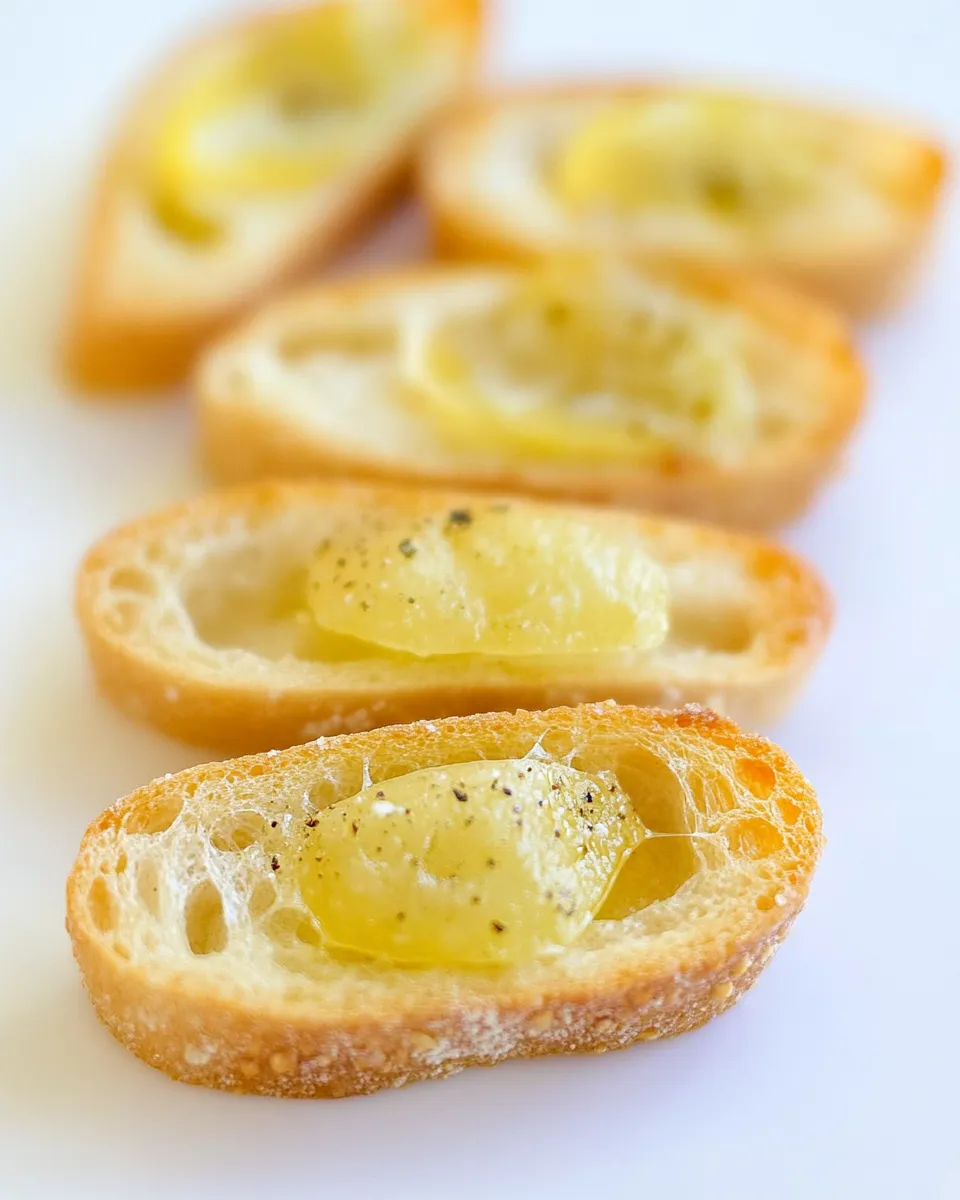
- Bake for 8–10 minutes, or until the slices are lightly golden brown and crisp.
- Remove the baking sheet from the oven, sprinkle the crostini with flaky sea salt, and transfer the slices to a wire rack or plate to cool slightly.
- Serve the crostini warm or at room temperature, plain or topped with your preferred toppings.
What Makes This Recipe Special
It’s the simplicity. You can make these crostini with three pantry items and an ordinary oven. That means fewer steps, fewer ways to go wrong, and a result that reliably delivers crispness and flavor. The 1/2-inch slice gives a satisfying bite without being too bulky for toppings. Brushing both sides of each slice with a measured amount of oil ensures even browning without greasiness.
I love the final sprinkle of flaky sea salt — it’s a small flourish that turns simple toast into something polished. And because you can serve them warm or at room temperature, they’re perfect for last-minute hosting. Make them early and top them just before serving, or bake and keep them airtight for a bit of prep-time freedom.
Quick Replacement Ideas
- Swap the baguette for ciabatta — already suggested in the ingredients — for a thicker, chewier bite and more topping real estate.
- If you want a lighter brush of fat, reduce the olive oil slightly; increase by a teaspoon if your bread is very dry.
- Skip the flaky sea salt if you’re watching sodium and add a light squeeze of lemon to toppings instead for brightness.
Tools & Equipment Needed
- Oven — set to 375°F (190°C; 170°C fan) for even heat.
- Rimmed baking sheet — rims keep slices stable and catch any oil drips.
- Parchment paper — prevents sticking and makes cleanup trivial.
- Sharp serrated knife — for clean, even 1/2-inch slices without crushing the loaf.
- Pastry brush or spoon — to apply the 4 tablespoons of olive oil evenly.
- Wire rack or plate — for cooling so the bottoms don’t steam and soften.
Avoid These Traps
Don’t slice the bread too thick or too thin. Too thin and the slices turn brittle; too thick and they won’t crisp through in the 8–10 minutes recommended. Aim for about 1/2 inch.
Don’t over-oil. Four tablespoons is enough to coat both sides of a single baguette’s worth of slices. If you pour the oil directly on the tray and dunk slices, you’ll end up oily, not crispy. Brush or spoon the oil evenly.
Watch the oven during the last couple of minutes. Ovens vary; the 8–10 minute window is a guideline. Pull them at the first hint of golden brown for a tender crunch, or let them go another minute for a firmer, deeper-browned bite.
Spring to Winter: Ideas
One of the best things about crostini is how well they adapt to the season. In spring, keep things bright with a simple tomato and basil bruschetta — dice tomatoes, toss with a touch of olive oil and chopped basil, and spoon on just before serving so the bread stays crisp. Late summer they’re perfect with blistered cherry tomatoes or a spoonful of fresh corn salad.
For fall, think roasted mushrooms or caramelized onions with a smear of soft cheese. Winter invites heartier toppers: warm braised greens, a roasted root-vegetable mash, or a robust tapenade. In every case, prepare moist toppings separately and add them right before serving to keep the crostini crisp and pleasant to eat.
Behind-the-Scenes Notes
I make crostini in batches. I’ll slice a couple of loaves and line them up on two trays, brushing as I go so the rhythm is quick and satisfying. If I’m feeding a crowd, I bake one tray and stagger the second so everything comes out warm. A wire rack is a small investment that pays off: it keeps the bottoms from steaming and turning limp while you prep toppings.
Storage is straightforward: keep cooled crostini in an airtight container at room temperature for a day or two. If they lose their snap, a quick 3–4 minute return to a hot oven will revive them nicely. I often make several trays ahead, then refresh them right before guests arrive and top immediately for best texture.
Keep-It-Fresh Plan
Make them up to a day ahead if you need to, but hold off on wet toppings. Store baked crostini in a container with a paper towel to absorb any residual moisture. For longer storage, freeze in a single layer on a tray, then transfer to a freezer bag. Reheat straight from frozen for a few minutes in a hot oven to reclaim crispness.
If you’re prepping toppings in advance, keep them separate in airtight containers. Assemble only seconds before serving. This keeps every bite pleasantly crunchy and lets guests experience contrast between warm, crispy bread and cool or warm toppings.
Homemade Crostini Q&A
Q: Can I use day-old bread?
A: Yes. Slightly stale bread can actually be easier to slice evenly and can produce a crisper crostini. If the loaf is very dry, a tiny bit more oil helps.
Q: My crostini turned out soggy — why?
A: Most likely they were topped while too hot with a moist topping, or they were stored without cooling properly. Cool on a wire rack and top just before serving. If revived from storage, re-crisp in the oven for best results.
Q: Can I toast these under the broiler instead?
A: You can, but watch closely. Broilers vary and can brown the top quickly while leaving the underside pale. Flip the slices halfway and keep a close eye to prevent burning.
Q: How long do they last once topped?
A: It depends on the topping. Dry or dense toppings (e.g., hard cheeses, cured meats) will be fine for a short serving window. Juicy or saucy toppings should be added only right before eating to avoid sogginess.
Ready, Set, Cook
At heart, this Homemade Crostini method is about speed and reliability. Preheat, slice, brush, and bake — that’s the core. From there, build with whatever you have on hand: a simple olive oil and salt finish is enough to make guests take notice, and toppings let you convert the crostini into a snack, a starter, or even a light meal.
One final, practical tip: when serving several toppings, arrange them in small dishes and let people top their own crostini buffet-style. It’s easy for you and fun for guests. Crisp, warm bread, a drizzle of oil, and a sprinkle of flaky salt — that’s the foundation. Everything else is the part you get to enjoy creating.

Homemade Crostini Recipe
Ingredients
Equipment
Method
- Preheat the oven to 375°F (190°C; 170°C fan) and line a rimmed baking sheet with parchment paper.
- Slice the baguette (or ciabatta) into about 1/2-inch thick slices.
- Pour the 4 tablespoons olive oil into a small bowl or shallow dish. Using a pastry brush or spoon, brush both sides of each slice with the oil, using the 4 tablespoons in total.
- Arrange the oiled slices in a single layer on the prepared baking sheet so they do not overlap.
- Bake for 8–10 minutes, or until the slices are lightly golden brown and crisp.
- Remove the baking sheet from the oven, sprinkle the crostini with flaky sea salt, and transfer the slices to a wire rack or plate to cool slightly.
- Serve the crostini warm or at room temperature, plain or topped with your preferred toppings.
Notes
1/2-inch slices are perfect for crostini. Any thicker than that and they won’t get crispy all the way through.
If you’re cooking outside, try grilling crostini! Preheat the grill to375°F/190°C, and add the sliced bread right to the grill grates, over indirect heat.
To make garlic crostini, rub a peeled clove of garlic over the warm, crispy bread right after you pull it out of the oven.
To Store:Keep leftovers in a sealed container at room temperature for up to 5 days. You can also freeze the crostini for up to 1 month.