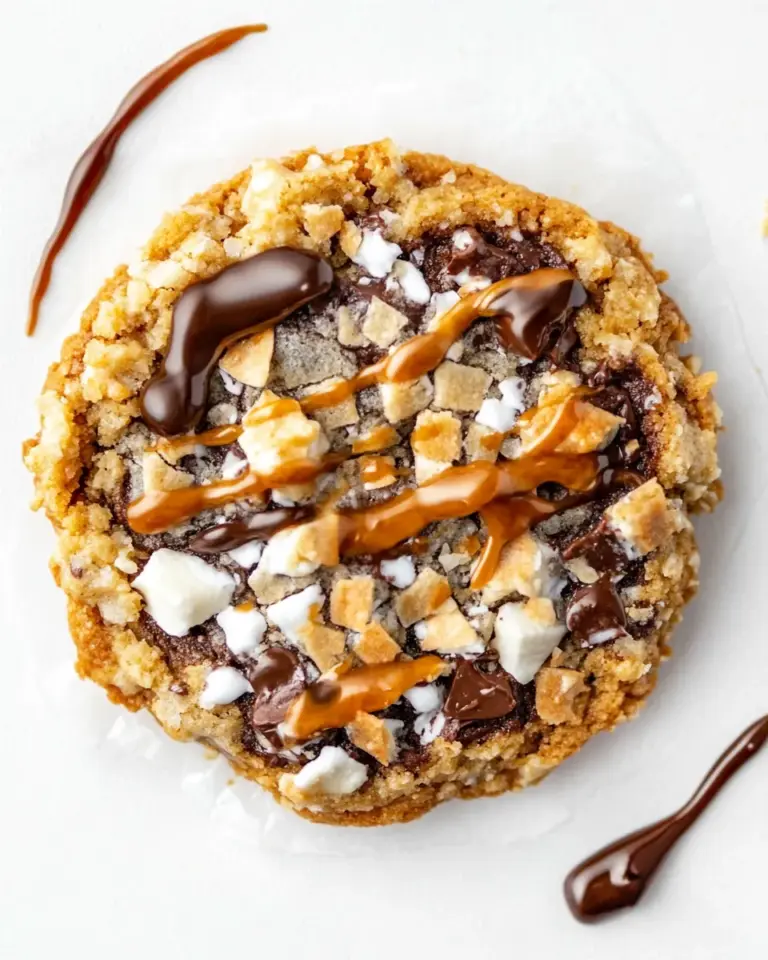
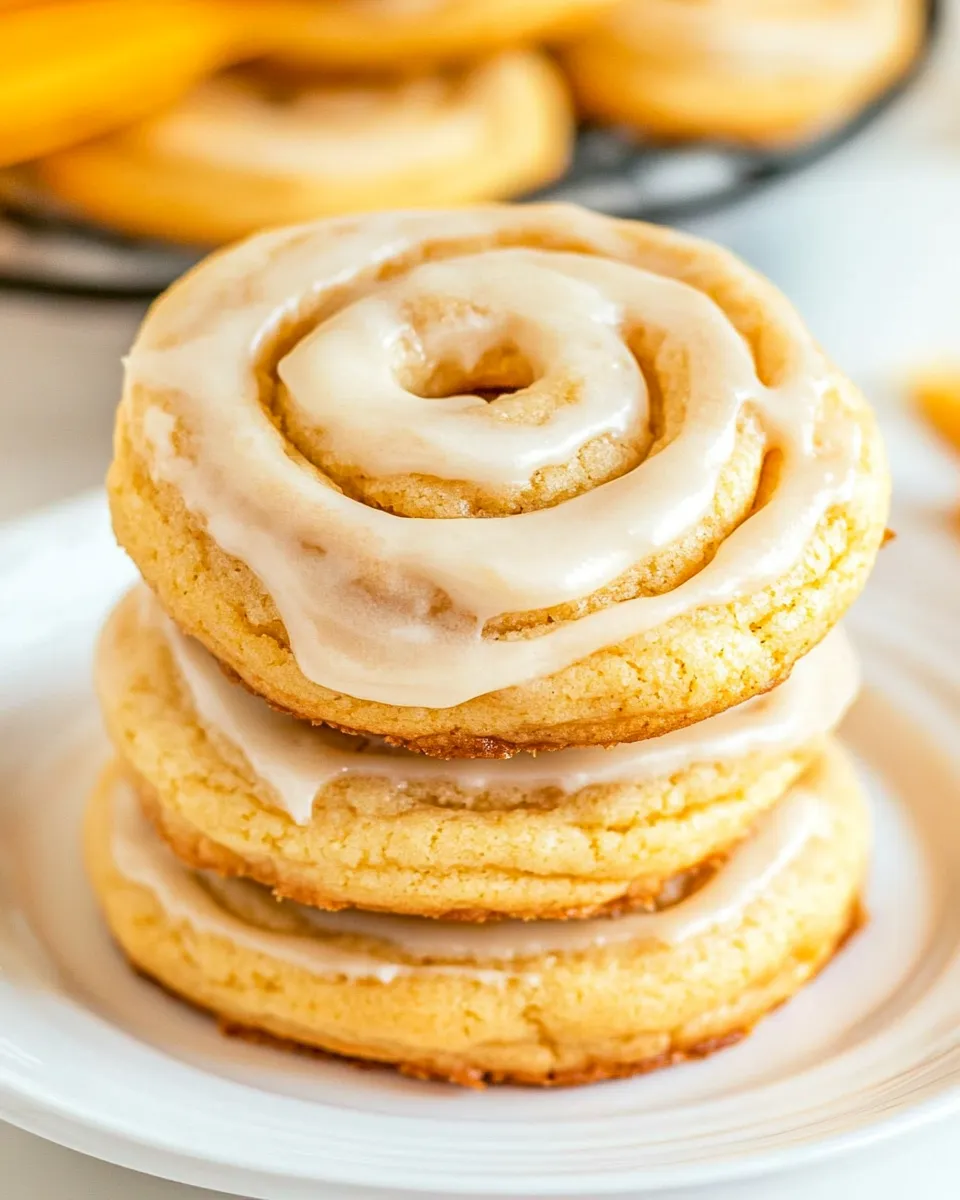
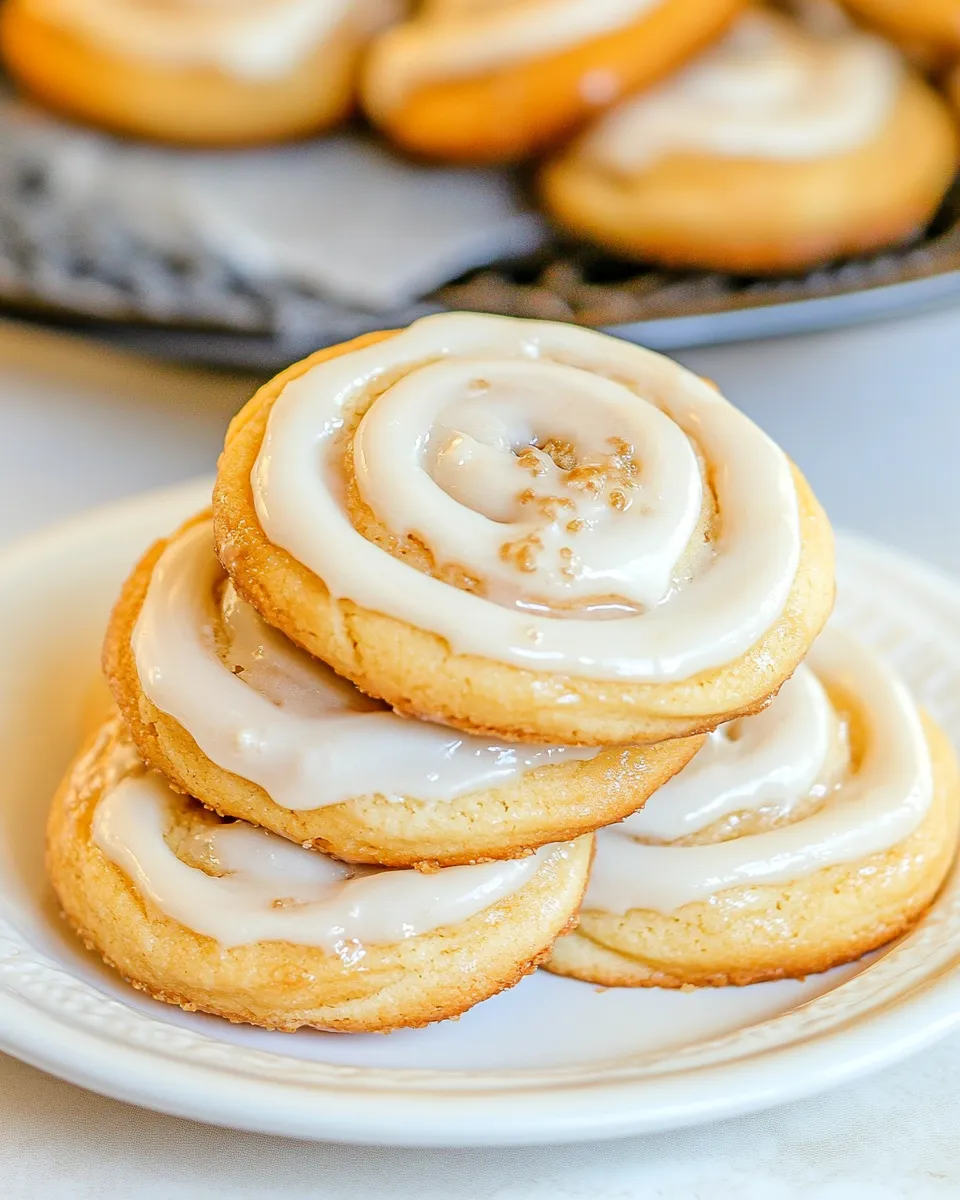
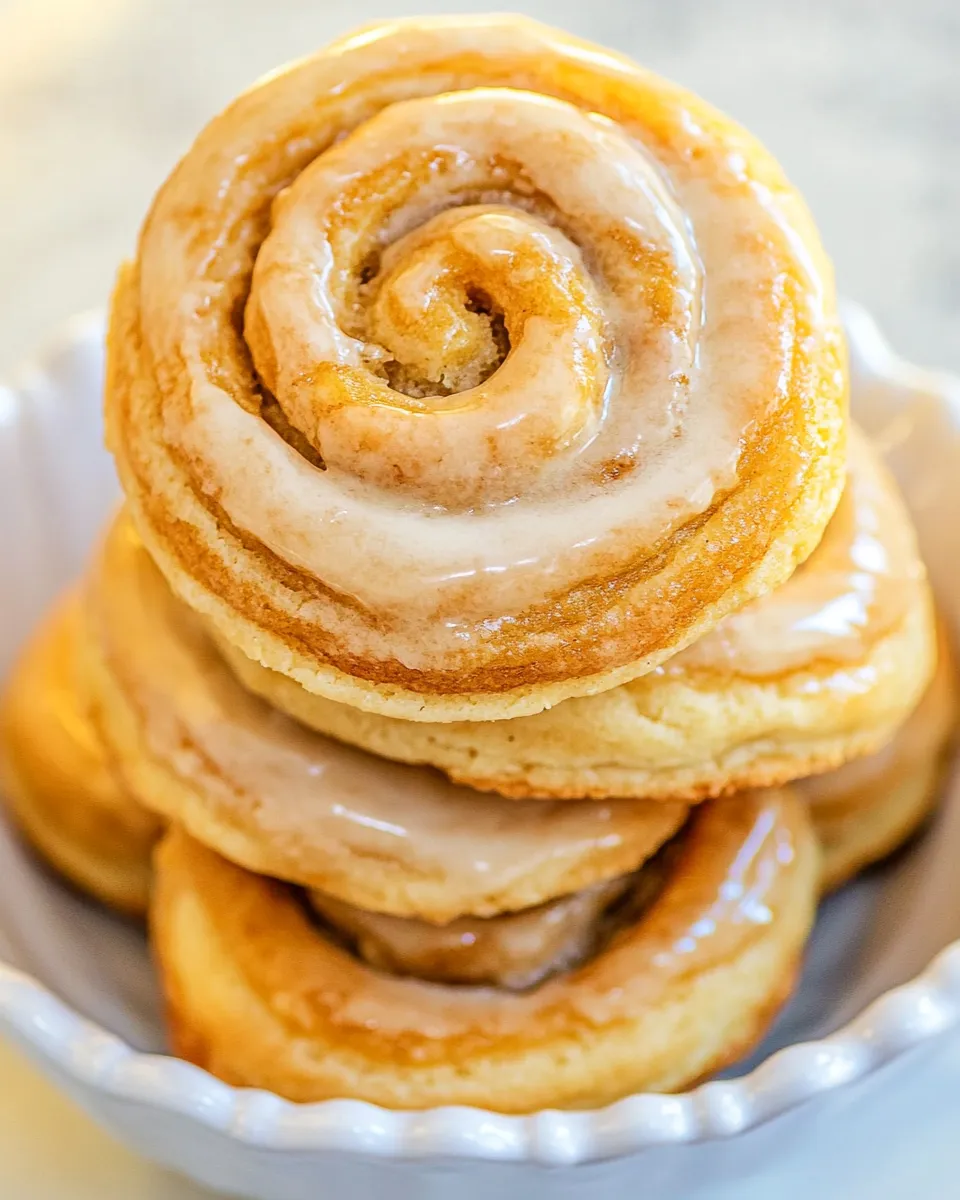
Honey Bun Cookies
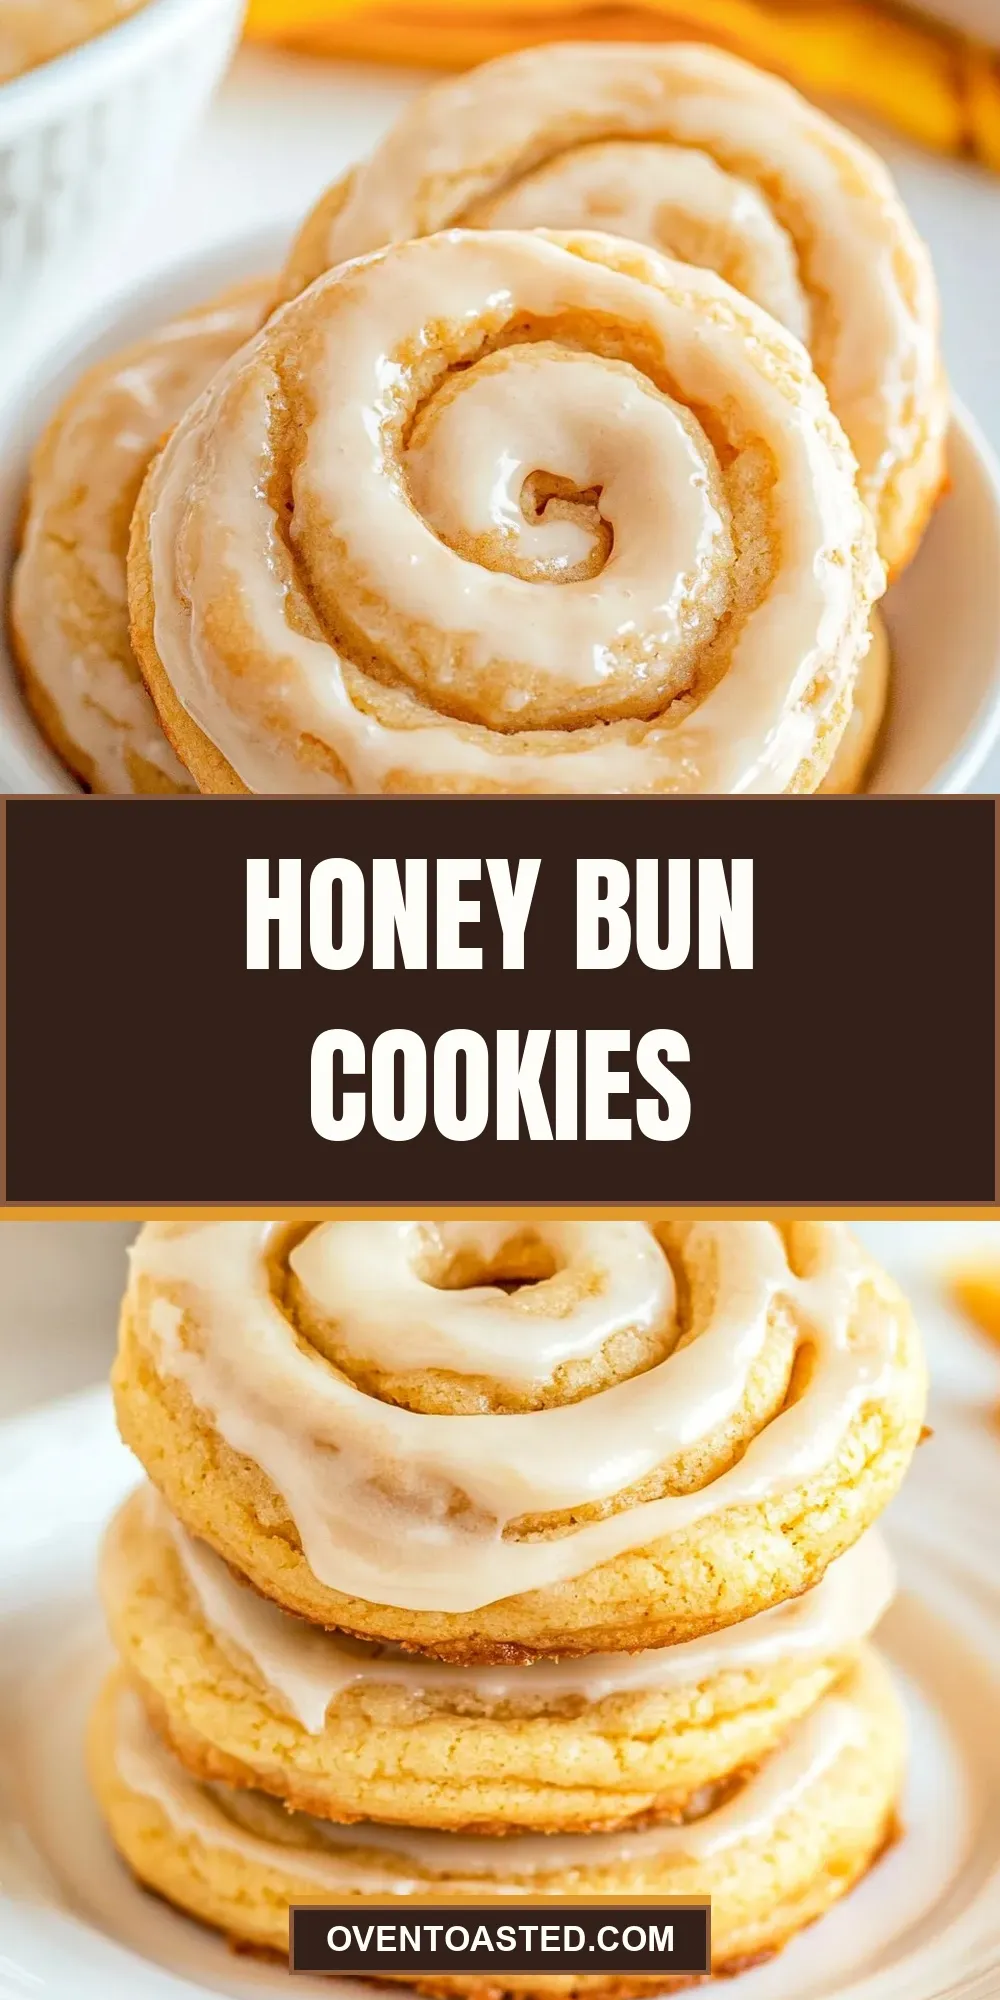
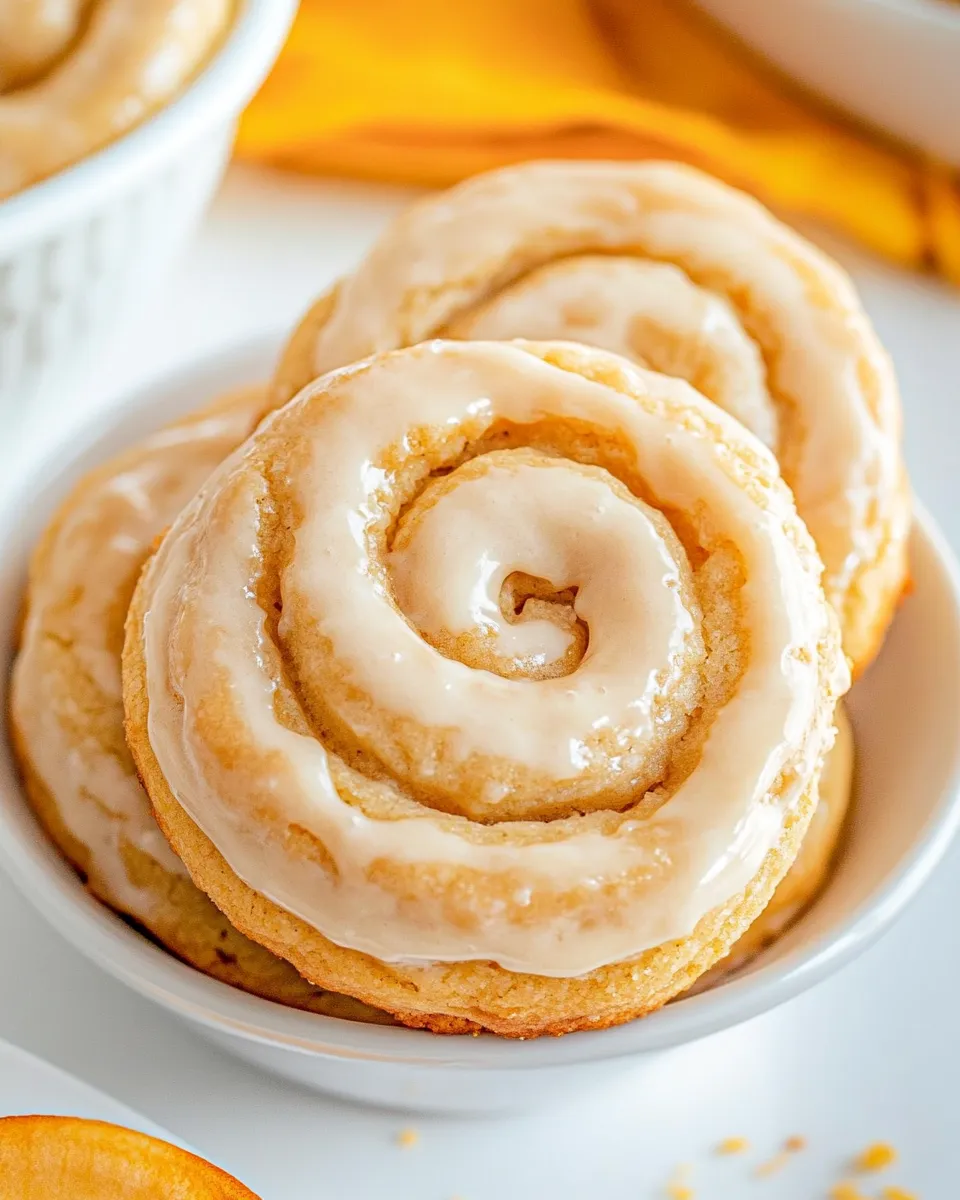
These Honey Bun Cookies hit the sweet spot between a soft, buttery cookie and a classic honey-glazed bun. They carry that warm cinnamon swirl flavor in a handheld form — crisp at the edges, tender inside, and finished with a shiny honey-sweet glaze. I bake a tray whenever I want something that feels indulgent but still easy to share.
You’ll appreciate how straightforward the dough comes together: cream butter and sugars, stir in eggs and vanilla, fold in a spiced flour mixture, shape, chill, then bake. The small extra step — pressing and spiraling the tops — gives these cookies the signature look that makes them worth the little bit of fuss.
Expect about an hour from start to finish if you plan and chill efficiently (more time if you slow-chill in the fridge). They travel well, freeze beautifully, and the glaze keeps them from drying out. Read through the steps first, gather your ingredients, and let’s get baking.
Gather These Ingredients
Ingredients
- 1 cup unsalted butter, softened — provides fat and structure; softened for easier creaming.
- ¾ cup granulated sugar — adds sweetness and helps with browning.
- ½ cup light brown sugar, packed — brings moisture and a subtle caramel note.
- 2 large eggs, room temp — bind the dough and add lift; room temp helps emulsify.
- 1 tablespoon vanilla extract, or to taste (this is 3 teaspoons) — flavor enhancer; vanilla rounds out the cinnamon.
- 2 ¾ cups all-purpose flour — the base of the dough; measure properly (spoon and level).
- 2 teaspoons cornstarch — lightens the texture for a tender bite.
- 1 teaspoon baking powder — a small leavening boost for lift.
- ½ teaspoon baking soda — balances acidity and contributes to browning.
- 2 teaspoons ground cinnamon — primary spice; gives that honey-bun profile.
- ½ teaspoon kosher salt — rounds flavors and enhances sweetness.
- ¼ cup unsalted butter, softened — for the glaze; gives richness and sheen.
- 1 cup confectioners’ sugar, sift if lumpy — smooth sweetness for the glaze.
- 2 tablespoons honey — signature flavor in the glaze; adds gloss and a floral note.
- 2 tablespoons milk, 2%, whole, or your favorite — thins the glaze to the right brushing consistency.
Method: Honey Bun Cookies
- In the bowl of a stand mixer fitted with the paddle attachment (or a large mixing bowl and a handheld electric mixer), add 1 cup softened unsalted butter, 3/4 cup granulated sugar, and 1/2 cup packed light brown sugar. Cream on medium-high speed until light and fluffy, about 4 minutes. Stop and scrape down the sides of the bowl.
- Add 2 large room-temperature eggs and 1 tablespoon vanilla extract. Beat on medium speed until fully combined, about 2 minutes. Scrape down the sides and bottom of the bowl.
- In a separate large bowl, whisk together 2 3/4 cups all-purpose flour, 2 teaspoons cornstarch, 1 teaspoon baking powder, 1/2 teaspoon baking soda, 2 teaspoons ground cinnamon, and 1/2 teaspoon kosher salt until evenly mixed.
- With the mixer running on low, gradually add the dry ingredients to the wet ingredients. Mix just until the flour mixture is fully incorporated and no streaks of dry flour remain. Do not overmix.
- Line two baking sheets with parchment paper or silicone baking mats. Using a large cookie scoop or a spoon, portion the dough into even mounds (about 3 tablespoons of dough each for a large cookie; you can make them smaller if you prefer). Place the mounds on the prepared sheets, leaving about 2 inches between each cookie.
- Press each dough mound down until it is about 1/4 inch high.
- Using the back of a dinner knife or a chopstick, make a spiral swirl on the top of each cookie: start in the center and gently drag outward in a single spiral motion to create a visible swirl pattern.
- Chill the shaped cookies: place the baking sheets in the freezer for 10 minutes or in the refrigerator for 45–60 minutes. If you do not have room for full baking sheets, place the formed cookies on a plate or tray to chill. Do not skip chilling.
- While the cookies are chilling, preheat the oven to 350°F (177°C).
- Bake the cookies on the center rack for 13–15 minutes, or until the edges are just starting to turn lightly golden. For best results, bake one sheet at a time and rotate the sheet once halfway through baking. Start checking before the minimum time if your cookies are smaller.
- Remove the cookies from the oven and allow them to cool on the baking sheet for about 10 minutes. Then transfer the cookies to a wire rack to cool completely.
- While the cookies cool, make the glaze: in a large mixing bowl, add 1/4 cup softened unsalted butter, 1 cup confectioners’ sugar (sift if lumpy), 2 tablespoons honey, and 2 tablespoons milk. Whisk until smooth and fully combined. (You may use a handheld mixer if you prefer.)
- Once the cookies are completely cool, use a pastry brush to evenly brush the glaze over the top of each cookie.
- Allow the glaze to set fully before serving.
Why This Recipe Belongs in Your Rotation
These cookies are reliably crowd-pleasing. They carry familiar bakery flavors — butter, cinnamon, and honey — but in a simpler, bake-at-home format. That makes them ideal for potlucks, school events, or an afternoon pick-me-up.
The dough is forgiving and dough scoops produce consistent cookies every time. The glaze adds just the right amount of sweetness and moisture without turning soggy. You can scale the batch up or down with minimal fuss.
Dairy-Free/Gluten-Free Swaps
- For dairy-free: swap the unsalted butter in both the dough and glaze with a plant-based stick butter that measures like butter. Use a non-dairy milk (almond, oat, soy) for the glaze.
- For gluten-free: use a 1-to-1 gluten-free all-purpose flour blend that contains xanthan gum. Measure and mix as you would regular flour; keep an eye on texture and chill if the dough feels too soft.
- Note on texture: dairy-free and gluten-free swaps can change spread and chew. Chill longer if cookies appear too soft before baking.
Recommended Tools
- Stand mixer with paddle attachment (or handheld mixer and a large bowl)
- Large mixing bowls for dry and wet ingredients
- Measuring cups and spoons; a kitchen scale if you prefer precision
- Large cookie scoop (about 3 tablespoons) or spoon
- Parchment paper or silicone baking mats
- Baking sheets (preferably rimmed) and a wire rack
- Pastry brush and a small spatula or chopstick to make the spiral
Avoid These Traps
- Skipping the chill. The dough needs to firm up so the cookies hold their spiral design and don’t over-spread in the oven.
- Overmixing after adding flour. Mix until incorporated; overworking develops gluten and makes cookies tough.
- Baking multiple sheets at once. For even color and consistent timing, bake one sheet at a time or rotate sheets carefully.
- Glazing warm cookies. Brush glaze only after cookies are completely cool or the glaze will melt and run off.
- Using lumpy confectioners’ sugar without sifting. Lumps can make the glaze grainy; sift if needed.
Holiday-Friendly Variations
- Maple-honey: swap part of the honey in the glaze for maple syrup (no need to change measurements; adjust to taste).
- Nut topped: sprinkle chopped pecans or walnuts over the glaze while it’s still wet for crunch and nuttiness.
- Spiced: boost the cinnamon with a pinch of ground nutmeg or cardamom to deepen the holiday aroma.
- Orange-honey glaze: add a little grated orange zest to the glaze for a bright citrus lift.
Cook’s Notes
Measure flour by spooning it into the cup and leveling it off. Packed or scooped flour leads to dry, dense cookies. If your kitchen is warm, keep the dough chilled longer; this helps the cookies keep their shape and the spiral detail when you press and swirl.
For consistent cookies, use a cookie scoop. Press to 1/4-inch thickness so the cookies bake evenly and develop the right balance of soft center and lightly golden edge.
If your glaze is too thick, add milk a teaspoon at a time until it brushes easily. If too thin, add a touch more confectioners’ sugar.
Meal Prep & Storage Notes
Make-ahead: Form and chill the cookies on the sheet, then cover and refrigerate for up to 24 hours before baking. This is great for planning ahead for events.
Freezing: Freeze baked, unglazed cookies in an airtight container with parchment between layers for up to 3 months. Thaw at room temperature, then glaze before serving. You can also freeze the dough mounds on a tray, then transfer to a freezer bag after firming; bake from frozen but add a few extra minutes to the bake time.
Storage: Store glazed cookies in a single layer or separated by parchment in an airtight container at room temperature for up to 3 days. For longer storage, keep them in the fridge for up to one week; bring to room temperature before serving for the best texture.
Honey Bun Cookies FAQs
- Can I make the dough ahead? Yes. Chill the shaped cookies on trays, then cover and refrigerate up to 24 hours before baking. You can also freeze the shaped dough and bake from frozen with a bit more time.
- Why is chilling necessary? Chilling firms the butter and helps the cookies hold their shape and spiral without over-spreading.
- My glaze is grainy. What did I do? Likely lumps in the confectioners’ sugar. Sift the sugar before mixing or whisk the glaze thoroughly; add a splash more milk if you need smoothing.
- Can I make these smaller? Yes. Use a smaller scoop and reduce bake time; start checking before the minimum time listed.
- How do I keep the spiral visible? Press the spiral gently and chill the cookies well before baking. The pattern will set during baking and remain visible after glazing if you keep the glaze thin.
Save & Share
If you tried these Honey Bun Cookies, save the recipe, bookmark this page, and share a photo. Tag your friends, bring a plate to your next gathering, or keep a few in the freezer for emergencies. Baking something from scratch connects us — simple steps, honest ingredients, and a sweet result that travels well and disappears fast.
Honey Bun Cookies
Ingredients
Equipment
Method
- In the bowl of a stand mixer fitted with the paddle attachment (or a large mixing bowl and a handheld electric mixer), add 1 cup softened unsalted butter, 3/4 cup granulated sugar, and 1/2 cup packed light brown sugar. Cream on medium-high speed until light and fluffy, about 4 minutes. Stop and scrape down the sides of the bowl.
- Add 2 large room-temperature eggs and 1 tablespoon vanilla extract. Beat on medium speed until fully combined, about 2 minutes. Scrape down the sides and bottom of the bowl.
- In a separate large bowl, whisk together 2 3/4 cups all-purpose flour, 2 teaspoons cornstarch, 1 teaspoon baking powder, 1/2 teaspoon baking soda, 2 teaspoons ground cinnamon, and 1/2 teaspoon kosher salt until evenly mixed.
- With the mixer running on low, gradually add the dry ingredients to the wet ingredients. Mix just until the flour mixture is fully incorporated and no streaks of dry flour remain. Do not overmix.
- Line two baking sheets with parchment paper or silicone baking mats. Using a large cookie scoop or a spoon, portion the dough into even mounds (about 3 tablespoons of dough each for a large cookie; you can make them smaller if you prefer). Place the mounds on the prepared sheets, leaving about 2 inches between each cookie.
- Press each dough mound down until it is about 1/4 inch high.
- Using the back of a dinner knife or a chopstick, make a spiral swirl on the top of each cookie: start in the center and gently drag outward in a single spiral motion to create a visible swirl pattern.
- Chill the shaped cookies: place the baking sheets in the freezer for 10 minutes or in the refrigerator for 45–60 minutes. If you do not have room for full baking sheets, place the formed cookies on a plate or tray to chill. Do not skip chilling.
- While the cookies are chilling, preheat the oven to 350°F (177°C).
- Bake the cookies on the center rack for 13–15 minutes, or until the edges are just starting to turn lightly golden. For best results, bake one sheet at a time and rotate the sheet once halfway through baking. Start checking before the minimum time if your cookies are smaller.
- Remove the cookies from the oven and allow them to cool on the baking sheet for about 10 minutes. Then transfer the cookies to a wire rack to cool completely.
- While the cookies cool, make the glaze: in a large mixing bowl, add 1/4 cup softened unsalted butter, 1 cup confectioners’ sugar (sift if lumpy), 2 tablespoons honey, and 2 tablespoons milk. Whisk until smooth and fully combined. (You may use a handheld mixer if you prefer.)
- Once the cookies are completely cool, use a pastry brush to evenly brush the glaze over the top of each cookie.
- Allow the glaze to set fully before serving.
Notes
Storage
– Cookies will keep airtight at room temp for 5-7 days, or in the freezer for 3-4 months. If you want to freeze unbaked cookie dough balls, they'll also keep for 3-4 months in the freezer. Simply bake off as many as desired at a future date. You don't need to thaw them before baking. They can go straight from freezer to oven; simply add a couple minutes to the overall baking time. I find freezing unbaked cookie dough better and tastier than freezing actual baked cookies, but it's up to you.