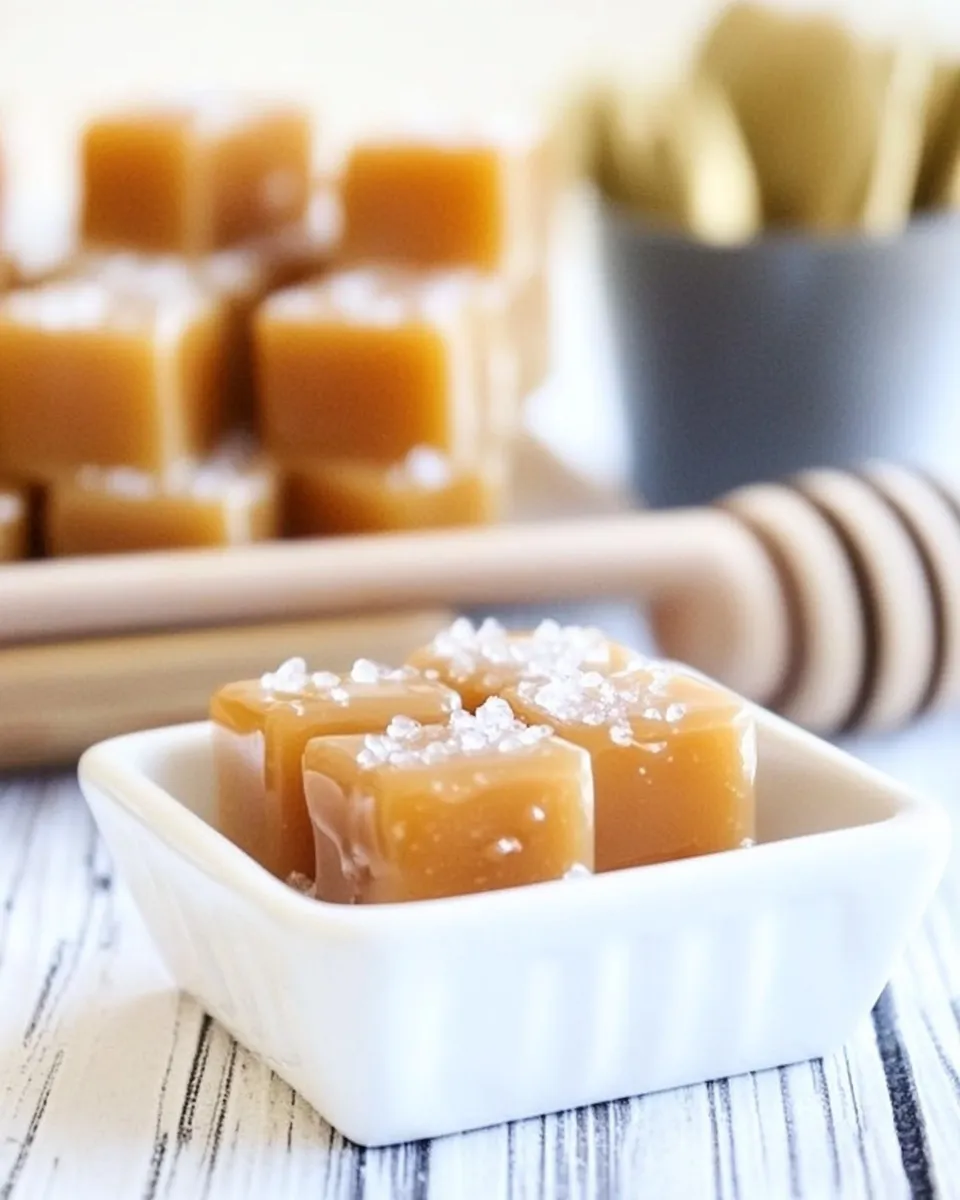
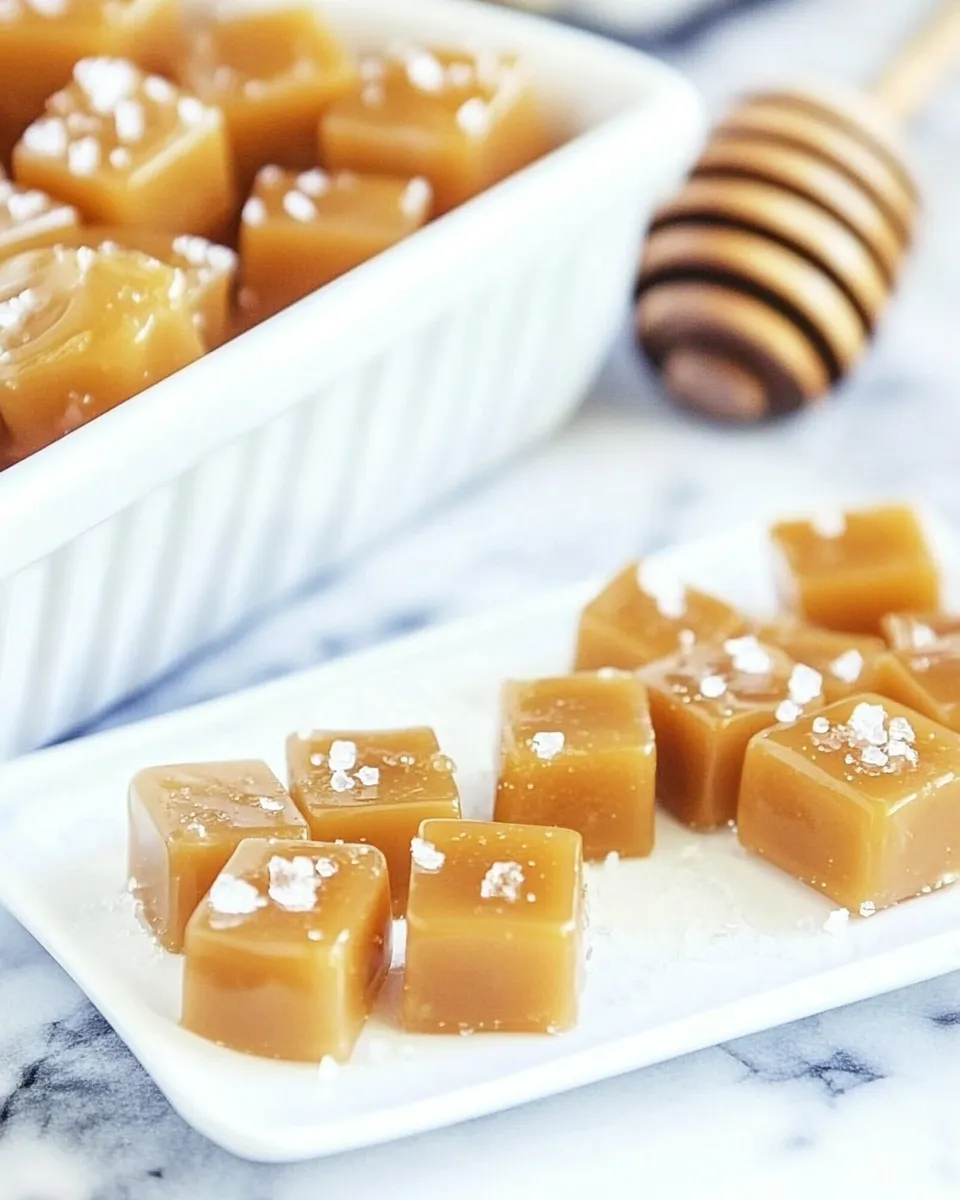
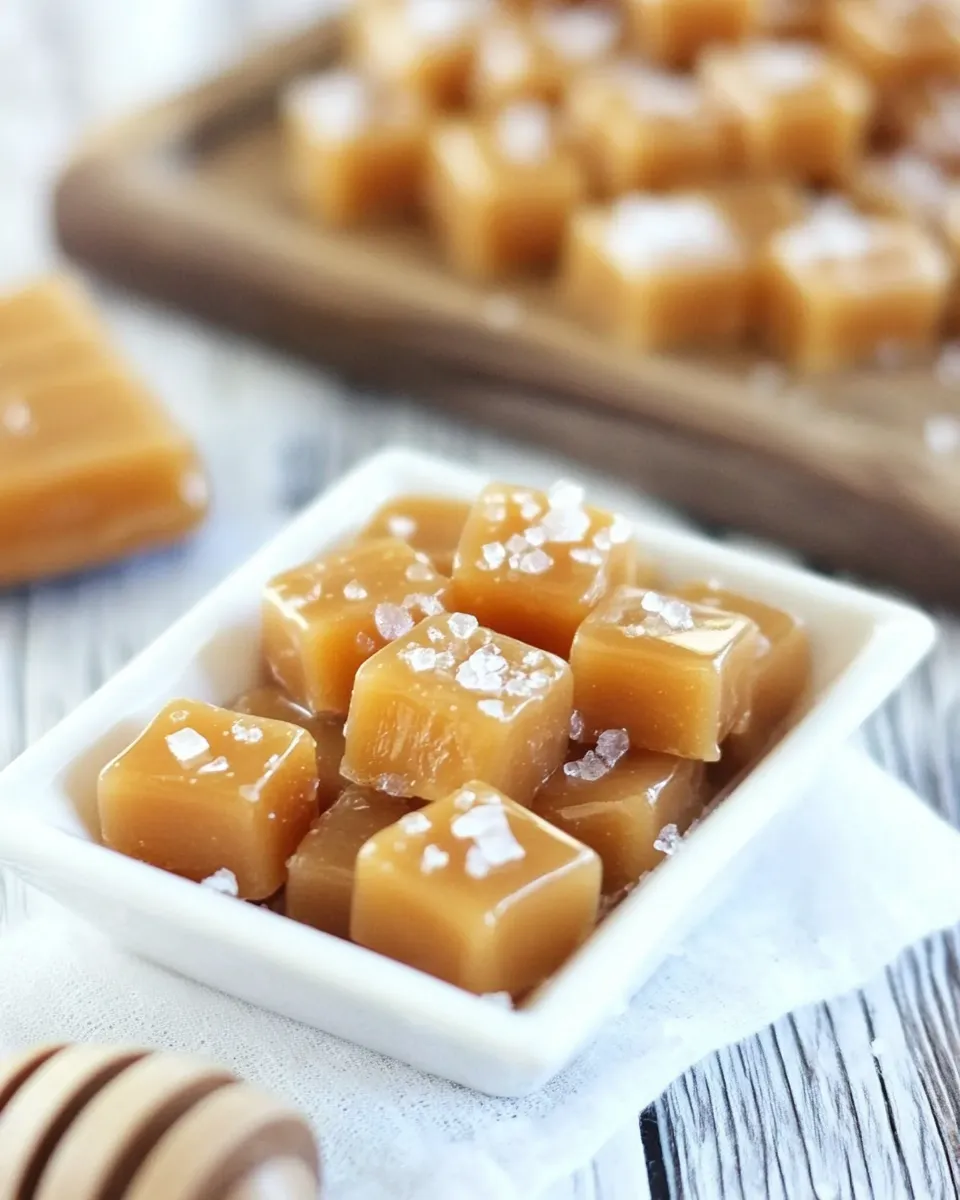
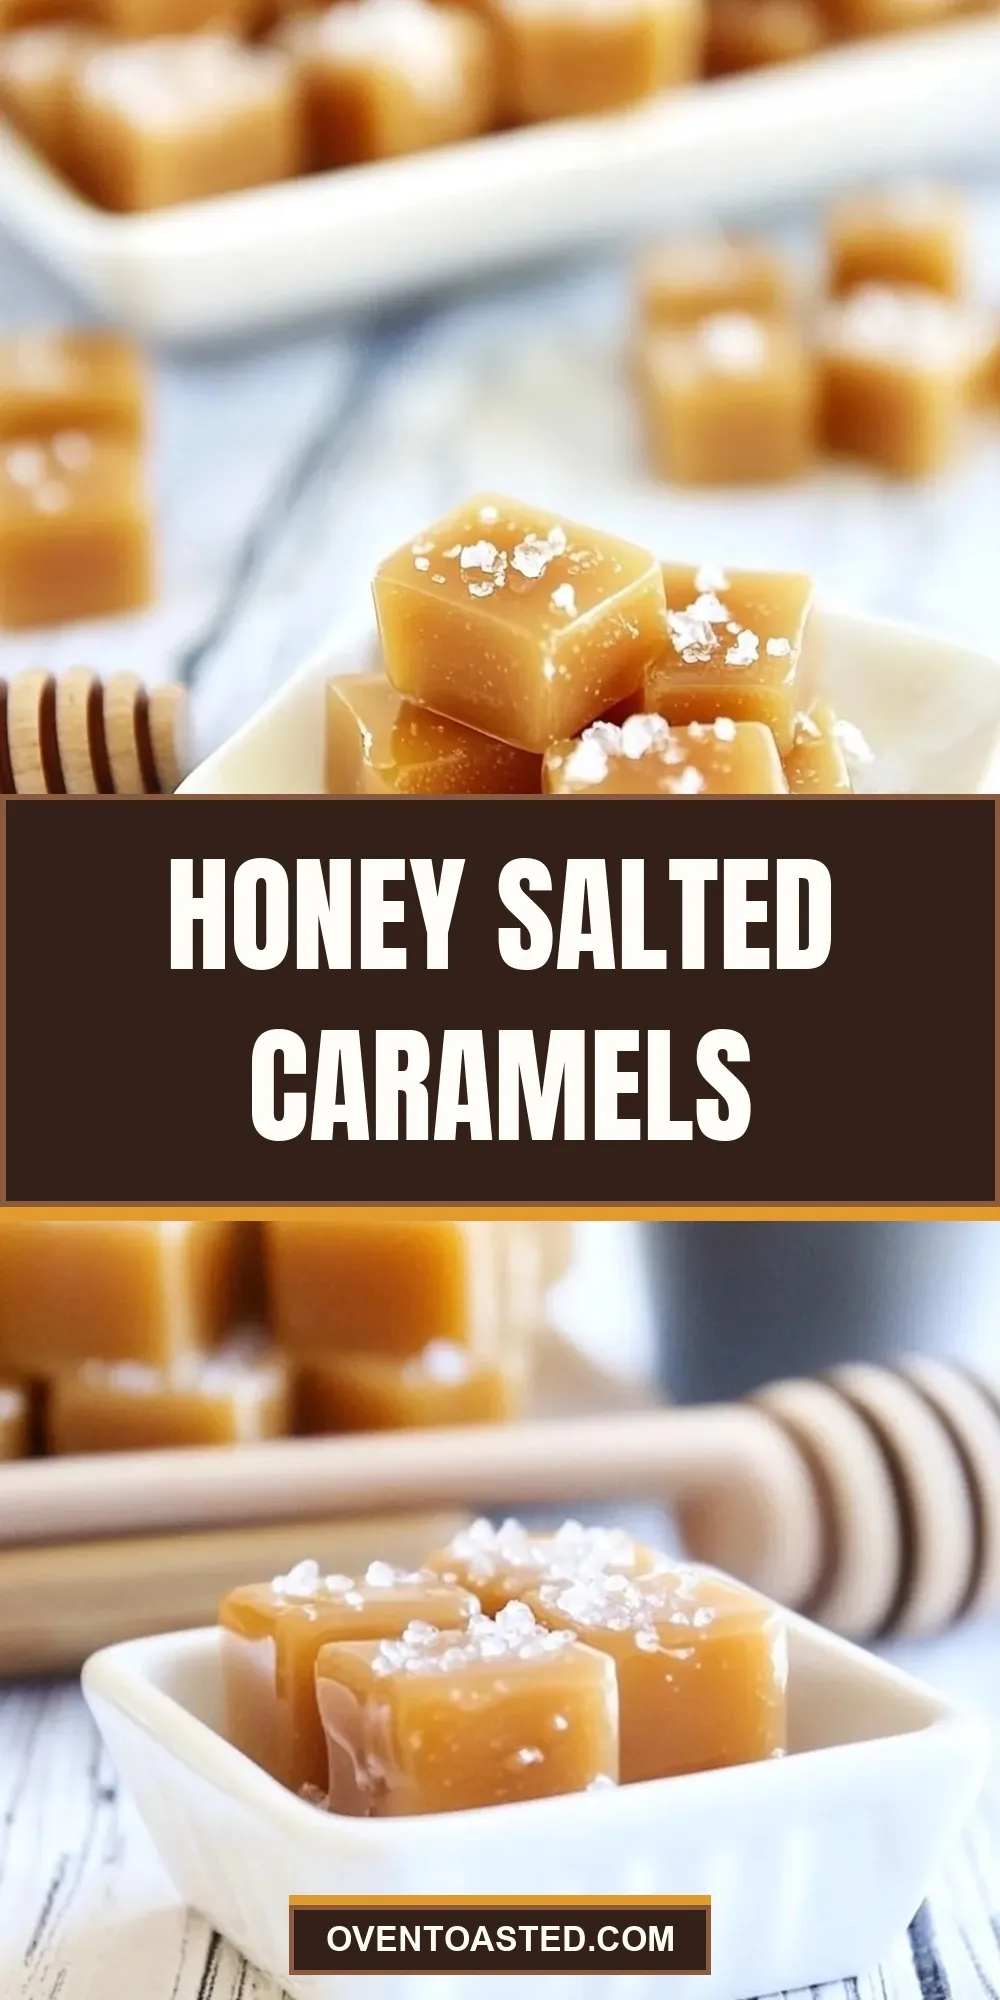
Honey Salted Caramels
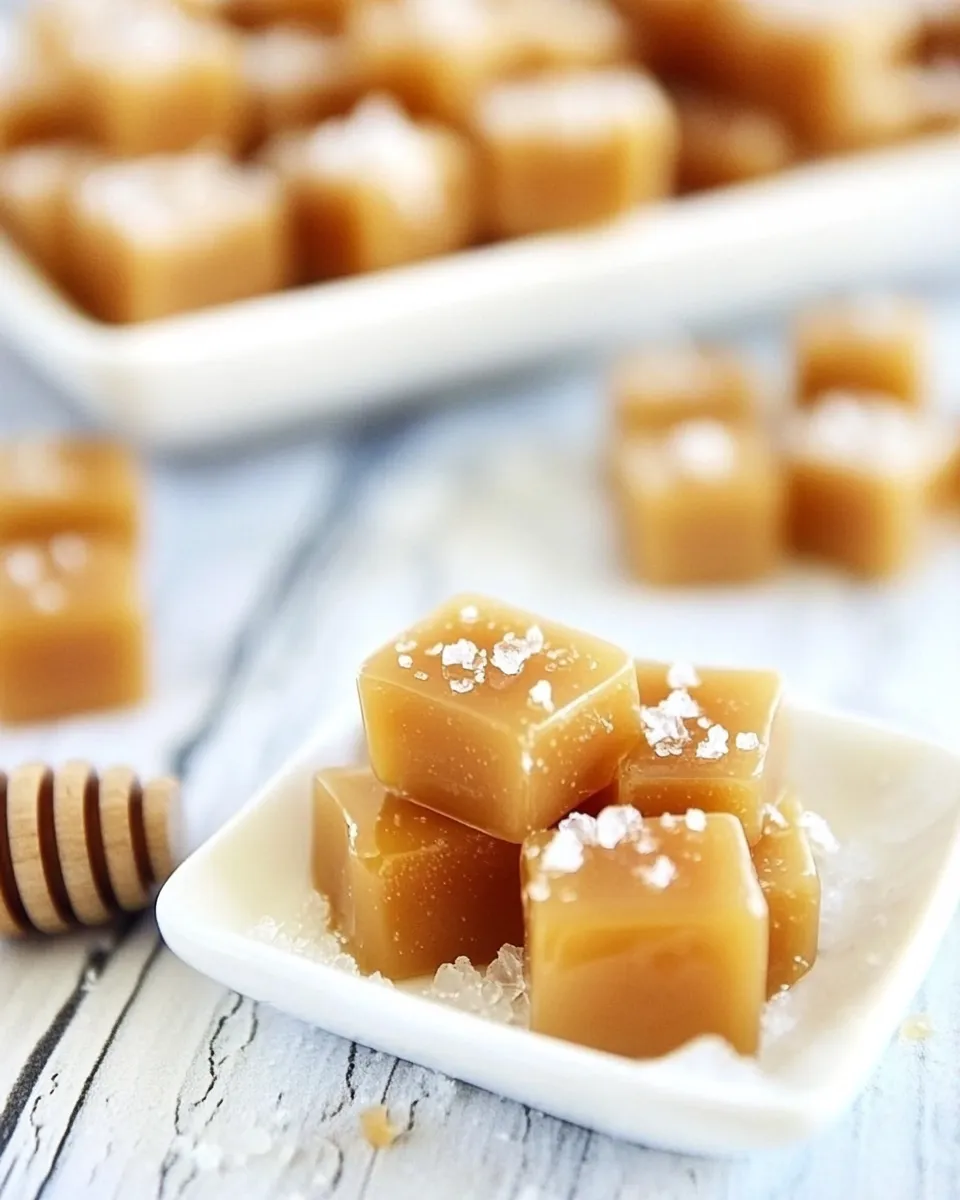
These caramels are a small, sticky celebration: pure honey sweetness balanced with a whisper of salt and a creamy caramel body. They feel fancy, but they’re straightforward to make on the stovetop. With a little patience at the thermometer and a reliable pan, you’ll have bite-sized candies that keep well and make excellent gifts.
I test recipes until they’re consistent and forgiving. This one uses pantry basics—butter, honey, cream, and brown sugar—and leans on technique rather than rare ingredients. Read the steps once, have everything measured and ready, and plan for a roughly 3–4 hour turnaround including chilling time.
Below you’ll find a clear ingredient list with short notes, a strict step-by-step method, troubleshooting tips, and short-cuts that don’t compromise the texture. Follow the thermometer, keep a watchful stir, and you’ll get smooth, glossy caramels every time.
Ingredient Rundown
Ingredients
- 1/2 cup butter — provides fat and structure; browns slightly for depth, so use unsalted or salted and adjust final salt.
- 1 cup honey — the primary sweetener and flavor note; it adds floral complexity and a softer set than corn syrup.
- 1 cup heavy cream — adds richness and the dairy solids that give caramel its creamy mouthfeel.
- 1/2 cup brown sugar — balances honey with molasses notes and contributes to chew.
- 1/2 tsp vanilla extract — rounds and brightens the caramel flavor when stirred in at the end.
- 1/2 tsp salt — seasons the caramel; reserve a tiny pinch if you want a finishing sprinkle on top.
Method: Honey Salted Caramels
- Have all ingredients measured and ready. Line an 8×8 or 9×9 baking pan with parchment paper so it extends about 1 inch on all sides; lightly spray the parchment with cooking spray and set the pan aside.
- Lightly spray a 3‑quart pot with cooking spray. Add the 1/2 cup butter and melt over medium‑high heat.
- Add the 1 cup honey, 1 cup heavy cream and 1/2 cup brown sugar to the melted butter. Whisk gently to combine.
- Reduce the heat to just above medium. Attach a candy thermometer to the side of the pot with the thermometer probe positioned in the mixture but not touching the bottom.
- Bring the mixture to a boil, stirring occasionally to prevent sticking. Once it begins to boil, reduce the heat to just below medium to maintain a gentle simmer.
- Simmer, stirring gently and scraping the sides and bottom as needed, until the mixture reaches 250°F on the candy thermometer (this will take about 30–40 minutes). Watch carefully to avoid scorching.
- Remove the pot from the heat. If you want a sprinkle of salt on top, reserve a small pinch from the 1/2 teaspoon salt now; then add the remaining salt and the 1/2 teaspoon vanilla extract to the hot caramel and stir gently until fully combined.
- Carefully pour the caramel into the prepared pan and spread it evenly. Let the caramel cool to room temperature.
- If you reserved a pinch of salt for topping, sprinkle it evenly over the cooled caramel.
- Refrigerate the caramel for at least 3 hours, until firm. Lift the caramel from the pan using the parchment overhang and cut into small pieces. Wrap pieces in wax paper and store in the refrigerator.
What Makes This Recipe Special
Honey replaces part of the usual corn syrup and pure granulated sugar approach, lending floral notes and a slightly softer chew. The short ingredient list keeps the flavor focused: butter, cream, honey, and brown sugar play off each other cleanly.
The salt is subtle but essential. It amplifies the honey’s complexity without turning the candy into a savory item. Finishing with a pinch of flaky salt (optional) gives each bite a bright contrast that transforms the eating experience.
Finally, the long, low simmer to 250°F is what builds chew and gloss. That patient step is the real secret—no special equipment beyond a candy thermometer and a steady hand.
Texture-Safe Substitutions
Technique adjustments (keep ingredients the same)
- To make firmer caramels: simmer a few minutes longer and confirm a higher temperature (careful—small increases change texture quickly).
- To make softer caramels: pull the pot off heat a touch earlier, aiming for the lower end of the time estimate, and shorten chilling time slightly.
- If the mixture looks grainy near the end: continue cooking gently and stir; graininess can smooth out as sugars fully dissolve and the mixture comes together.
Ingredient tweaks that won’t wreck texture
- If you must use salted butter, skip or reduce the added salt so the final balance isn’t overly salty.
- Using darker brown sugar can nudge the flavor toward molasses and yield a slightly denser chew; use it if you like that note.
Equipment at a Glance
- 3‑quart heavy-bottomed pot — distributes heat evenly and minimizes hot spots that scorch sugar.
- Candy thermometer — essential for accuracy to reach 250°F.
- 8×8 or 9×9 baking pan lined with parchment — makes lifting and cutting clean and easy.
- Spatula or heatproof spoon — for gentle stirring and scraping.
- Cooking spray — to prevent sticking on parchment and the pot.
Frequent Missteps to Avoid
- Not using a candy thermometer: visual cues are unreliable; the correct temperature guarantees the right chew.
- Thermometer touching the pan bottom: this gives a false high reading. Position the probe in the liquid only.
- Cooking too hot: a vigorous boil can scorch the sugars and create bitter flavors. Keep a steady, gentle simmer.
- Stirring too vigorously: you want to scrape the sides and keep things moving, but aggressive stirring can introduce bubbles and interfere with a smooth finish.
- Rushing the chill time: cutting early leads to sticky, misshapen pieces that don’t hold form.
Substitutions by Diet
Dairy-free / Vegan options
- Butter: swap with a plant-based stick butter formulated for baking (use one labeled for use like butter).
- Heavy cream: substitute with full-fat coconut milk or a high-fat non-dairy cream. Expect a slight coconut flavor.
- Note: texture may be a touch different—test a small batch first if you need perfection for gifting.
Lower-sugar considerations
- Honey is central to this recipe’s character. Reducing sweetener changes set and chew; instead, consider offering smaller pieces rather than altering ratios.
Nuts, flavors and add-ins
- Fold in chopped toasted nuts after pouring the caramel into the pan if you want texture. Press them lightly into the surface before chilling.
- For a flavor twist, a tiny pinch of ground cardamom or a few drops of almond extract can be added with the vanilla—use sparingly.
Behind the Recipe
I developed this version to highlight honey as the main sweetener while keeping the texture and shelf stability of a classic cream caramel. Honey brings moisture and a different crystallization profile than corn syrup or plain sugar, so the slow simmer to 250°F and careful temperature control are key.
Testing focused on balancing chew and spreadability: too soft, and the candies are messy; too firm, and you lose the melt-in-your-mouth quality. The 3–4 hour timeline (including chill) is a practical compromise for making many small pieces without an industrial setup.
Store, Freeze & Reheat
Store wrapped caramels in wax paper in an airtight container in the refrigerator, as directed in the method. Refrigeration keeps them tidy and prevents them from sticking together. Properly wrapped, they’ll keep well for up to 2–3 weeks.
Freezing is possible: individually wrap pieces in wax paper, place them in an airtight, freezer-safe container, and freeze. Thaw in the refrigerator for several hours before unwrapping to avoid condensation on the surface.
Reheating isn’t necessary for serving—caramels are best at cool-room or slightly chilled temperature. If you want a softer texture after chilling, let pieces sit at room temperature for 15–30 minutes before serving.
Ask the Chef
Q: My caramel never set. What went wrong?
A: Most likely it didn’t reach 250°F, or it cooled before concentrating enough. Make sure the thermometer probe is in the liquid (not touching the pot) and continue to simmer gently until you hit the target temperature.
Q: It tastes burnt. Can I fix it?
A: Burnt flavor usually comes from cooking too hot or from the pan’s bottom scorching. Unfortunately, burnt sugar flavors are hard to remove. Start a fresh batch and use a heavy-bottom pot and lower heat.
Q: I see tiny crystals—are my caramels grainy?
A: Graininess comes from sugar recrystallization. Stir gently during the early stages and avoid splashing syrup onto the pot sides. If crystals form, continue cooking—the mixture can often smooth as sugars dissolve again.
Q: Can I double the recipe?
A: Yes, but use a larger pot to prevent boil-over and ensure even heating. Doubling increases cook time; keep an eye on the thermometer rather than the clock.
Q: What’s the best way to cut clean squares?
A: Chill fully, lift the set caramel from the pan using the parchment overhang, then cut with a sharp knife. Wiping the blade between cuts helps keep edges neat.
Time to Try It
This recipe rewards attention and patience. Set aside an afternoon, gather your tools, and follow the thermometer. You’ll end up with rich, honey-forward caramels that taste far more complicated than the simple list of ingredients suggests. Wrap them individually, stash a tin in the fridge, and watch them disappear.
If you make them, note the exact simmer time and whether you reserved salt on top—small tweaks matter. And if you have questions after your first batch, ask; troubleshooting is part of mastering caramel.
Honey Salted Caramels
Ingredients
Equipment
Method
- Have all ingredients measured and ready. Line an 8x8 or 9x9 baking pan with parchment paper so it extends about 1 inch on all sides; lightly spray the parchment with cooking spray and set the pan aside.
- Lightly spray a 3‑quart pot with cooking spray. Add the 1/2 cup butter and melt over medium‑high heat.
- Add the 1 cup honey, 1 cup heavy cream and 1/2 cup brown sugar to the melted butter. Whisk gently to combine.
- Reduce the heat to just above medium. Attach a candy thermometer to the side of the pot with the thermometer probe positioned in the mixture but not touching the bottom.
- Bring the mixture to a boil, stirring occasionally to prevent sticking. Once it begins to boil, reduce the heat to just below medium to maintain a gentle simmer.
- Simmer, stirring gently and scraping the sides and bottom as needed, until the mixture reaches 250°F on the candy thermometer (this will take about 30–40 minutes). Watch carefully to avoid scorching.
- Remove the pot from the heat. If you want a sprinkle of salt on top, reserve a small pinch from the 1/2 teaspoon salt now; then add the remaining salt and the 1/2 teaspoon vanilla extract to the hot caramel and stir gently until fully combined.
- Carefully pour the caramel into the prepared pan and spread it evenly. Let the caramel cool to room temperature.
- If you reserved a pinch of salt for topping, sprinkle it evenly over the cooled caramel.
- Refrigerate the caramel for at least 3 hours, until firm. Lift the caramel from the pan using the parchment overhang and cut into small pieces. Wrap pieces in wax paper and store in the refrigerator.
Notes
Use PAM Cooking Spray to coat your measuring cup before adding the honey to ensure you get every last drop!