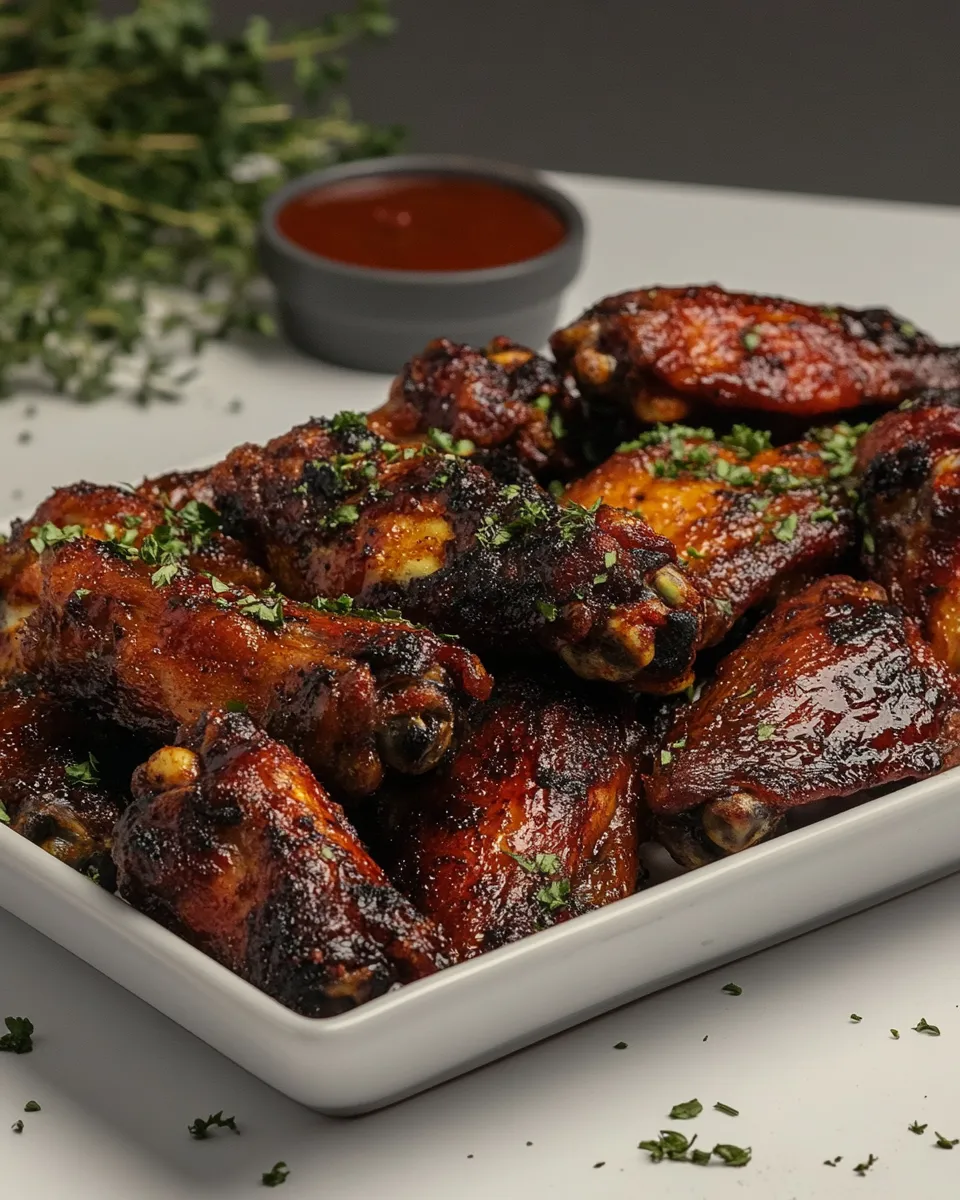
Hot Wings Recipe
I’m a firm believer that a great batch of hot wings can fix a lot of things: a quiet Sunday afternoon, a chaotic game day, or a hungry group of friends. This recipe is straightforward, dependable, and gives you that satisfying crisp outside with a sticky, spicy finish. No fryer required—just a hot oven, a quick dry-coating, and a final broil that sends the edges into delicious caramelized char.
I lean on simple tricks that make the difference: drying the wings well, using a small amount of baking powder for extra crispness, and broiling right at the end so the sauce sets and the skin crisps up. The sauce here is just hot sauce—no frills—so the chicken flavor stays front and center and you control the heat easily.
Below you’ll find the exact ingredient list and step-by-step directions I follow every time. I also included swap ideas if something’s not in your pantry, equipment notes, troubleshooting, and storage tips so leftovers stay as good as possible.
What Goes In
Ingredients
- 2 1/2 pounds chicken wings — separated into two pieces; the recipe expects drumettes and flats so they cook evenly.
- 2 tablespoons all-purpose flour — a little flour helps the coating cling and gives a light crust.
- 3 tablespoons cornstarch — key for a crackly, crisp exterior; don’t skip it.
- 1 teaspoon baking powder — raises the pH slightly and helps the skin puff and crisp.
- 2 teaspoons kosher salt — seasons the meat and the coating; adjust if using table salt.
- 1/2 teaspoon ground black pepper — adds a base of warm spice.
- 1/2 teaspoon paprika — color and mild smoky sweetness without overpowering heat.
- 2 teaspoons garlic powder — concentrated garlic flavor that plays well with hot sauce.
- 1 teaspoon onion powder — rounds the flavor profile with subtle savory depth.
- 1/2 cup hot sauce — the final coating; pick a brand you love because this is the main sauce.
Method: Hot Wings Recipe
- Preheat the oven to 400°F. Line a large baking sheet with parchment paper.
- If the wings are not already separated, separate each wing into two pieces (drumette and flat). Pat the wings dry with paper towels.
- In a medium bowl, whisk together the all-purpose flour, cornstarch, baking powder, kosher salt, ground black pepper, paprika, garlic powder, and onion powder until evenly combined.
- Place the wings in a large bowl or plastic bag, add the dry mixture, and toss or dredge until every wing is evenly coated on all sides.
- Arrange the coated wings in a single layer on the prepared baking sheet, leaving space between pieces so air can circulate.
- Bake on the middle rack at 400°F for 30 minutes, flipping the wings once halfway through baking to promote even browning.
- About 1 minute before the 30 minutes is up, turn on the oven broiler to high and move the oven rack to the upper position (so the wings will be about 6 inches from the broiler element).
- Remove the wings from the oven and brush them evenly with the 1/2 cup hot sauce.
- Return the sauced wings to the upper rack under the broiler and broil for 10 minutes, watching closely, until edges begin to char and the wings are crispy.
- Remove the wings from the oven and let them rest for a few minutes before serving.
Why Hot Wings Recipe is Worth Your Time
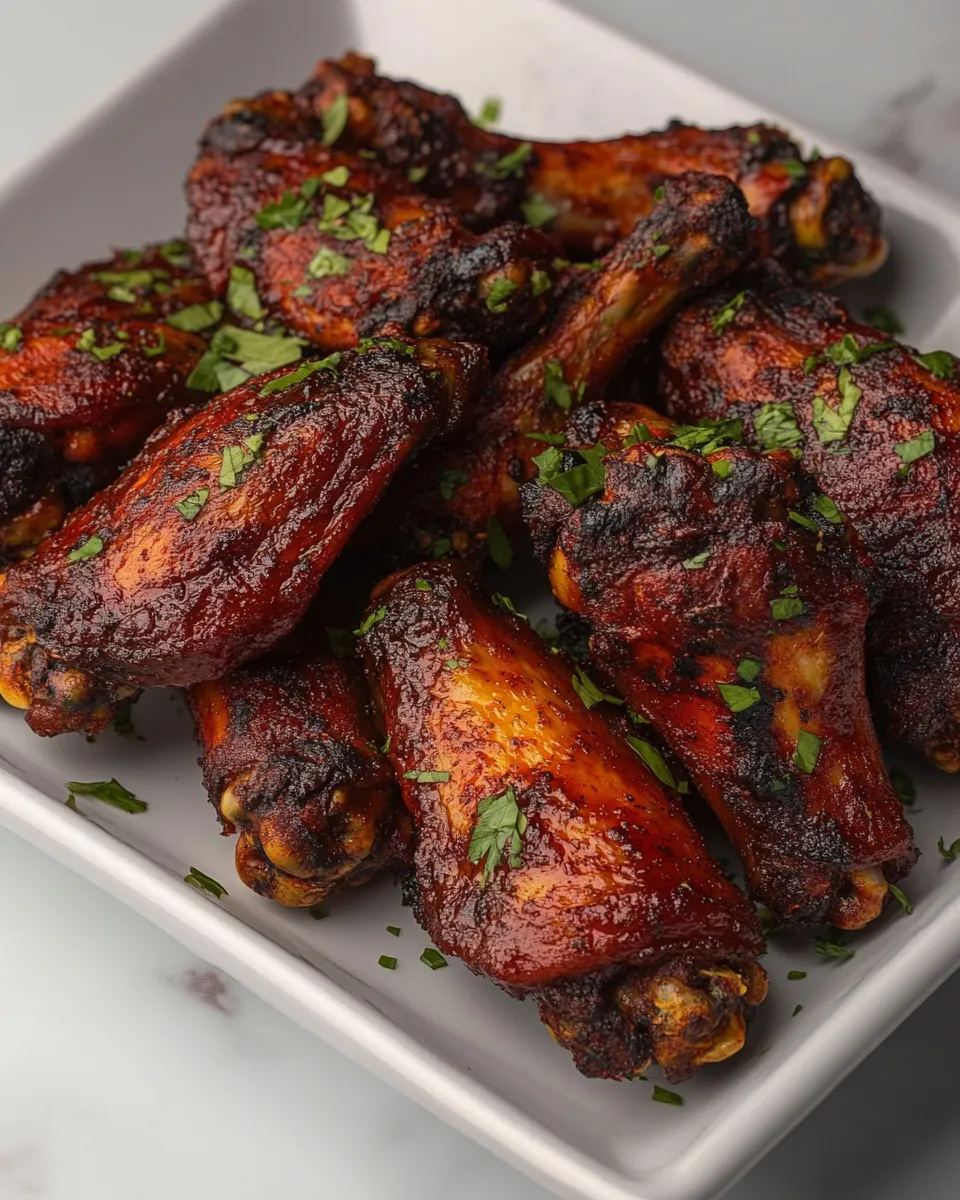
These wings deliver what you want: crisp skin, juicy meat, and a bright, spicy finish. The method focuses on texture—cornstarch and baking powder do most of the lifting—so you get that deep crunch without frying. If you enjoy hands-on cooking that rewards a small amount of prep with a big payoff, this is one of those recipes.
The single sauce approach uses hot sauce straight from the bottle. That keeps things honest: you taste the chili and vinegar notes, and you can switch brands to change the character of the wings instantly. Plus, because the sauce is applied late and finished under the broiler, you keep a nice contrast between crispy bits and sticky sauced sections—great for mouthfeel.
Budget & Availability Swaps
- Chicken wings — If wings are expensive or sold out, buy party wings or whole wings and cut them yourself. Thighs can also work; adjust bake time.
- All-purpose flour / Cornstarch — If you don’t have cornstarch, you can use potato starch in equal measure. No flour? Increase cornstarch slightly but expect a different texture.
- Baking powder — Essential for crispness. Don’t substitute with baking soda.
- Kosher salt — Use half the amount if substituting with table salt due to density differences.
- Hot sauce — Swap in your favorite bottled hot sauce or a blend of hot sauce plus a touch of honey for a sweet-heat balance.
Setup & Equipment
- Large baking sheet — necessary to fit all wings in a single layer; crowding will steam them instead of crisping them.
- Parchment paper — keeps cleanup simple and prevents sticking when roasting and broiling with sauce.
- Mixing bowls or plastic bag — for tossing the wings evenly in the dry mix.
- Wire rack (optional) — if you have a wire rack that fits your baking sheet, use it to allow airflow all around the wings and improve crispness.
- Basting brush — for even sauce application before the broil finish.
Errors to Dodge
- Skipping the drying step — wet skin = soggy result. Pat wings thoroughly before coating.
- Overcrowding the pan — pack too many wings and they steam. Single layer with space between pieces is critical.
- Broiling and walking away — the broiler works fast. Watch closely; charred is fine, burned is not.
- Swapping baking powder for baking soda — they are not interchangeable here. Baking powder is the leavening agent that helps crisp skin.
- Applying sauce too early — if you sauce before the wings have had their initial bake, the sauce can prevent crisping and end up gummy.
Seasonal Serving Ideas
Hot wings pair well with fresh, seasonal sides that balance heat and richness. In summer, serve with crisp cucumber salad, shaved fennel slaw, or corn on the cob to introduce cooling textures and sweetness. In fall and winter, trade lighter sides for roasted root vegetables or garlicky sautéed greens to ground the meal.
For a spring spread, try quick pickled radishes or a citrus-dressed cabbage slaw to add brightness. Garnishes like chopped scallions, celery sticks, and a side of tangy blue cheese or ranch dressing work year-round and provide contrasting notes that guests love.
Method to the Madness
Here’s why each main step matters: drying the wings and coating them with the flour/cornstarch/baking powder mix builds the crisping matrix on the skin. Baking at 400°F cooks the meat through and renders fat without burning the exterior. Flipping halfway ensures even browning on both sides.
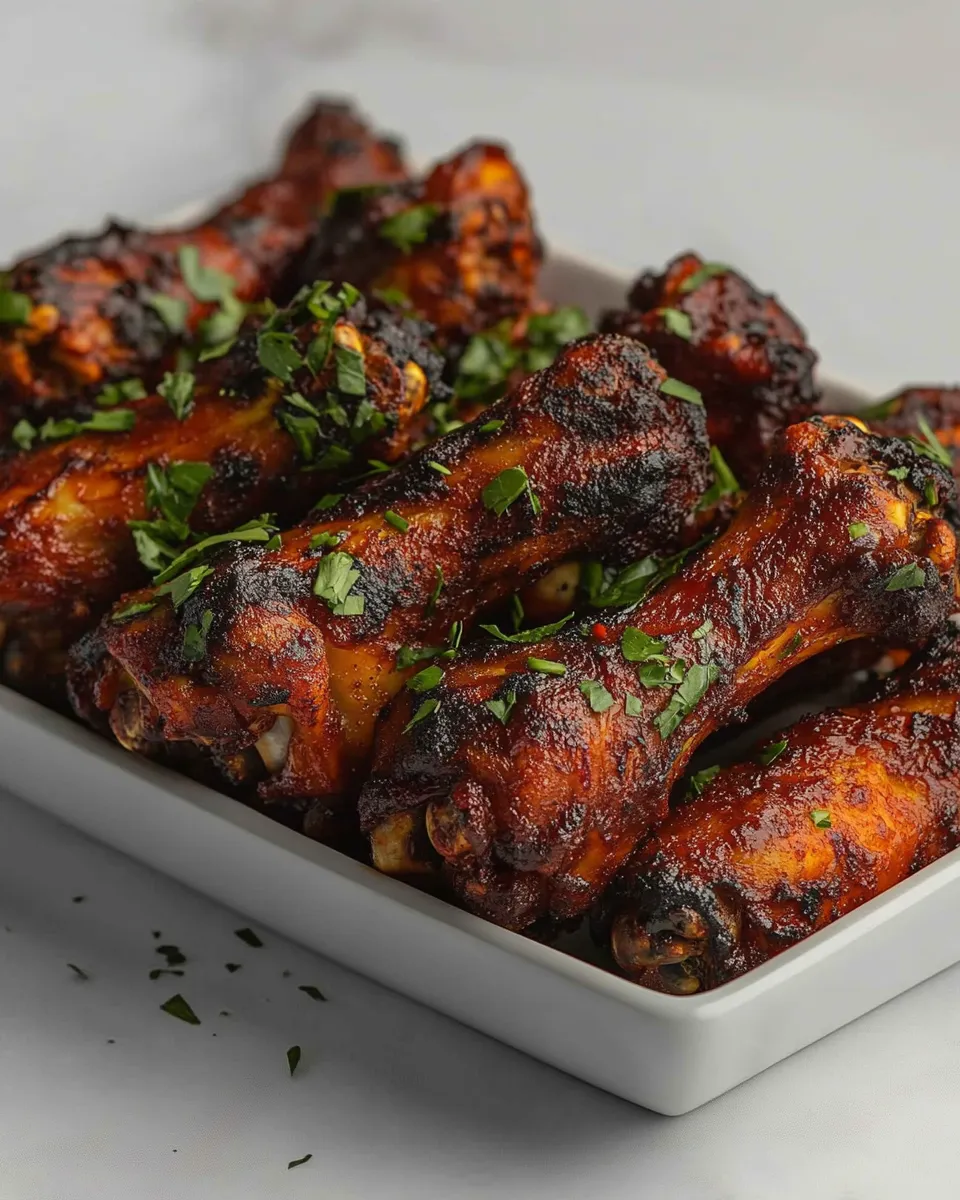
Turning on the broiler one minute before the bake ends achieves two things: it readies the oven for a high-heat finish, and it lets you move the rack so the wings are closer to the element for rapid caramelization. Brushing on hot sauce after the initial bake prevents the sauce from being diluted or burned during the long bake. The final broil crisps the sauced surface into sticky, slightly charred perfection.
Storage Pro Tips
Leftover wings store well but lose some crispness. Cool completely, then refrigerate in an airtight container for up to 3 days. To re-crisp, arrange wings on a rack set over a baking sheet and reheat in a 375°F oven for 8–12 minutes until heated through and the exterior firms up. A quick broil for 1–2 minutes at the end can restore some of the charred edges—watch carefully.
Do not microwave if you care about texture; the microwave will steam the coating and make it soggy. If you want to freeze, flash-freeze the cooled wings on a tray until solid, then transfer to a labeled freezer bag for up to 2 months. Thaw overnight in the refrigerator before reheating as above.
Your Questions, Answered
Q: Can I make these spicier? A: Yes. Choose a hotter bottled sauce or mix in some cayenne or chili flakes to the sauce before brushing. You can also add a pinch more black pepper to the dry mix.
Q: What if I don’t have a broiler? A: Increase the oven temperature to 450°F for the final 8–10 minutes and keep a close eye on them. They’ll crisp, though you may not get the same quick char from a broiler element.
Q: Can I double the recipe? A: Yes, but bake on multiple sheet pans and rotate racks halfway through. Don’t overcrowd each pan.
Q: Is the half cup of hot sauce enough? A: For a standard 2 1/2 pounds of wings, 1/2 cup gives a bright coating. If you want them wetter or saucier, have extra sauce on the side for tossing after broil.
Save & Share
If these wings become your go-to, save the recipe and share it with friends. A quick photo of the finished wings with a note about the broil finish helps others understand the look to aim for. Tag me if you share on social—hearing how you tweak the spice level or what sauce you used is my favorite part.
Make a batch, take your time on the broil, and enjoy the simple joy of perfectly crispy, hot wings.
Hot Wings Recipe
Ingredients
Equipment
Method
- Preheat the oven to 400°F. Line a large baking sheet with parchment paper.
- If the wings are not already separated, separate each wing into two pieces (drumette and flat). Pat the wings dry with paper towels.
- In a medium bowl, whisk together the all-purpose flour, cornstarch, baking powder, kosher salt, ground black pepper, paprika, garlic powder, and onion powder until evenly combined.
- Place the wings in a large bowl or plastic bag, add the dry mixture, and toss or dredge until every wing is evenly coated on all sides.
- Arrange the coated wings in a single layer on the prepared baking sheet, leaving space between pieces so air can circulate.
- Bake on the middle rack at 400°F for 30 minutes, flipping the wings once halfway through baking to promote even browning.
- About 1 minute before the 30 minutes is up, turn on the oven broiler to high and move the oven rack to the upper position (so the wings will be about 6 inches from the broiler element).
- Remove the wings from the oven and brush them evenly with the 1/2 cup hot sauce.
- Return the sauced wings to the upper rack under the broiler and broil for 10 minutes, watching closely, until edges begin to char and the wings are crispy.
- Remove the wings from the oven and let them rest for a few minutes before serving.