How to Make Peanut Butter
I’ve been making my own peanut butter for years. It’s one of those small, satisfying kitchen projects that rewards you quickly: a handful of equipment, one ingredient, and a food processor that does all the heavy lifting. Homemade peanut butter tastes fresher, lets you control the texture, and costs less than many specialty jars at the store.
This recipe is straightforward and forgiving. You can stop the processor whenever you like—chunky or satin-smooth—and the peanuts themselves do most of the work. I’ll walk you through the exact steps I use, the pitfalls to watch for, and how to store what you make so it lasts and keeps tasting its best.
Bring patience for the first few minutes of processing, and a clear jar for the final product. The process is mechanical, but the choices you make—salted, honey-roasted, or a raw roast—shape the flavor. Below you’ll find everything you need: ingredients, step-by-step directions, substitutions, and practical troubleshooting.
What Goes In
Short answer: peanuts, and nothing else is required. The recipe below uses dry-roasted peanuts, either salted or honey-roasted. That choice sets the baseline flavor, so pick the peanuts that match how you want the finished butter to taste.
Ingredients
- 5 cups dry-roasted peanuts (salted or honey-roasted peanuts) — the entire base: oil, flavor, and texture all come from these; salted adds seasoning, honey-roasted adds a sweet note.
Peanut Butter Cooking Guide
- Measure 5 cups dry-roasted peanuts (salted or honey-roasted) and place them in a large high-powered food processor. Secure the lid.
- Turn the food processor on and process the peanuts, pausing every 30–60 seconds to stop and scrape down the sides with a rubber spatula so the peanuts process evenly.
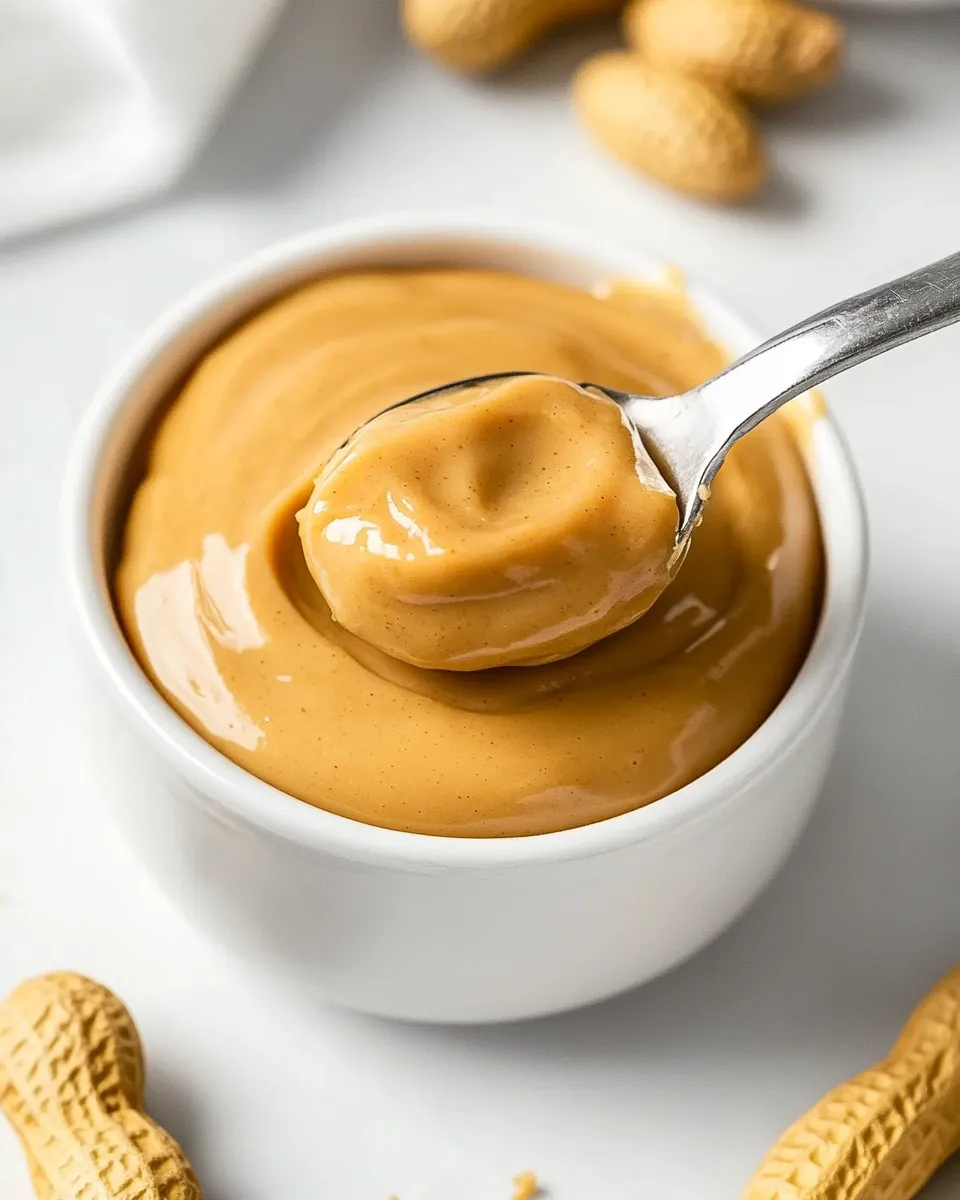
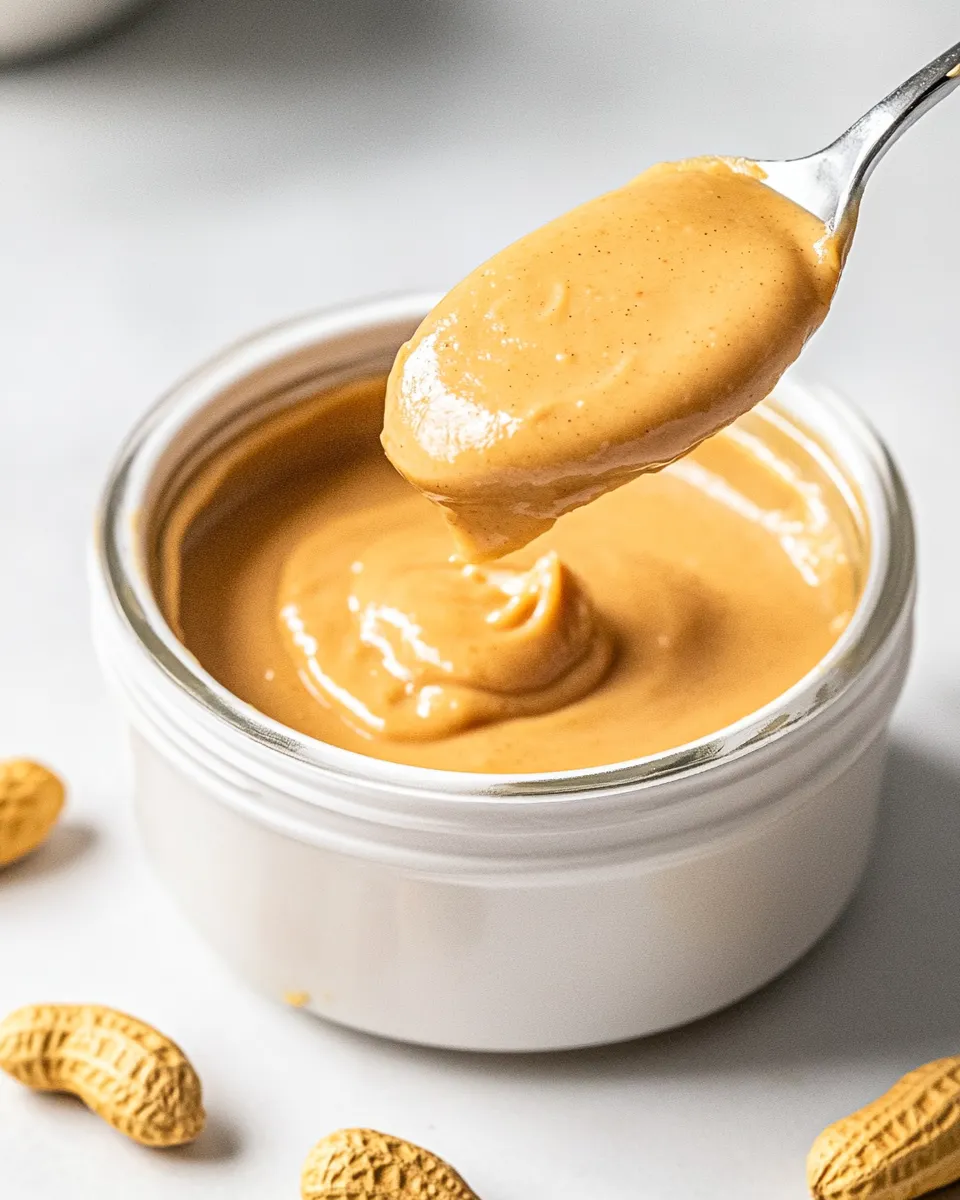
- Continue processing for about 5–7 minutes total. The peanuts will progress from crumbs to a dough-like mass, to chunky with creamy parts, and finally to smooth, creamy peanut butter. Stop when you reach your desired texture.
- Turn off and unplug the food processor, remove the lid, and scrape the peanut butter into an airtight container using a spatula.
- Refrigerate the peanut butter until it firms and thickens slightly (about 1–2 hours) before serving.
Why It’s Crowd-Pleasing
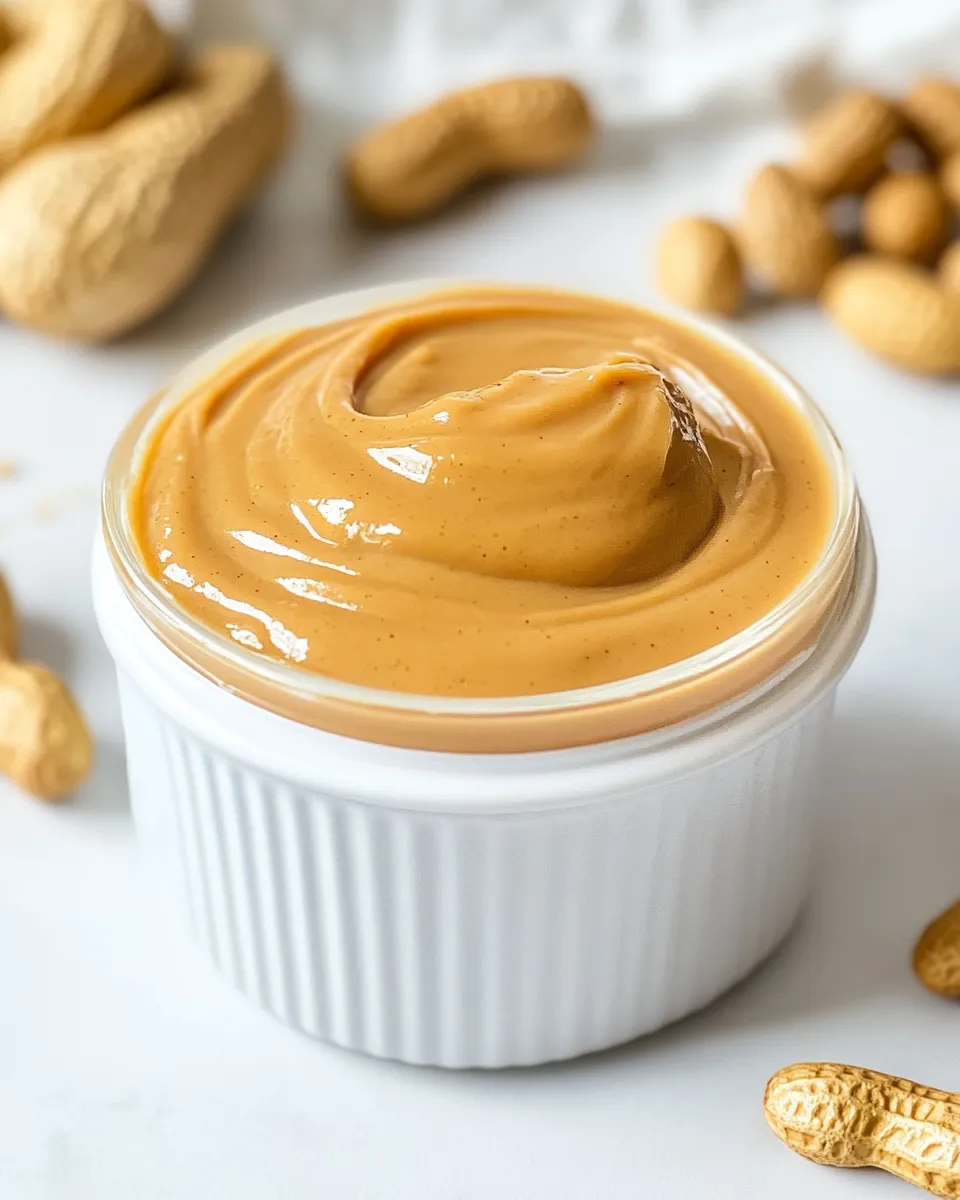
Peanut butter is familiar and comforting. When you make it yourself, those roasted oils are freshly loose, which gives the spread a bright, nutty aroma and a clean taste that store-bought varieties often mask with stabilizers and sugar. Because the texture is under your control, you can please nut-butter purists who want it silky, or fans of crunch who want visible peanut bits.
Using salted or honey-roasted peanuts means you don’t have to add anything else: salt enhances the peanut’s natural flavors; honey-roasted adds a gentle sweetness. Either way, the result pairs well with toast, smoothies, sauces, cookies, and sandwiches—simple crowd-pleasing versatility.
Substitutions by Category
There’s only one ingredient here, so substitutions are about flavor and texture choices rather than swapping components. Think in categories:
- Roast level: If you prefer deeper, toasted notes, use darker-roasted peanuts; lighter roasts read fresher and brighter.
- Finish: Salted peanuts eliminate the need to add salt later. Honey-roasted gives sweetness—if you want to reduce sugar, choose plain dry-roasted peanuts.
- Texture: For chunkier butter, reserve 1/2 cup of chopped peanuts and stir them in after processing.
Equipment at a Glance
Minimal equipment, maximum return:
- Large high-powered food processor — essential. Smaller or weaker units may struggle to release enough oil and could overheat.
- Rubber spatula — for scraping the bowl so everything processes evenly.
- Airtight container — glass jars are ideal; they’re neutral and easy to clean.
Watch Outs & How to Fix
Even a simple recipe has a few common hiccups. Here’s how I deal with them.
Sticky, clumping mess in the processor
Problem: The peanuts form a dry, dough-like ball that sticks to the blade and sides. Fix: Stop the processor and scrape everything down thoroughly. Continue processing in short bursts, scraping between bursts. A strong processor will gradually release oil; patience here pays off.
Overheating or motor strain
Problem: The processor feels hot or smells like it’s struggling. Fix: Turn it off and let it rest for 10–15 minutes. Process in shorter intervals, and don’t overload a small machine—work in batches if necessary.
Too thin or too oily
Problem: The peanut butter looks loose and separates quickly. Fix: For immediate serving, chill it in the refrigerator for 1–2 hours as directed. For future batches, try slightly less processing time for a thicker texture, or use peanuts with a firmer roast that release less oil.
Too thick or dry
Problem: The spread is crumbly and won’t coalesce. Fix: Process a little longer—most dry batches come together after additional minutes as oils release. If you’re at the end and it’s still dry, add a teaspoon of neutral oil (peanut oil or a light vegetable oil) at a time until it smooths—only if you choose to; the recipe’s source-of-truth does not require extra oil.
Fit It to Your Goals
Healthy swap: Use plain dry-roasted peanuts to avoid added sugars and control salt. If you’re watching sodium, choose unsalted peanuts and add salt to taste after processing.
Speed: The recipe runs about 5–7 minutes of hands-off processing after setup. The only active time is scraping the bowl every 30–60 seconds. It’s quick enough for weekday prep and flexible enough for weekend experiments.
Flavor experiments: Stir in a teaspoon of honey, a pinch of smoked salt, or a dash of cinnamon after processing for subtle variations. Add-ins work best folded in by hand so they don’t interfere with texture while processing.
Chef’s Rationale
I keep this method simple on purpose. The food processor is the most efficient way to release the peanuts’ natural oils and transform solid nuts into a stable emulsion. Pausing every 30–60 seconds to scrape prevents hotspots and ensures all peanuts are processed uniformly. Refrigeration at the end helps the oil re-incorporate and firms the butter to a spreadable consistency.
The choice of dry-roasted, salted, or honey-roasted peanuts is about taste preference rather than necessity. The technique works with any of those options; your selection simply sets the baseline flavor so you don’t need to add or subtract much afterward.
Storage Pro Tips
Jar it well: Use clean, airtight containers. Glass is best because it won’t retain oils or flavors the way some plastics can.
Refrigeration: Refrigerate after processing and jarred. The recipe directs chilling for 1–2 hours before serving so the butter firms and thickens slightly. Once refrigerated, homemade peanut butter will keep for about 3–4 weeks; if you used salted or honey-roasted nuts, it may keep toward the longer end because salt and sugar inhibit spoilage.
Freezing: You can freeze peanut butter for up to 3 months. Portion it into smaller jars to thaw only what you need. When thawing, keep it in the refrigerator overnight to maintain texture and food safety.
Separation management
Natural oils can separate over time. If that happens, stir the jar vigorously to reincorporate the oil, then store in the refrigerator to minimize future separation.
Reader Questions
Q: Can I use raw peanuts?
A: Yes, but raw peanuts will yield a different flavor and may require roasting first for a better flavor profile. This recipe uses dry-roasted peanuts as its baseline.
Q: My processor didn’t make it smooth—what went wrong?
A: Likely you stopped too soon or your processor is underpowered. Continue processing in short bursts, scraping down each time. If the motor warms significantly, let it rest and continue later. Alternatively, work in smaller batches if your machine is small.
Q: Should I add salt or oil?
A: Only if you want to tweak flavor or texture. The source ingredient list assumes salted or honey-roasted peanuts. If you start with unsalted peanuts, add salt sparingly. Oil is rarely needed with high-quality dry-roasted peanuts; add a teaspoon at a time only if the butter is too dry.
Ready, Set, Cook
Set up your food processor, measure 5 cups of dry-roasted peanuts (salted or honey-roasted), and give yourself about 20–30 minutes including cleanup. The active processing time is short, and the payoff is immediate: fresh, fragrant peanut butter that you shaped with your own hands. Make a batch, taste, and then decide whether you prefer it chunkier or silkier next time. Enjoy it spread thick on toast, stirred into oatmeal, or as a base for sauces and cookies.

How to Make Peanut Butter
Ingredients
Equipment
Method
- Measure 5 cups dry-roasted peanuts (salted or honey-roasted) and place them in a large high-powered food processor. Secure the lid.
- Turn the food processor on and process the peanuts, pausing every 30–60 seconds to stop and scrape down the sides with a rubber spatula so the peanuts process evenly.
- Continue processing for about 5–7 minutes total. The peanuts will progress from crumbs to a dough-like mass, to chunky with creamy parts, and finally to smooth, creamy peanut butter. Stop when you reach your desired texture.
- Turn off and unplug the food processor, remove the lid, and scrape the peanut butter into an airtight container using a spatula.
- Refrigerate the peanut butter until it firms and thickens slightly (about 1–2 hours) before serving.
Notes
Sea salt
Cinnamon
Cinnamon
Pumpkin pie spice
Pumpkin pie spice
Apple pie spice
Apple pie spice
Cayenne pepper
Cayenne pepper
Cocoa powder
Cocoa powder