How to Make Ricotta
I make ricotta at home because a jar of fresh curds changes almost everything it touches. It’s faster than you think, and the payoff — bright, milky, spreadable cheese with a whisper of cream — is immediate. You don’t need special skills, just a few pantry ingredients and a little attention while it heats.
This recipe is practical: straightforward steps, predictable results. I’ll walk you through what to buy, the exact steps to follow, and the small decisions that determine texture — creamier or drier ricotta, a touch more tang, or the perfect salt balance. Keep it simple, and it will reward you.
If you’re used to ricotta from tubs, this will feel like a revelation. The homemade version is cleaner on the palate, and you control the richness and salt. Read through the equipment list, gather the ingredients, and let’s get comfortable with the gentle science of curdling milk.
What to Buy
Start with the basics: full-fat dairy and something acidic to coax the curds out. I’ll list the exact ingredients below, but focus on the quality of milk and cream first. Fresh whole milk and good heavy cream make a noticeable difference. The yogurt is just to nudge the culture and texture; plain whole-milk Greek yogurt works best.
Pick kosher salt for predictable salting. For serving, keep a nice extra-virgin olive oil and some flaky sea salt on hand — they lift the ricotta into something elegant. A lemon for zest is optional but highly recommended.
Ingredients
- 1 quart whole milk — the main body of the ricotta; full-fat gives the best texture and flavor.
- ½ cup heavy cream — adds richness and silkiness to the curds.
- ¼ cup whole plain Greek yogurt (regular plain yogurt is ok too, just make sure it’s full fat) — helps set and slightly acidify the mixture for a prettier curd.
- 1½ teaspoons lemon juice — the acid that causes the curdling; fresh is fine, bottled will work.
- ½ teaspoon kosher salt — seasons the ricotta during cooking; you can adjust later but start here.
- Olive oil, for serving — a drizzle at the end brightens and adds mouthfeel.
- Lemon zest, for serving — optional, but a little zest wakes the creaminess.
- Freshly ground black pepper, for serving — fresh grind for aroma and a gentle bite.
- Flaky sea salt, for serving — finishing salt; adds texture and sparkle.
Step-by-Step: Ricotta
- Line a colander with 4 layers of cheesecloth and set the colander over a tall bowl to catch the whey; set aside.
- In a medium saucepan, combine 1 quart whole milk, ½ cup heavy cream, ¼ cup whole plain Greek yogurt, 1½ teaspoons lemon juice, and ½ teaspoon kosher salt; whisk until evenly combined.
- Place the saucepan over medium-high heat and bring the mixture to a gentle simmer, stirring occasionally so it heats evenly. Continue cooking until the milk mixture begins to curdle and you can see white curds separating from a yellowish whey.
- As soon as curdling occurs, carefully pour the curds and whey into the cheesecloth-lined colander.
- Let the ricotta drain in the colander for about 5 minutes for a creamier texture or about 15 minutes for a drier ricotta; tilt the bowl or gently lift the cheesecloth to help drain if needed.
- Transfer the drained ricotta to an airtight container and store in the refrigerator.
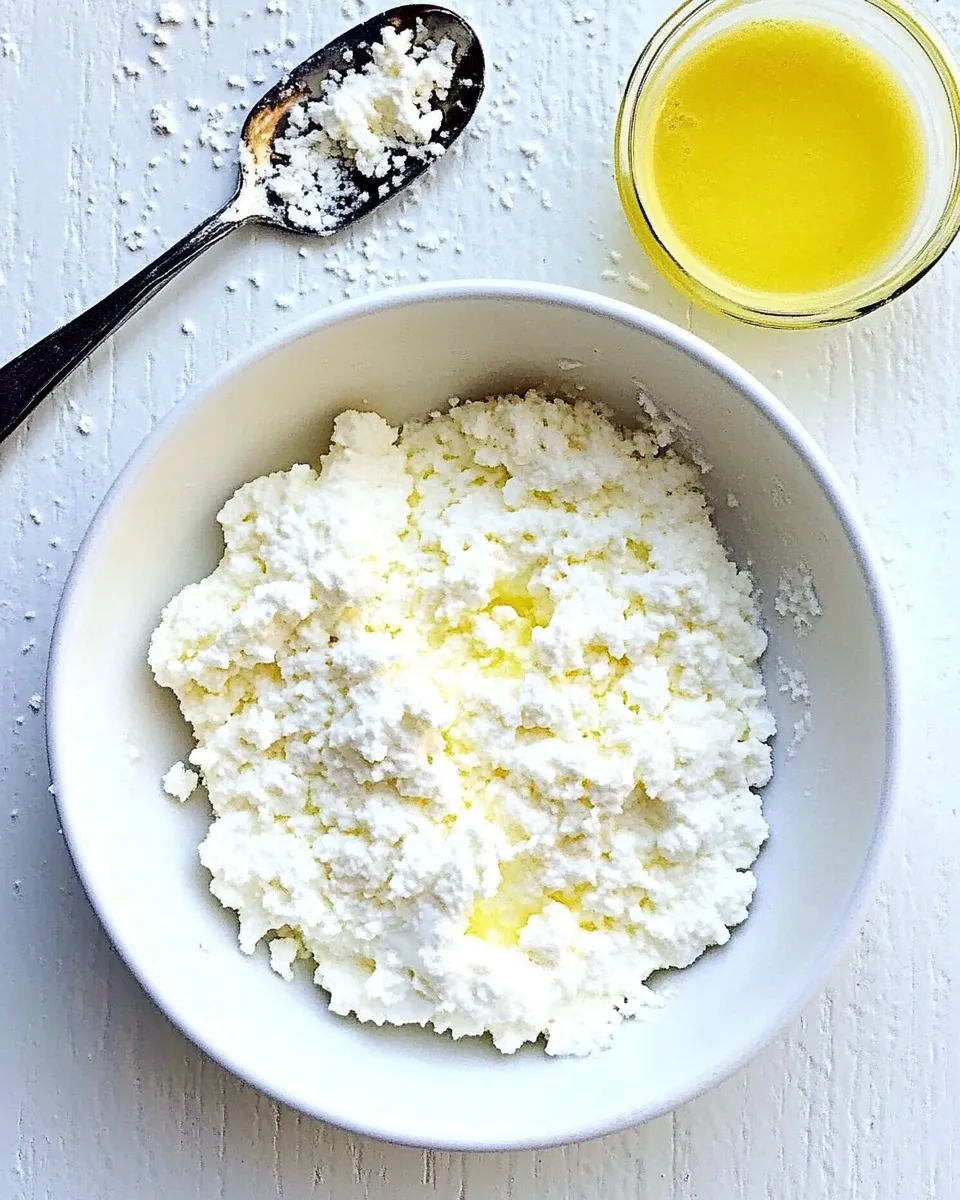
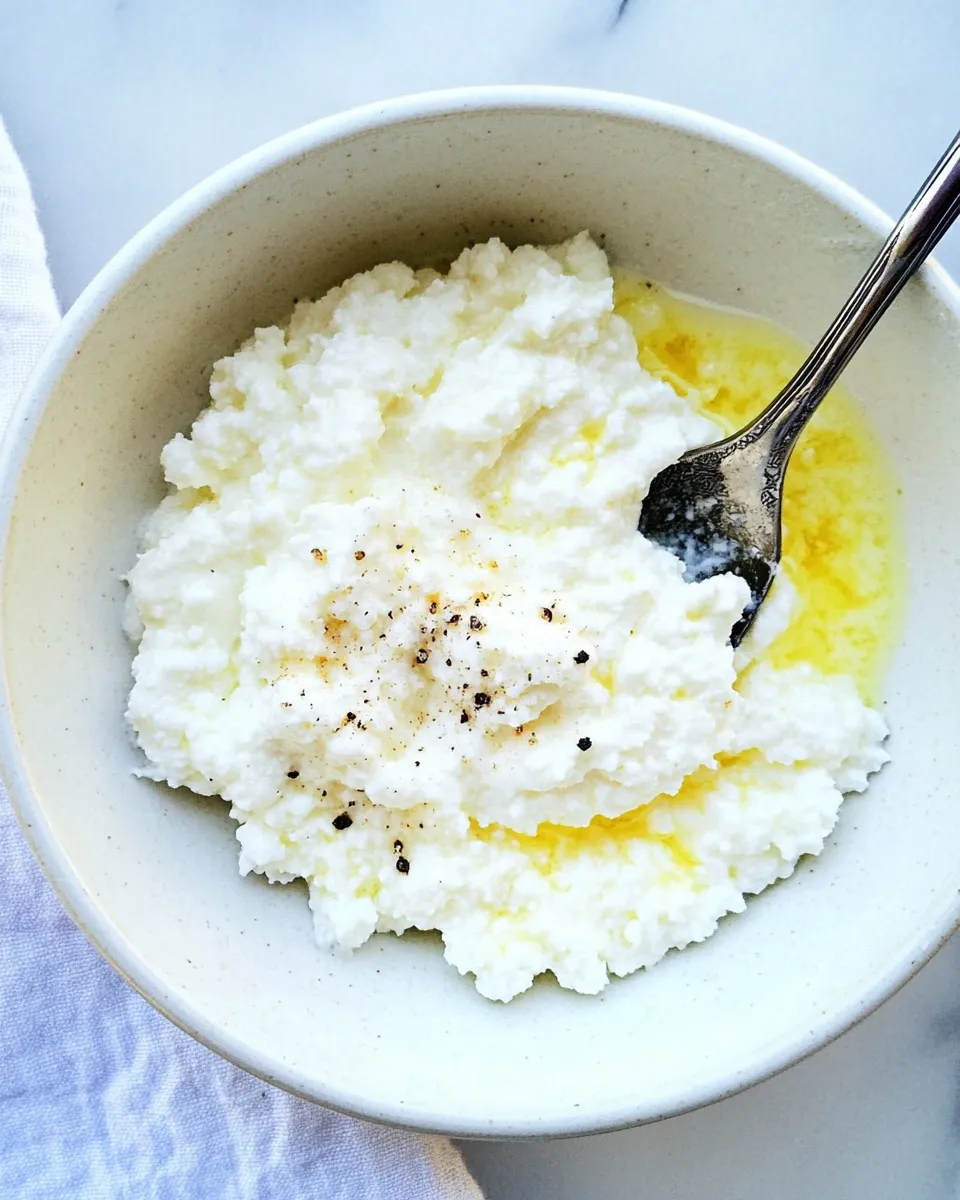
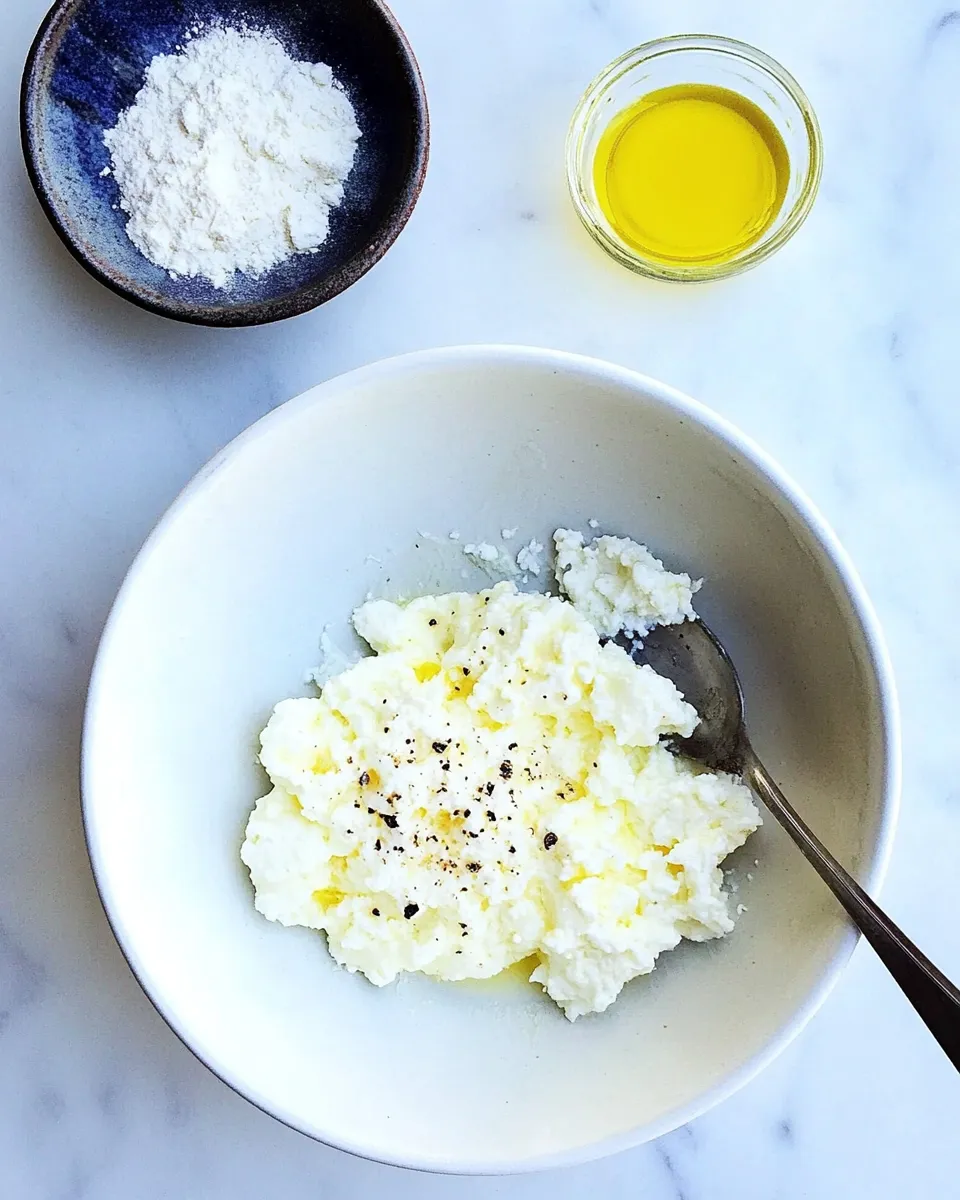
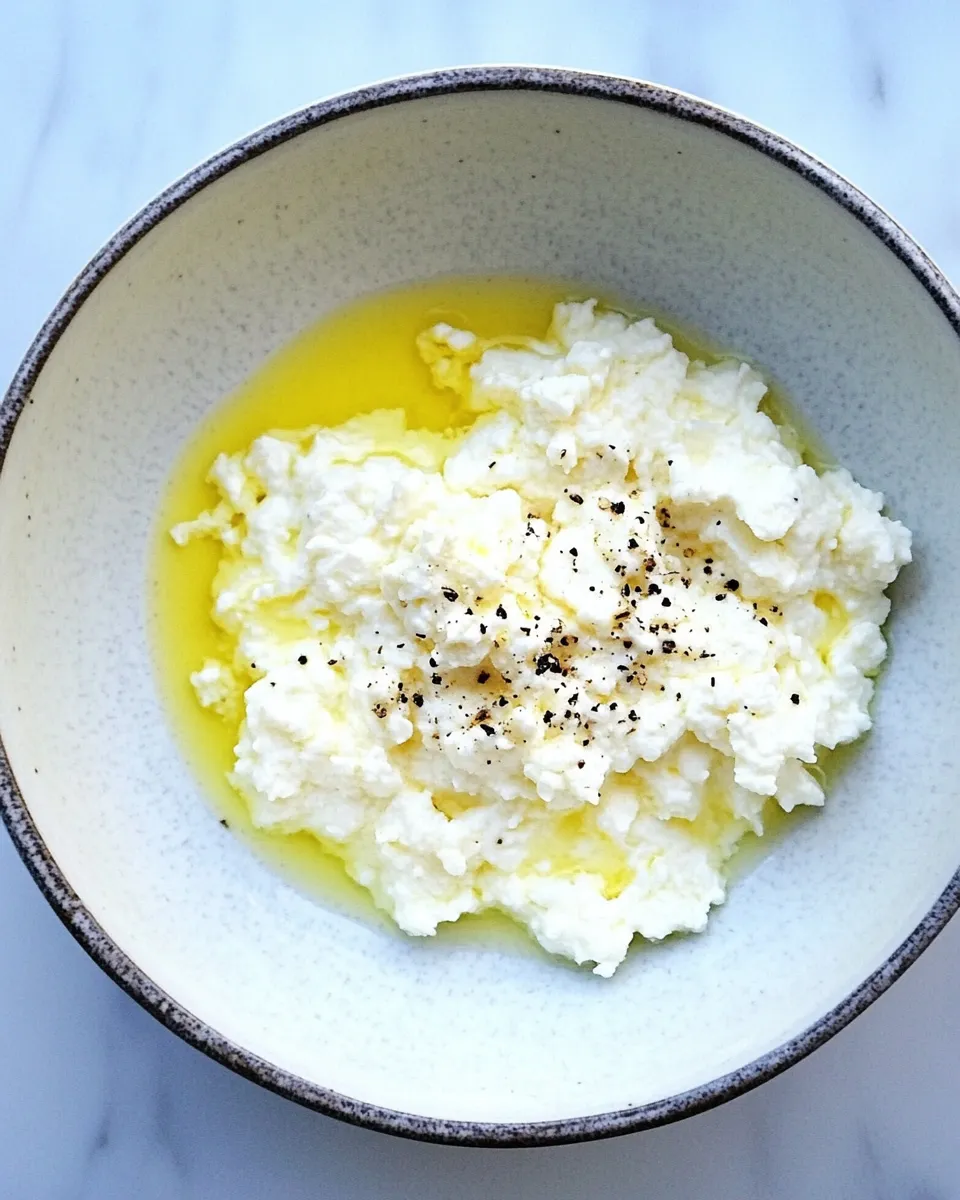
- To serve, drizzle with olive oil and top with lemon zest, freshly ground black pepper, and flaky sea salt as desired; note that this ricotta is already salted, so adjust additional seasoning accordingly.
Why You’ll Keep Making It
Homemade ricotta saves money and delivers a freshness you can taste. A jar of store-bought ricotta can be grainy or watery; this method gives clean, silky curds and a whey byproduct you can reuse for soups or bread. It’s fast, predictable, and versatile — spread it, fold it into pasta, dollop it on roasted vegetables, or use it in desserts.
The technique is transferable: once you understand the gentle heat and the role of acid, you can tweak texture and richness. It’s also forgiving. Miss the exact minute the curds form? You’ll likely still get a usable cheese. That reliability makes it a repeat in my kitchen.
Ingredient Swaps & Substitutions
Keep in mind the chemistry: you need milk, fat, and acid. Here are options that work and those I don’t recommend.
- Milk — whole milk gives the best texture. Lower-fat milks will produce grainier, thinner ricotta; if you only have lower-fat milk, add a bit more cream.
- Cream — heavy cream adds silkiness. You can reduce it slightly for a lighter result, but don’t skip it if you want richness.
- Yogurt — whole plain Greek yogurt is preferred for body and a small cultured note. Regular full-fat plain yogurt is acceptable; avoid low-fat or flavored varieties.
- Lemon juice — it’s the acid. You can substitute white wine vinegar, apple cider vinegar, or even white vinegar in the same quantity, but the flavor will shift.
- Salt — kosher salt is predictable. If you use table salt, cut the amount by about half and taste after draining.
Before You Start: Equipment
Minimal tools, maximum results. Here’s what to have ready:
- A medium saucepan — heavy-bottomed is best for even heating.
- A tall bowl to catch whey — or any heatproof bowl that fits under your colander.
- A colander — stainless steel preferred.
- Cheesecloth (4 layers) — for draining; a thin clean kitchen towel works in a pinch.
- A whisk and a slotted spoon — whisk to combine, spoon to transfer curds if needed.
- A thermometer (optional) — useful if you prefer precise temperatures; curdling often starts around 185–200°F (85–93°C), but the visual cue is fine.
- An airtight container — for storage.
Problems & Prevention
Curdling doesn’t happen
If you heat the milk too gently or add the acid too early or too late, curds can be reluctant. Prevention: follow the sequence — combine ingredients first, then heat. Bring the mixture to a gentle simmer on medium-high heat. Look for the white curds separating from yellowish whey; that visual cue is your target.
Curds are tiny or grainy
Likely causes are low-fat milk or over-stirring while heating. Use whole milk and avoid stirring once curds start to form. Also, don’t rush the heat: a steady gentle simmer is better than a rapid boil.
Ricotta is too salty or underrated
Start with the ½ teaspoon kosher salt called for in the recipe. This seasons the cheese during formation. If you prefer less salt, reduce it slightly — but remember the final serving suggestions also include finishing salt, so taste before final seasoning.
Drainage issues
If draining is slow, tilt the bowl or gently lift the cheesecloth to let whey flow out (as directed). Don’t squeeze the cloth aggressively unless you want very dry ricotta; gentle gravity drainage yields a tender texture.
Holiday-Friendly Variations
Ricotta scales well for holiday cooking because it’s simple and adaptable.
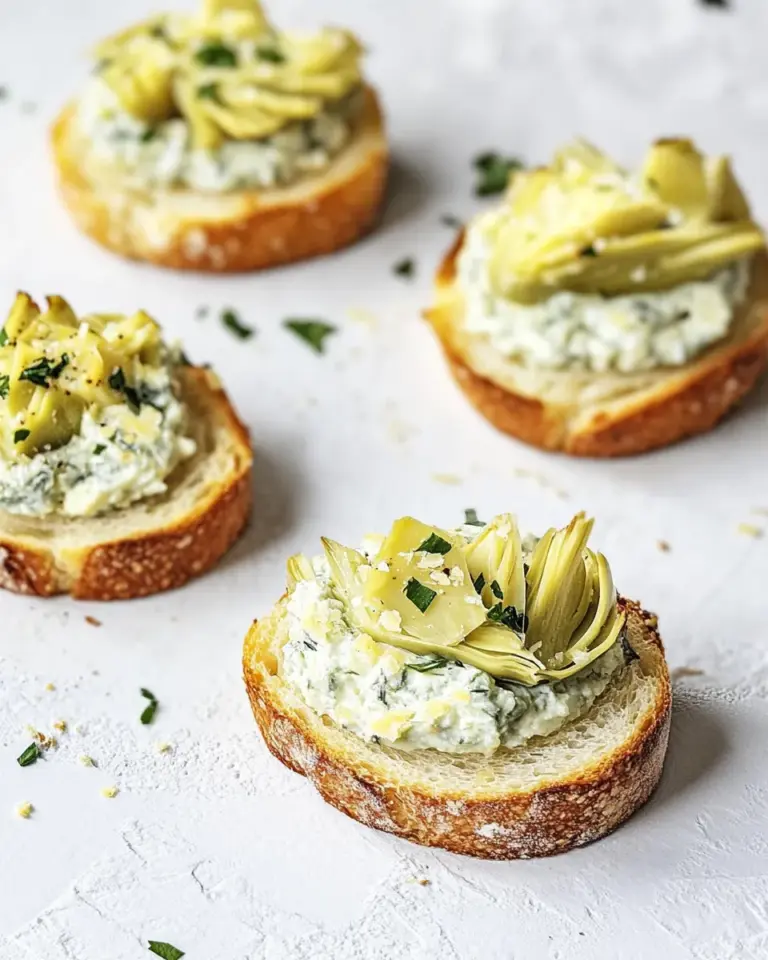
- For a festive appetizer, fold in finely chopped herbs (thyme, chives, or rosemary), a touch of lemon zest, and roasted pine nuts. Serve on crostini with a drizzle of honey and flaky sea salt.
- Use ricotta in lasagna or stuffed shells for a lighter, fresher filling than commercial tubs. Stir in one egg and a handful of grated Parmesan when assembling for baking stability.
- Sweet ricotta: fold in a little powdered sugar, vanilla, and grated citrus zest. Pipe into tart shells or spread on warm brioche for brunch.
Flavor Logic
Understand the building blocks and you can riff confidently. Milk provides the base flavor and body. Cream fattens the curds, giving a richer mouthfeel. Yogurt adds a cultured note and slightly helps curd formation. Lemon juice (or another acid) separates curds and whey — the essential chemical step.
Salt is both functional and flavor: it tightens proteins slightly and seasons the final product. Finishing touches — olive oil, lemon zest, pepper, flaky sea salt — add contrast: fat, brightness, heat, and crunch. That balance is what turns a bowl of curds into something you’ll want to serve to guests.
Keep-It-Fresh Plan
Store ricotta in an airtight container in the refrigerator. It will keep for about 3–5 days; treat it like fresh dairy. If you see any off smell or visible mold, discard. The whey you collected is usable: freeze it, or keep it for a few days in the fridge for soups, risotto, or as the liquid in bread dough.
To rehydrate drier ricotta, stir in a teaspoon or two of milk or cream until you reach the desired texture. For serving leftovers, taste before adding any more salt — the initial recipe includes salt, and finishing salts can quickly overdo it.
Ask & Learn
Common questions I hear: Can I make this without cream? Yes, but expect a thinner, less luxurious ricotta. Can I use non-dairy milk? Not for this technique; the protein structure of dairy milk is what makes curds. Can I scale this up? Yes — use a larger pot and the same proportions, but heat more slowly to keep even curd formation.
If your curds are consistently small, try increasing the acid slightly (very small increments) or use a thermometer to ensure you’re reaching a stronger simmer. If you want a denser ricotta for baking, drain closer to 15 minutes or press gently to remove more whey.
Final Thoughts
Once you make ricotta at home, reaching for it as a first choice becomes easy. The steps are short, the equipment is simple, and the results are flexible across sweet and savory applications. Keep the basic method in your repertoire — it’s one of those foundational techniques that improves quick dinners and holiday spreads alike.
Make a batch, taste the curds warm, and then try a second batch with a small tweak: a minute less drain for spreadable ricotta, or an extra 10 minutes for firmer filling. The learning comes fast, and the rewards are immediate: bright, creamy ricotta you can depend on.
How to Make Ricotta
Ingredients
Equipment
Method
- Line a colander with 4 layers of cheesecloth and set the colander over a tall bowl to catch the whey; set aside.
- In a medium saucepan, combine 1 quart whole milk, ½ cup heavy cream, ¼ cup whole plain Greek yogurt, 1½ teaspoons lemon juice, and ½ teaspoon kosher salt; whisk until evenly combined.
- Place the saucepan over medium-high heat and bring the mixture to a gentle simmer, stirring occasionally so it heats evenly. Continue cooking until the milk mixture begins to curdle and you can see white curds separating from a yellowish whey.
- As soon as curdling occurs, carefully pour the curds and whey into the cheesecloth-lined colander.
- Let the ricotta drain in the colander for about 5 minutes for a creamier texture or about 15 minutes for a drier ricotta; tilt the bowl or gently lift the cheesecloth to help drain if needed.
- Transfer the drained ricotta to an airtight container and store in the refrigerator.
- To serve, drizzle with olive oil and top with lemon zest, freshly ground black pepper, and flaky sea salt as desired; note that this ricotta is already salted, so adjust additional seasoning accordingly.
Notes
*I recently discovered that you can reuse cheesecloth! Simply rinse out any leftover particles under hot, running water, then hang to dry. I wouldn't recommend reusing cheesecloth that has come in contact with meat or fish though.