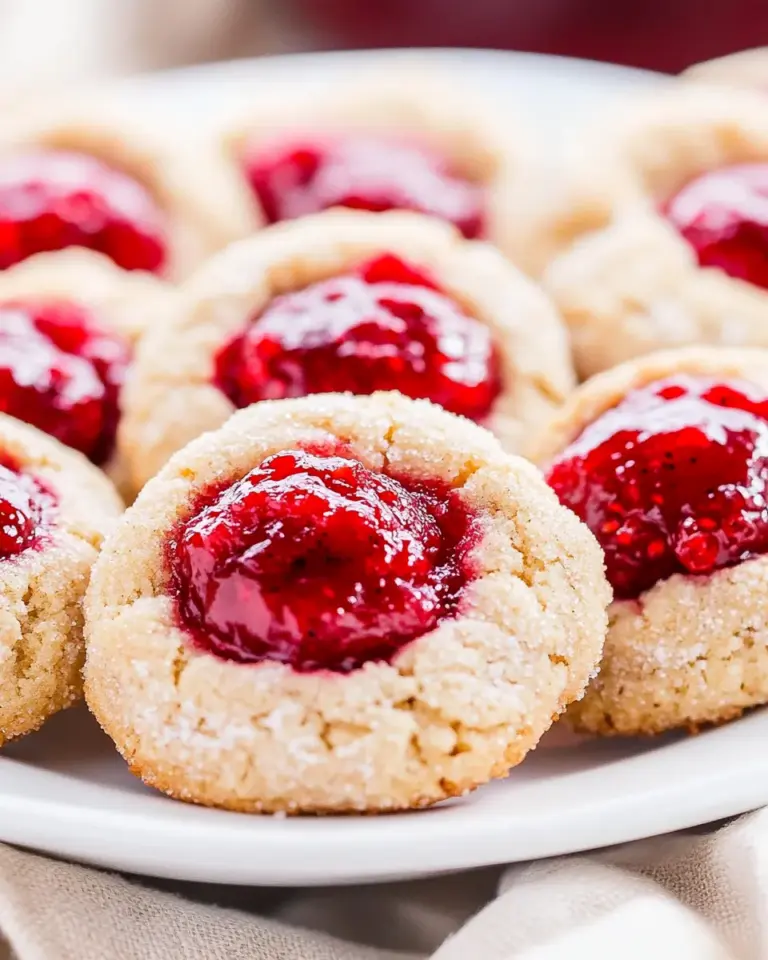
Italian Thumbprint Cookies
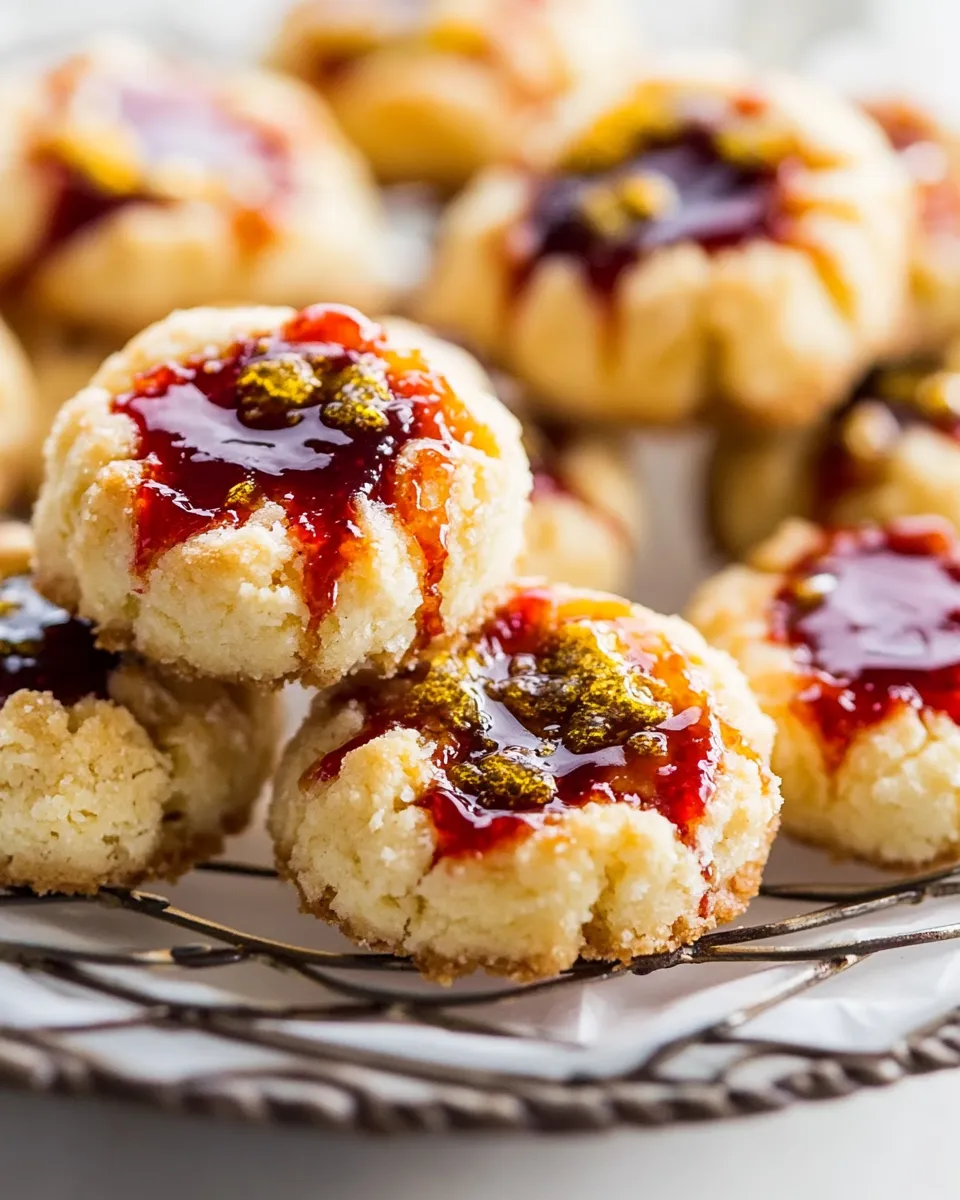
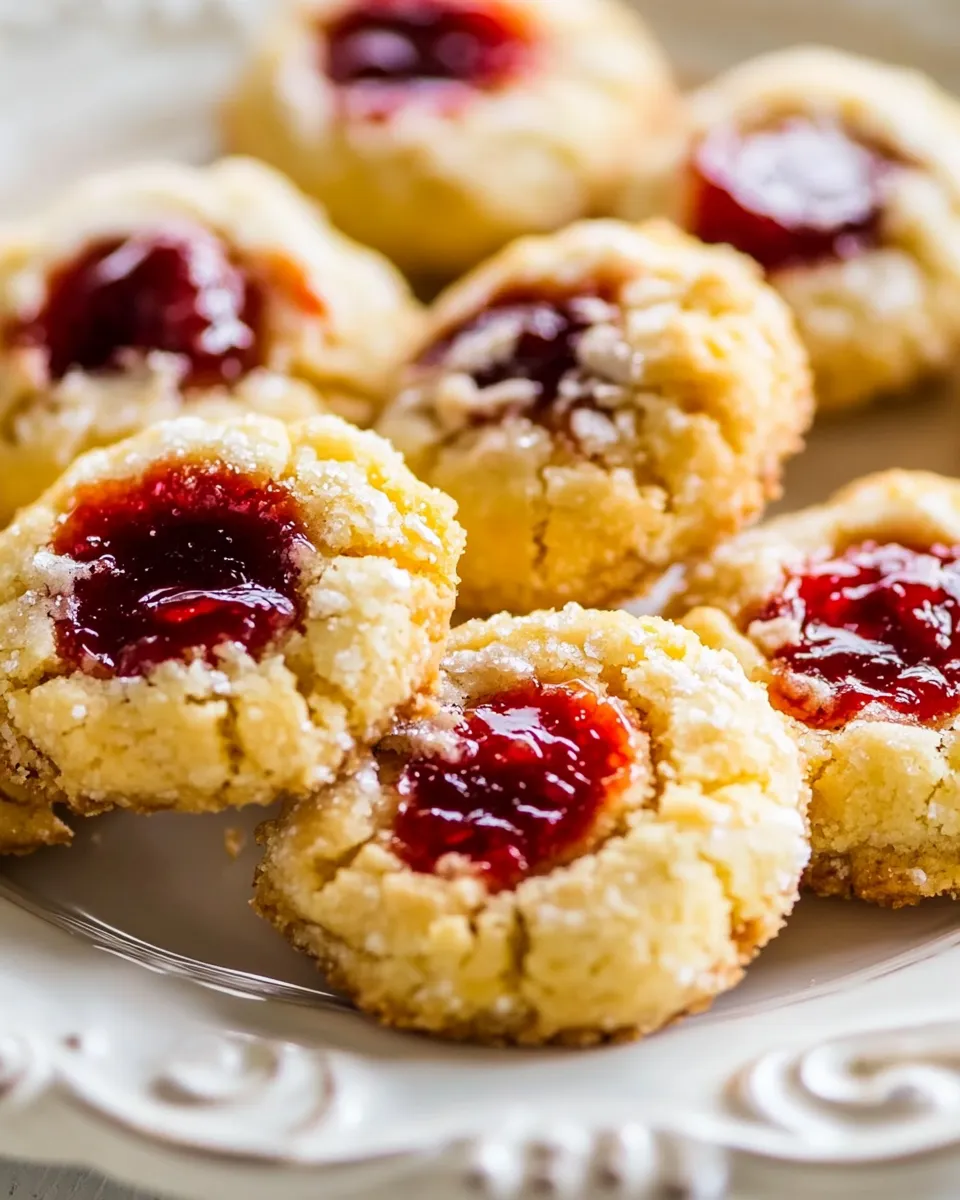
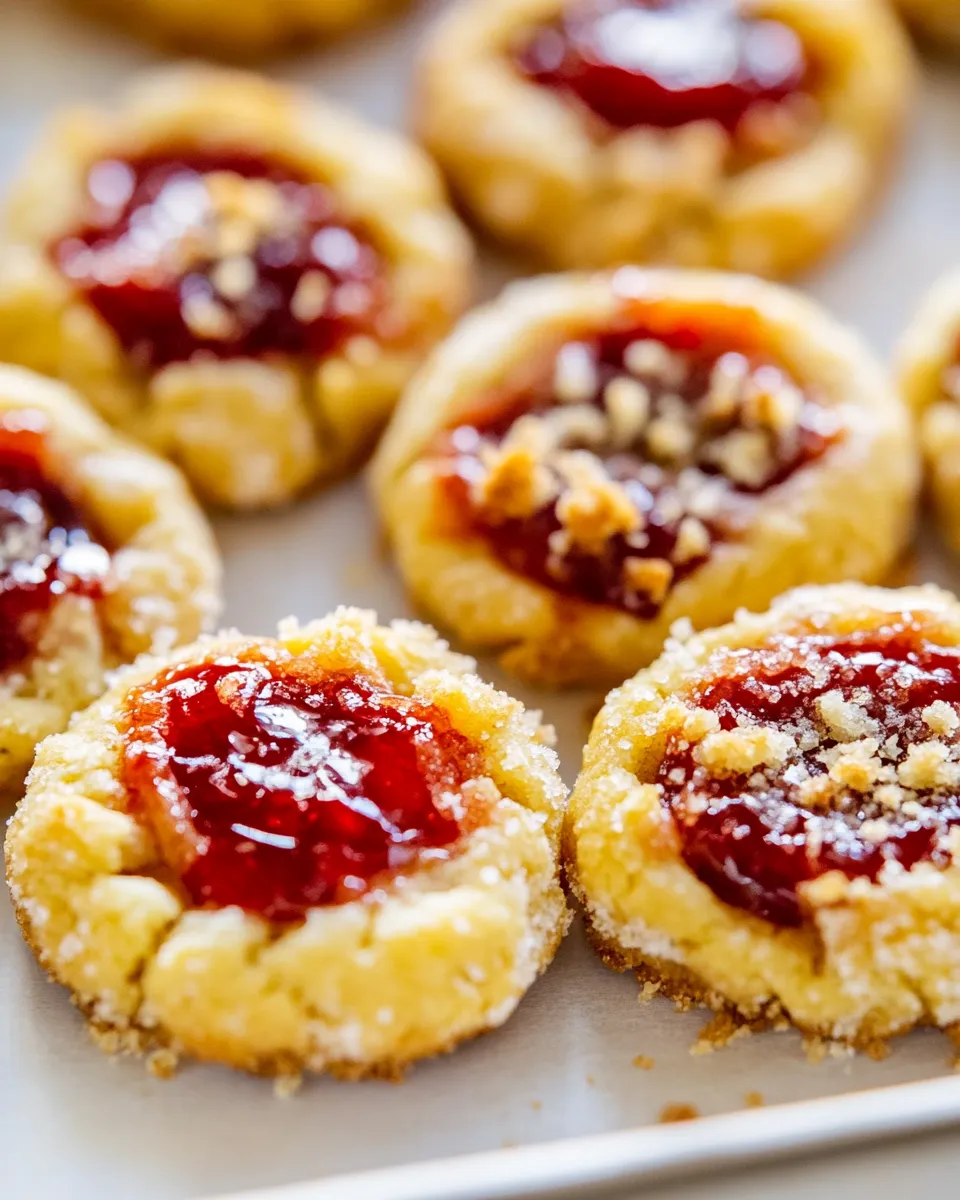
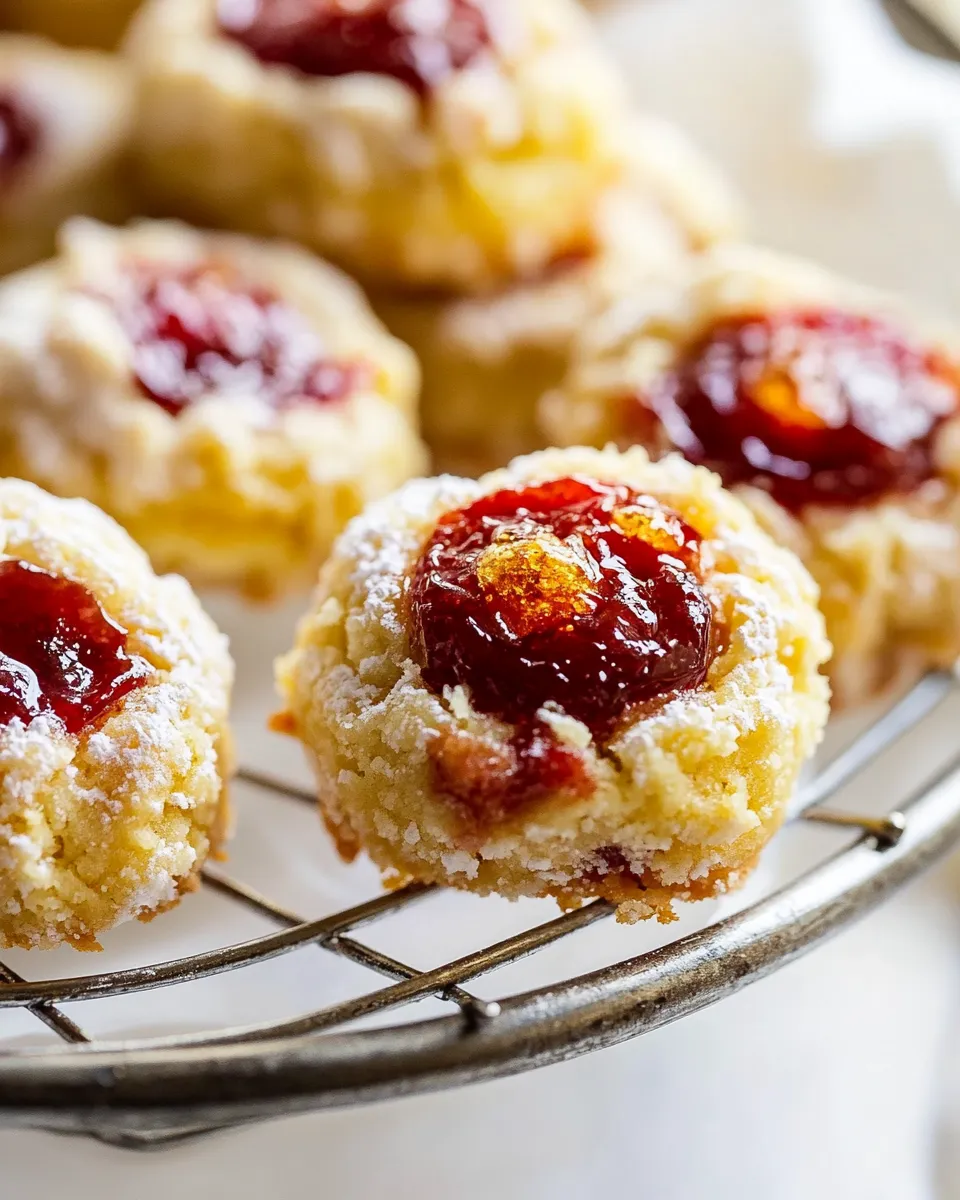
These are the kind of cookies I make when I want something that feels both classic and a little bit fancy. Italian Thumbprint Cookies are buttery, tender, and studded with bright strawberry jam — and the pistachio coating gives them a satisfying crunch and color that makes them look like something from a bakery window. They’re straightforward to make, and the steps are forgiving enough for a weekday afternoon or a holiday cookie swap.
I like to keep the process practical: chill the dough, shape it neatly, and resist the urge to overfill the centers. The recipe produces cookies that hold a crisp edge with a soft interior and a delicate chocolate drizzle to finish. Small touches — using the seeds from a vanilla bean, a quick egg-white bath for the nuts, tempering or gently melting the chocolate — push a good cookie into a memorable one.
If this is your first time rolling in pistachios or piping chocolate, don’t stress. The method is simple and it rewards care, not speed. Read through the steps, prep your mise en place, and enjoy the rhythm: measure, chill, shape, fill, bake, and decorate. By the time the kitchen smells like warm vanilla and toasted nuts, you’ll know these are keepers.
Ingredient Checklist
- 2 1/4 cups all-purpose flour — structure for the cookie; measure by spooning into the cup and leveling for accuracy.
- 1 cup salted butter, firm but not cold — provides flavor and tenderness; bring to a softened but still slightly cool state before creaming.
- 2/3 cup granulated sugar — sweetens and helps with lightness when creamed with the butter.
- seeds of 1 vanilla bean (1 1/2 tsp vanilla extract could be substituted) — flavor anchor; use the bean seeds for a more intense, speckled vanilla note.
- 2 large eggs, yolks and whites divided — yolks enrich the dough; reserve the whites for an egg-wash that helps the pistachios stick.
- 1 cup unsalted pistachios, finely chopped — coating and texture; finely chopped works best so the nuts adhere and don’t overpower the bite.
- 1/2 cup strawberry preserves — the jam that fills each indentation; thicker preserves hold their shape during baking.
- 4 oz white chocolate or semi-sweet chocolate* melted — finishing drizzle; choose white for sweetness and color, or semi-sweet for contrast.
Make Italian Thumbprint Cookies: A Simple Method
- Preheat oven to 350°F. Line baking sheets with parchment paper or a Silpat.
- In the bowl of a stand mixer fitted with the paddle attachment, beat 1 cup salted butter (firm but not cold), 2/3 cup granulated sugar, and the seeds from 1 vanilla bean (or 1 1/2 tsp vanilla extract) on medium-high until pale and fluffy, about 4 minutes.
- Add the 2 egg yolks and mix until incorporated. Transfer the egg whites to a small bowl and set aside.
- Reduce mixer speed to low and slowly add 2 1/4 cups all-purpose flour. Mix until the dough comes together (it may look dry at first).
- Form the dough into a ball, wrap in plastic, and refrigerate for 30 minutes.
- While the dough chills, place 1 cup finely chopped unsalted pistachios in a shallow bowl and whisk the reserved egg whites until frothy.
- Scoop the chilled dough 1 tablespoon at a time and roll each portion into a smooth ball.
- Dip each dough ball into the frothy egg white to coat, then roll into the chopped pistachios so the sides and bottom are coated, leaving a small uncoated circle on top for the jam.
- Place the coated balls on the prepared baking sheets (up to 15 per sheet). Using your thumb or the back of a teaspoon, press a clear indentation into the center of each ball without pressing through.
- Fill each indentation with a heaping 1/2 tsp of the 1/2 cup strawberry preserves.
- Bake in the preheated oven for 14–16 minutes, until edges are set and bottoms are lightly golden. Let cookies rest on the baking sheet for several minutes, then transfer to a wire rack to cool completely.
- Melt 4 oz white chocolate or semi‑sweet chocolate in a heatproof bowl set over simmering water, or in the microwave at 50% power in 30-second intervals, stirring between intervals until smooth.
- Put the melted chocolate into a piping bag or small zip-top bag, snip a small corner, and drizzle the chocolate over the cooled cookies. Store cookies in an airtight container.
Why This Recipe is a Keeper
These cookies balance texture and flavor in an elegant, approachable way. The dough is rich enough to be tender without spreading, the pistachio coating adds both nutty flavor and a festive color, and the jam-centered thumbprint is a classic contrast: bright and sweet against buttery cookie. The method asks for small, specific steps — chilling, an egg-white bath, and careful indentation — that ensure consistent results every time.
They’re adaptable. Use extract if you don’t have a vanilla bean. Swap the jam in the centers to change the flavor profile. The cookies store well and travel nicely, which makes them great for gifting. Also, the final chocolate drizzle is optional, but it brings texture and visual polish that elevates the entire batch.
International Equivalents
Measurements in this recipe are U.S. customary. For professional or global kitchens, weigh where possible for precision: 1 cup all-purpose flour ≈ 125 g, so 2 1/4 cups ≈ 280 g. One cup of butter is 227 g. Granulated sugar: 2/3 cup ≈ 135 g. Four ounces of chocolate ≈ 113 g. These conversions keep results consistent across regions.
Kitchen Gear Checklist
- Stand mixer with paddle attachment — for creaming butter and sugar smoothly; a hand mixer can substitute.
- Baking sheets — two or more, to avoid overcrowding and allow up to 15 cookies per sheet.
- Parchment paper or Silpat — prevents sticking and promotes even browning.
- Wire rack — for complete cooling before drizzling chocolate.
- Small bowl and whisk — to froth reserved egg whites.
- Shallow bowl — for the chopped pistachios.
- Measuring cups and spoons or kitchen scale — use a scale for best consistency.
- Piping bag or small zip-top bag — to drizzle melted chocolate neatly.
What Not to Do
- Don’t skip chilling the dough. Skipping the 30-minute chill will make the dough harder to shape and the cookies likely to spread unevenly.
- Don’t overfill the wells. Using more than a heaping 1/2 tsp of preserves can cause the jam to bubble over and make the bottoms soggy.
- Don’t press through the dough when making the indentation. Press firmly enough to create a crater, but avoid breaking the cookie shell — that maintains structure during baking.
- Don’t melt chocolate at full power in the microwave. High heat scorches chocolate. Use 50% power and short bursts, stirring in between.
Allergy-Friendly Swaps
- Nuts: If pistachios are an issue, roll the cookies in finely crushed toasted oats or shredded coconut (if no nut allergy) for texture. Note: coconut changes flavor and appearance.
- Dairy: Replace butter with a 1:1 dairy-free baking stick that is solid at room temperature; results will be close but watch chill time and texture.
- Eggs: This recipe uses yolks for richness and whites for the nut coating. For an egg-free version, use a commercial egg replacer in the dough and substitute a light corn syrup or plant-based milk wash (lightly brushed) to make chopped nuts adhere.
- Gluten: Use a 1:1 gluten-free all-purpose flour blend that includes xanthan gum. Expect a slightly different crumb; chilling helps maintain shape.
Recipe Notes & Chef’s Commentary
About the butter and creaming
Firm-but-not-cold butter creams into a light matrix with sugar. Too soft and it won’t trap enough air; too cold and it won’t cream properly. Aim for a texture that yields when pressed but still holds some shape. Cream until pale and fluffy — that four-minute guideline is generous, but you should see the mixture lighten noticeably.
Vanilla bean vs extract
Vanilla bean seeds give speckled, aromatic flavor. If using extract, add it when you add the yolks so it blends evenly. Either is fine; the bean is a small luxury that makes the dough smell irresistible.
Pistachio prep
Finely chopping the pistachios helps them stick and prevents the cookie from becoming overwhelmingly nutty. If you buy pre-chopped nuts, give them a quick pulse in a food processor to uniform the pieces.
Chocolate finish
Warm the chocolate gently. If it thickens as it cools while you work, re-warm briefly in the microwave at 30% power for just a few seconds. If you want a very glossy finish, tempering is an option, but for home use, gentle melting is perfectly fine.
Keep-It-Fresh Plan
Store the cookies in an airtight container at room temperature for up to 4 days. If your kitchen is warm, keep them in a cool spot or refrigerate; chilled cookies firm up and should be brought back to room temperature before serving to soften the chocolate glaze slightly.
For longer storage, freeze unfilled dough balls for up to 3 months. Flash-freeze them on a sheet, then transfer to a freezer-safe bag. When ready to bake, thaw in the refrigerator, then proceed with the egg-white and pistachio coating and the jam filling. Baked cookies freeze well for up to 2 months; thaw at room temperature in a single layer to avoid condensation making the topping soggy.
Reader Q&A
- Q: Can I use other jams? A: Yes. Apricot, raspberry, or orange marmalade are lovely. Thicker preserves work best so the filling keeps its shape.
- Q: My cookies spread — what happened? A: Either your butter was too soft, the dough didn’t chill, or your flour measurement was off. Chill the dough and use a firm butter next time.
- Q: Can I skip the chocolate drizzle? A: Absolutely. The cookies are complete with just the pistachios and jam. The drizzle is decorative and adds a flavor contrast.
- Q: The centers sank after baking. Why? A: You may have pressed too hard or used too much jam. Make a shallower well and stick to a heaping 1/2 tsp of preserves per cookie.
Ready, Set, Cook
Gather your ingredients, preheat the oven, and give yourself about 90 minutes from start to finish if you include chill time and cooling. The steps are methodical and satisfying. Pace yourself: cream, chill, coat, press, fill, bake, and decorate. When the tray comes out of the oven and the kitchen smells like vanilla and toasted nuts, let the cookies rest a few minutes before moving them to a rack.
These Italian Thumbprint Cookies make a lovely batch for gifting or a special treat for coffee or tea. Enjoy the process and the small, bright reward of a jam-filled bite. If you make them, tell me what jam or chocolate you chose — I love seeing how readers make the recipe their own.
Italian Thumbprint Cookies
Ingredients
Equipment
Method
- Preheat oven to 350°F. Line baking sheets with parchment paper or a Silpat.
- In the bowl of a stand mixer fitted with the paddle attachment, beat 1 cup salted butter (firm but not cold), 2/3 cup granulated sugar, and the seeds from 1 vanilla bean (or 1 1/2 tsp vanilla extract) on medium-high until pale and fluffy, about 4 minutes.
- Add the 2 egg yolks and mix until incorporated. Transfer the egg whites to a small bowl and set aside.
- Reduce mixer speed to low and slowly add 2 1/4 cups all-purpose flour. Mix until the dough comes together (it may look dry at first).
- Form the dough into a ball, wrap in plastic, and refrigerate for 30 minutes.
- While the dough chills, place 1 cup finely chopped unsalted pistachios in a shallow bowl and whisk the reserved egg whites until frothy.
- Scoop the chilled dough 1 tablespoon at a time and roll each portion into a smooth ball.
- Dip each dough ball into the frothy egg white to coat, then roll into the chopped pistachios so the sides and bottom are coated, leaving a small uncoated circle on top for the jam.
- Place the coated balls on the prepared baking sheets (up to 15 per sheet). Using your thumb or the back of a teaspoon, press a clear indentation into the center of each ball without pressing through.
- Fill each indentation with a heaping 1/2 tsp of the 1/2 cup strawberry preserves.
- Bake in the preheated oven for 14–16 minutes, until edges are set and bottoms are lightly golden. Let cookies rest on the baking sheet for several minutes, then transfer to a wire rack to cool completely.
- Melt 4 oz white chocolate or semi‑sweet chocolate in a heatproof bowl set over simmering water, or in the microwave at 50% power in 30-second intervals, stirring between intervals until smooth.
- Put the melted chocolate into a piping bag or small zip-top bag, snip a small corner, and drizzle the chocolate over the cooled cookies. Store cookies in an airtight container.