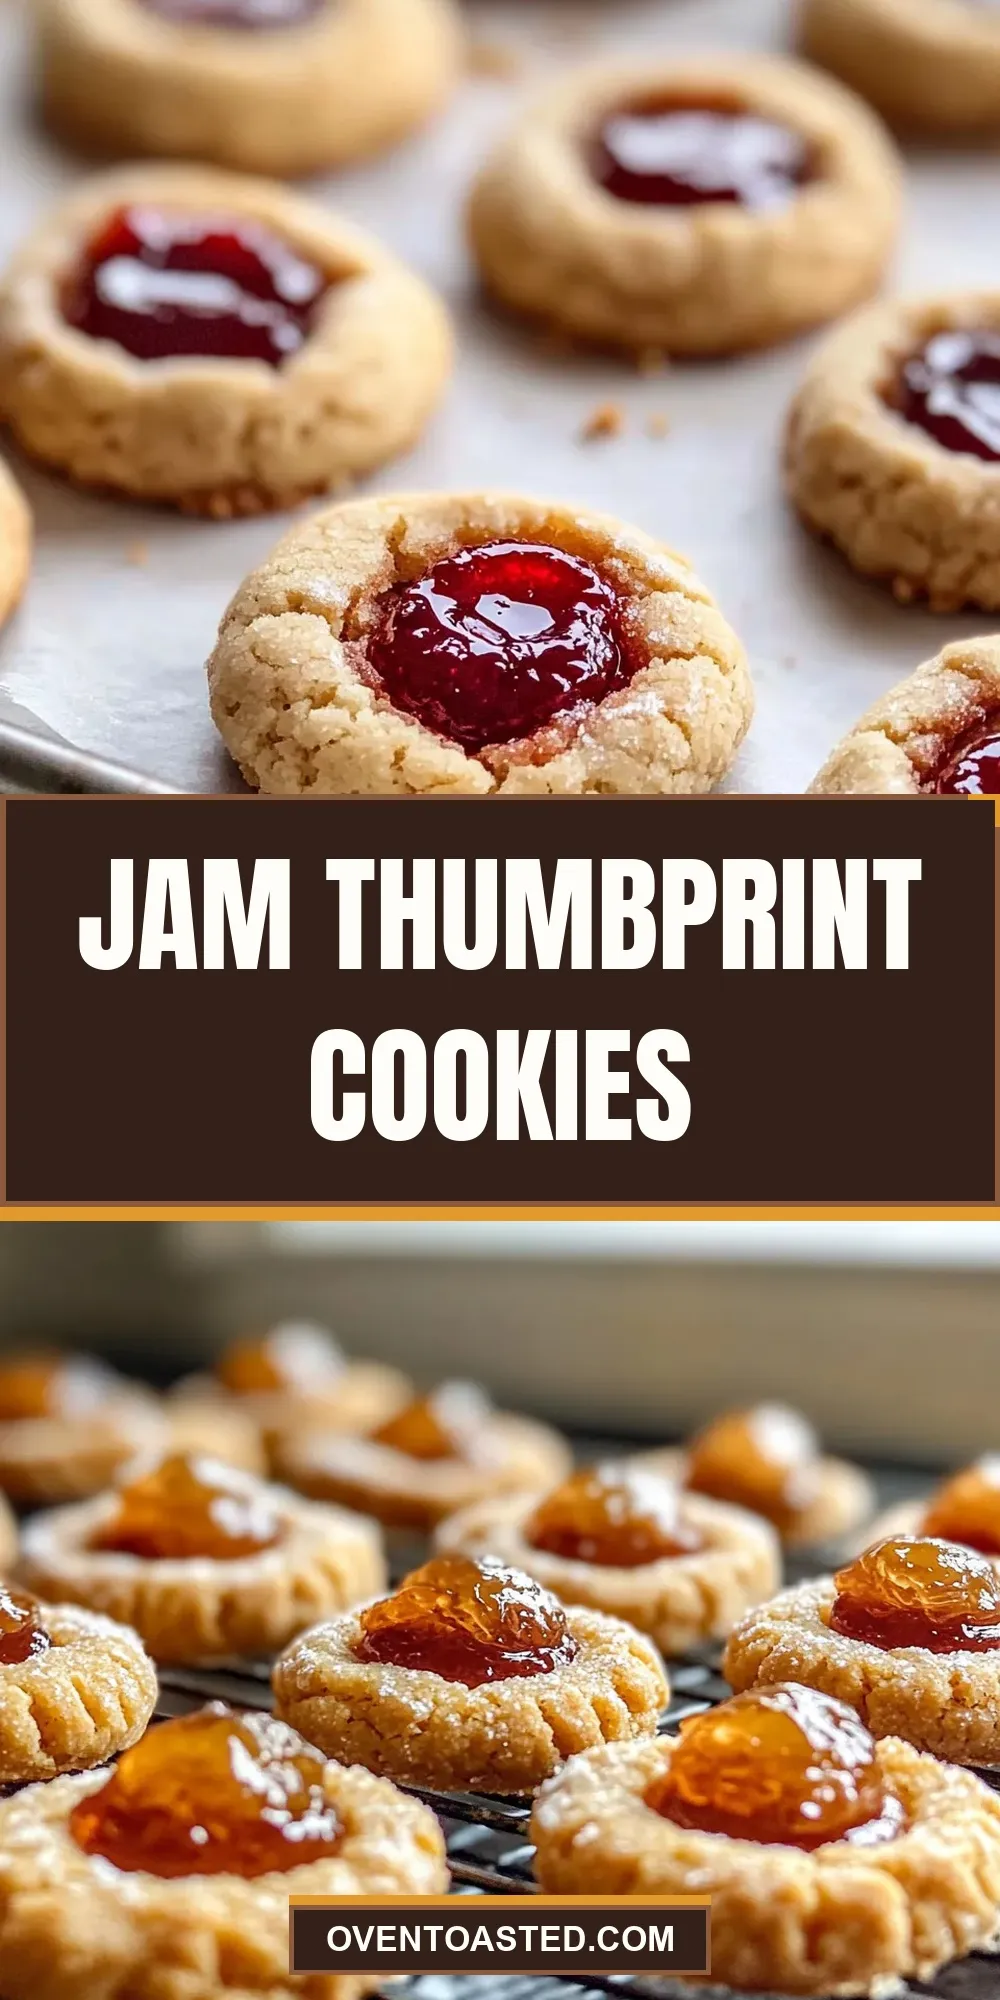
Jam Thumbprint Cookies
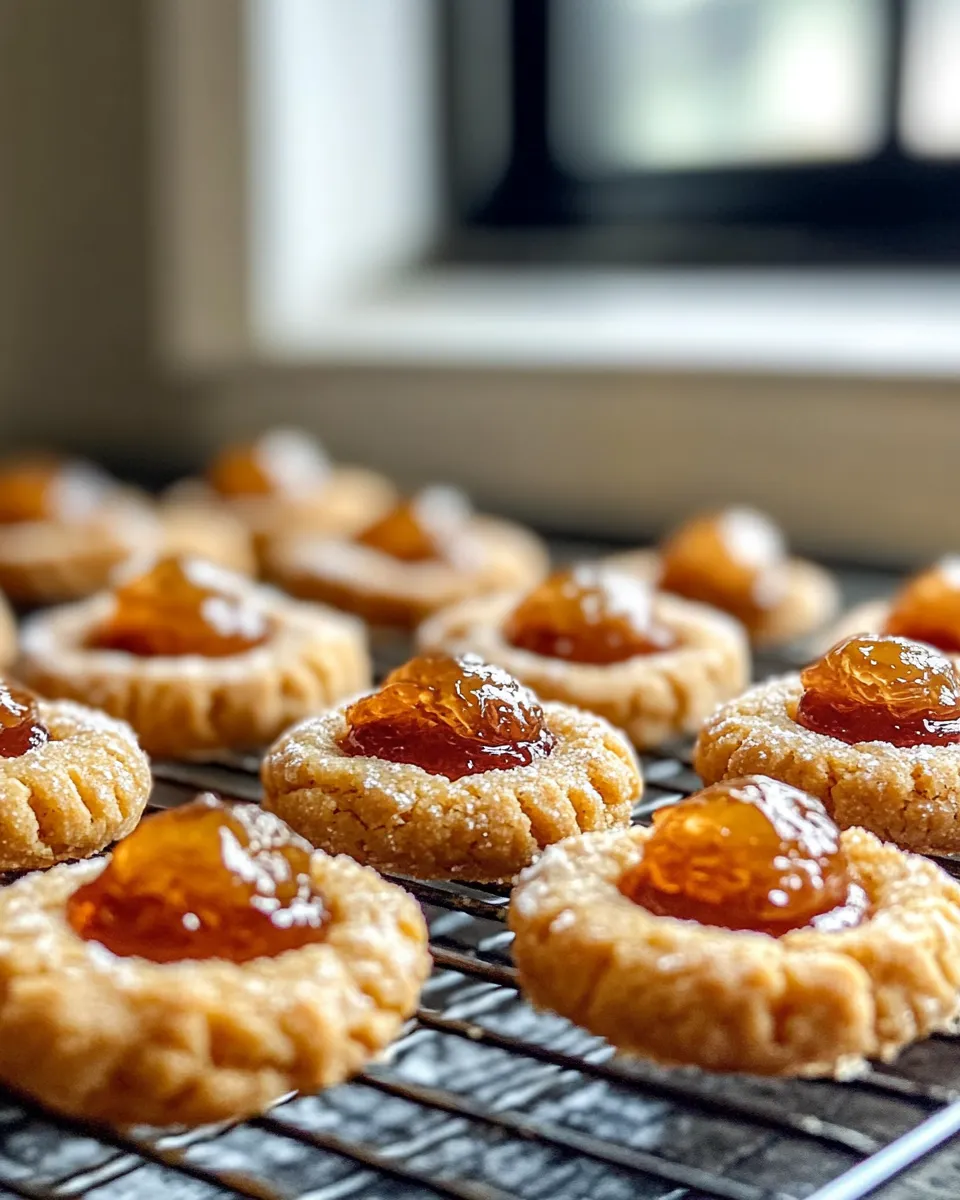
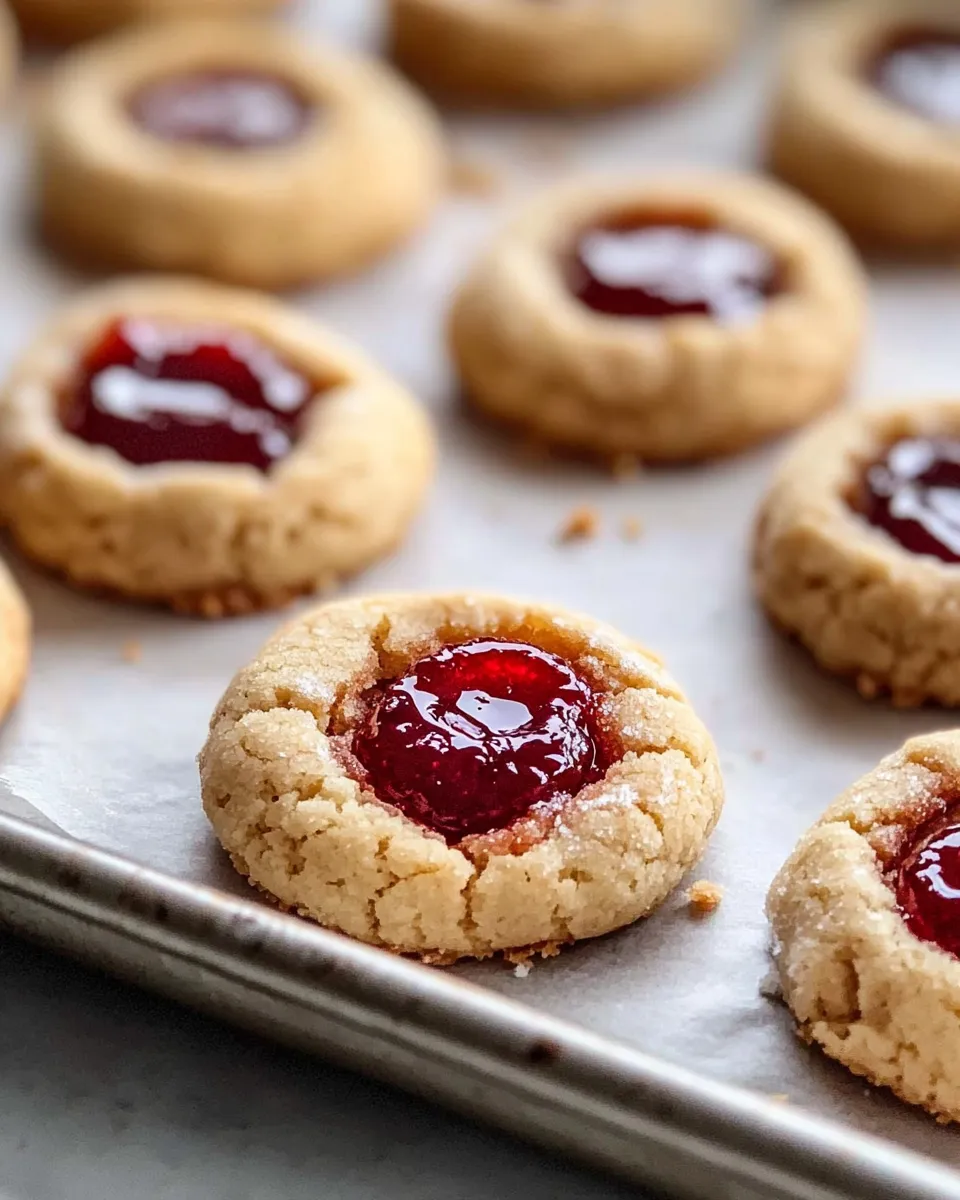
These jam thumbprint cookies are a small, honest baking win — buttery rounds with a bright dollop of jam in the center. They’re straightforward to make, forgiving in texture, and perfect for a tray to share or a quick gift. I love that they look fancy but take minimal fuss.
You’ll get a tender shortbread-like base that holds up to a spoonful of jam without spreading everywhere. The flavor depends entirely on the jam you choose, so swap in whatever you love and the cookies will follow. They bake quickly and store well, which makes them a reliable go-to when you need cookies fast.
This recipe is practical and repeatable. Follow the method below exactly for consistent results, and read the notes for common pitfalls and helpful substitutions.
Gather These Ingredients
Ingredients
- ½ cup (113 g) unsalted butter, softened — provides richness and the tender, shortbread texture.
- ⅓ cup (67 g) granulated sugar — sweetens and helps with light browning.
- ½ teaspoon vanilla or almond extract — adds aroma; almond will give a nutty note if you prefer it.
- 1 large egg yolk — binds the dough and keeps cookies tender.
- ¼ teaspoon salt — balances sweetness and enhances flavor.
- 1 ¼ cup (155 g) all-purpose flour — structure; do not overwork after adding.
- ¼ cup jam, any flavor — the filling; pick a fairly thick jam so it won’t run.
Method: Jam Thumbprint Cookies
- Preheat oven to 350°F. Line two cookie sheets with parchment paper or silicone baking mats.
- In a large bowl, cream ½ cup (113 g) softened unsalted butter and ⅓ cup (67 g) granulated sugar with a hand or stand mixer until light and fluffy.
- Add ½ teaspoon vanilla or almond extract, 1 large egg yolk, and ¼ teaspoon salt; mix until combined.
- Gradually add 1 ¼ cups (155 g) all-purpose flour and mix just until the dough comes together. Do not overmix.
- Scoop dough into ¾–1 tablespoon portions. Roll each portion between your palms to form a smooth ball and place balls 2 inches apart on the prepared cookie sheets.
- Use your thumb, a knuckle, or the back of a ½ teaspoon to press a shallow indent into the center of each cookie.
- Spoon jam into the indents, using the ¼ cup jam provided. Fill each indent only to the top so jam does not overflow while baking.
- Bake at 350°F for 15–20 minutes, rotating the pans halfway through baking, until the cookies are no longer glossy and the bottoms are light golden.
- Let the cookies cool completely on the cookie sheets before removing. Store in an airtight container for up to 3 days or freeze for up to a month.
Why This Recipe Is Reliable

This formula is short and intentional: fat, sugar, a single yolk, and enough flour for structure. There are no leaveners, so the cookies hold their round shape. That’s what makes thumbprints so predictable — they won’t spread into each other if you space them properly.
The sugar-to-butter ratio gives a tender bite without becoming greasy. Using only the yolk (not the whole egg) keeps the texture dense and shortbread-like instead of cakey. Filling the indents only to the top minimizes jam overflow, which preserves the cookie’s edges while still delivering a nice jam center.
Low-Carb/Keto Alternatives
If you’re aiming to reduce carbs, focus on two swaps: the flour and the sugar. Replace the all-purpose flour with a lower-carb flour blend formulated for baking, and use a granulated sweetener that measures like sugar. Be aware the dough will feel different — often drier and more fragile — so handle gently and chill briefly if needed.
For the jam, choose a low-sugar or reduced-sugar preserve. Thick, concentrated preserves work best so the filling doesn’t run. Expect texture and flavor differences; these cookies will be an approximation of the original rather than an exact match.
Setup & Equipment
Essentials
You don’t need anything fancy. A hand mixer or stand mixer speeds up creaming the butter and sugar, but you can do it by hand with a sturdy whisk. A cookie scoop or measuring spoon helps portion the dough evenly. Use parchment or silicone mats to prevent sticking and ensure even bottoms.
Nice-to-have
An oven thermometer is useful if your oven runs hot or cold. A small offset spatula makes transferring cooled cookies easier. If you make a lot, a baking rack helps cool batches without soft bottoms.
Mistakes That Ruin Jam Thumbprint Cookies
Here are the common errors I see and how to avoid them.
Overmixing after adding flour — that develops gluten and makes the cookies tough. Mix only until the dough comes together.
Using melted or overly soft butter — the dough will spread too much. The butter should be softened but still cool to the touch.
Overfilling the indents — the recipe says to fill each indent only to the top. Too much jam means overflow and burnt edges.
Pressing the indent too deep — if the well is too deep the cookie can collapse or the jam can sink and disappear during baking. Aim for a shallow dent that holds the jam.
Not rotating pans — ovens have hot spots. Rotate the pans halfway through so all cookies cook evenly and none end up glossy or underbaked.
Variations for Dietary Needs
Gluten-sensitive: Use a 1:1 gluten-free flour blend designed for cookies. The result will be slightly different in texture; watch the dough when adding flour and stop as soon as it holds together.
Dairy-free: Substitute a solid plant-based butter alternative that’s formulated for baking. The flavor will shift, so choose one you like for finished baked goods.
Egg-free: This recipe relies on an egg yolk for binding. For egg-free versions, use a commercial egg replacer per package instructions or try a thick neutral binder, but expect a softer, more fragile cookie. You may need to chill the dough before shaping.
If You’re Curious
Why a single yolk, not a whole egg? The yolk adds richness and tenderness without the extra water that a whole egg would bring, which keeps these cookies short rather than cakey.
Can you use curd or lemon curd? Yes, but curds are thinner and runnier than jam. Use a smaller amount and a deep but shallow well so the curd stays put.
Do fresh preserves work? Yes — thicker preserves are ideal. If a preserve is very runny, reduce the amount you spoon into each well so it doesn’t spill during baking.
Storage & Reheat Guide
Store completely cooled cookies in an airtight container for up to 3 days. Layering with sheets of parchment prevents sticking. For longer storage, freeze in a single layer on a tray until firm, then transfer to a freezer-safe container; they keep for up to a month.
To serve from frozen, let the cookies thaw at room temperature for 20–30 minutes. If you like the jam a touch soft, warm cookies in a 300°F oven for 5–7 minutes, watching closely so the jam doesn’t bubble or burn.
Common Qs About Jam Thumbprint Cookies
Can I make the dough ahead? Yes. You can shape the balls and refrigerate them for a day before pressing and filling, or freeze shaped balls on a tray and store in a bag for up to a month. Bake from chilled; you may need an extra minute or two.
Why did my jam sink into the cookie? Either the indent was too deep or the jam was very runny. Make a shallow well and fill it only to the top.
My cookies browned too quickly on the bottom. Your oven may run hot or the sheet is too dark. Use a lighter-colored sheet, lower the rack one position, and rotate sheets halfway through baking.
Can I use preserves or marmalade? Yes. Thicker preserves give the best results. Marmalade can be a bit runny because of the citrus syrup; use sparingly.
See You at the Table
These Jam Thumbprint Cookies are a small recipe with big payoff. They’re quick to make, easy to personalize, and dependable if you follow the method. Keep the dough light, the wells shallow, and the jam just to the top. You’ll end up with perfectly pretty cookies every time.
Happy baking — and when you try a new jam in these, tell me which flavor surprised you the most.
Jam Thumbprint Cookies
Ingredients
Equipment
Method
- Preheat oven to 350°F. Line two cookie sheets with parchment paper or silicone baking mats.
- In a large bowl, cream ½ cup (113 g) softened unsalted butter and ⅓ cup (67 g) granulated sugar with a hand or stand mixer until light and fluffy.
- Add ½ teaspoon vanilla or almond extract, 1 large egg yolk, and ¼ teaspoon salt; mix until combined.
- Gradually add 1 ¼ cups (155 g) all-purpose flour and mix just until the dough comes together. Do not overmix.
- Scoop dough into ¾–1 tablespoon portions. Roll each portion between your palms to form a smooth ball and place balls 2 inches apart on the prepared cookie sheets.
- Use your thumb, a knuckle, or the back of a ½ teaspoon to press a shallow indent into the center of each cookie.
- Spoon jam into the indents, using the ¼ cup jam provided. Fill each indent only to the top so jam does not overflow while baking.
- Bake at 350°F for 15–20 minutes, rotating the pans halfway through baking, until the cookies are no longer glossy and the bottoms are light golden.
- Let the cookies cool completely on the cookie sheets before removing. Store in an airtight container for up to 3 days or freeze for up to a month.
Notes
Why did my thumbprint cookies spread?These cookies don’t have leavening, so they shouldn’t spread while they bake. Did you measure the flour using the spoon and level method? If you under or over measure the flour it can change the consistency of the dough.
How long can you keep thumbprint cookies?They will keep well at room temperature for up to three days in an airtight container.
Can I freeze thumbprint cookies?Yes, they freeze great!Once they are fully cooled, store them in a freezer-safe container. It’s a good idea to separate the layers with paper towels. This will keep them from sticking and will also absorb the moisture when you thaw them.
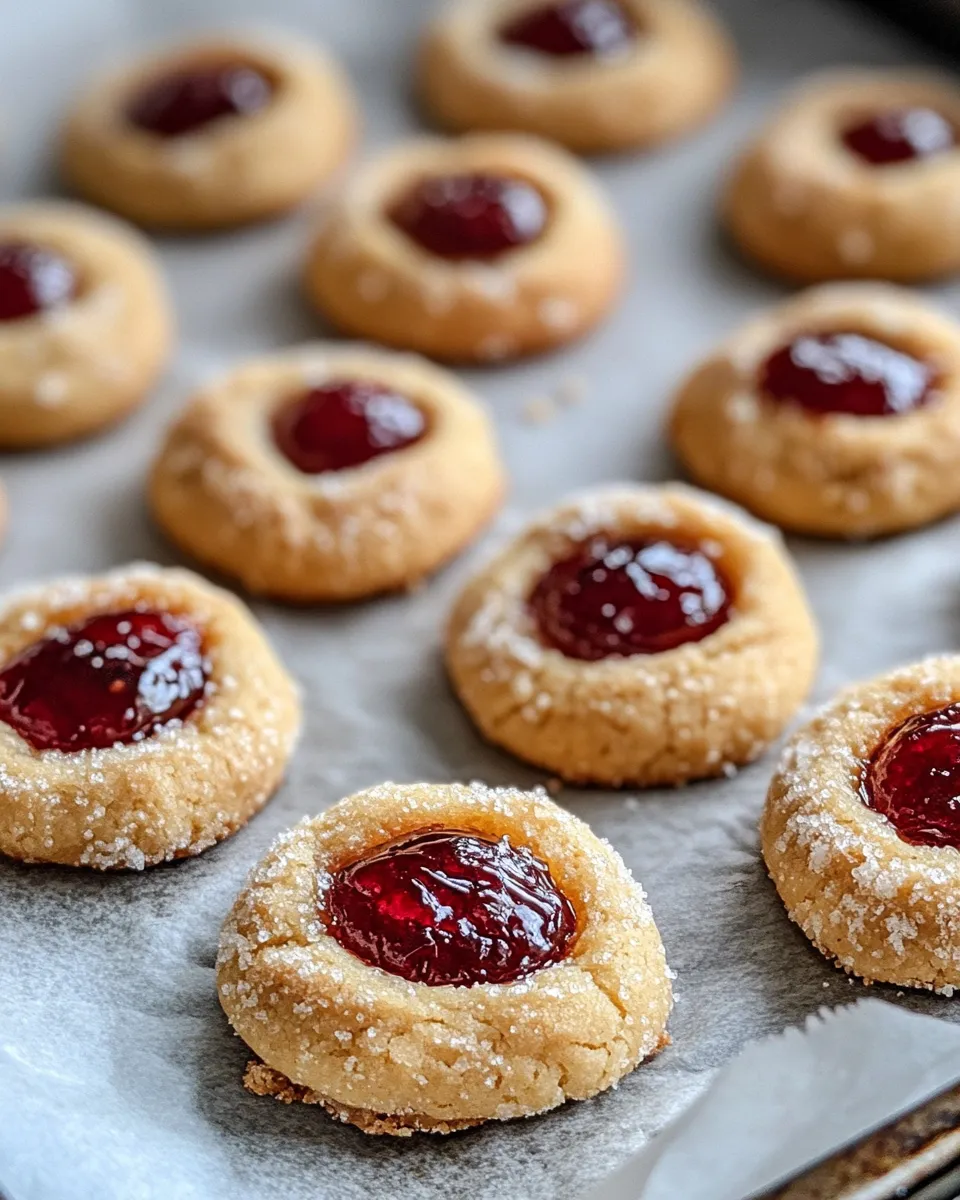
What jam flavors go with thumbprint cookies?For this recipe, pretty much any flavor will work. I really love raspberry thumbprint cookies – the taste is great, and I love the color. Feel free to experiment!
Makes 24 3/4 tablespoon size cookies or about 18 1 tablespoon sized cookies