Magic Shell, Homemade Chocolate Ice Cream Topping
I make this magic shell on lazy summer nights and for last-minute dessert saves. It’s three ingredients if you count ice cream as a separate plan, and it turns any bowl into something celebratory. The finish is glossy. The snap is satisfying. The whole thing comes together faster than you can find the sprinkles.
This homemade version uses chopped chocolate and coconut oil. That’s it. No tempering, no candy thermometer, no mystery emulsifiers. It melts, you drizzle, and in about a minute the chocolate hardens into that classic crackly shell we all remember from childhood. Practical and reliable — two of my favorite cooking adjectives.
I’ll keep this post focused: the exact ingredients, the microwave method I use, useful swaps, and mistakes to avoid. If you want to scale up or make it dairy-free, I’ll cover that too. Read the quick steps, then scroll back for tips and storage notes.
What We’re Using
Simple ingredients. A microwave-safe bowl and a spoon. That’s the core of the technique. I prefer chopped chocolate because it melts evenly; coconut oil thins the melt so it sets fast and shines beautifully. Below you’ll find the exact ingredients I used and a precise method that I follow every time.
Ingredients
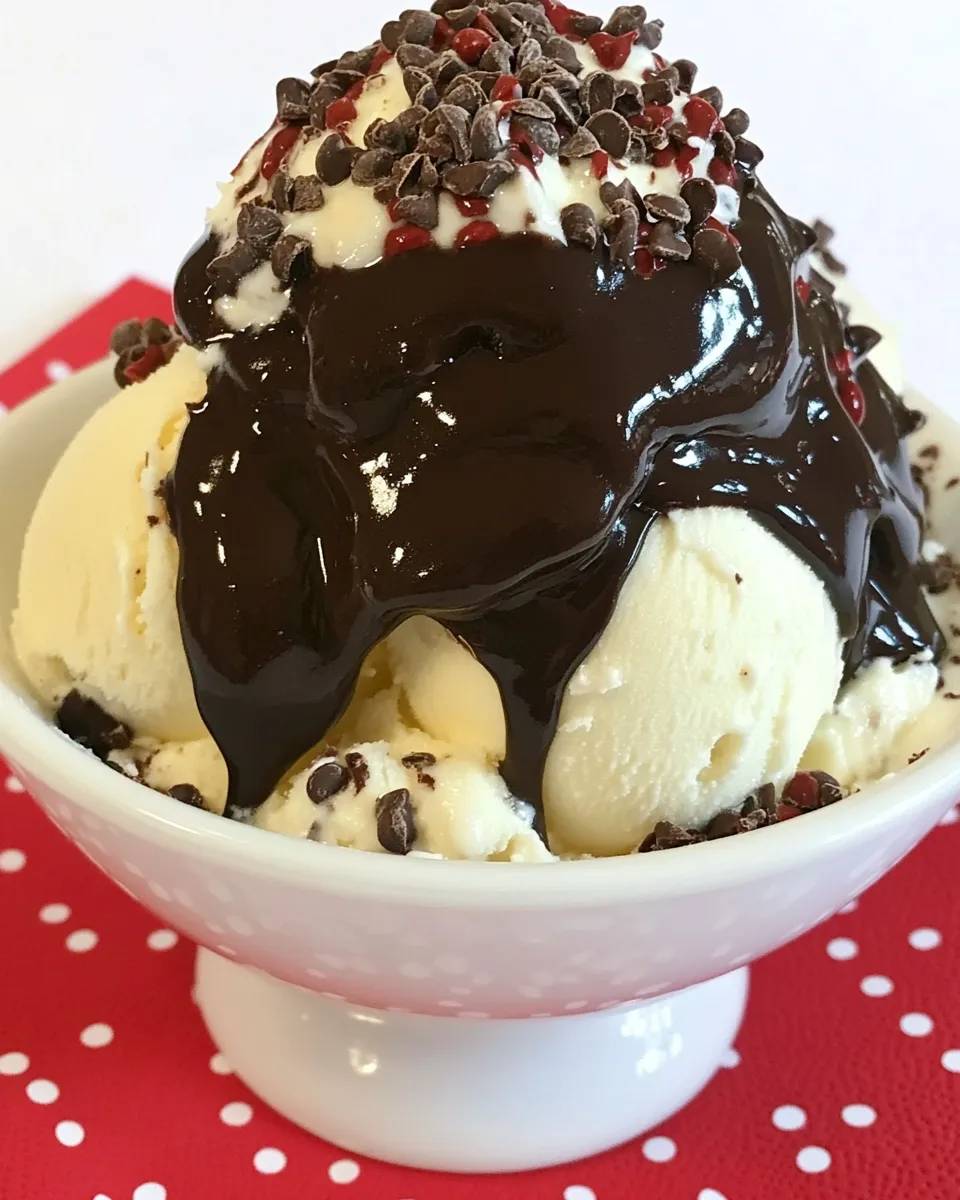
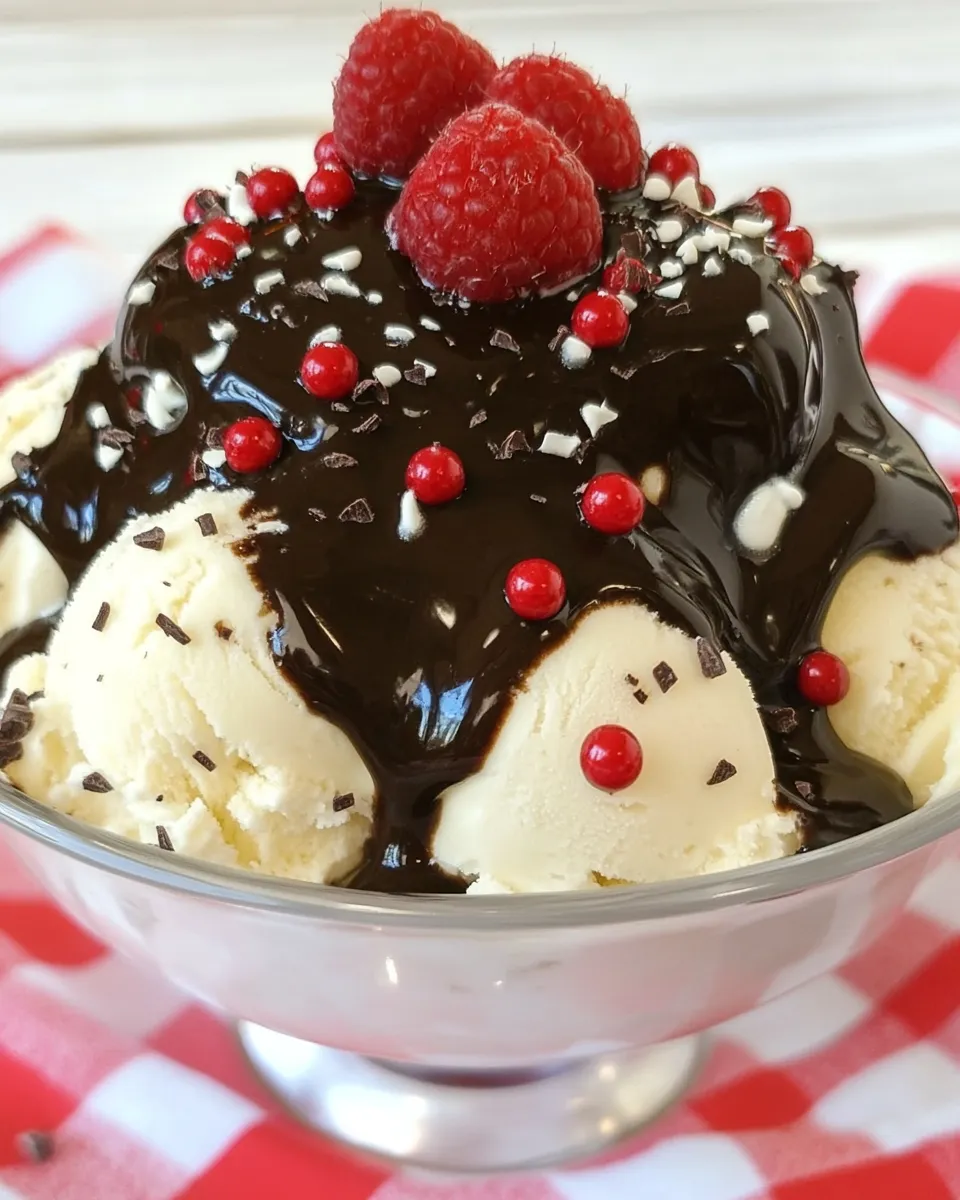
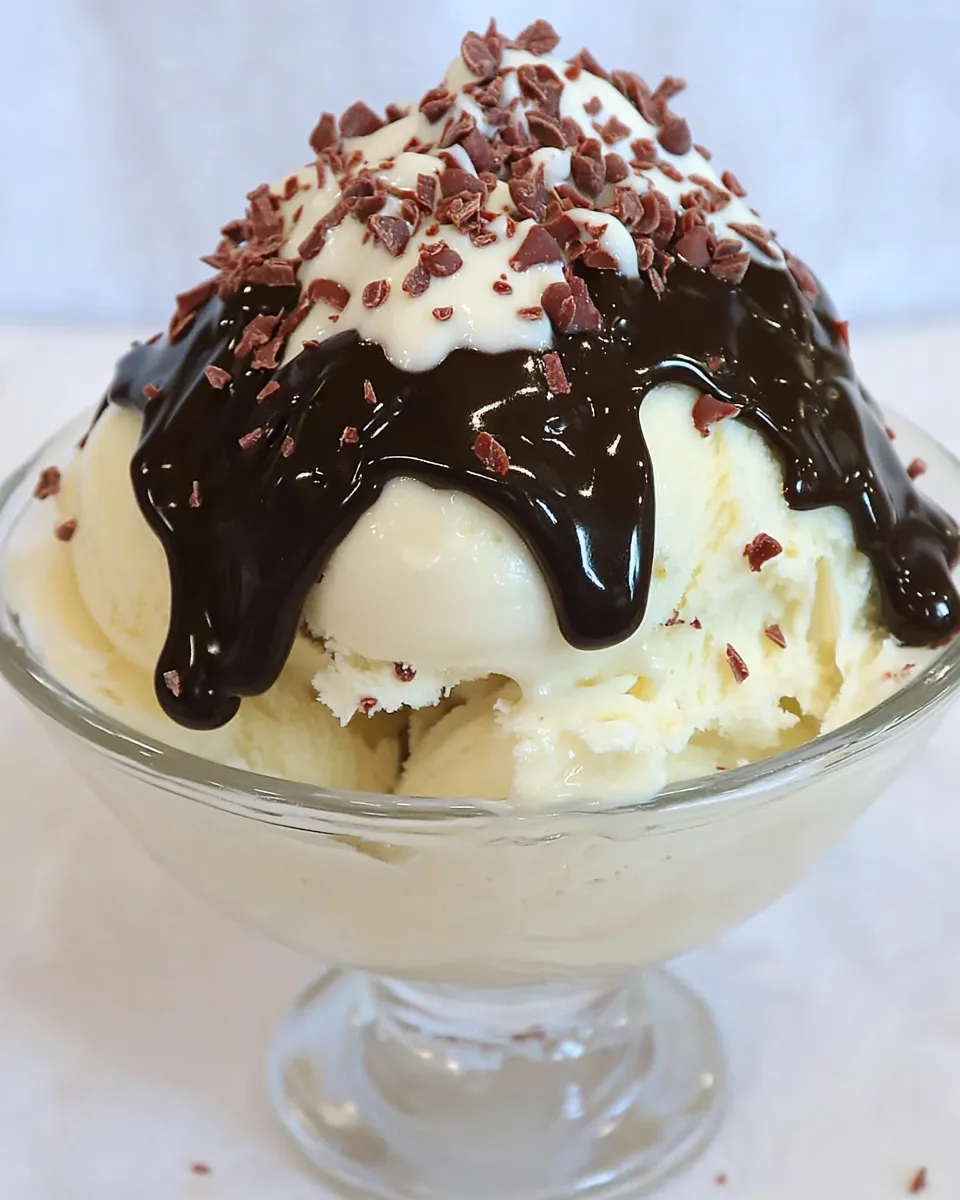
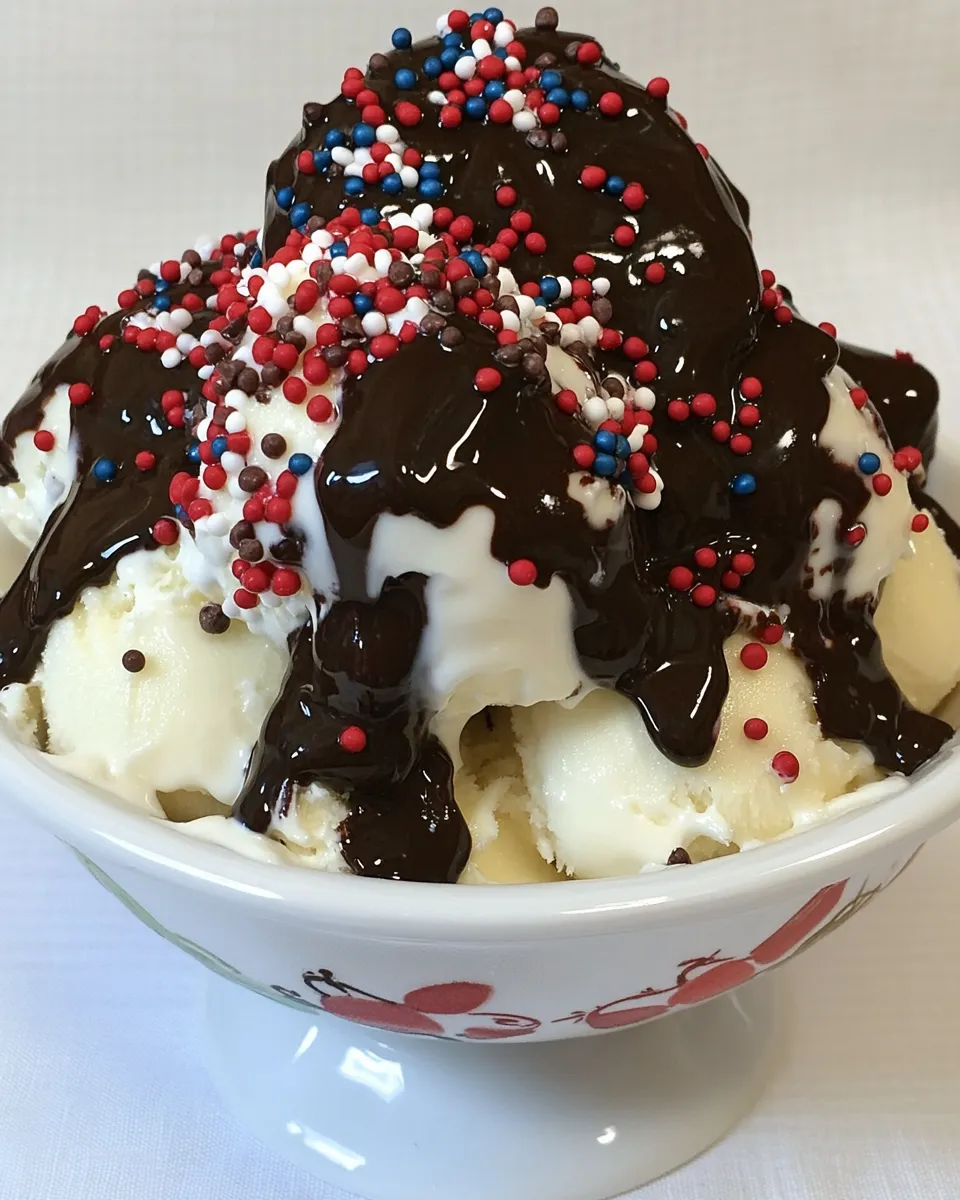
- 8 ounces chopped chocolate — the main flavor and body of the shell; I used Ghirardelli chopped for a smooth, consistent melt.
- 2 tablespoons coconut oil — thins the melted chocolate so it pours easily and hardens into a crisp shell; also adds shine.
Cook Magic Shell, Homemade Chocolate Ice Cream Topping Like This
- Put 8 ounces chopped chocolate and 2 tablespoons coconut oil in a microwave-safe bowl.
- Microwave on medium power for 40 seconds, then stir thoroughly. Continue microwaving in 40-second intervals, stirring after each interval, until the chocolate is fully melted and the mixture is smooth and glossy (stop as soon as it is smooth to avoid burning).
- Use a spoon or pour the melted chocolate into a microwave-safe serving dish or bowl for easier drizzling. Be careful—the bowl and chocolate will be hot.
- Spoon or drizzle the melted chocolate over ice cream; the topping will harden into a magic shell in about 60 seconds.
Why You’ll Love This Recipe
First, it’s ridiculously fast. From chopped chocolate to hardened shell is under five minutes, including clean-up time if you’re tidy. Second, it’s dependable. The coconut oil ensures the chocolate thins just enough to flow and then snaps when it cools. Third, the flavor is true chocolate — no additives or stabilizers, just real chocolate and a hint of coconut. It’s also versatile. Use dark, milk, or semi-sweet chocolate depending on how rich you want the result.
There’s also a tactile joy to it. Drizzling warm chocolate over a scoop of cold ice cream feels a bit theatrical. Kids love it. Guests notice it. For a small effort you get a high-payoff result: texture, shine, and that satisfying crack when you dig your spoon in.
Swap Guide
Want to adjust the flavor or dietary profile? Here are practical swaps that keep the method intact.
- Chocolate: swap dark for milk or semi-sweet depending on sweetness preference. Stick to real chocolate bars or high-quality chips for best melting behavior.
- Coconut oil: can sometimes be swapped with neutral-tasting oils like light olive oil or vegetable oil, but coconut oil firms up better at cool temps and adds a subtle sheen. If you use another oil, expect a softer shell at warmer temperatures.
- Vegan option: use dairy-free chocolate and keep the coconut oil. Flavor and set will remain familiar.
Equipment at a Glance
You don’t need fancy tools. I keep the kit minimal and functional.
- Microwave-safe bowl — for melting the chocolate safely and evenly.
- Spoon or small ladle — for drizzling control.
- Small microwave-safe serving dish or bowl (optional) — for transferring melted chocolate if you prefer to pour from a pouring-friendly container.
- Tongs or oven mitts — the bowl gets hot; protect your hands when moving it.
Errors to Dodge
I make mistakes too, and these are the ones that matter. Avoid them and the topping works perfectly every time.
- Don’t overheat. Chocolate burns quickly. Follow the 40-second intervals and stir thoroughly after each session. Stop as soon as it’s glossy and smooth.
- Don’t skip stirring. Even a few un-melted chunks will keep melting from residual heat, but if you don’t stir you risk uneven heating and burning spots.
- Don’t use cold bowls or tools that will chill the chocolate immediately. That can cause partial setting while you’re trying to drizzle. Warm the serving dish with hot water, dry it thoroughly, and then pour the chocolate in.
- Don’t use too much oil. Two tablespoons is enough to thin 8 ounces of chocolate. Too much oil gives you a soft, greasy finish that won’t snap.
Make It Year-Round
This topping is as appropriate for winter sundaes as it is for summer cones. In cold months the shell might set faster and feel firmer. In very warm weather, it may take slightly longer to solidify on soft ice cream, or it might need a brief chill in the refrigerator if you’re making a plated dessert.
If you want to keep a ready stash, melt and pour into small jars. Store at room temperature if your home stays cool, or keep jars in the fridge if you live somewhere warm. Reheat gently when you’re ready to drizzle (more on storage and reheating below).
Method to the Madness
Stage 1 — Prep
Chop chocolate evenly. Smaller pieces melt more consistently. Measure the coconut oil so you’re ready to add it straightaway. Choose a microwave-safe bowl that’s large enough to stir without spilling.
Stage 2 — Melt
Microwave on medium for 40 seconds, stir. Repeat the 40-second bursts until smooth. I like to use medium power to reduce the chance of scorching. Stirring distributes heat and finishes the job without overcooking the chocolate.
Stage 3 — Drizzle
Transfer or spoon the chocolate for better control over the drizzle. Pouring straight from the melting bowl works and so does using a spoon. Once it touches cold ice cream it will set. Work quickly if you want decorative patterns; the chocolate sets in roughly 60 seconds.
How to Store & Reheat
Storage is straightforward. Once cooled to room temperature, pour any leftover topping into a clean jar with a tight lid.
- Storage: keep jars at room temperature in a cool, dark cupboard for up to 2 weeks. If your kitchen gets warm, store in the refrigerator to prevent softening.
- Reheating: microwave the jar’s contents in a microwave-safe bowl (do not microwave glass jars that aren’t labeled safe). Use short bursts of 10–15 seconds on medium power, stirring between bursts until smooth. Alternatively, use a double boiler and stir gently until melted.
- Do not overheat: the same rule applies on reheating — stop as soon as the chocolate is glossy to avoid seizing or burning.
Quick Questions
Here are short answers to the questions people ask first.
- Q: Will this work with chocolate chips? A: Yes. Use good-quality chips or chopped bars for the most reliable melt. Chip formulas vary, so chopped bars often give a smoother finish.
- Q: Can I make this nut-flavored? A: Add a tiny splash of nut oil after melting if desired, but avoid adding liquids like cream or extracts before testing a small batch; they can change set behavior.
- Q: Does the coconut flavor come through? A: Only subtly if you use refined coconut oil; unrefined coconut oil will add a mild coconut aroma. If you prefer no coconut flavor, refined coconut oil is the better choice.
- Q: Will it harden on hot fudge or warm toppings? A: It will set best on cold ice cream. If other components are warm, the shell may be softer or take longer to firm.
Ready to Cook?
Gather your chopped chocolate and coconut oil. Measure carefully, use short microwave bursts, and stir until the mixture is glossy. Spoon it over scoops of cold ice cream and watch it set into that addictive crunchy shell. It’s fast, forgiving, and a small pleasure with a big return.
Make a batch tonight. Try dark chocolate for contrast or milk chocolate for nostalgia. Keep a jar in the fridge for emergencies — birthdays, unexpected guests, or simply a Tuesday that needs rescuing. Enjoy.
Magic Shell, Homemade Chocolate Ice Cream Topping
Ingredients
Equipment
Method
- Put 8 ounces chopped chocolate and 2 tablespoons coconut oil in a microwave-safe bowl.
- Microwave on medium power for 40 seconds, then stir thoroughly. Continue microwaving in 40-second intervals, stirring after each interval, until the chocolate is fully melted and the mixture is smooth and glossy (stop as soon as it is smooth to avoid burning).
- Use a spoon or pour the melted chocolate into a microwave-safe serving dish or bowl for easier drizzling. Be careful—the bowl and chocolate will be hot.
- Spoon or drizzle the melted chocolate over ice cream; the topping will harden into a magic shell in about 60 seconds.
Notes
If your microwave has a soften/melt option, use that. Comes out perfect. Once the chocolate mixture cools, the syrup may harden. To reuse, warm back up in the microwave. Get creative by adding peppermint for mint-chocolate flavor. Use either dark or milk chocolate. I tried both and they are equally delicious!