Marshmallow Frosting
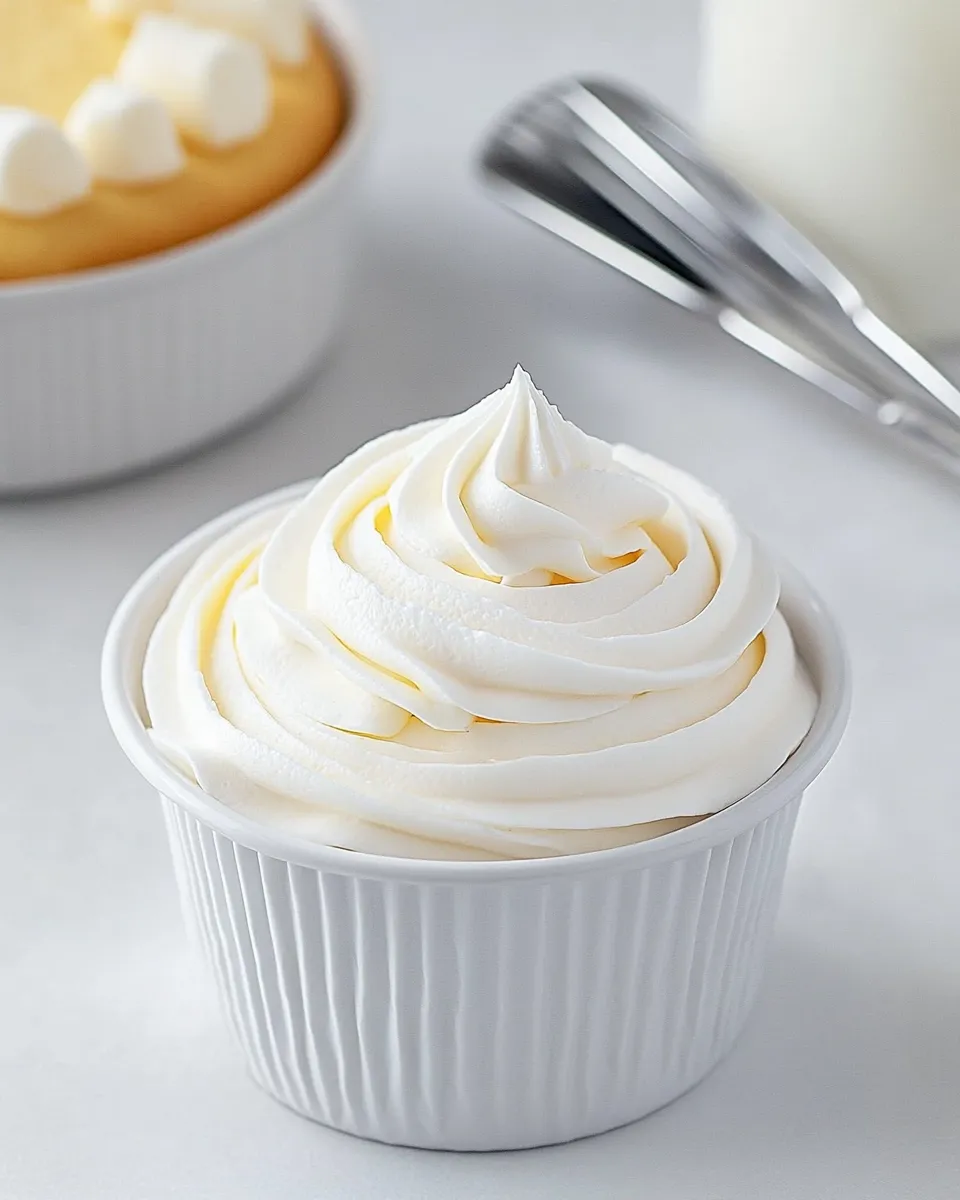
This marshmallow frosting is the kind of finish that makes a simple cake feel celebratory. It whips up glossy and voluminous, holds soft peaks, and gives you that light, pillowy texture everyone expects from a classic marshmallow-style topping. You’ll find it friendly to pipe, smooth to spread, and quick to prepare once you have the rhythm of whisking and beating down.
There’s no need for gelatin or special equipment beyond a heatproof bowl and a mixer. The technique uses gentle heat to pasteurize the egg whites while dissolving the sugar, then relies on vigorous beating to trap air and develop structure. Because it’s made mostly from sugar and egg white, it’s bright, sweet, and slightly chewable once settled — exactly like toasted marshmallow, without the stickiness.
Use it to top cupcakes, a layer cake, or to get that gooey finish on petit fours. Work promptly after beating: it’s at its lightest and most workable right away. If you need to hold it for a short while, I’ll cover the best storage and rescue tips below so your frosting stays fluffy and reliable.
What You’ll Need
Ingredients
- 1 ½ cups sugar — provides the bulk of sweetness and the primary structure once beaten; dissolve completely for the best texture.
- 1 tablespoon light corn syrup — adds shine and helps prevent crystallization so the frosting stays smooth.
- ⅛ teaspoon salt — balances the sweetness and enhances overall flavor; a little goes a long way.
- ⅓ cup water — dissolves the sugar and helps bring the mixture to the right syrupy consistency for pasteurizing the whites.
- 2 egg whites — the leavening base that traps air when whipped; pasteurizing during the process makes them safe to use.
- 2 teaspoons clear vanilla extract — provides straightforward vanilla flavor without adding color; fold in at the end for the freshest aroma.
Directions: Marshmallow Frosting
- Fill a small to medium saucepan with about 1–2 inches of water and bring it to a gentle simmer. Choose a heatproof metal or glass bowl that will sit on the saucepan without the bottom touching the water.
- In that heatproof bowl, combine 1 ½ cups sugar, 1 tablespoon light corn syrup, 1/8 teaspoon salt, 1/3 cup water, and 2 egg whites. Whisk briefly to blend the ingredients.
- Set the bowl over the simmering water (bottom of the bowl should not touch the water). Whisk constantly until the sugar is fully dissolved and the mixture is hot to the touch — you should not feel any grittiness if you rub a little between your fingers. This pasteurizes the egg whites.
- Remove the bowl from the saucepan. Using a handheld electric mixer, beat the mixture on medium-high to high speed until it becomes voluminous, glossy, and holds soft peaks, about 5–7 minutes.
- Beat in 2 teaspoons clear vanilla extract and continue mixing for about 1 more minute until fully incorporated.
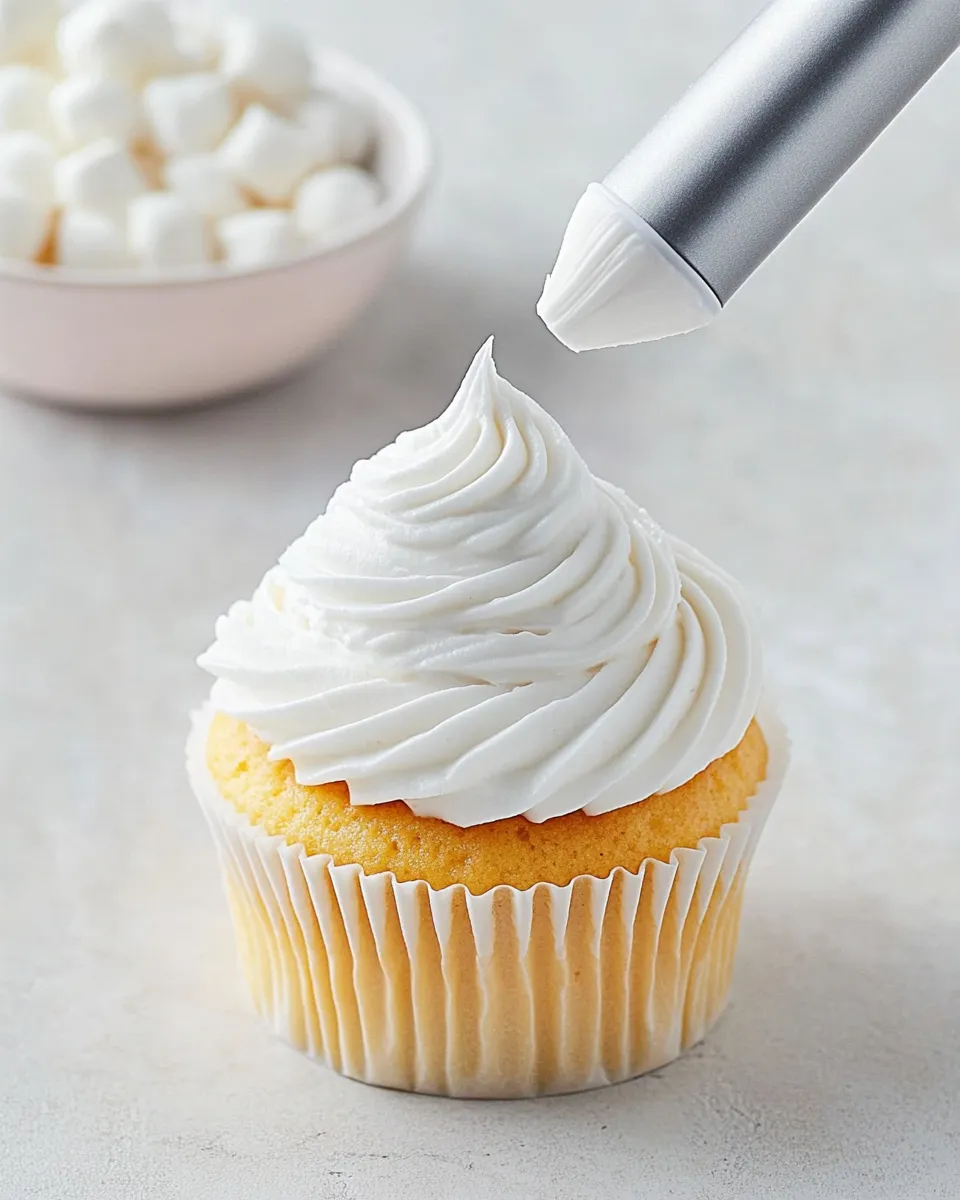
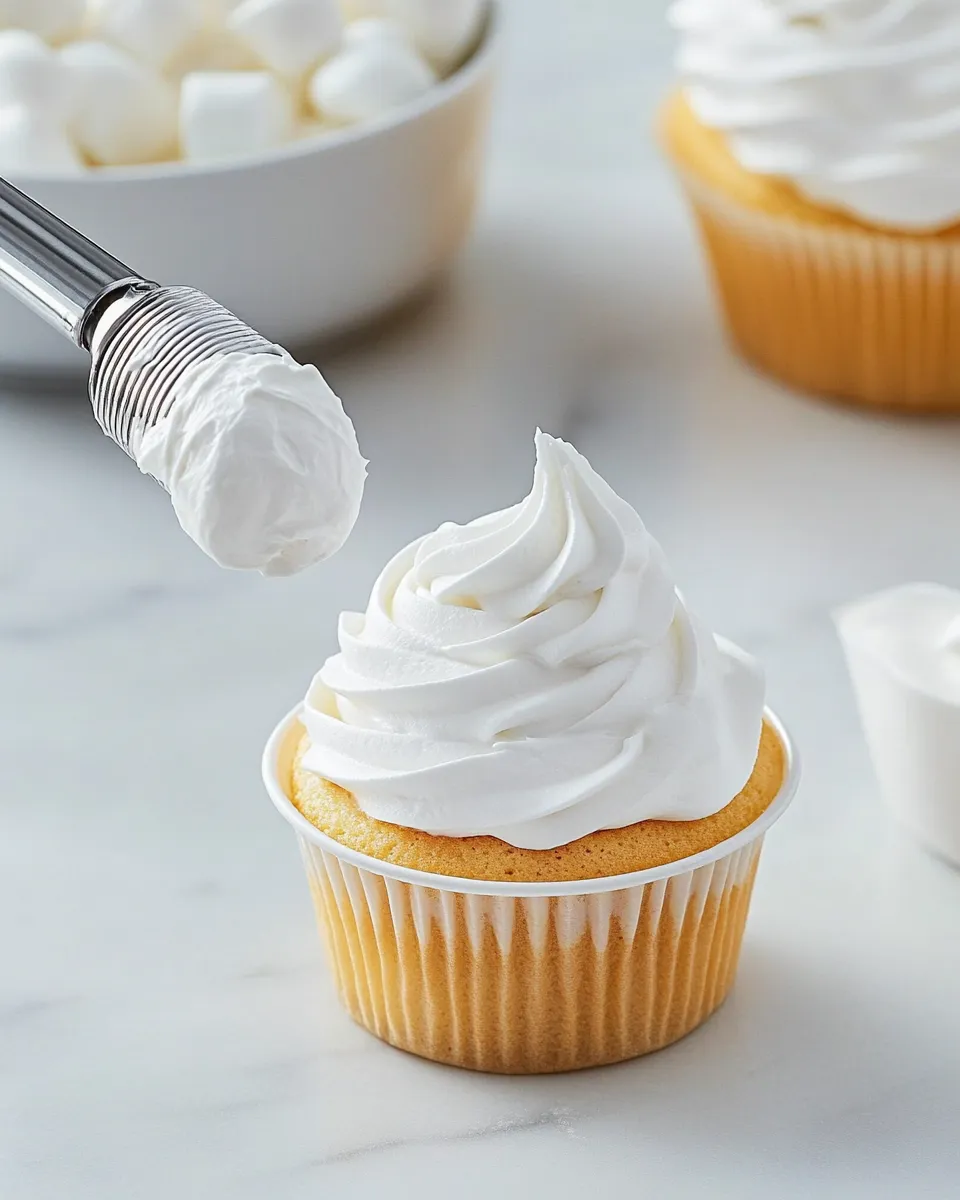
- Use immediately to frost or pipe onto cake or cupcakes as desired.
Why This Recipe Belongs in Your Rotation

This frosting is straightforward and fast when you understand the steps. It hits the sweet spot between marshmallow fluff and meringue: stable enough to work with, light enough not to feel dense. You don’t need specialized ingredients or long rest times, and it often outperforms store-bought frostings for that fresh-made texture and sheen.
It’s also forgiving for small gatherings and last-minute decorating. Make it the day you plan to serve if you can, and you’ll get the best loft and shine. Because it’s mostly sugar and egg white, it’s remarkably bright and sweet without the heavy mouthfeel of a buttercream. If you want a topping that reads airy rather than rich, this is the go-to.
Quick Replacement Ideas
- Skip the clear vanilla extract if you prefer a pure marshmallow flavor — the frosting will be slightly less aromatic.
- If you don’t want to use light corn syrup, omit it; the frosting will still form but may lack a bit of shine and long-term smoothness.
- If you must omit the egg whites, this method won’t produce the same texture; use the method as written for the characteristic marshmallow loft.
Essential Tools for Success
- Heatproof bowl that nests securely over a saucepan — ensures even heating without steam escape.
- Small to medium saucepan — maintain a gentle simmer without boiling over.
- Handheld electric mixer (preferred) — it makes quick work of achieving volume; a stand mixer will also work if you prefer.
- Rubber spatula — for scraping down the bowl once the frosting comes together.
- Instant-read thermometer (optional but helpful) — you can check that the syrup is hot; the instructions rely on a tactile test if you don’t have one.
What Not to Do
- Do not let the bottom of the bowl touch the simmering water — direct heat will scramble the egg whites.
- Do not stop whisking while the bowl is over the simmering water; unattended mixture can caramelize or recrystallize.
- Avoid under-dissolving the sugar. Any grittiness remaining will ruin the frosting’s smooth finish.
- Don’t try to refrigerate the mixture before whipping; the beating step works best right after you remove the bowl from the heat.
Fit It to Your Goals
Want higher peaks? Beat longer. The whipping stage is where the magic happens: increased speed and time incorporate more air and create loft. Want a slightly denser, chewier finish? Stop beating a touch earlier so the peaks remain softer. Work with your end use in mind — for piping fine details, aim for medium peaks; for a pillowy spread, aim for glossy, soft peaks.
If you’re prepping for an event, make the frosting close to assembly time. It will remain workable for a while at room temperature, but it’s best used as soon as it’s beaten. If you need to hold it briefly, keep it covered but not sealed airtight, and give it a quick re-whip before use if it settles.
Flavor Logic
Each ingredient plays a clear role. The sugar is not just sweet — it creates the syrup that stabilizes the foam. The water dissolves the sugar and controls syrup consistency for pasteurization. Light corn syrup interferes with sugar crystallization, keeping the texture glossy and smooth. Egg whites provide the structure and volume by trapping air when beaten; the heat stage pasteurizes them, making them safe. A small pinch of salt cuts through the sweetness, and the clear vanilla at the end gives a clean flavor without adding color.
Understanding these parts helps you adapt technique instead of guessing at results. If your frosting seems flat, the likely culprits are under-beaten whites or incomplete sugar dissolution. If it becomes gritty, the sugar wasn’t dissolved fully during the heat stage. If it glosses but lacks body, beat it longer to develop more structure.
Save for Later: Storage Tips
Short-term storage: If you must hold the frosting for a few hours, cover the bowl tightly with plastic wrap and keep it at room temperature out of direct heat or sunlight. For a few hours it should remain workable. If it deflates slightly, a short re-whip with a hand mixer will bring back some volume.
Refrigeration: You can refrigerate leftovers in an airtight container. Expect some collapse and loss of gloss; re-whipping at room temperature will restore some of the original texture but not completely. If you plan to refrigerate, scoop it into a shallow container so it cools evenly.
Freezing: Freezing is not ideal for this type of frosting because ice crystals and thawing will change texture. Use leftovers within a couple of days for best results.
Your Top Questions
Is it safe to use raw egg whites?
The method calls for heating the sugar-water mixture with the egg whites over simmering water until the mixture is hot and the sugar is fully dissolved. That step pasteurizes the egg whites. Follow the instructions closely and check for any sugar grittiness; once dissolved and hot, the eggs are treated and safe to beat.
Can I make this ahead?
You can make it a few hours before serving, but it’s best fresh. If you need to prepare earlier in the day, store covered at room temperature and re-whip briefly before using.
Will this hold up in warm weather?
Heat softens the foam. In warm conditions, keep plated desserts cool until serving and avoid extended exposure to sun or heat. If you’re decorating in a warm kitchen, work quickly and chill the finished items briefly if necessary.
Can I toast the tops like marshmallmallows?
Yes. You can carefully toast the surface with a kitchen torch for that golden finish. Work in short bursts and watch closely to avoid burning.
Ready to Cook?
Set up your saucepan and heatproof bowl, gather the ingredients listed above, and give the technique a single focused run-through. Start the simmer and move through the whisk-and-beat rhythm without pauses. The whole process comes together quickly once you get the timing right, and you’ll have a glossy, cloud-like frosting ready to dress cupcakes, crowns of cake, or any treat that benefits from a light, sweet finish.
When you’ve tried it, note whether you like it slightly firmer or softer and adjust your beating time next round. Small changes to time and speed let you customize texture without changing the ingredient list. Have fun — and enjoy that glossy, marshmallow-y shine.
Marshmallow Frosting
Ingredients
Equipment
Method
- Fill a small to medium saucepan with about 1–2 inches of water and bring it to a gentle simmer. Choose a heatproof metal or glass bowl that will sit on the saucepan without the bottom touching the water.
- In that heatproof bowl, combine 1 ½ cups sugar, 1 tablespoon light corn syrup, 1/8 teaspoon salt, 1/3 cup water, and 2 egg whites. Whisk briefly to blend the ingredients.
- Set the bowl over the simmering water (bottom of the bowl should not touch the water). Whisk constantly until the sugar is fully dissolved and the mixture is hot to the touch — you should not feel any grittiness if you rub a little between your fingers. This pasteurizes the egg whites.
- Remove the bowl from the saucepan. Using a handheld electric mixer, beat the mixture on medium-high to high speed until it becomes voluminous, glossy, and holds soft peaks, about 5–7 minutes.
- Beat in 2 teaspoons clear vanilla extract and continue mixing for about 1 more minute until fully incorporated.
- Use immediately to frost or pipe onto cake or cupcakes as desired.
Notes
Use clear vanilla extract for a white frosting. You may use pure vanilla extract, but keep in mind that it will very slightly tint the frosting.