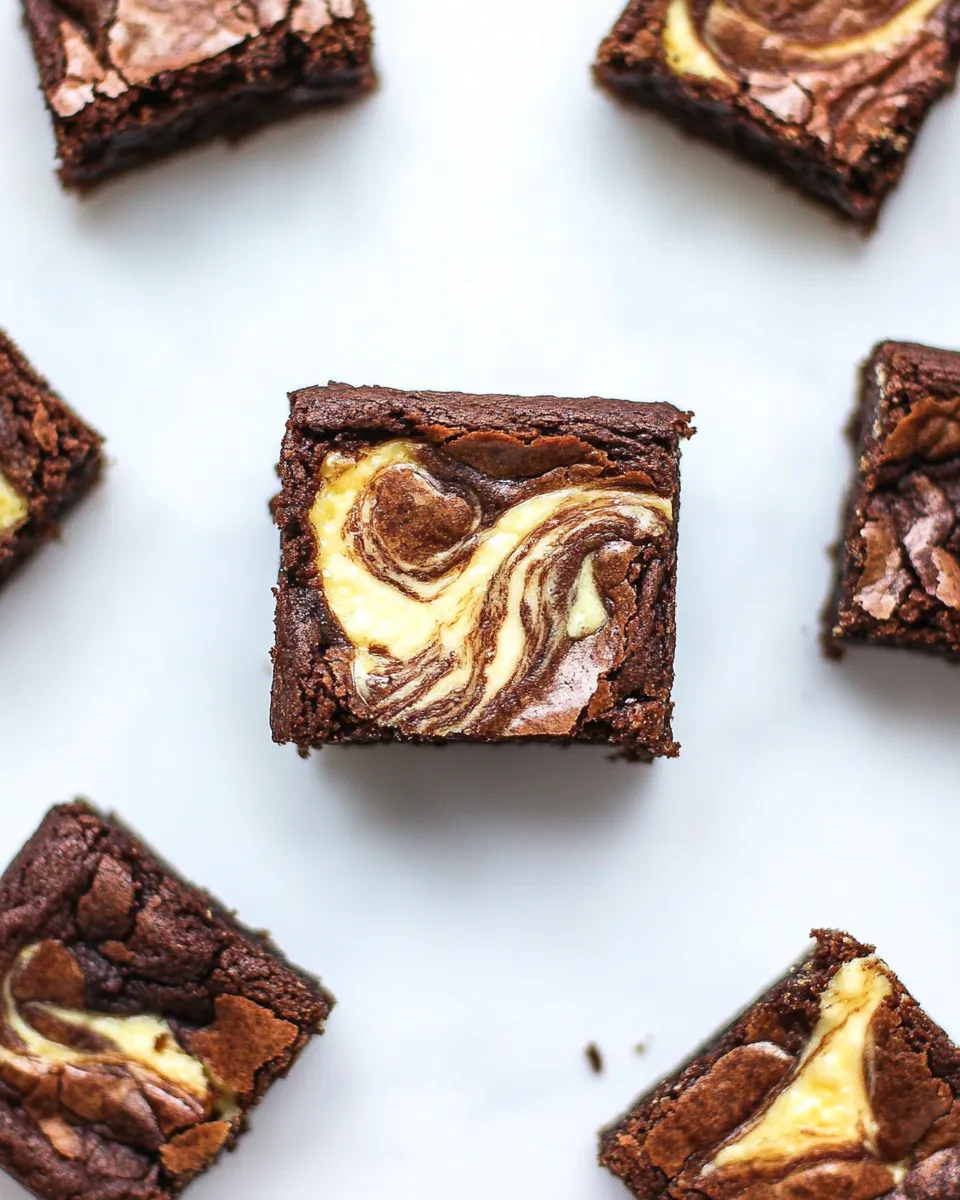
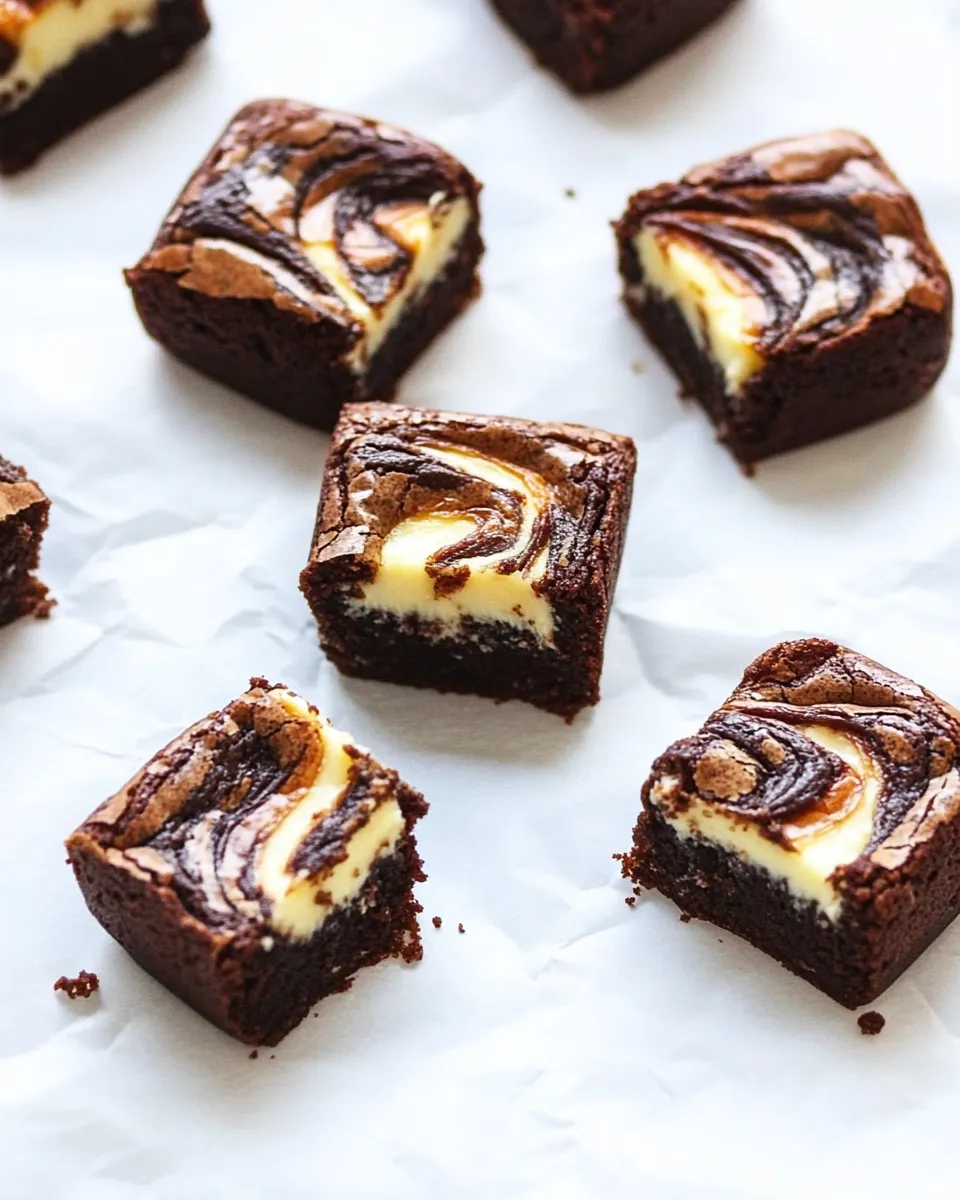
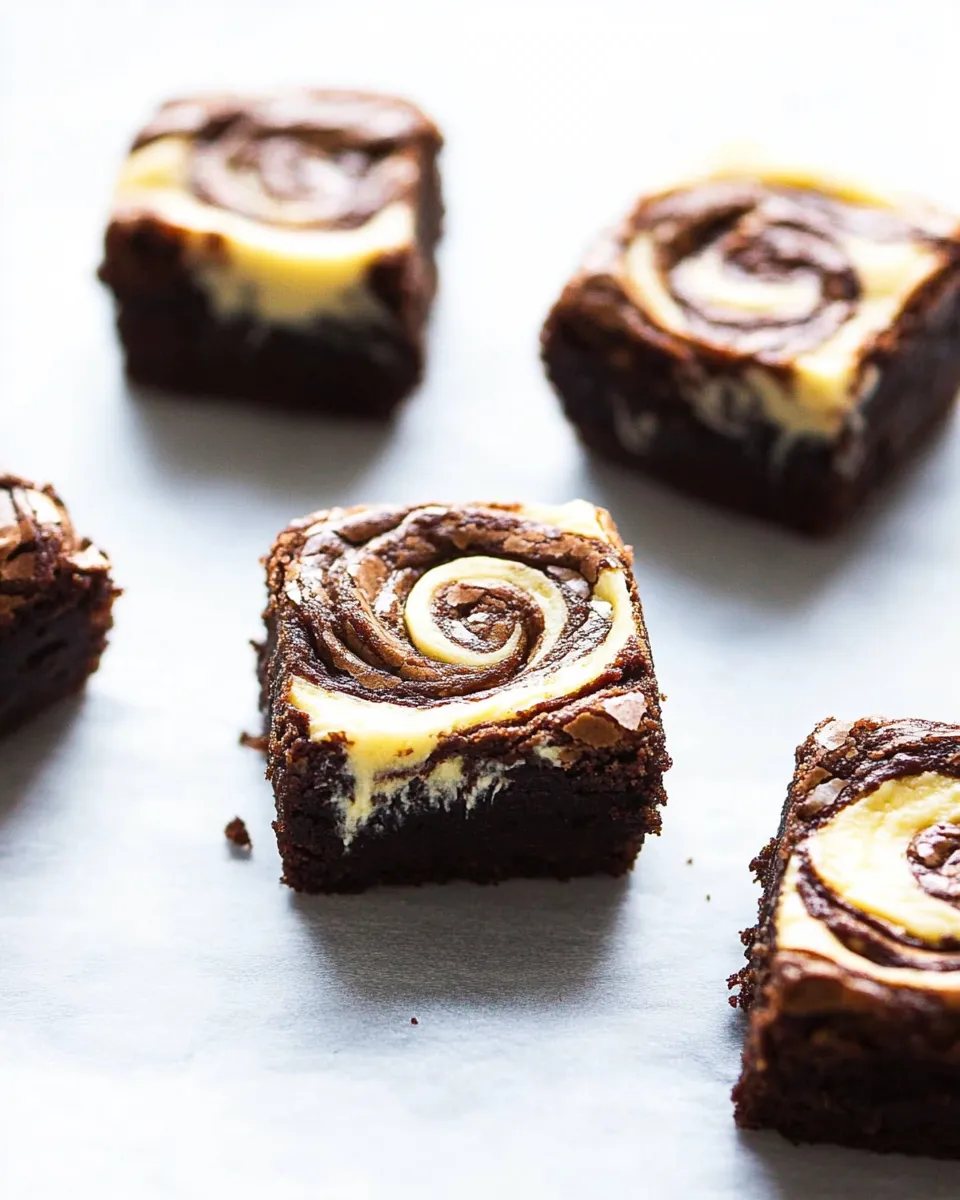
Mini Cheesecake Swirl Brownies
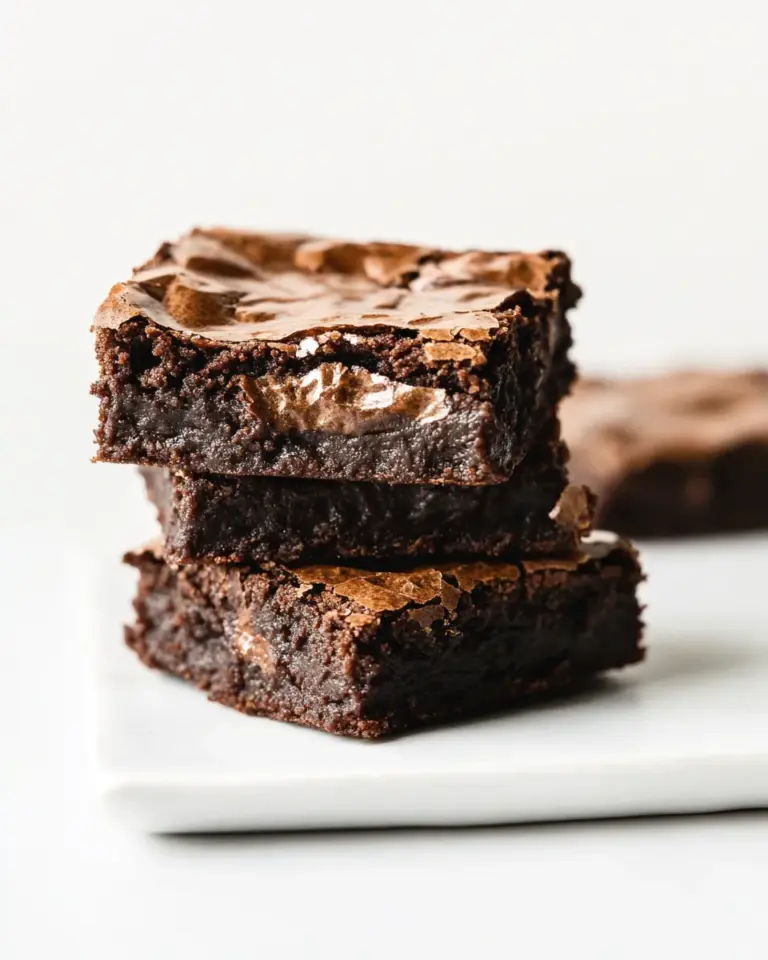
These Mini Cheesecake Swirl Brownies are my go-to when I want something small, impressive, and reliably delicious. They bake up in a 24-cup mini-muffin tin, delivering rich brownie bites with a tangy cheesecake ribbon in every piece. No giant cake to slice—just perfect little swirls for a party platter, school bake sale, or midweek dessert rescue.
The method is straightforward: a fudgy brownie base, a silky cheesecake top layer, and a quick swirl to make each mini treat look homemade and special. The full recipe is compact, uses pantry-stable staples, and rewards a little attention during assembly. Follow the steps in order—there’s a rhythm to melting, mixing, layering, and swirling that keeps texture and bake times consistent.
I write these notes from experience: prep your ingredients and your muffin tin before you start. That small effort makes the process faster and gives you tidy, uniform minis at the end. They chill well and travel well, too—so make a batch ahead for gatherings or to keep in the fridge for a sweet nibble after dinner.
Your Shopping Guide
Buy what you can get in one trip: chocolate, butter, sugar, eggs, cream cheese, and basic leaveners. For this recipe, the specifics matter more than brand. Unsweetened baking chocolate gives the brownies a deep cocoa backbone; cream cheese should be full-fat and soft for a smooth cheesecake swirl. If you’re shopping on a budget, compare unit prices for cream cheese (sometimes the larger block is cheaper per ounce).
Buy a good-quality, medium-size unsweetened baking bar if possible—it melts more predictably than chips. Get a fresh carton of eggs and a small tub of unsalted butter if you don’t already have them. You’ll also want a pack of toothpicks or thin skewers for marbling the tops. If you bake a lot, consider keeping a 24-cup mini-muffin tin on hand; it’s useful for many bite-sized desserts.
Mini Cheesecake Swirl Brownies Cooking Guide
Follow these steps exactly as written below to get consistent results. Measure carefully and keep the given bake time as your guide; mini tins bake faster than full-sized pans. Work in the order provided: preheat, melt, mix, layer, swirl, and bake.
- Preheat the oven to 350°F (175°C). Generously grease a 24-cup mini-muffin tin with a little of the extra butter and set the tin aside.
- Prepare the brownie batter: place the 3 ounces unsweetened chocolate (roughly chopped) and 1 stick unsalted butter in a medium heatproof bowl set over a pot of simmering water (double boiler). Stir until the chocolate and butter are fully melted and smooth. Remove the bowl from the heat.
- Whisk the 1 cup granulated sugar into the melted chocolate mixture until combined. Add the 2 large eggs one at a time, whisking well after each addition until the mixture is smooth. Stir in the 1 teaspoon vanilla extract.
- Sprinkle the 1/3 cup all-purpose flour, 1/4 teaspoon salt, and 1/3 teaspoon baking powder over the wet ingredients. Gently stir until just combined and smooth—do not overmix.
- Prepare the cheesecake batter: in a medium bowl, beat the 18-oz. package cream cheese (softened) with the 2 Tablespoons sugar and the 1 egg yolk until the mixture is very smooth and free of lumps.
- Assemble the mini cheesecakes: spoon or pipe enough brownie batter into each greased muffin well to fill it about halfway.
- Add cheesecake batter: pipe or spoon a layer of the cheesecake batter on top of the brownie layer in each well (enough to cover most of the brownie layer).
- Top each well with another dollop of brownie batter so the brownie and cheesecake layers are visible.
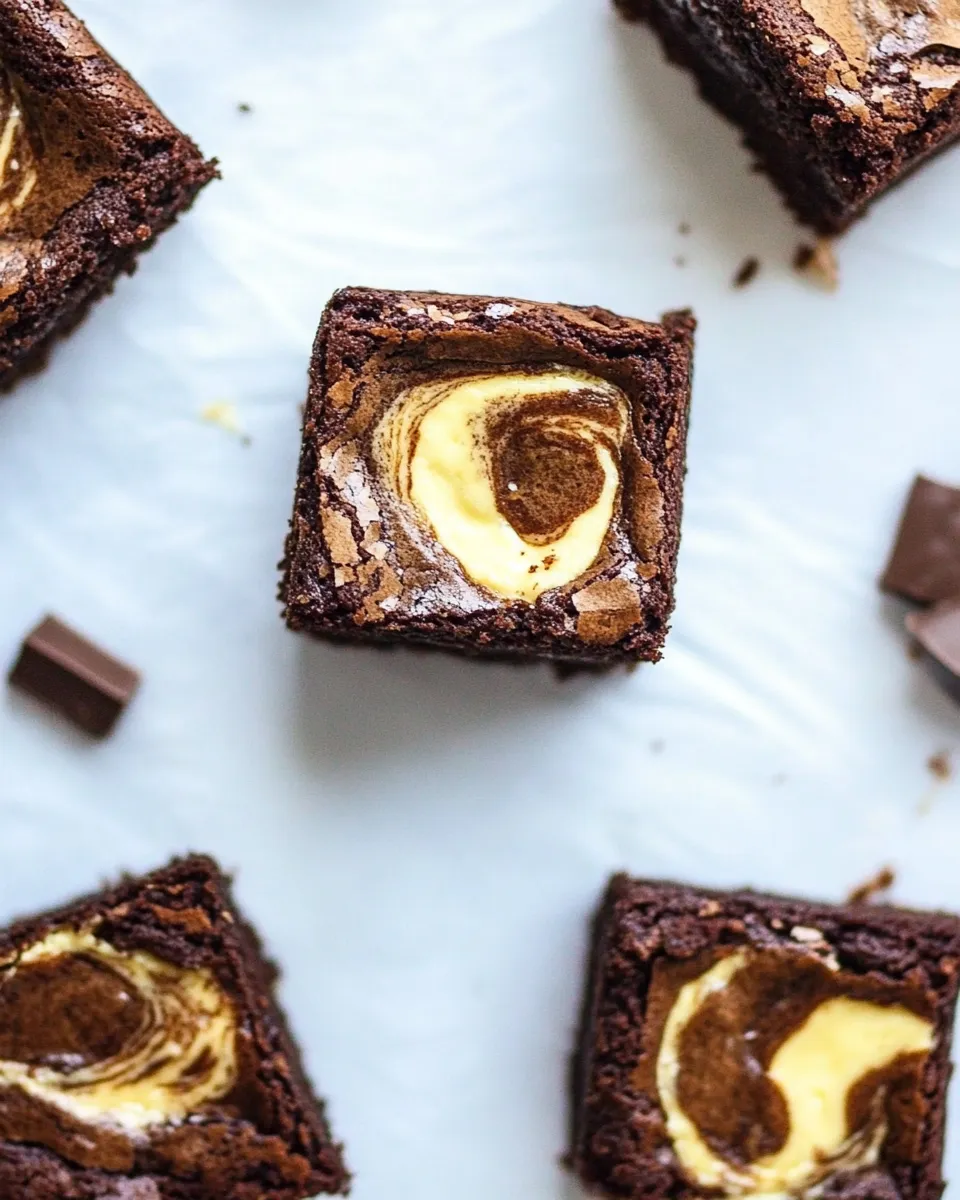
- Create swirls: use a toothpick or skewer to gently swirl the brownie and cheesecake batters in each well, making a marbled pattern without fully mixing the batters.
- Bake the mini cheesecake swirl brownies in the preheated oven for about 15 minutes, or until the centers are set (a toothpick inserted in a center will come out with a few moist crumbs but not wet batter).
- Let the tin cool on a wire rack for about 10 minutes. Then remove the mini brownies from the tin and allow them to cool completely on the rack before serving.
Why You’ll Love This Recipe
These mini bites hit three reliable notes: fudgy chocolate, creamy cheesecake, and a pleasing marbled look. Each mini is portion-controlled and sharable, so they’re perfect for entertaining. They feel elevated without being fussy—no water baths, no long refrigeration steps. The ingredients are simple, and the technique is forgiving. Even if your swirl pattern isn’t perfect, they’ll still taste fantastic.
Texture is the key. The brownie base keeps the bite dense and chocolate-forward while the cheesecake layer lightens the mouthfeel with tang and silkiness. Because they’re small, they bake quickly and rarely dry out if you stick to the bake time recommended. If you like contrasts—rich vs. bright, dense vs. creamy—this recipe delivers every time.
Budget & Availability Swaps
Running low on cream cheese? Look for store-brand blocks; they work fine and are usually cheaper. Unsweetened baking chocolate can be substituted with semi-sweet if necessary, but reduce sugar slightly if you prefer less sweetness. You can also break one standard baking bar into the 3 ounces needed and store the rest for another recipe.
If you don’t have a 24-cup mini-muffin tin, you can bake in a standard muffin tin; expect longer bake time and adjust portion sizes. For an even more budget-friendly option, use margarine in place of butter, but note that flavor and texture will be slightly different. Don’t skip the leavening entirely—the 1/3 teaspoon baking powder helps the mini brownies rise just enough for a tender crumb.
Cook’s Kit
Essentials for this recipe:
- 24-cup mini-muffin tin — the only pan size referenced in the steps and the one that yields the expected bake time.
- Heatproof bowl and pot for a double boiler — for melting chocolate and butter smoothly without scorching.
- Mixing bowls and a whisk — for combining batter components.
- Small offset spatula, spoon, or piping bag — for layering batters neatly into the wells.
- Toothpicks or skewers — for creating the marbled swirl in each mini.
- Wire rack — to cool the minis evenly after baking.
Missteps & Fixes
Common problems and how to solve them:
- Overmixed brownie batter — if you stir the flour too much the brownies can become cakey. Fix: stir just until combined; a few streaks of flour are better than an overworked batter.
- Runny cheesecake — if the cream cheese isn’t softened evenly you’ll get lumps. Fix: let it sit at room temperature longer or briefly beat it by hand to smooth before adding sugar and yolk.
- Swirls that vanish — heavy swirling can blend the batters too much. Fix: use a light touch; swirl just enough to create a marbled pattern.
- Underbaked centers — minis bake fast, but underbaking gives a wet center. Fix: give them a minute or two more and check with a toothpick; it should come out with a few moist crumbs, not liquid batter.
Holiday & Seasonal Touches
Dress these up for holidays without changing the base recipe. For a festive finish, top with a dusting of cocoa or powdered sugar before serving. In fall, a sprinkle of cinnamon or a touch of pumpkin spice in the cheesecake batter complements the chocolate. For winter holidays, add a few crushed peppermint candies on top after baking for a crunchy, seasonal contrast.
If you’re serving for Valentine’s Day, pipe the cheesecake layer in a heart shape before adding the final brownie dollop and swirl. For summer gatherings, serve chilled with a spoonful of fresh berries on the side to balance the richness.
Cook’s Commentary
I make these whenever I want an unfussy but polished dessert. What I love is the speed; once the oven is on, everything moves quickly. Use a small piping bag for control when layering—especially if you care about presentation. Also, warm cream cheese blends easier; if it’s slightly cold you’ll fight lumps and lose time.
One tip I always follow: grease the tin generously. It might feel excessive, but it prevents the minis from sticking and keeps their edges clean and pretty. If you want even cleaner release, line each well with small squares of parchment, but honestly, a good buttering works well and saves time.
Storing Tips & Timelines
These mini brownies store well and are flexible with timing. Keep them in an airtight container in the refrigerator for up to 5 days. Because of the cheesecake filling, refrigeration is recommended once fully cooled. For longer storage, freeze in a single layer on a baking sheet until firm, then transfer to a freezer-safe bag or container for up to 2 months. Thaw in the refrigerator before serving.
To serve at room temperature, remove from the fridge 20–30 minutes before eating so the texture softens slightly. If you like them chilled, they’re perfectly pleasant straight from the fridge and hold shape nicely for transport to picnics or potlucks.
Helpful Q&A
Q: Can I make the batters ahead of time? A: The brownie batter can sit briefly at room temperature, but you’ll get best results if you assemble and bake within a couple of hours. Cheesecake batter can be refrigerated for a few hours but bring it back to room temperature and stir before using.
Q: My minis puffed and then sank—why? A: Overbeating eggs or too high oven temperature can cause rapid rise and collapse. Also, opening the oven door too often during a short bake can cool the oven and affect structure. Stick to the given temperature and bake time.
Q: Can I make these gluten-free? A: The recipe calls for 1/3 cup all-purpose flour. You can try a 1:1 gluten-free flour substitute, but texture may shift. No other ingredients here contain gluten unless your baking powder or other packaged goods are cross-contaminated.
Save & Share
Make a double batch and freeze half for later. These minis travel well, so pack them in a single layer with parchment between layers to keep finishes pretty. They’re ideal for sharing—put a dozen on a pretty plate, and you’ll have neighbors suddenly wanting to drop by.
Ingredients
- 3 ounces unsweetened chocolate, roughly chopped — provides the deep chocolate base for the brownie portion; chop for even melting.
- 1 stick unsalted butter, plus extra for greasing — melts with the chocolate to create a glossy, fudgy batter; reserve a bit for greasing the tin.
- 1 cup granulated sugar — sweetens the brownie batter and balances the unsweetened chocolate.
- 2 large eggs — add structure and richness to the brownie layer; add one at a time as directed.
- 1 teaspoon vanilla extract — lifts and rounds the chocolate flavor in the brownie mix.
- 1/4 teaspoon salt — enhances chocolate flavor and balances sweetness.
- 1/3 cup all-purpose flour — a small amount keeps the brownies dense and fudgy rather than cakey.
- 1/3 teaspoon baking powder — gives a slight lift so the minis aren’t too compact.
- 18-oz. package cream cheese, softened — the base of the cheesecake layer; soften fully for a smooth batter.
- 2 Tablespoons sugar — sweetens and stabilizes the cheesecake portion.
- 1 egg yolk — enriches and helps set the cheesecake layer without adding extra moisture from the white.
Mini Cheesecake Swirl Brownies
Ingredients
Equipment
Method
- Preheat the oven to 350°F (175°C). Generously grease a 24-cup mini-muffin tin with a little of the extra butter and set the tin aside.
- Prepare the brownie batter: place the 3 ounces unsweetened chocolate (roughly chopped) and 1 stick unsalted butter in a medium heatproof bowl set over a pot of simmering water (double boiler). Stir until the chocolate and butter are fully melted and smooth. Remove the bowl from the heat.
- Whisk the 1 cup granulated sugar into the melted chocolate mixture until combined. Add the 2 large eggs one at a time, whisking well after each addition until the mixture is smooth. Stir in the 1 teaspoon vanilla extract.
- Sprinkle the 1/3 cup all-purpose flour, 1/4 teaspoon salt, and 1/3 teaspoon baking powder over the wet ingredients. Gently stir until just combined and smooth—do not overmix.
- Prepare the cheesecake batter: in a medium bowl, beat the 18-oz. package cream cheese (softened) with the 2 Tablespoons sugar and the 1 egg yolk until the mixture is very smooth and free of lumps.
- Assemble the mini cheesecakes: spoon or pipe enough brownie batter into each greased muffin well to fill it about halfway.
- Add cheesecake batter: pipe or spoon a layer of the cheesecake batter on top of the brownie layer in each well (enough to cover most of the brownie layer).
- Top each well with another dollop of brownie batter so the brownie and cheesecake layers are visible.
- Create swirls: use a toothpick or skewer to gently swirl the brownie and cheesecake batters in each well, making a marbled pattern without fully mixing the batters.
- Bake the mini cheesecake swirl brownies in the preheated oven for about 15 minutes, or until the centers are set (a toothpick inserted in a center will come out with a few moist crumbs but not wet batter).
- Let the tin cool on a wire rack for about 10 minutes. Then remove the mini brownies from the tin and allow them to cool completely on the rack before serving.
Notes
adapted from: The Baker Chick