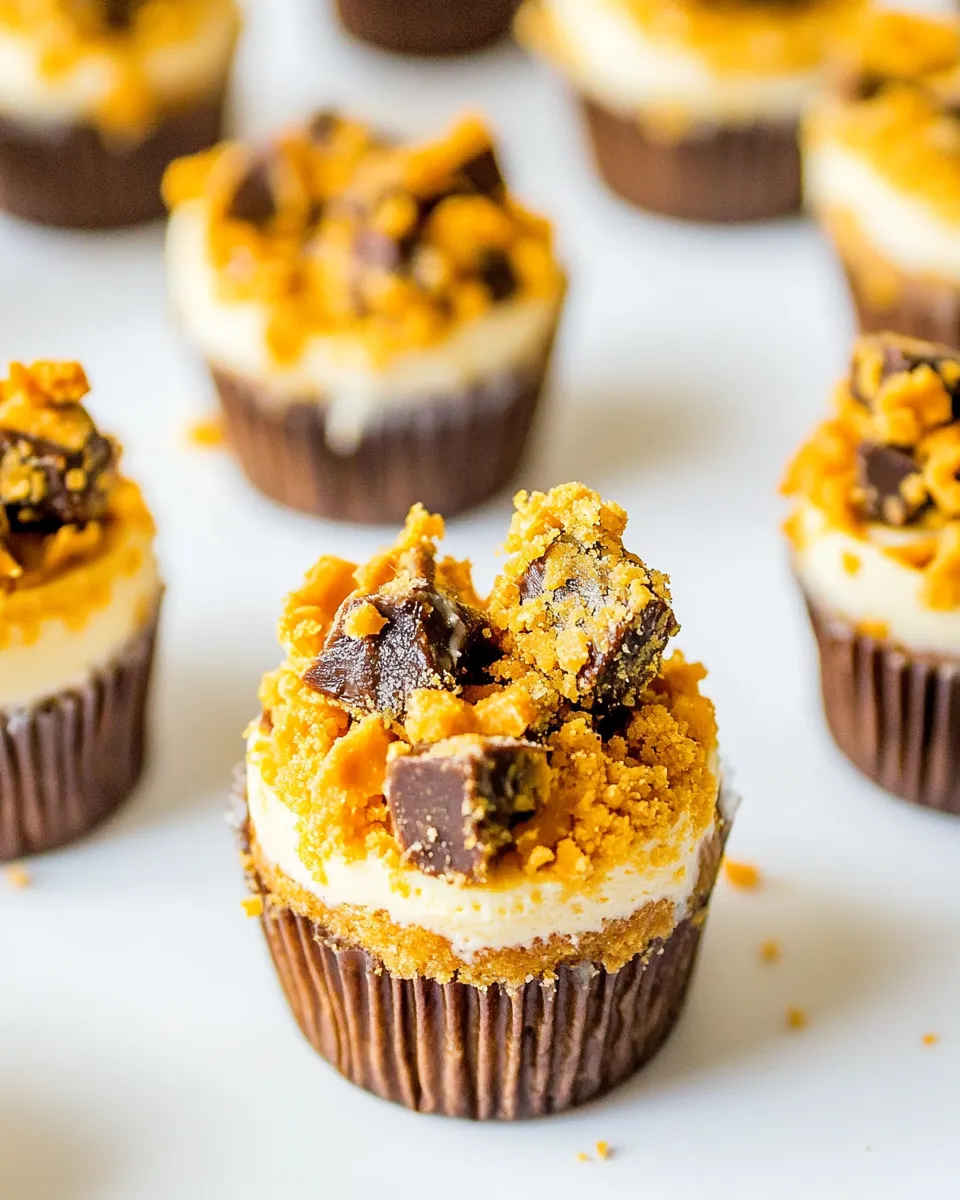
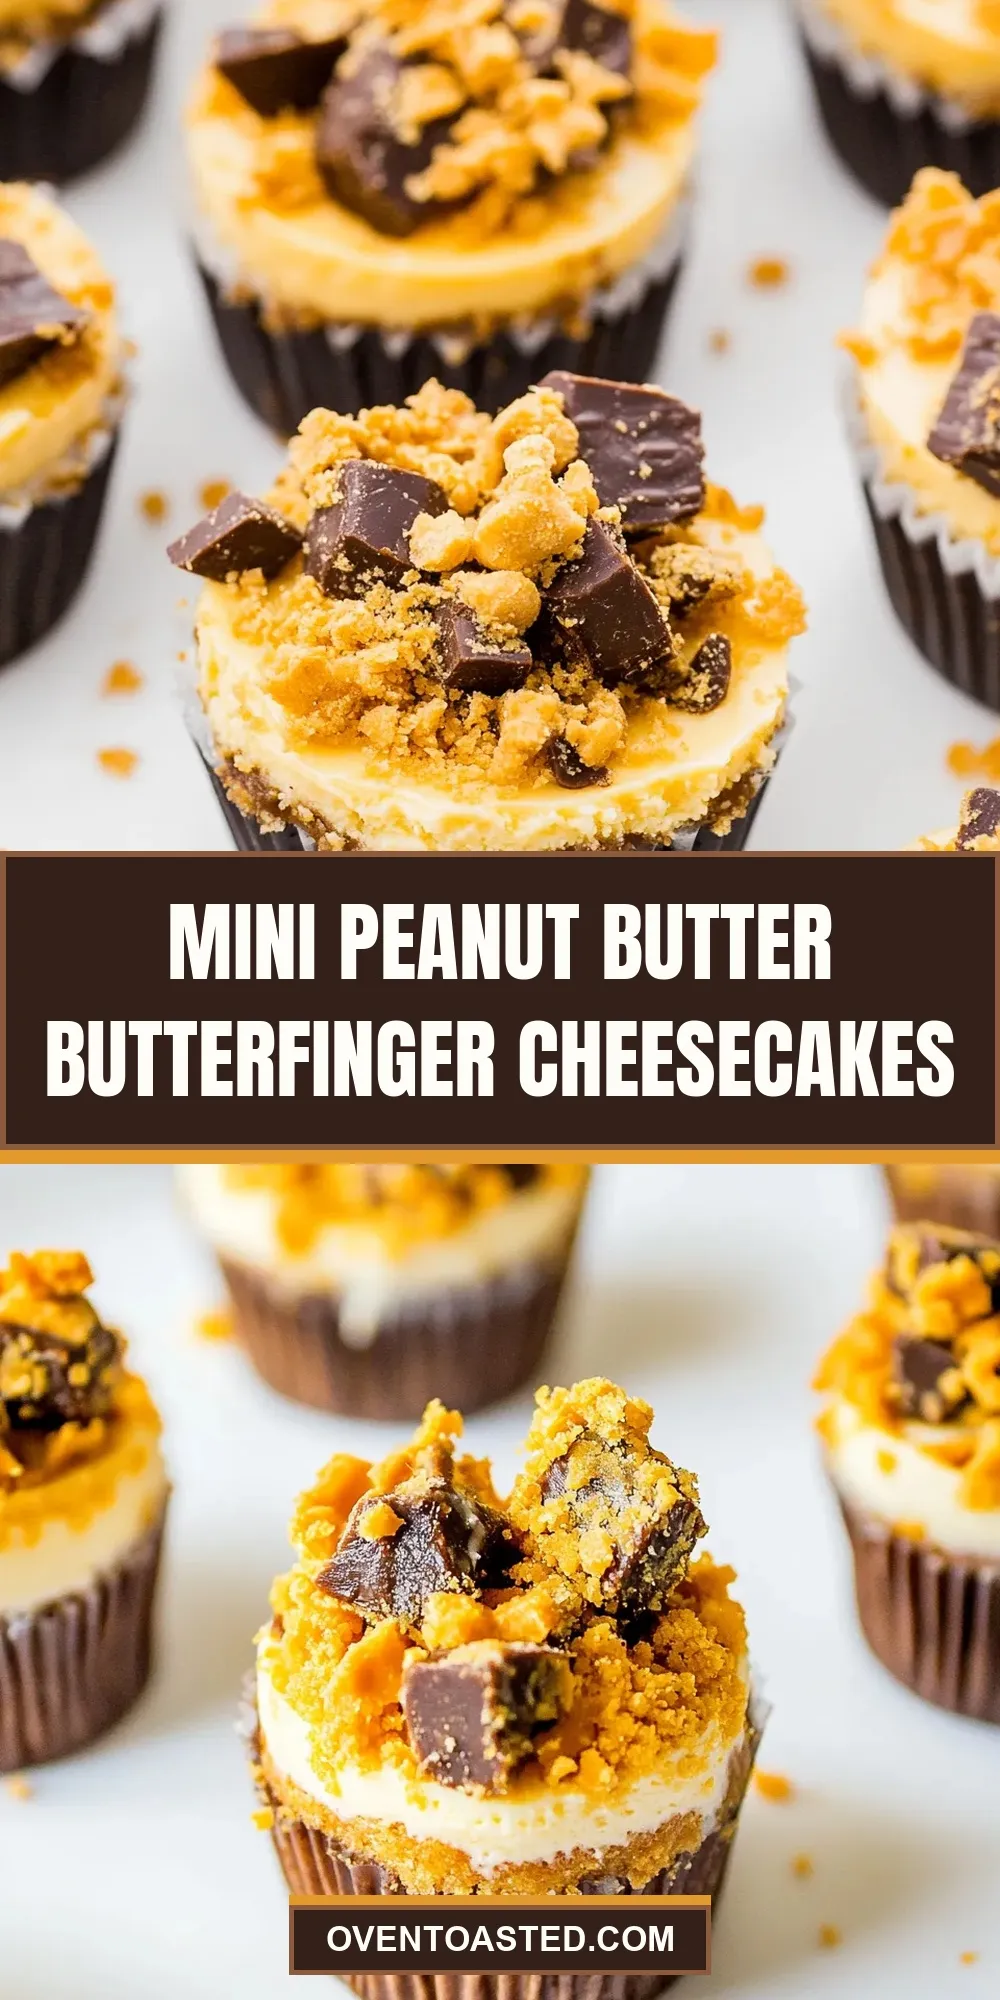
Mini Peanut Butter Butterfinger Cheesecakes
These little cheesecakes are the kind of dessert I make when I want something that feels indulgent but still practical to serve. Each bite combines a crisp Oreo crust, a silky peanut-butter-laced cheesecake filling, and crunchy Butterfinger pieces for contrast. They’re small, portable, and dangerous in groups.
I test this recipe on a busy weekday and again at a weekend gathering to make sure the timing and texture hold up. The method is straightforward: a quick cookie crust, a no-fuss filling mixed in one bowl, a brief bake, and a simple peanut butter glaze to finish. There’s room to prep ahead and assemble at the last minute.
Below I walk you through the ingredients, exact steps, equipment I use, common mistakes, and a few ways to adapt the flavors. Follow the directions as written for best results; I’ll flag where swaps work and what to avoid.
The Ingredient Lineup
Ingredients
- 14Oreo cookies — ground into crumbs to form the crunchy cheesecake base.
- 2tablespoonsunsalted butter, melted — binds the Oreo crumbs and helps the crust set.
- 12ouncesFull-Fat Cream Cheese, very soft (use brick-style cream cheese for best results) — the primary structure and richness for the filling; room-temperature is crucial.
- 1/2cupfull-fat sour cream, at room temperature — adds tang and silkiness, and prevents the filling from being too dense.
- 1/3cupcreamy peanut butter — for peanut flavor and creaminess in the filling.
- 3/4cupGranulated Sugar — sweetens and helps with texture in the baked filling.
- 2large Eggs plus 1 Egg Yolk, at room temperature — provide structure and help the cheesecakes set; room temperature eggs incorporate more smoothly.
- 1and 1/2 tablespoons All-purpose Flour — a touch of flour stabilizes the filling so the minis hold shape.
- 2full-size Butterfinger candy bars, chopped into bits — folded into the batter for crunchy peanut-buttery pockets.
- 1/2cupcreamy peanut butter — warmed into a glaze to add a glossy, richer peanut flavor on top.
- 1tablespoonconfectioners’ sugar — sweetens and smooths the glaze.
- 1full-size Butterfinger candy bar, chopped into bits — reserved for garnish to keep some fresh crunch on top.
Mini Peanut Butter Butterfinger Cheesecakes: How It’s Done
- Preheat oven to 325°F. Line a 12-cup muffin tin with paper liners, lightly spray the liners with nonstick spray, and set the tin aside.
- Make the crust: place 14 Oreo cookies in a small food processor or blender and pulse until fine crumbs form. Stir in 2 tablespoons melted unsalted butter until evenly combined.
- Divide the Oreo mixture evenly among the 12 prepared liners (about 1 tablespoon per cup). Press the crumbs firmly into an even layer in each cup. Bake the crusts in the preheated oven for 5 minutes. Remove the pan from the oven and set it aside to cool while you make the filling.
- Chop the Butterfinger bars: chop 2 full-size Butterfinger candy bars into small bits for the filling and chop the remaining 1 full-size Butterfinger candy bar for garnish; set the chopped pieces aside.
- Make the filling: in a stand mixer (or a large bowl with a hand mixer), beat 12 ounces very soft cream cheese, 1/2 cup full-fat sour cream (room temperature), and 1/3 cup creamy peanut butter until smooth. Add 3/4 cup granulated sugar and beat until smooth, scraping down the sides and bottom of the bowl as needed. Add 2 large eggs plus 1 egg yolk (all at room temperature) and beat until just combined.
- Turn the mixer off and, using a rubber spatula, gently stir in 1 1/2 tablespoons all-purpose flour until just combined. Fold in the chopped bits from the 2 Butterfinger bars.
- Divide the filling evenly among the 12 crust-lined cups, pouring it on top of the prepared crust layer (about 1/4 cup batter per cup). The cups should be very full but not overflowing. Gently wiggle the pan to level the filling.
- Bake in the preheated oven for 22–24 minutes, or until the cheesecakes are puffed, set at the edges, and just a little jiggly in the center. Remove the pan from the oven and place it on a cooling rack. Let the mini cheesecakes cool completely in the pan, then transfer them to the refrigerator to chill for at least 2 hours (until fully set).
- Make the peanut butter glaze: place 1/2 cup creamy peanut butter in a small saucepan over medium–low heat and cook, stirring occasionally, until completely melted. Whisk in 1 tablespoon confectioners’ sugar until smooth. Let the glaze cool slightly until spoonable.
- To finish, top each chilled mini cheesecake with about 1 teaspoon of the peanut butter glaze and garnish with the chopped Butterfinger pieces reserved for garnish.
- Store finished cheesecakes in the refrigerator in an airtight container. Cheesecakes kept without the glaze will keep for up to 5 days.
What You’ll Love About This Recipe
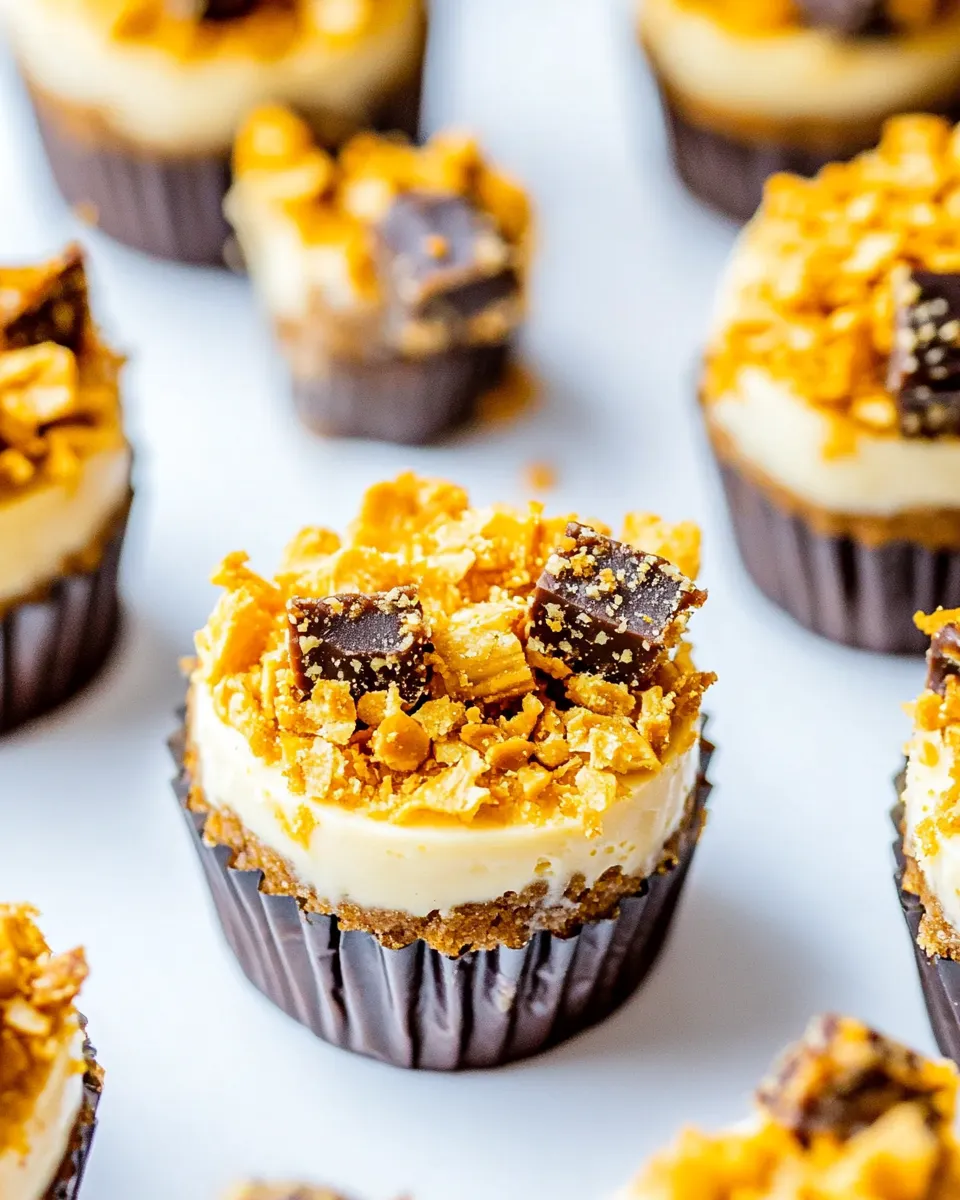
They’re perfectly portioned. Mini cheesecakes are less fussy to serve and give guests a neat single bite of everything: crust, creamy filling, and Candy Bar crunch. That balance of textures is what makes them addictive.
The recipe is forgiving. Crust and filling are straightforward, and the glaze is quick. You don’t need specialty ingredients beyond the candy bars and common pantry items. The make-ahead potential is excellent—bake a batch the day before and glaze right before serving for the best texture.
Ingredient Swaps & Substitutions

There are a few swap options that work without changing proportions, but keep the original ingredients on hand the first time you make these so you can compare.
- Cookies for crust: If you don’t have Oreos, any chocolate sandwich cookie will work—same quantity. The flavor will shift, but the structure is the same.
- Peanut butter: The recipe uses creamy peanut butter in two places. If you want a different nut flavor, swap both occurrences with smooth almond or sunflower seed butter, noting the final taste will be noticeably different.
- Butterfinger bars: You need the crunchy, flaky texture those bars provide. Swapping with a similarly textured chocolate-covered toffee or peanut candy can work, but texture is the key—avoid soft chocolates that will melt into the batter.
What You’ll Need (Gear)
Use simple equipment. Here’s what I reach for when I make these:
- 12-cup muffin tin with paper liners — standard nonstick works well.
- Small food processor or blender — to grind the Oreo cookies into fine crumbs.
- Stand mixer or hand mixer — for a smooth, lump-free filling.
- Rubber spatula — to fold in the flour and Butterfinger pieces without overmixing.
- Small saucepan — to make the peanut butter glaze.
- Cooling rack and airtight container — for chilling and storage.
Frequent Missteps to Avoid
These are the small mistakes I see most often and how to avoid them.
- Using cold cream cheese: If it isn’t very soft, the filling will be lumpy. Let it sit at room temperature until soft before starting.
- Overbeating after adding eggs: Mix until just combined. Over-mixing can incorporate too much air and cause cracks or tall domes that collapse.
- Underbaking or overbaking: The minis should be set at the edges and slightly jiggly in the center. Pull them when they reach that stage—carryover will finish them as they cool.
- Putting glaze on hot cheesecakes: Always top chilled, fully set cheesecakes so the glaze doesn’t melt and soak in.
Make It Your Way
Small changes can tailor these to your crowd. Here are a few simple ideas that don’t require reworking the base recipe.
- Extra chocolate: Drizzle melted chocolate over the glaze or sprinkle a few mini chocolate chips on top.
- Salted finish: A tiny pinch of flaky sea salt on the glaze brightens the peanut butter and candy flavors.
- Crunch variation: If you like larger Butterfinger bites in the batter, reserve more of the chopped pieces for folding in and use finer crumbs for the crust to keep the bite balanced.
Behind-the-Scenes Notes
Why this method works: the Oreo crumbs create a neutral, sturdy base that contrasts the rich filling. The small amount of flour stabilizes the batter so these mini cheesecakes set cleanly without needing a water bath. The two-stage candy chopping keeps some Butterfinger pieces soft in the bake and some crunchy on top.
I test timing in two ovens: 22 minutes gives a slightly softer center, 24 minutes firms them a bit more. Oven temperatures vary, so use the edge-set, center-jiggle test rather than relying on a strict minute count.
Make-Ahead & Storage
These refrigerate well. After cooling completely on a rack and chilling in the pan for at least 2 hours, transfer the minis to an airtight container. If you plan to store them longer than a day, skip glazing until serving—the glaze softens slightly over time and you’ll lose the fresh sheen.
Un-glazed cheesecakes will keep up to 5 days in the refrigerator in a single layer. For longer storage, freeze the unglazed minis on a baking sheet until firm, then transfer to a freezer-safe container. Thaw in the fridge overnight before glazing and serving.
Handy Q&A
Q: Can I make these larger or in a full-size springform pan? A: This recipe is scaled for a 12-cup muffin tin. Scaling up will change bake time and texture; use the instructions as a guide but expect longer bake time and a different feel.
Q: Do I need to use a water bath? A: No. The small size and that touch of flour help them set without one. A water bath can be tricky with liners and isn’t necessary here.
Q: My glaze is too thick—what now? A: Warm it very gently over low heat and whisk in a few drops of milk to loosen if needed. Cool slightly before spooning over the chilled cheesecakes.
In Closing
These Mini Peanut Butter Butterfinger Cheesecakes are a reliable crowd-pleaser: uncomplicated to make, easy to portion, and satisfying in every bite. Follow the steps closely the first time, mind the room-temperature ingredients, and you’ll have consistently smooth filling and crisp crust. Make them a day ahead and glaze before serving for an easy, impressive dessert.
If you try the recipe, take note of any tiny adjustments you make—everyone’s oven and taste preferences are a little different—and enjoy sharing these with friends or tucking a few in the fridge for a seriously indulgent snack.

Mini Peanut Butter Butterfinger Cheesecakes
Ingredients
Equipment
Method
- Preheat oven to 325°F. Line a 12-cup muffin tin with paper liners, lightly spray the liners with nonstick spray, and set the tin aside.
- Make the crust: place 14 Oreo cookies in a small food processor or blender and pulse until fine crumbs form. Stir in 2 tablespoons melted unsalted butter until evenly combined.
- Divide the Oreo mixture evenly among the 12 prepared liners (about 1 tablespoon per cup). Press the crumbs firmly into an even layer in each cup. Bake the crusts in the preheated oven for 5 minutes. Remove the pan from the oven and set it aside to cool while you make the filling.
- Chop the Butterfinger bars: chop 2 full-size Butterfinger candy bars into small bits for the filling and chop the remaining 1 full-size Butterfinger candy bar for garnish; set the chopped pieces aside.
- Make the filling: in a stand mixer (or a large bowl with a hand mixer), beat 12 ounces very soft cream cheese, 1/2 cup full-fat sour cream (room temperature), and 1/3 cup creamy peanut butter until smooth. Add 3/4 cup granulated sugar and beat until smooth, scraping down the sides and bottom of the bowl as needed. Add 2 large eggs plus 1 egg yolk (all at room temperature) and beat until just combined.
- Turn the mixer off and, using a rubber spatula, gently stir in 1 1/2 tablespoons all-purpose flour until just combined. Fold in the chopped bits from the 2 Butterfinger bars.
- Divide the filling evenly among the 12 crust-lined cups, pouring it on top of the prepared crust layer (about 1/4 cup batter per cup). The cups should be very full but not overflowing. Gently wiggle the pan to level the filling.
- Bake in the preheated oven for 22–24 minutes, or until the cheesecakes are puffed, set at the edges, and just a little jiggly in the center. Remove the pan from the oven and place it on a cooling rack. Let the mini cheesecakes cool completely in the pan, then transfer them to the refrigerator to chill for at least 2 hours (until fully set).
- Make the peanut butter glaze: place 1/2 cup creamy peanut butter in a small saucepan over medium–low heat and cook, stirring occasionally, until completely melted. Whisk in 1 tablespoon confectioners' sugar until smooth. Let the glaze cool slightly until spoonable.
- To finish, top each chilled mini cheesecake with about 1 teaspoon of the peanut butter glaze and garnish with the chopped Butterfinger pieces reserved for garnish.
- Store finished cheesecakes in the refrigerator in an airtight container. Cheesecakes kept without the glaze will keep for up to 5 days.
Notes
Recipe may be doubled. Cheesecake can be made ahead of time and stored in the fridge for up to 5 days WITHOUT the peanut butter glaze. Make and add glaze and garnish right before serving.