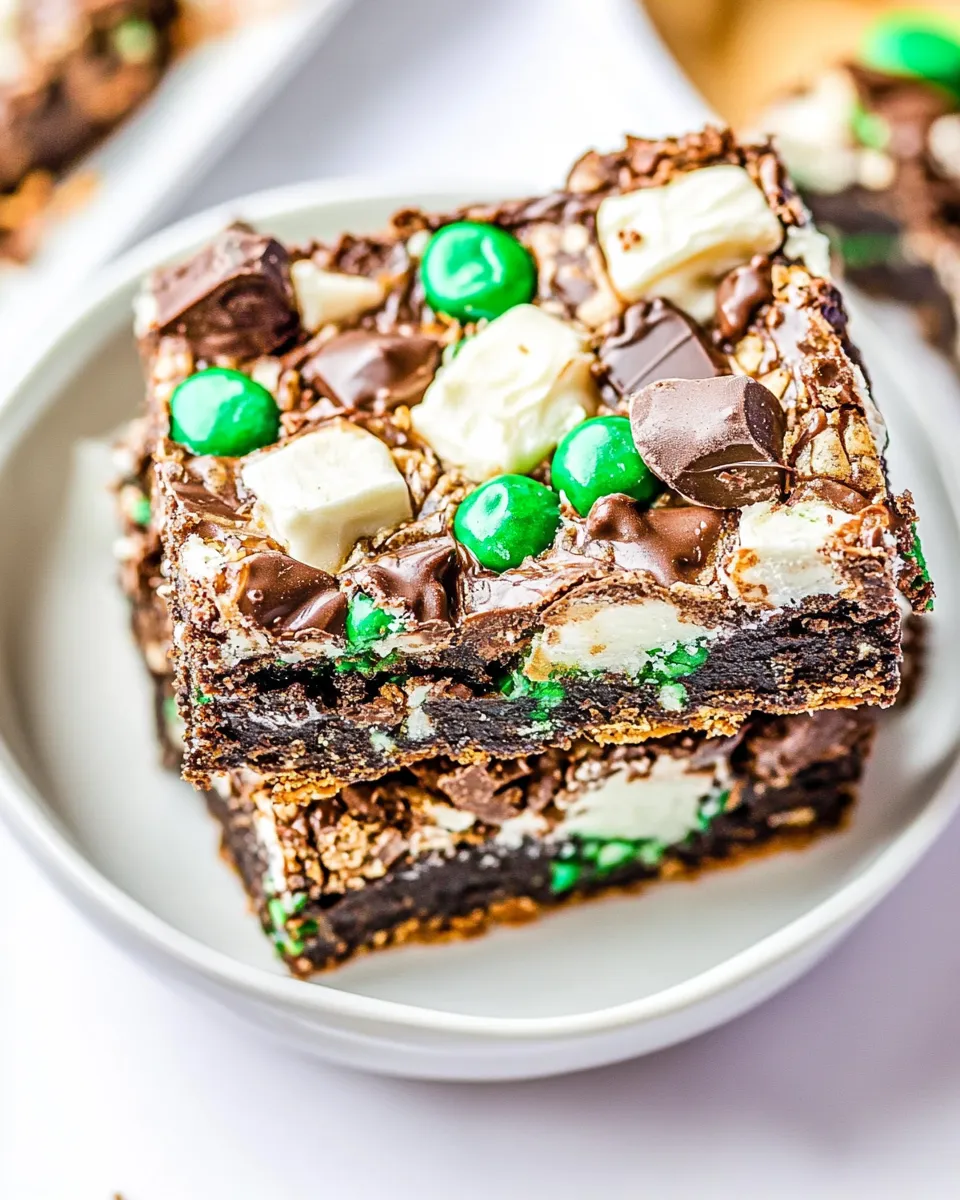
Mint Magic Bars
These Mint Magic Bars are the kind of bake that arrives at a potluck and disappears within an hour. They’re layered, mint-forward, and gloriously simple because most of the work is assembly. If you like a cookie base, a cascade of mint chocolates, and a ribbon of caramel-like condensed milk, this is for you.
I keep the directions straightforward so you can focus on timing and texture. The recipe uses refrigerated cookie dough and a few minty candies, which means you get reliable results without rolling pastry or tempering chocolate. It’s a shortcut that still tastes homemade.
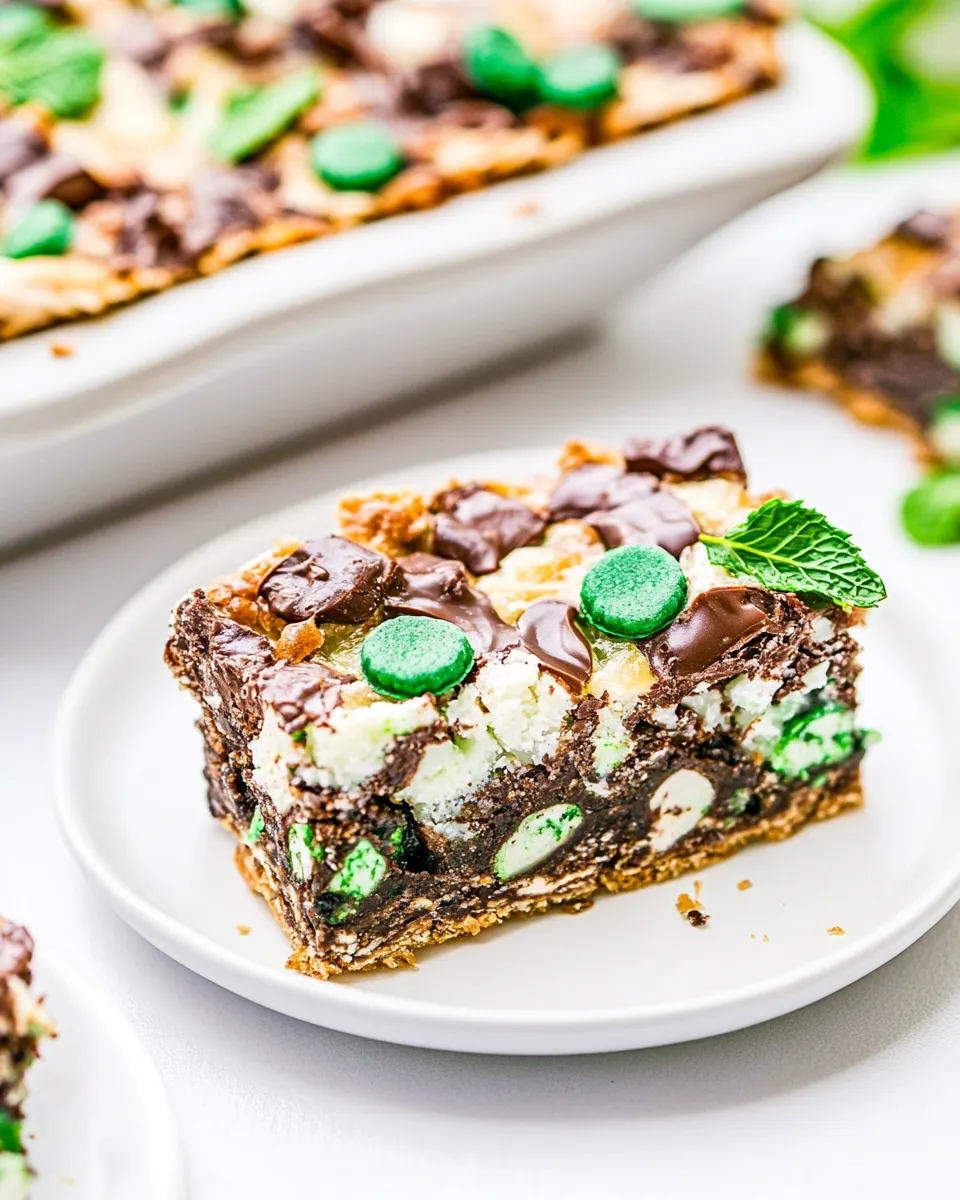
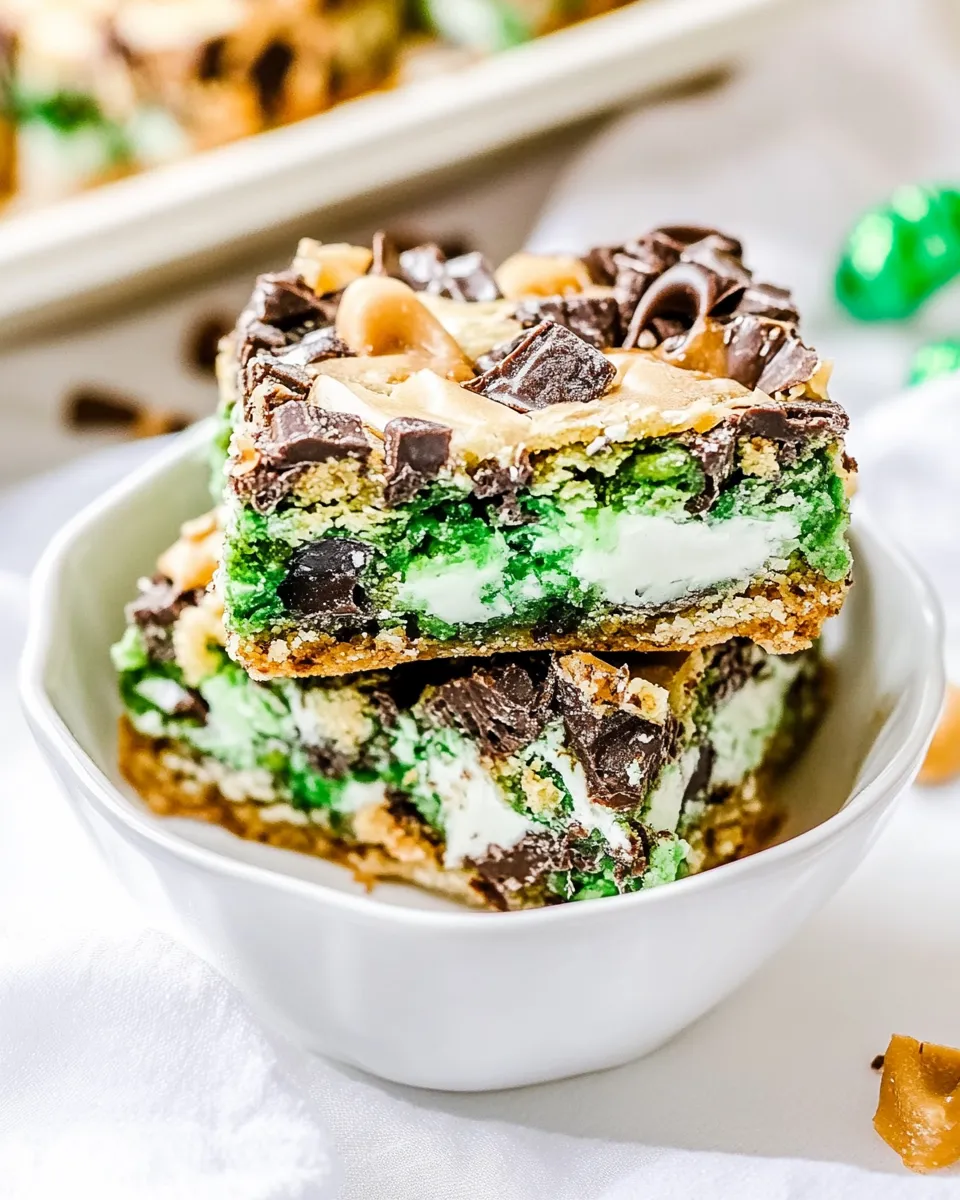
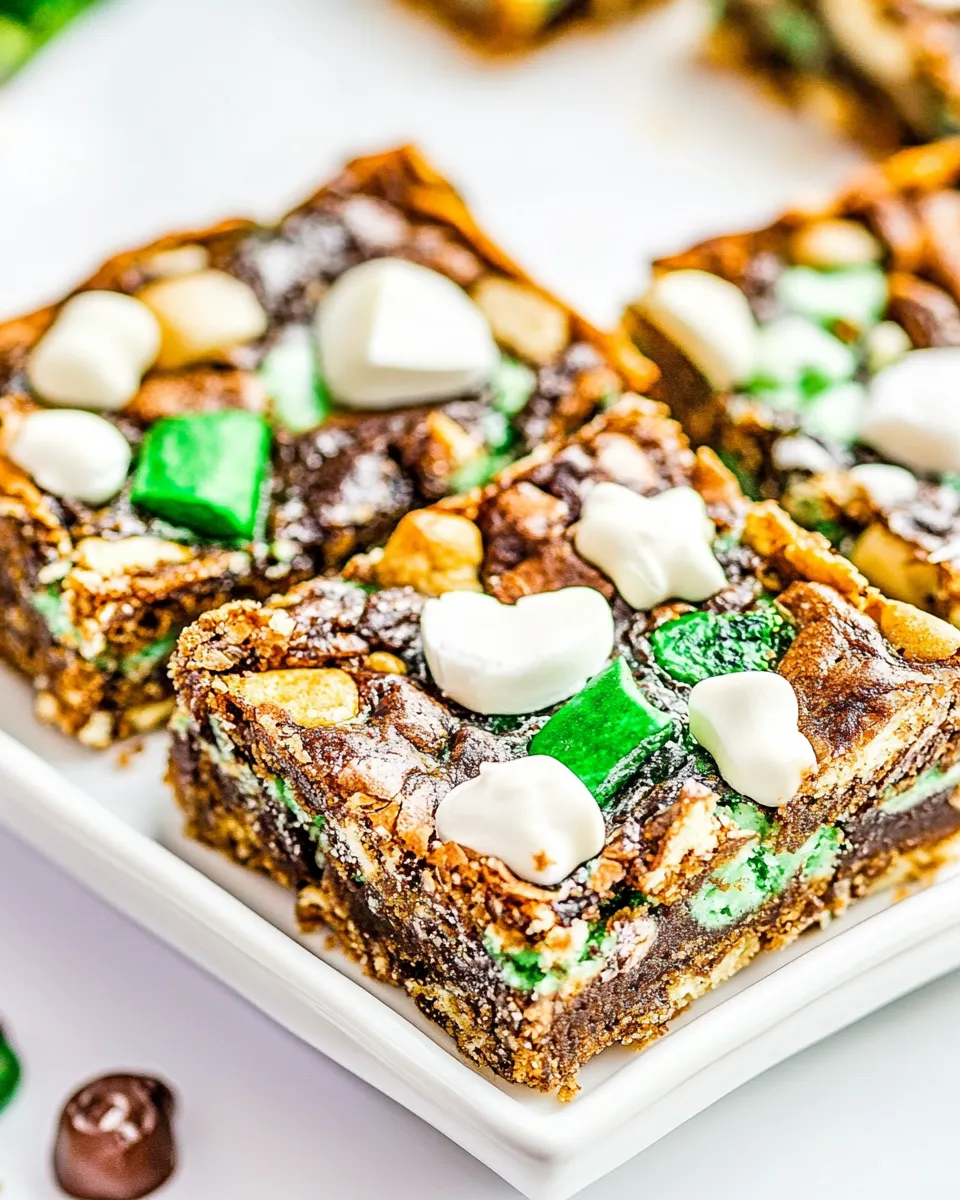
Follow the steps, give the pan time to cool, and you’ll end up with bars that have a crunchy, chewy base, pockets of mint chocolate, and a soft, lightly caramelized top. Slice them small; they’re rich and perfect with a cup of coffee.
Ingredient Rundown
Before you start, it helps to know what each component brings to the final bar. The cookie dough forms the crust and gives chew. The Oreos and Andes add texture and mint flavor. Condensed milk binds everything and browns to a caramel tone. The chocolate pieces provide melty pockets and visual contrast.
Ingredients
- 16 ounces refrigerated chocolate chip cookie dough — forms the chewy, sturdy base for the bars; press evenly for uniform baking.
- 16 Mint Oreos, divided and coarsely chopped — offer crunchy mint pockets and cookie crumbs for texture; split into two portions as directed.
- 1 cup chocolate chunks, divided — provides chunks of melty chocolate; measure and split into two 1/2-cup portions.
- 14 Andes Mints, coarsely chopped — concentrated mint flavor and smooth chocolate pieces that distribute melting pockets across the bars.
- 14 ounces sweetened condensed milk — the glue that browns and forms the glossy, slightly caramelized top layer.
- 10 Ghirardelli Mint Chocolates — additional mint-chocolate bites to scatter on top for flavor bursts and decoration.
- ½ cup white chocolate chips — a sweet, creamy counterpoint to the dark and minty chocolates; adds contrast and visual appeal.
Build Mint Magic Bars Step by Step
- Preheat oven to 350°F. Line a 9×13-inch baking pan with nonstick foil or parchment and lightly spray the lining with cooking spray; set the pan aside.
- Coarsely chop the 16 Mint Oreos and the 14 Andes Mints. Divide the chopped Oreos into two equal portions (8 Oreos each). Measure 1 cup chocolate chunks and divide into two 1/2-cup portions.
- Press the 16 ounces refrigerated chocolate chip cookie dough evenly into the bottom of the prepared pan to form a uniform base.
- Bake the cookie-dough base for 15 minutes. Remove the pan from the oven.
- Immediately sprinkle half of the chopped Mint Oreos (8 Oreos), 1/2 cup of the chocolate chunks, and all of the coarsely chopped Andes Mints evenly over the hot cookie base.
- Evenly drizzle all 14 ounces of the sweetened condensed milk over the toppings (it does not need to perfectly cover every spot).
- Scatter the remaining chopped Mint Oreos, the remaining 1/2 cup chocolate chunks, the 10 Ghirardelli Mint Chocolates, and the 1/2 cup white chocolate chips over the condensed milk layer.
- Return the pan to the oven and bake an additional 25 minutes, or until the condensed milk is a light caramel color and the edges are set.
- Remove from the oven and allow the bars to cool completely in the pan for at least 2 hours before lifting out and slicing.
- Store the bars airtight at room temperature for up to 1 week or in the freezer for up to 3 months.
Why This Recipe Is Reliable
The reliability comes from using mostly ready-made ingredients with predictable behavior. Refrigerated cookie dough bakes evenly and creates a sturdy foundation without extra work. Sweetened condensed milk reliably browns and sets into a chewy, glossy layer; it doesn’t separate or curdle under these conditions.
The recipe’s proportions are forgiving. You can spread the toppings by eye and still get balanced flavor because the condensed milk ties everything together. Baking in a 9×13 pan is standard and gives consistent thickness; changing pan size would alter bake time and texture.
Smart Substitutions
- Refrigerated chocolate chip cookie dough — You can use homemade dough, but match the weight (16 ounces). A different cookie dough flavor will change the final taste.
- Mint Oreos — Any mint sandwich cookie works in a pinch. Keep the texture by chopping coarsely.
- Chocolate chunks — Replace with an equal volume of chopped chocolate bars if you prefer specific brands or cacao percentages.
- Andes Mints — Use other mint chocolates chopped roughly; the soft centers will still melt into pockets.
- Sweetened condensed milk — Do not dilute or substitute with evaporated milk; the sweetness and setting quality are essential.
- White chocolate chips — Omit if you want less sweetness, or swap for milk chocolate chips for a different balance.
Tools & Equipment Needed
- 9×13-inch baking pan — critical for the layer thickness and bake times to work as written.
- Parchment or nonstick foil and cooking spray — for easy removal and clean edges.
- Mixing bowls and a sharp knife — for chopping Oreos and mint chocolates.
- Measuring cup — to measure the 1 cup chocolate chunks and 14 ounces condensed milk.
- Spatula or the back of a spoon — to press the cookie dough evenly into the pan.
- Oven thermometer (optional) — helpful if your oven runs hot or cool and you want exact results.
Learn from These Mistakes
Common missteps are timing and temperature. If you underbake the final 25 minutes, the condensed milk will be runny and won’t set; overbake it and the top becomes too dark and brittle. Aim for a light caramel color and set edges exactly as directed.
Another frequent mistake is slicing too soon. Cutting while warm causes the layers to smear and the bars to fall apart. Wait the full 2 hours, or pop the pan in the fridge to speed cooling before slicing.
Also, don’t skimp on lining the pan. Without a proper nonstick layer, the bars are harder to lift out cleanly and the bottoms can stick.
Tailor It to Your Diet
These bars are not designed as a low-sugar or gluten-free recipe out of the box, but you can make targeted swaps.
- Gluten-free: Use a gluten-free refrigerated cookie dough that weighs 16 ounces and gluten-free sandwich cookies. Expect slightly different texture.
- Dairy-free: Look for dairy-free condensed milk alternatives and dairy-free chocolate pieces; performance will vary, especially with condensed milk alternatives.
- Lower sugar: There’s no great low-sugar swap for sweetened condensed milk that keeps the same set and sweetness. If you must reduce sugar, make smaller portions to limit intake.
Insider Tips
Press the cookie dough evenly and almost to the edges so the bars hold together when sliced. If the dough is too sticky, chill it briefly to make pressing easier.
When you sprinkle the first layer of Oreos, chocolate chunks, and Andes over the hot base, spread them evenly so every bar gets a bit of everything. The hot base helps those pieces anchor under the condensed milk.
Use a serrated knife and a gentle sawing motion to cut clean squares. Wipe the knife between cuts for neat edges. For uniform pieces, score lightly first and then cut.
Save for Later: Storage Tips
Store the bars airtight at room temperature for up to 1 week. Keep them in a single layer or separate layers with parchment to avoid sticking. For longer storage, freeze them up to 3 months. Thaw at room temperature for about 30–60 minutes before serving.
If you freeze in portions, wrap each piece individually for the best texture upon thawing. Avoid refrigeration unless your kitchen is very warm; refrigerating can firm the condensed milk layer and make the bars harder to bite into straight from the fridge.
Helpful Q&A
Q: Can I use a different pan size?
A: You can, but thickness and bake times will change. If you use a smaller pan, expect a longer bake; a larger pan will produce thinner bars and shorter bake times. The recipe is tuned to a 9×13-inch pan.
Q: My condensed milk didn’t brown—what went wrong?
A: Either the oven temperature is low or you didn’t bake the final 25 minutes long enough. Keep an eye for a light caramel color; ovens vary, so add a few minutes if needed but watch closely to avoid over-browning.
Q: Can I make these ahead for an event?
A: Yes. Bake, cool completely, slice, and store airtight. They’re great made the day before. If you’ll be serving beyond a day, freeze and thaw as needed.
Final Bite
Mint Magic Bars are an easy, crowd-pleasing bake that lets you win at dessert with minimal fuss. The layers come together quickly, the mint chocolates keep the flavor bright, and the condensed milk creates that irresistible glossy finish. Follow the steps, give the pan time to cool, and enjoy the reaction when people take their first bite.
Mint Magic Bars
Ingredients
Equipment
Method
- Preheat oven to 350°F. Line a 9x13-inch baking pan with nonstick foil or parchment and lightly spray the lining with cooking spray; set the pan aside.
- Coarsely chop the 16 Mint Oreos and the 14 Andes Mints. Divide the chopped Oreos into two equal portions (8 Oreos each). Measure 1 cup chocolate chunks and divide into two 1/2-cup portions.
- Press the 16 ounces refrigerated chocolate chip cookie dough evenly into the bottom of the prepared pan to form a uniform base.
- Bake the cookie-dough base for 15 minutes. Remove the pan from the oven.
- Immediately sprinkle half of the chopped Mint Oreos (8 Oreos), 1/2 cup of the chocolate chunks, and all of the coarsely chopped Andes Mints evenly over the hot cookie base.
- Evenly drizzle all 14 ounces of the sweetened condensed milk over the toppings (it does not need to perfectly cover every spot).
- Scatter the remaining chopped Mint Oreos, the remaining 1/2 cup chocolate chunks, the 10 Ghirardelli Mint Chocolates, and the 1/2 cup white chocolate chips over the condensed milk layer.
- Return the pan to the oven and bake an additional 25 minutes, or until the condensed milk is a light caramel color and the edges are set.
- Remove from the oven and allow the bars to cool completely in the pan for at least 2 hours before lifting out and slicing.
- Store the bars airtight at room temperature for up to 1 week or in the freezer for up to 3 months.
Notes
I prefer using the flat packages of
refrigerated cookie dough
for this recipe, rather than the tubes of dough, since it’s easier to smoosh the flat packages but technically either will work. If you don’t have refrigerated cookie dough in your area, you could try making a half batch of my
Best Soft and Chewy Cookies
recipe and trying that. However, I haven’t personally tested this recipe this way.
**Mint magic bars will be very gooey immediately after removing them from the oven so I recommend giving them about 2 hours to cool before slicing into them. If you’re in a hurry, you could try speeding this process up by placing them in the refrigerator for an hour.