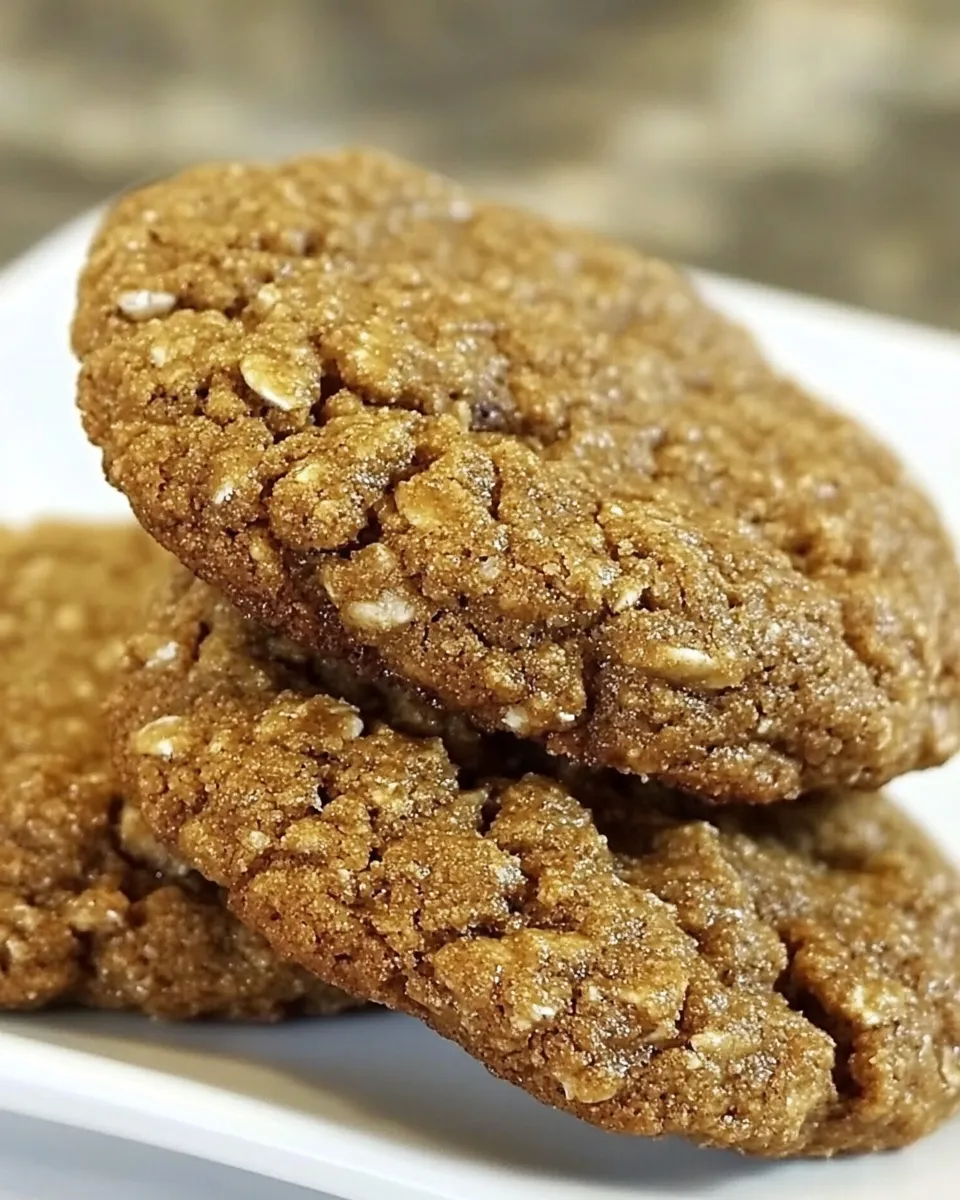
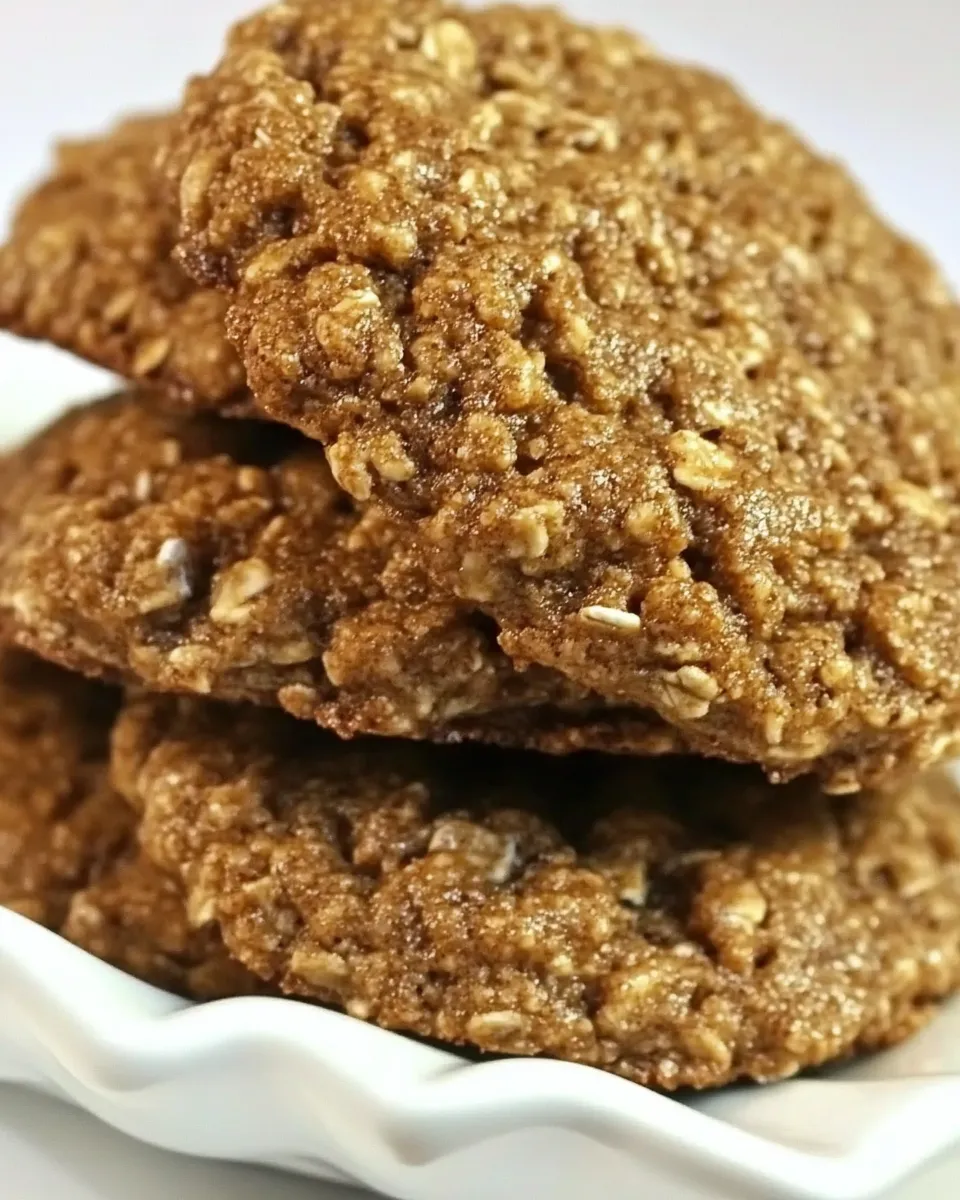
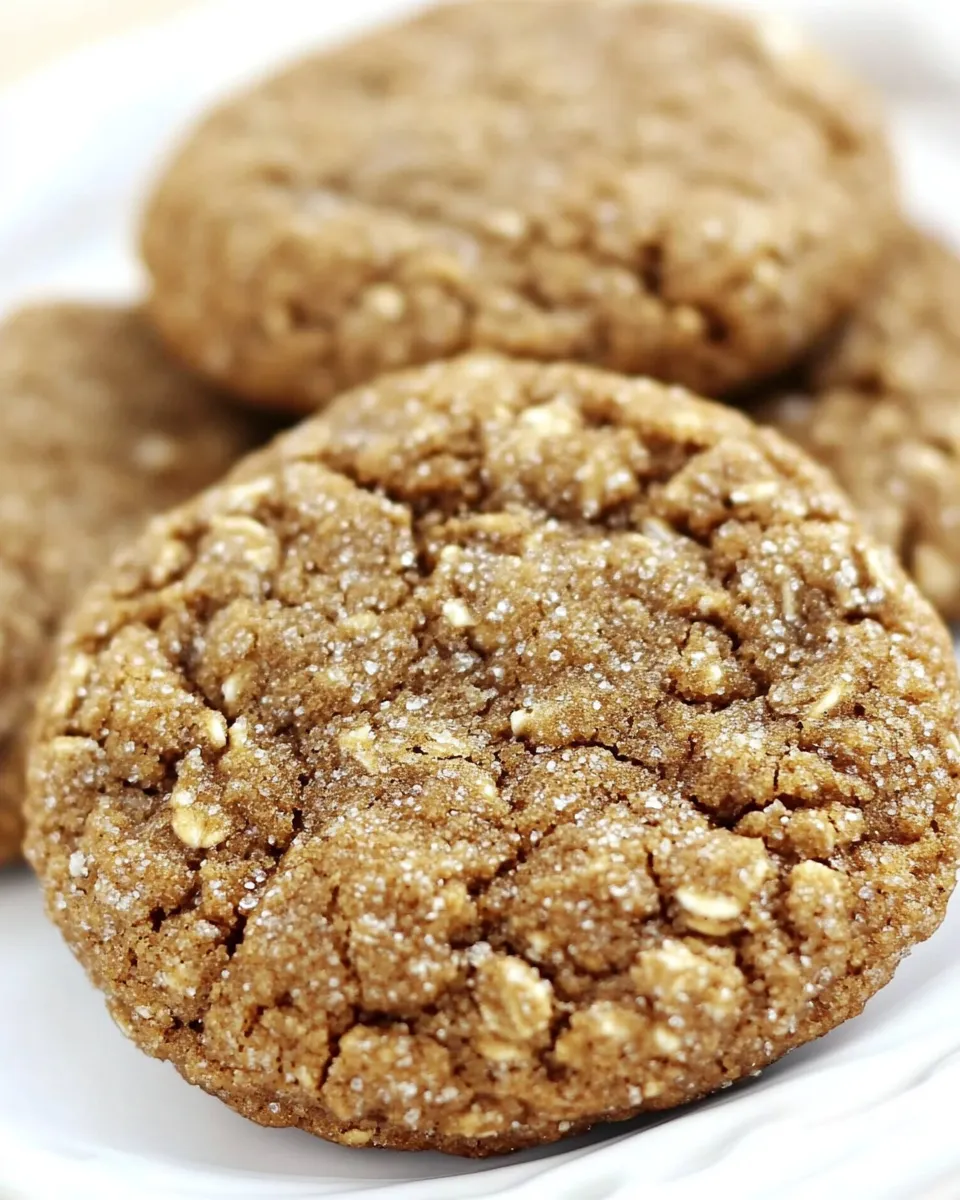
Molasses and Honey Oatmeal Cookies
These cookies are the kind I reach for when I want something honest: chewy, lightly sweet, and warmly spiced by the depth of molasses. They come together quickly, use pantry-friendly ingredients, and reward patience with a perfect balance of soft center and slightly crisp edge. No fuss baking that still tastes like you took the time to do it right.
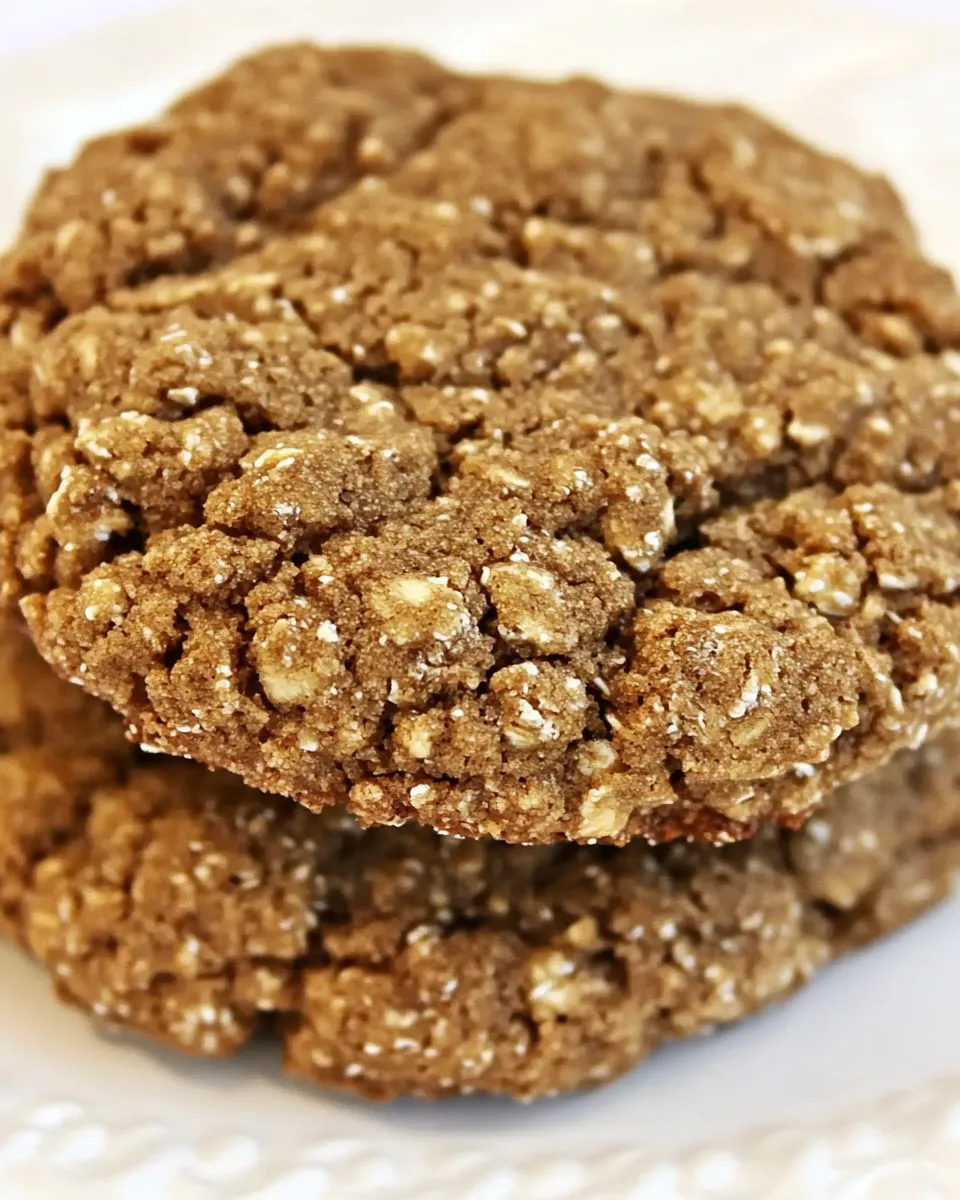
I like to make a batch on a rainy afternoon, then freeze half so there’s always a quick treat ready. The oats give body and chew, while the molasses and honey layer sweetness in different registers — honey for bright floral notes, molasses for that smoky, almost caramel backbone.
This recipe is straightforward and forgiving. Read through the steps once, gather the ingredients, and you’ll be baking in under 20 minutes. Below I’ve broken down what each ingredient does, how to avoid common mistakes, and how to adapt the recipe to what you have on hand.
What Goes Into Molasses and Honey Oatmeal Cookies
This cookie relies on a short list of pantry staples: whole wheat pastry flour for light structure, quick-cook oats for texture, a single egg for binding, and a modest amount of fat from safflower oil to keep the crumb tender without overwhelming the oats. Sweetness comes from both honey and molasses — two sugars that behave differently under heat — which gives the cookie depth without needing excessive sugar.
Raisins are optional, but they’re a classic partner for molasses and oats. If you skip them, you’ll still get a satisfying cookie with a gently caramelized surface and tender interior. The baking powder provides lift so these cookies set up light rather than dense.
Ingredients
- 1 cup whole wheat pastry flour — lighter than regular whole wheat; gives structure without heaviness.
- 2 teaspoons baking powder — provides lift so the cookies are not overly dense.
- 1/4 cup safflower oil — neutral-flavored fat keeps the texture tender; sub options listed below.
- 1 egg, large — binds the dough and adds moisture and structure.
- 2 teaspoon pure vanilla extract — rounds and brightens the sweet flavors.
- 3/4 cup quick cook oats (3 minute variety) — gives chew and texture without needing long soak time.
- 1/2 cup honey — adds sweetness and helps keep cookies soft.
- 1 tablespoon molasses — concentrates flavor with deep, slightly bitter-sweet notes.
- 1/2 cup raisins, optional — add a chewy pop and concentrated sweetness if you like them.
Mastering Molasses and Honey Oatmeal Cookies: How-To
- Preheat the oven to 350°F (175°C). Line one or two cookie sheets with parchment paper and set aside.
- In a large mixing bowl, whisk together the safflower oil, egg, pure vanilla extract, honey, and molasses until smooth and combined.
- In a separate bowl, whisk together the whole wheat pastry flour and baking powder.
- Gradually add the flour mixture to the wet ingredients while whisking, mixing until just combined.
- Stir in the quick-cook oats. If using, add the raisins and gently fold them into the batter until evenly distributed. Do not overmix.
- Using a regular dinner spoon, drop 12 equal portions of dough onto the prepared parchment-lined sheets, leaving space between each cookie for spreading (about 6 cookies per regular-sized cookie sheet/half sheet).
- Bake in the preheated oven for 10–14 minutes, or until the cookies are light brown and appear set.
- Remove the cookie sheets from the oven and allow the cookies to cool on the sheets for about 5 minutes, then transfer the cookies to a wire rack to cool completely.
Why It Works Every Time
There are a few simple chemistry points working in your favor here. Whole wheat pastry flour contains less protein than regular whole wheat, so it forms fewer strong gluten strands — the result is a tender bite rather than a tough chew. The egg adds the protein needed for structure, while the minimal fat from safflower oil shortens the crumb for a soft texture.
Using both honey and molasses matters. Honey is hygroscopic (it attracts and retains moisture), which helps the cookies stay soft after baking. Molasses contributes flavor concentration and a little acidity, which interacts with baking powder to give gentle lift and complexity. Quick-cook oats absorb moisture without requiring a soak, delivering chew without slowing the process.
Quick Replacement Ideas
- Safflower oil — can be swapped for vegetable oil, light olive oil, or melted coconut oil if you prefer a different fat; avoid strong-flavored oils that will dominate the cookie.
- Whole wheat pastry flour — if you don’t have it, use all-purpose flour for a slightly less nutty flavor and a lighter texture.
- Quick-cook oats — old-fashioned rolled oats can be used, but the cookies will be chewier and may need a minute or two longer in the oven.
- Raisins — swap for chopped dates, dried cranberries, or skip them altogether for a plainer oat-molasses cookie.
- Molasses — if unavailable, use a teaspoon more honey and a pinch of brown sugar to mimic some of the flavor, though the depth won’t be identical.
Must-Have Equipment
- Mixing bowls — one large for wet ingredients and one for dry.
- Whisk and spoon — a whisk for the wet and dry mixing; a sturdy spoon for folding in oats and raisins.
- Measuring cups and spoons — accurate measurement matters here for texture.
- Cookie sheets and parchment paper — parchment prevents sticking and promotes even browning.
- Wire cooling rack — allows cookies to cool properly to avoid soggy bottoms.
Learn from These Mistakes
- Overmixing the dough — folding too aggressively after adding flour and oats develops more gluten and yields denser cookies. Mix until just combined.
- Using old baking powder — losing potency means cookies won’t rise and will be flat. Test by dropping some in hot water; it should fizz.
- Not spacing cookies — these spread slightly. Crowded sheets lead to pan-merged cookies instead of pretty individual rounds.
- Skipping the short cool on the sheet — moving cookies too soon can cause them to fall apart; letting them rest five minutes lets them set.
- Baking too long — because of honey and molasses, these cookies brown quickly. Pull them when light brown and set; they’ll finish on the sheet.
Seasonal Adaptations
- Winter — add a pinch of ground cinnamon and ginger to the dry mix for warming notes that pair beautifully with molasses.
- Autumn — fold in 1/4 cup chopped toasted pecans or walnuts for texture and a toasty edge.
- Spring — swap raisins for chopped dried apricot or a handful of citrus zest for brightness.
- Summer — toss in a few white chocolate chips to contrast the deep molasses flavor (no quantity specified; use taste).
Little Things that Matter
- Room temperature egg — it mixes more evenly into the oil and honey mixture; it helps the dough come together smoothly.
- Level measuring — scoop and level dry ingredients to avoid a heavy dough.
- Spoon size consistency — use the same dinner spoon or a cookie scoop to ensure even baking across cookies.
- Sheet rotation — if your oven has hot spots, rotate the sheet halfway through baking for consistent color.
- Parchment over greasing — parchment yields predictable browning and easy cleanup.
Prep Ahead & Store
Make the dough and refrigerate it up to 24 hours before baking. Chilled dough firms up and spreads less, giving slightly thicker cookies. For longer storage, portion dough into the 12 spoonfuls, place on a tray, freeze until solid, then transfer to a freezer bag — you can bake from frozen, adding a minute or two to the bake time.
Once baked, store cookies in an airtight container at room temperature for up to 4 days. To extend life, refrigerate up to one week or freeze baked cookies for up to 2 months. Reheat briefly in a low oven or microwave for that just-baked warmth.
Troubleshooting Q&A
- Q: My cookies spread too much. What happened?
A: Likely causes are a very warm dough (if your kitchen is hot), too much liquid, or under-measured flour. Chill the dough briefly and ensure flour is measured accurately. - Q: They came out dry and crumbly. Why?
A: Overbaking is the most common culprit. Also check that honey and molasses were measured correctly — those keep cookies moist. Reduce bake time slightly and pull when edges are set but centers are still soft. - Q: The center doesn’t set even after cooling.
A: Your oven temperature might be low or the cookies were too large. Verify oven temp with an oven thermometer and keep spoonfuls consistent in size. - Q: Can I make these gluten-free?
A: You can experiment with a gluten-free flour blend that’s 1:1 for baking, but results will vary. The oats need to be certified gluten-free if required.
That’s a Wrap
These Molasses and Honey Oatmeal Cookies are reliable and unfussy. They reward a little attention to detail — accurate measuring, gentle mixing, and sensible bake time — with consistently good results. They’re perfect for lunchboxes, coffee breaks, or a small homemade gift. Keep the dough handy in the freezer and you’ll always have warm cookies within reach.
Happy baking. If you try them, note how the molasses and honey play off each other, and don’t be afraid to tweak mix-ins to suit your pantry and mood.
Molasses and Honey Oatmeal Cookies
Ingredients
Equipment
Method
- Preheat the oven to 350°F (175°C). Line one or two cookie sheets with parchment paper and set aside.
- In a large mixing bowl, whisk together the safflower oil, egg, pure vanilla extract, honey, and molasses until smooth and combined.
- In a separate bowl, whisk together the whole wheat pastry flour and baking powder.
- Gradually add the flour mixture to the wet ingredients while whisking, mixing until just combined.
- Stir in the quick-cook oats. If using, add the raisins and gently fold them into the batter until evenly distributed. Do not overmix.
- Using a regular dinner spoon, drop 12 equal portions of dough onto the prepared parchment-lined sheets, leaving space between each cookie for spreading (about 6 cookies per regular-sized cookie sheet/half sheet).
- Bake in the preheated oven for 10–14 minutes, or until the cookies are light brown and appear set.
- Remove the cookie sheets from the oven and allow the cookies to cool on the sheets for about 5 minutes, then transfer the cookies to a wire rack to cool completely.
Notes
Watch these carefully. Do not over bake. They burn easily.