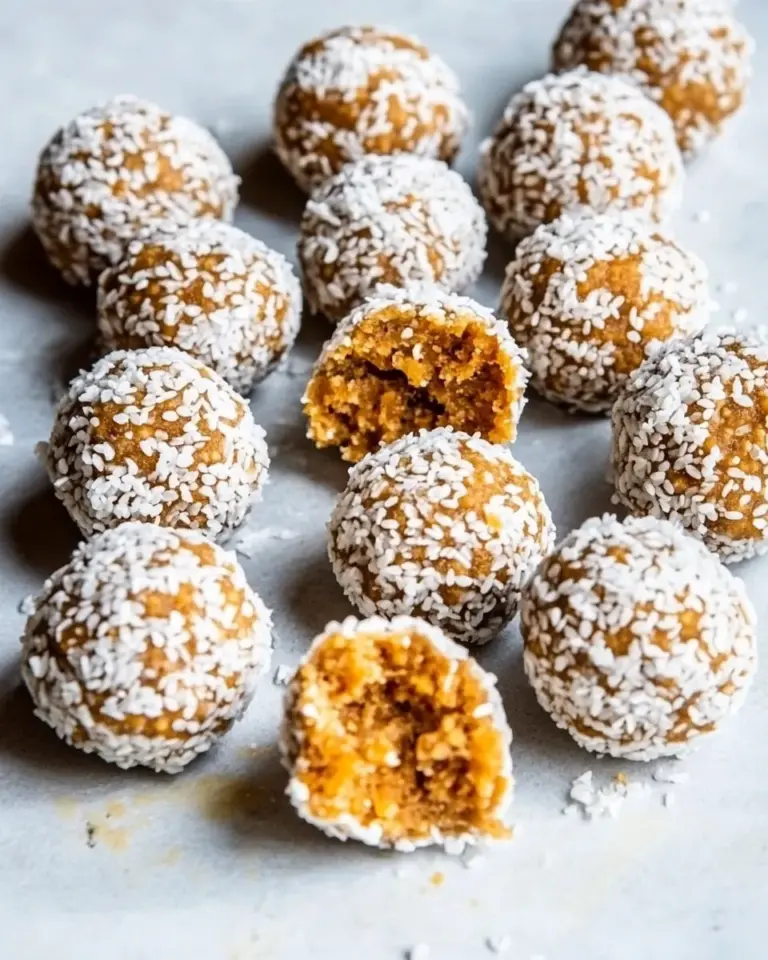
Monster Trail Mix Granola Bars (No-Bake)
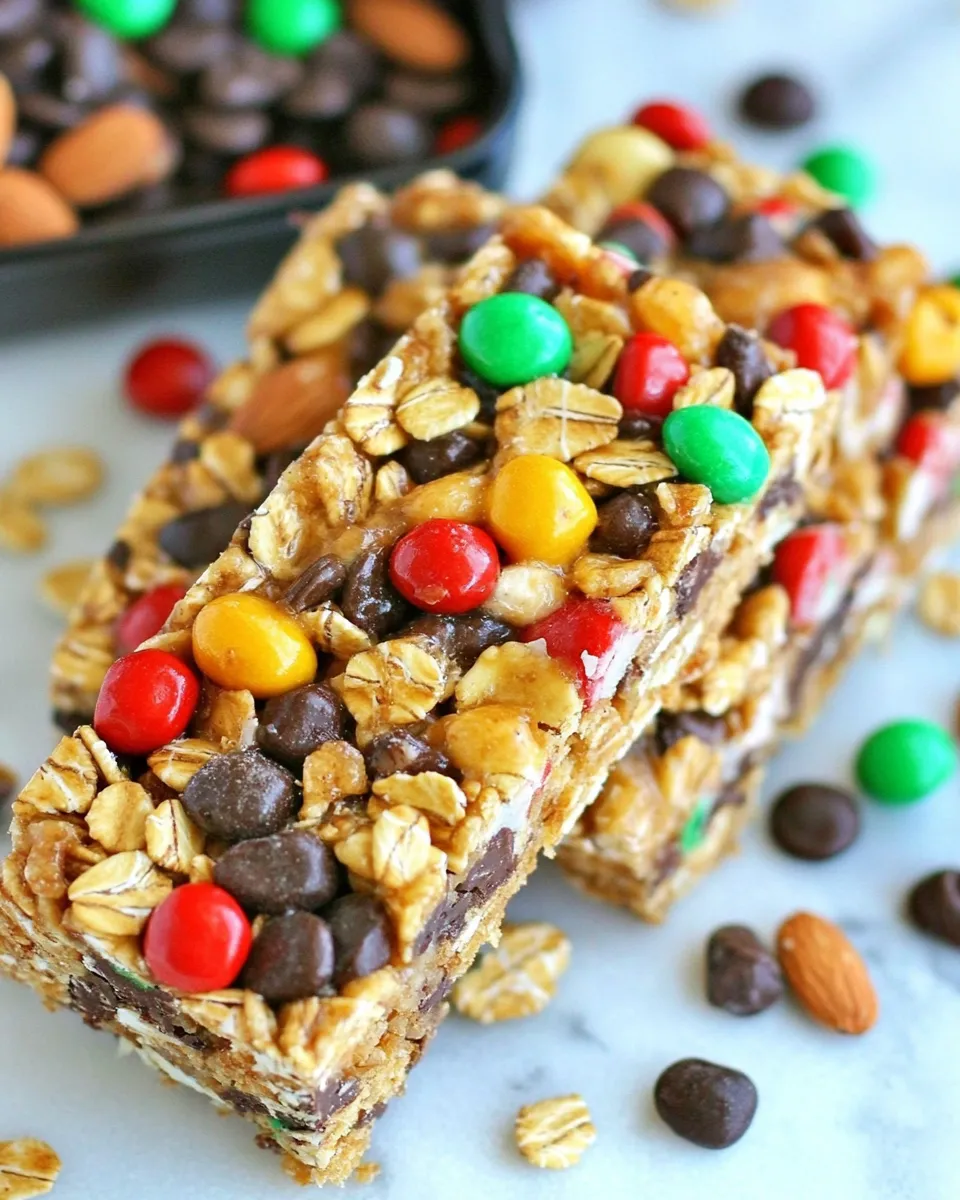
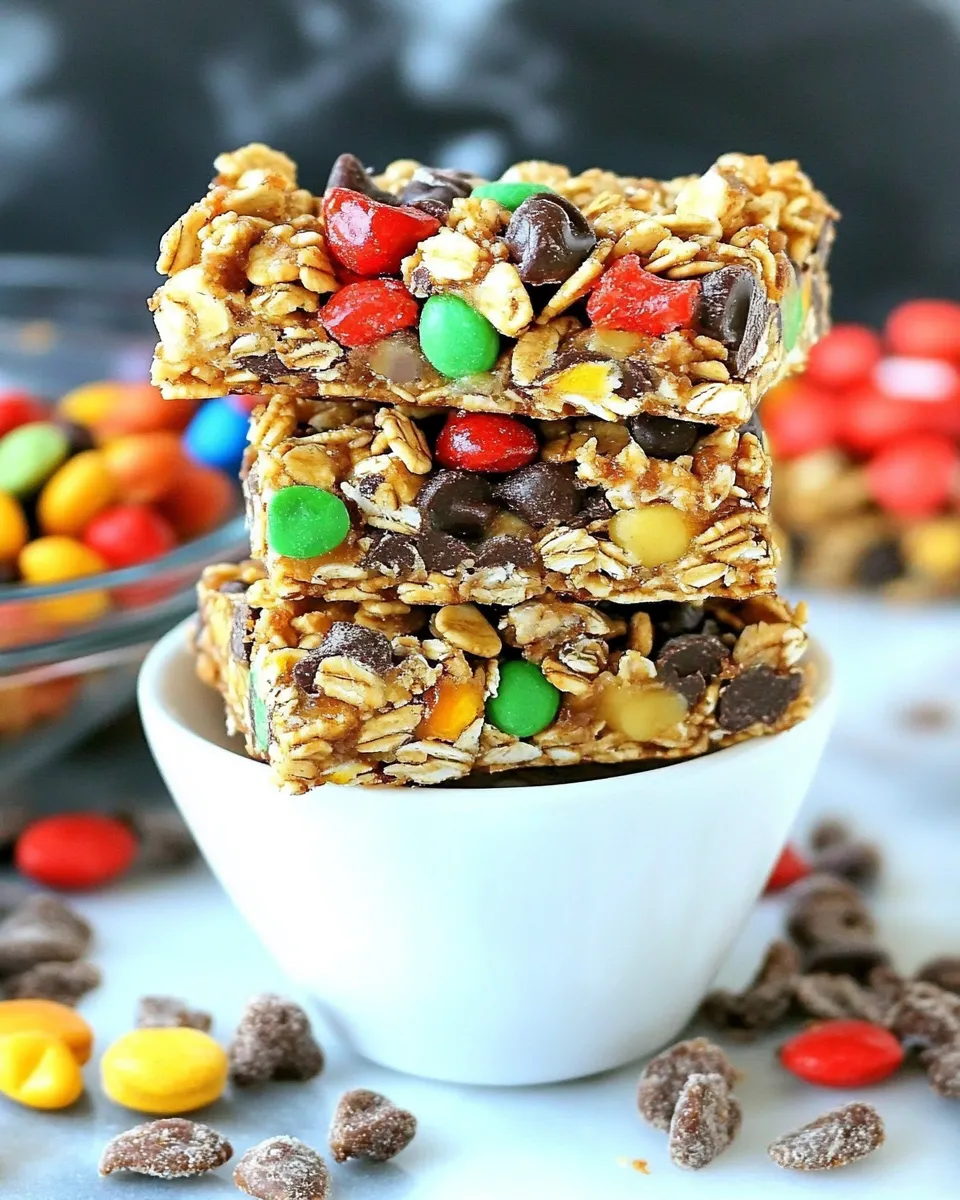
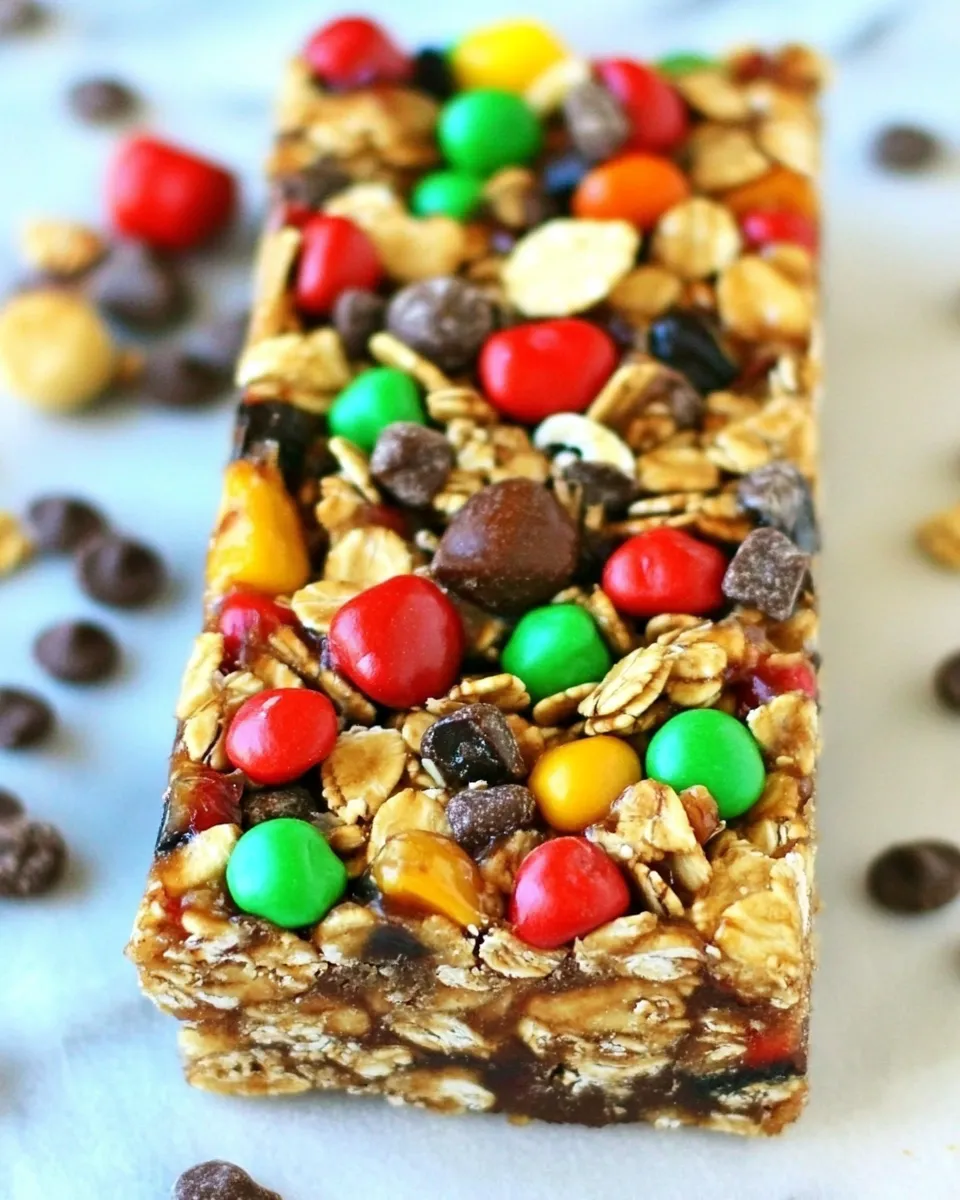
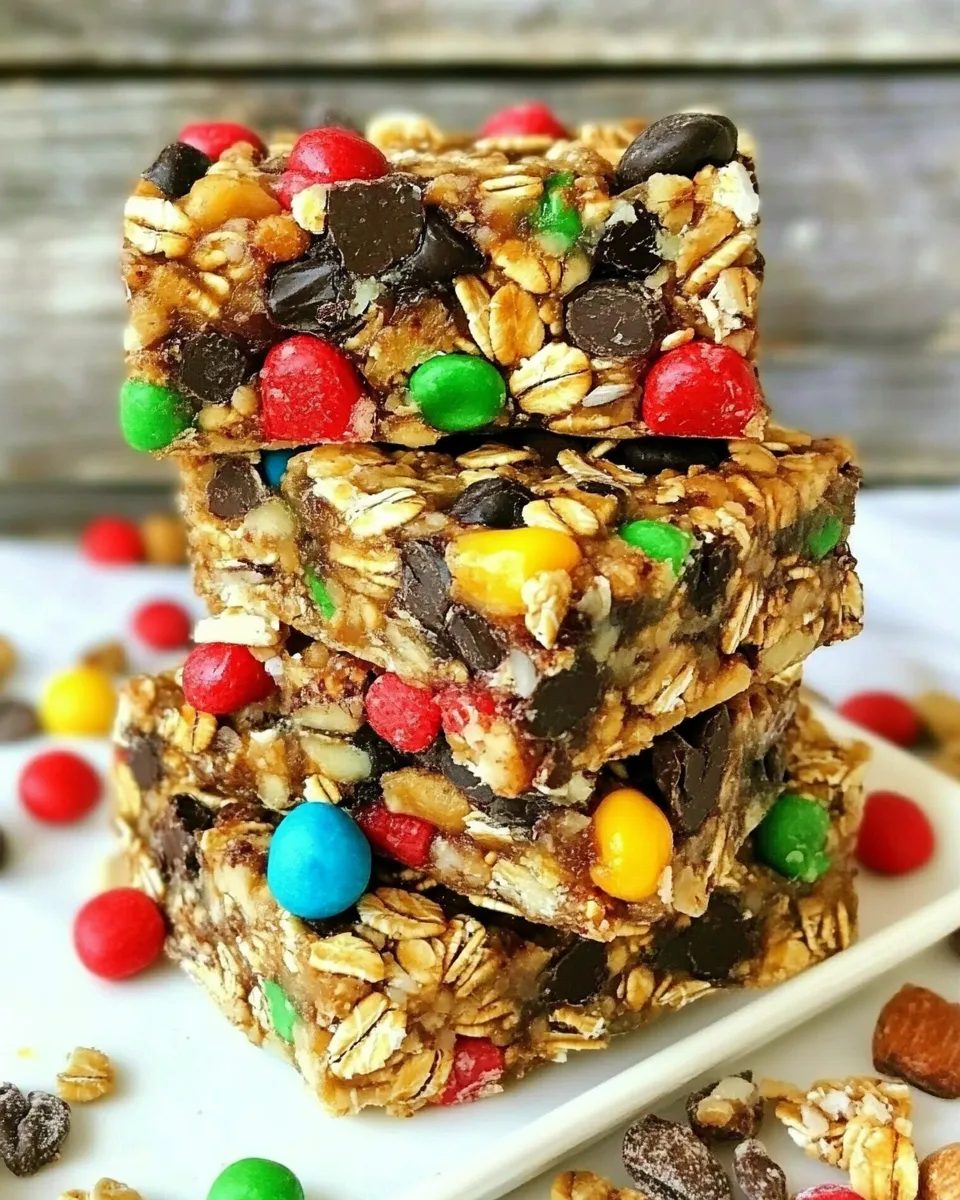
These no-bake Monster Trail Mix Granola Bars are exactly the kind of grab-and-go snack I keep in the fridge for busy mornings and last-minute hikes. They come together in a single saucepan and require no baking, which means less fuss and a very forgiving finish. The bars hold together well, get a satisfying crunch from the crispy rice cereal, and the trail mix gives them a fun, colorful crunch and chew.
I like these because they’re quick to assemble and flexible: you can pull out a handful of candy bits to press on top for a picture-perfect finish, fold the rest into the mixture, and press everything firmly into the pan. They set in the fridge and cut cleanly if you let them chill long enough. If you need an energy-packed snack that travels well, these are a reliable choice.
Gather These Ingredients
- 1/3 cup light brown sugar (packed) — sweetens and helps the mixture bind when dissolved into the syrup.
- 1/4 cup peanut butter, creamy — adds richness and chew; helps hold the bars together.
- 1/4 cup honey — sticky sweetener and binder; use as-is for flavor and tack.
- 4 tablespoons unsalted butter — adds fat and helps the syrup melt and coat the dry ingredients smoothly.
- 2 cups quick oats — the bulk of the bars; quick oats absorb the syrup faster for a no-bake bar.
- 1/2 cup crispy rice cereal — provides light crunch and keeps the bars from getting too dense.
- 1 cup Monster trail mix — the mix of nuts, seeds, and candies brings texture and flavor; you’ll reserve some candy for the top if you like.
- 1/4 cup semisweet chocolate chips — for a chocolatey finish on top; melts slightly into the surface when pressed in.
Stepwise Method: Monster Trail Mix Granola Bars (No-Bake)
- Line an 8×8-inch baking dish with parchment paper, leaving an overhang on two opposite sides for easy removal; set aside.
- In a medium saucepan over medium-low heat, combine 1/3 cup light brown sugar (packed), 1/4 cup creamy peanut butter, 1/4 cup honey, and 4 tablespoons unsalted butter.
- Stir the mixture frequently as it heats. Bring it just to a boil, then continue cooking and stirring constantly for 2–3 minutes, or until the sugar has dissolved and the mixture is smooth.
- Remove the saucepan from the heat. Stir in 2 cups quick oats and 1/2 cup crispy rice cereal until the dry ingredients are evenly coated.
- Let the coated oat mixture cool in the saucepan for 5 minutes so it is warm but not hot.
- If you want M&Ms or other candy from the trail mix on top, pick out a handful from the 1 cup Monster trail mix now and set those pieces aside (optional).
- Fold the remaining trail mix into the cooled oat mixture until evenly distributed.
- Transfer the mixture to the prepared baking dish. Use a spatula to spread it evenly, then press firmly into an even layer so the bars hold together.
- Sprinkle the reserved M&Ms (if any) and 1/4 cup semisweet chocolate chips over the top. Use the bottom of a bowl or cup to press them lightly into the surface so they stay in place.
- Refrigerate the dish for 1–2 hours, or until the bars are firm and set.
- Use the parchment overhang to lift the set mixture from the dish, place on a cutting board, cut into bars, and serve.
Why This Recipe Is Reliable
There are three reasons I reach for this recipe when I need dependable bars: predictable binding, minimal temperature sensitivity, and forgiving texture. The combination of brown sugar, honey, butter, and peanut butter forms a syrup that dissolves the sugar and coats the oats thoroughly. That syrup is sticky and sets reliably in the fridge, so you don’t need an oven to get a solid bar.
Quick oats are less absorbent than old-fashioned oats in this context, which is actually helpful here; they soften just enough without turning gummy. The crispy rice cereal keeps the texture airy and prevents the bars from compacting into a brick. Finally, working in stages — heating, cooling a few minutes, folding in trail mix, pressing firmly — gives you control over the final texture.
Dairy-Free/Gluten-Free Swaps
- For dairy-free: swap the unsalted butter for an equal amount of a plant-based stick margarine or coconut oil (use firm coconut oil, measured solid for best texture).
- For nut-free: replace the 1/4 cup peanut butter with 1/4 cup sunflower seed butter or another seed-based spread to keep the binding fat and flavor.
- For gluten-free: ensure your quick oats are certified gluten-free and use a gluten-free crispy rice cereal (many puffed rice options are gluten-free labeled).
- To make them vegan: replace the butter with a plant-based alternative and swap the honey for 1/4 cup maple syrup or agave (note: this slightly changes the flavor and set).
Must-Have Equipment
- 8×8-inch baking dish — gives shallow, even bars that set uniformly.
- Parchment paper — makes removal and clean cuts so much easier; leave an overhang.
- Medium saucepan — even heat distribution so the sugar melts without scorching.
- Spatula — for folding and pressing the mixture into the pan firmly.
- Measuring cups and spoons — accurate liquid and dry measurements matter for the set and texture.
- Cutting board and sharp knife — chill fully, then cut with a sharp knife for cleaner edges.
Mistakes That Ruin Monster Trail Mix Granola Bars (No-Bake)
- Heating the syrup too hot or too long — boiling aggressively will overcook the sugars, which can cause a brittle texture or a burnt flavor. Bring just to a boil, then 2–3 minutes while stirring as directed.
- Not stirring frequently — sugar tends to stick and scorch on the bottom. Stir often so the mixture stays smooth.
- Adding the trail mix while the syrup is piping hot — candy pieces can melt and nuts can get greasy. Let the coated oat mixture cool for 5 minutes so it’s warm but not hot before folding in the mix.
- Not pressing firmly into the pan — if you don’t compact the mixture well, the bars will fall apart. Use firm, even pressure with the bottom of a measuring cup or spatula.
- Cutting too soon — if they haven’t chilled for the full 1–2 hours, bars will crumble. Let them set until firm.
Fresh Seasonal Changes
- Autumn: swap part of the trail mix for dried apple pieces and add a pinch of cinnamon to the syrup for warm spice.
- Winter: fold in chopped toasted pecans and a sprinkle of flaky sea salt on top for contrast after pressing the chips in.
- Spring: lighten up with toasted coconut flakes folded in with the trail mix; press in pastel candy pieces for a festive look.
- Summer: add dried berries (strawberries, cranberries) from the trail mix for bright, tangy bites and press extra chocolate chips on top for a melty surface before chilling.
Method to the Madness
There’s a clear reason for each step. Lining the pan with parchment and leaving an overhang makes extraction effortless — don’t skip it. Heating the sugar, butter, honey, and peanut butter together until the sugar dissolves creates a homogeneous syrup that coats the oats and cereals uniformly. If the sugar isn’t fully dissolved, pockets can recrystallize and make the bars gritty.
Cooling the coated oats for 5 minutes is subtle but important: warm (not hot) allows the candy in the trail mix to survive and prevents nuts from being roasted further by residual heat. Finally, pressing firmly compresses air pockets and creates enough contact between sticky syrup and dry ingredients so the bars hold their shape when cut.
Cooling, Storing & Rewarming
Chill the pressed pan in the refrigerator for 1–2 hours, until firm. If you’re in a hurry, 45–60 minutes in a shallow, cold-finished pan can work, but aim for the full time for clean slices. Use the parchment overhang to lift the block out and set it on a cutting board; a sharp knife warmed briefly under hot water and wiped dry gives smooth cuts.
Store bars in an airtight container in the refrigerator for up to 7 days. For longer storage, freeze individually wrapped bars for up to 3 months; thaw at room temperature for 20–30 minutes before serving. These bars are best chilled; they soften at room temperature because of the honey and peanut butter, so refrigeration helps them stay firm and portable.
Ask & Learn
- Q: Can I use old-fashioned oats instead of quick oats? — A: You can, but the texture will be chewier and the bars may need a little more pressing to bind. Quick oats absorb and warm more uniformly for a no-bake bar.
- Q: My bars fell apart — what went wrong? — A: Most likely they weren’t pressed firmly enough or they weren’t chilled long enough. Make sure to press hard and chill until set.
- Q: Can I omit the chocolate chips? — A: Yes. They’re mainly for topping. If you omit them, press extra trail mix pieces on top to create a finished look.
- Q: How do I make them less sweet? — A: Use a trail mix with fewer candies or choose a semisweet chocolate chip with higher cocoa content. Reducing the brown sugar slightly can change the set, so adjust sparingly.
- Q: Can I double the recipe? — A: Yes. Use a larger pan (9×13) and increase chilling time; pressing uniformly across a larger surface is the main challenge.
The Last Word
Monster Trail Mix Granola Bars (No-Bake) are a practical, easy pantry-style snack that balances convenience with texture and flavor. They require minimal hands-on time, no oven, and a short chilling period to become travel-ready. Follow the recipe steps, press firmly, and chill well — those are the small habits that deliver consistently good bars.
Keep a batch in the fridge for busy mornings, pack them in kids’ lunches, or take them on a trail. They’re adaptable, forgiving, and quick to make whenever you need a reliable, energizing snack.
Monster Trail Mix Granola Bars (No-Bake)
Ingredients
Equipment
Method
- Line an 8x8-inch baking dish with parchment paper, leaving an overhang on two opposite sides for easy removal; set aside.
- In a medium saucepan over medium-low heat, combine 1/3 cup light brown sugar (packed), 1/4 cup creamy peanut butter, 1/4 cup honey, and 4 tablespoons unsalted butter.
- Stir the mixture frequently as it heats. Bring it just to a boil, then continue cooking and stirring constantly for 2–3 minutes, or until the sugar has dissolved and the mixture is smooth.
- Remove the saucepan from the heat. Stir in 2 cups quick oats and 1/2 cup crispy rice cereal until the dry ingredients are evenly coated.
- Let the coated oat mixture cool in the saucepan for 5 minutes so it is warm but not hot.
- If you want M&Ms or other candy from the trail mix on top, pick out a handful from the 1 cup Monster trail mix now and set those pieces aside (optional).
- Fold the remaining trail mix into the cooled oat mixture until evenly distributed.
- Transfer the mixture to the prepared baking dish. Use a spatula to spread it evenly, then press firmly into an even layer so the bars hold together.
- Sprinkle the reserved M&Ms (if any) and 1/4 cup semisweet chocolate chips over the top. Use the bottom of a bowl or cup to press them lightly into the surface so they stay in place.
- Refrigerate the dish for 1–2 hours, or until the bars are firm and set.
- Use the parchment overhang to lift the set mixture from the dish, place on a cutting board, cut into bars, and serve.
Notes
Recipe adapted from
Rachael Ray