No-Bake Chocolate Pudding Pie
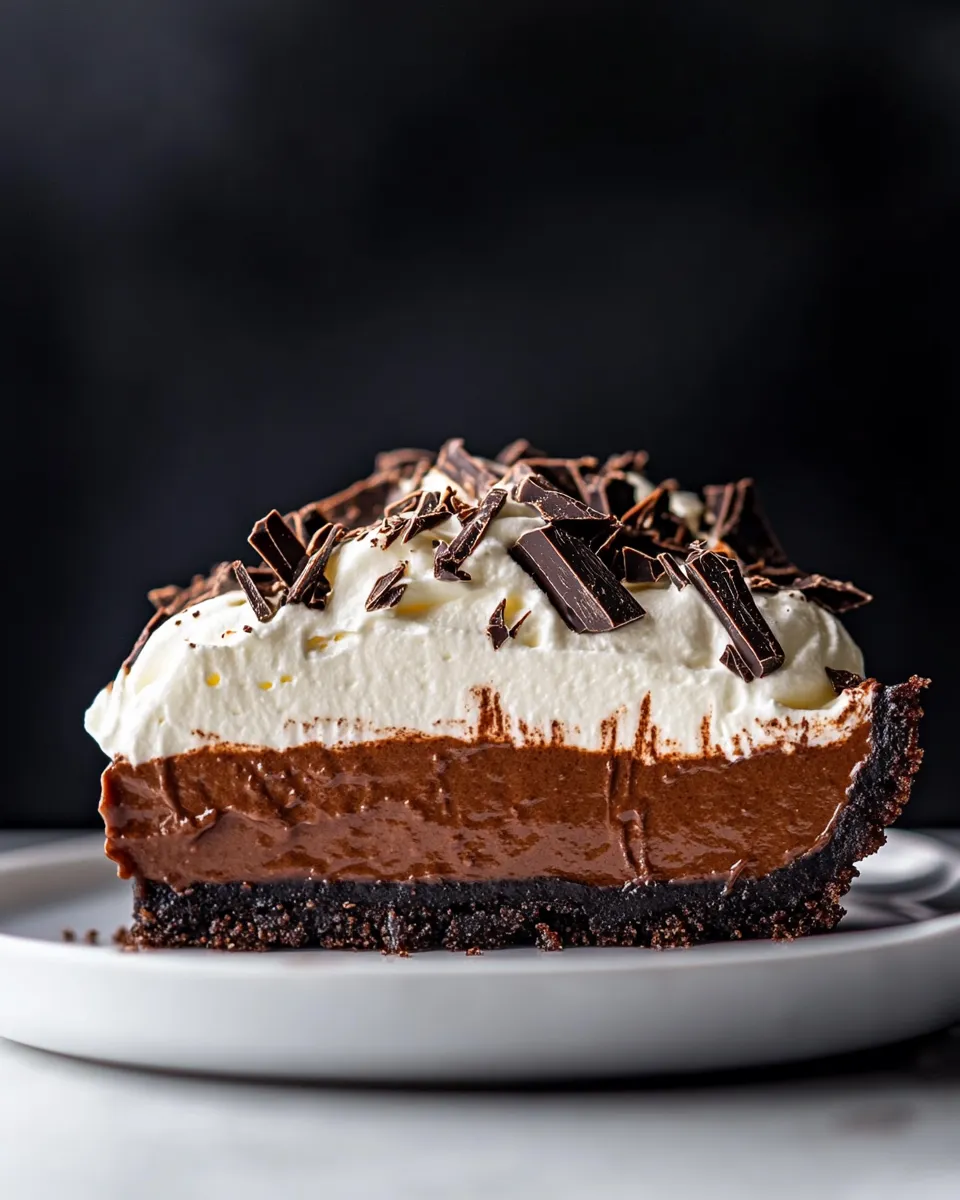
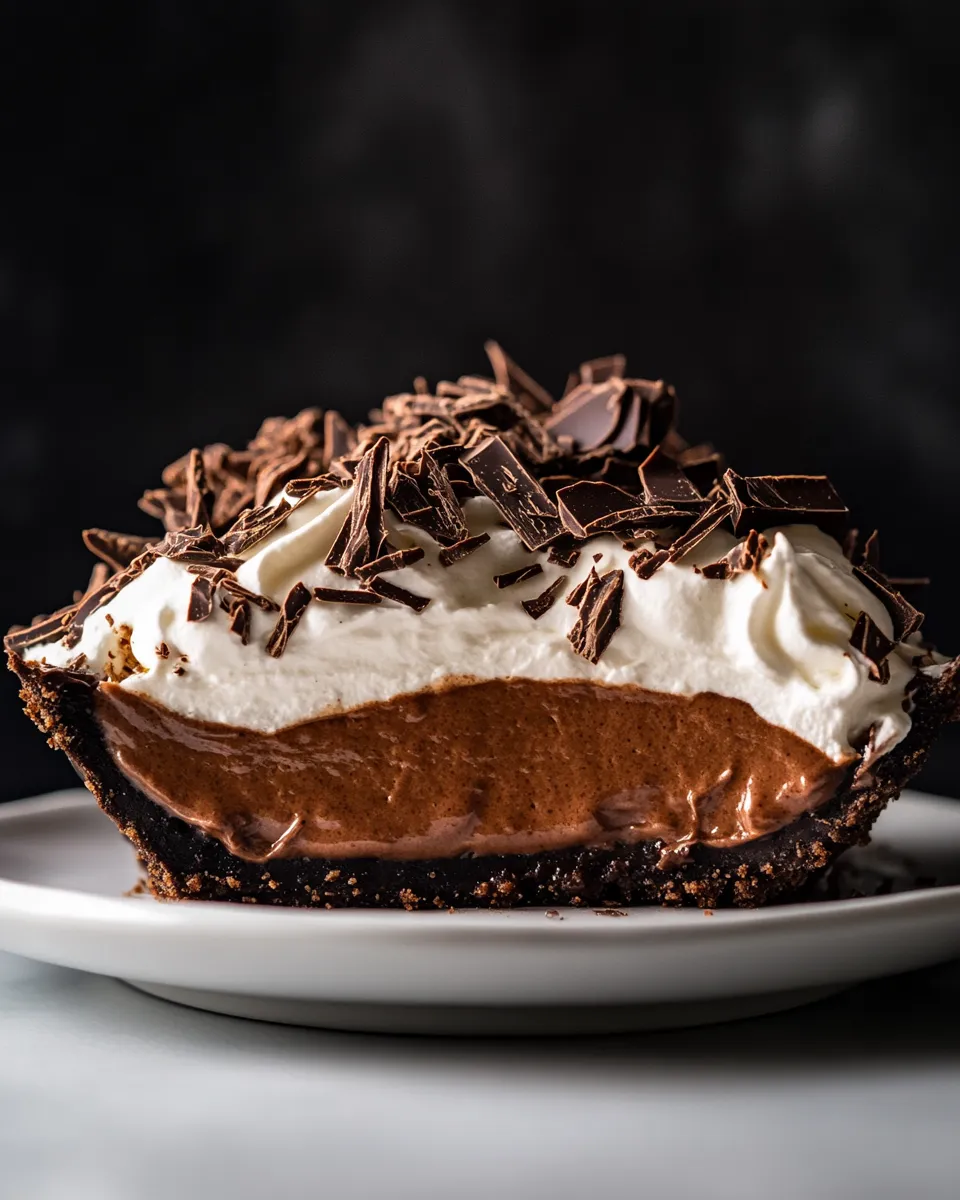
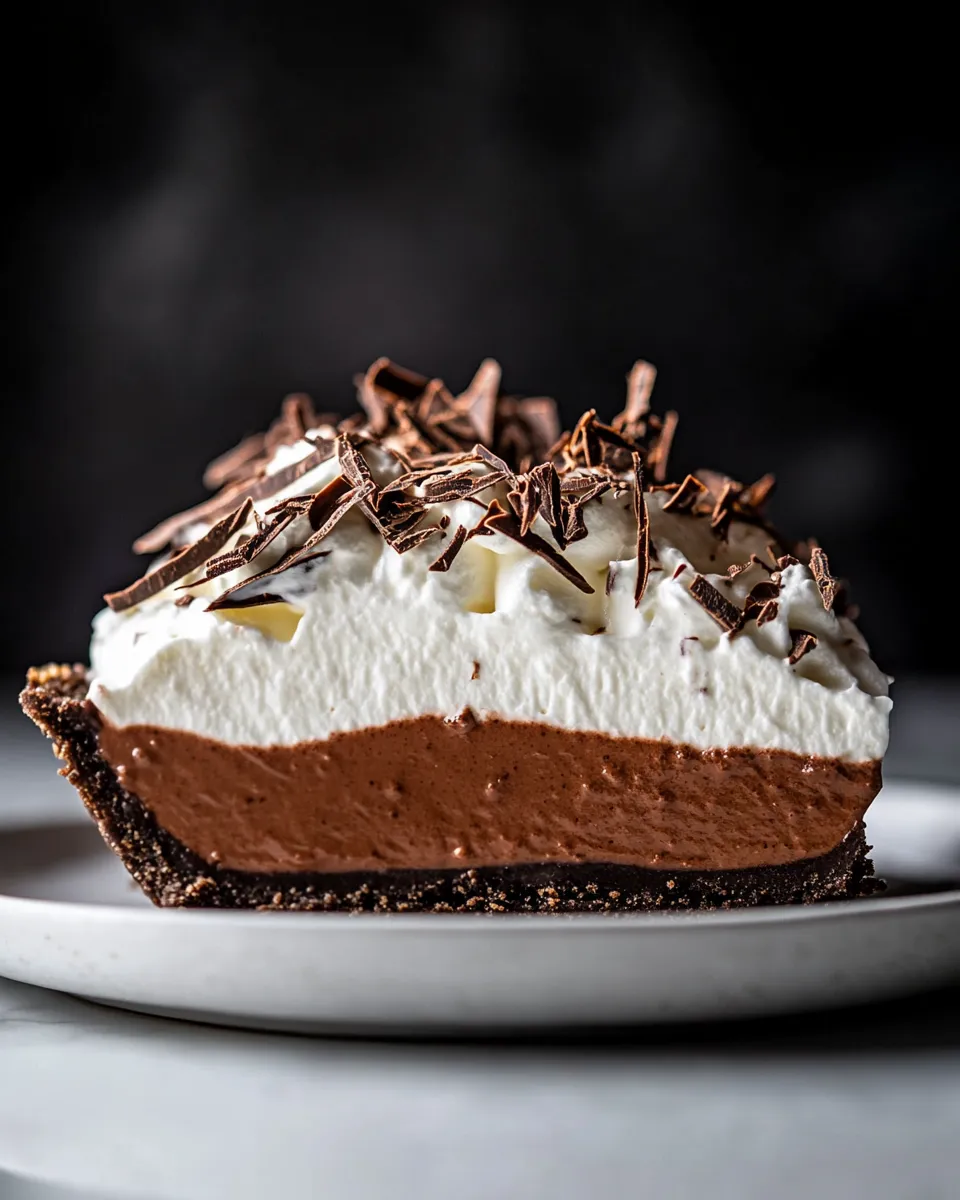
There are desserts that show off and desserts that do the quiet, steady job of pleasing a crowd. This No-Bake Chocolate Pudding Pie is the latter: approachable, fast to assemble, and reliably rich without fuss. It uses a crushed Oreo crust for instant nostalgia, a deep chocolate pudding for the center, and a cloud of whipped cream with chocolate curls on top. It looks special but doesn’t ask for complicated techniques.
I make this pie when I want a dessert that travels well, stays stable in warm weather (if you keep it chilled), and feeds a table with a variety of tastes. The texture contrast—crisp cookie crust, dense silky pudding, airy whipped cream—earns it compliments every time. You can follow the steps exactly and get a flawless pie, or use a few simple swaps to fit dietary needs or what’s in your pantry.
This post lays out the ingredients, the exact how-to from start to finish, troubleshooting tips, gear, and the small tricks that lift the pie from good to great. No fluff. Just a clear path to a dessert people will ask you to make again.
What Goes Into No-Bake Chocolate Pudding Pie
This section explains the components and roles of the ingredients. Read it once before you begin so you understand why each part matters: the crust binds, the pudding sets with cornstarch, the espresso powder deepens the chocolate, and the whipped cream keeps the finish light.
Ingredients
- 38 regular full-size Oreo cookies, crushed into fine crumbs (do not remove the filling) — The filling helps the crumbs stick; this is your crust base.
- 8 Tablespoons (113 grams) unsalted butter, melted — Binds and firms the crust when chilled.
- 1 teaspoon DeLallo instant espresso powder — Adds depth to the crust’s chocolate notes.
- 1/3 cup (39 grams) cornstarch — The thickener that lets the pudding set without baking.
- 2 Tablespoons (8 grams) Dutch-process cocoa powder — Boosts chocolate flavor in the pudding base.
- 1/4 teaspoon salt — Balances sweetness and brightens the chocolate.
- 1 and 1/2 teaspoons DeLallo instant espresso powder — Strengthens the chocolate flavor in the pudding.
- 1/2 cup (113 grams) heavy cream — Whisked into the cornstarch mix to smooth and enrich it.
- 2 and 1/2 cups (567 grams) milk — The main liquid for the pudding; use whole or your preferred milk.
- 1 cup (198 grams) granulated sugar — Sweetens the pudding.
- 10 ounces semi-sweet chocolate, roughly chopped — The primary chocolate for the pudding; chopping helps it melt evenly.
- 2 Tablespoons unsalted butter, cold, cut into tiny pieces — Stirred in at the end for sheen and richness.
- 1 teaspoon vanilla extract — Rounds and lifts the chocolate.
- 2 cups (340 grams) heavy cream, cold — For whipping into the finishing cream layer.
- 1/3 cup (40 grams) confectioners’ sugar, sifted — Sweetens and stabilizes the whipped cream.
- 4 ounces semi-sweet chocolate — Melted and spread to make chocolate curls.
- 2 Tablespoons unsalted butter — Added to melted chocolate for pliability when making curls.
Mastering No-Bake Chocolate Pudding Pie: How-To
- Place 38 crushed full-size Oreo cookies (with filling) into a large bowl. Add 8 tablespoons (113 g) melted unsalted butter and 1 teaspoon DeLallo instant espresso powder. Mix until the crumbs are evenly moistened.
- Press the crumb mixture firmly and evenly into the bottom and up the sides of a 9-inch deep-dish pie plate to form a crust. Smooth the top and edges.
- Put the crust in the freezer for 30 minutes to set while you make the pudding.
- In a medium bowl whisk together 1/3 cup (39 g) cornstarch, 2 tablespoons (8 g) Dutch-process cocoa powder, 1/4 teaspoon salt, and 1 1/2 teaspoons DeLallo instant espresso powder. Whisk in 1/2 cup (113 g) heavy cream until the mixture is smooth. Set aside.
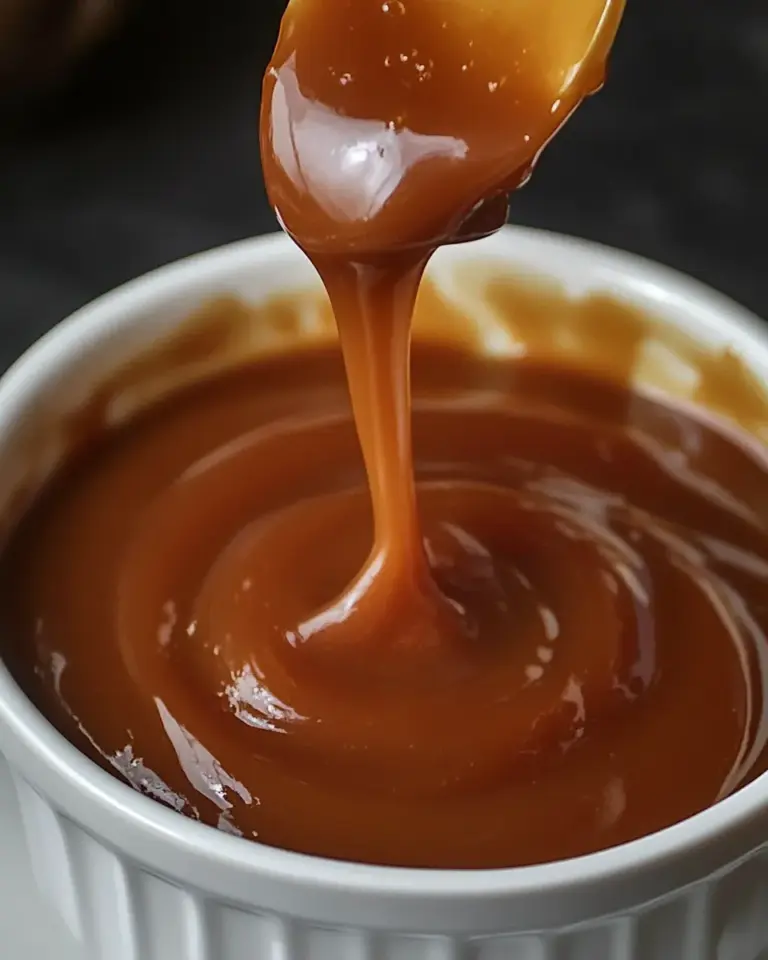
- In a medium saucepan combine 2 1/2 cups (567 g) milk, 1 cup (198 g) granulated sugar, and 10 ounces semi-sweet chocolate (roughly chopped). Place over medium heat and stir constantly until the chocolate is completely melted and the mixture is hot but not boiling.
- Remove the pan from the heat. Pour 1 cup of the hot chocolate mixture into the cornstarch-cocoa mixture and whisk until smooth and lump-free.
- Return the tempered cocoa mixture to the saucepan with the remaining hot chocolate mixture and place the pan back over medium-high heat. Whisk constantly until the mixture begins to bubble, then continue whisking and cooking for 4 to 5 minutes, until the pudding is very thick and can coat the back of a spoon.
- Remove the pan from the heat and immediately whisk in 2 tablespoons unsalted butter (cold, cut into tiny pieces) and 1 teaspoon vanilla extract until the butter is fully incorporated.
- Let the pudding cool at room temperature until it is cool to the touch. Scrape the cooled pudding into the chilled Oreo crust, smoothing the top with a spatula.
- Cover the surface of the pudding directly with plastic wrap (press the wrap onto the pudding so a skin doesn’t form). Refrigerate the pie for at least 6 hours and up to 24 hours.
- About 30 minutes before serving, make the chocolate curls: place 4 ounces semi-sweet chocolate and 2 tablespoons unsalted butter in a microwave-safe bowl. Heat on low power in 30-second increments, stirring between each increment, until fully melted and smooth.
- Pour the melted chocolate-butter mixture onto a flat 9×13-inch baking sheet and use an offset spatula to spread it as thinly and evenly as possible. Freeze the sheet for 5 minutes, then use a cheese shaver or metal scraper to shave the chocolate into curls. If the chocolate sticks to the scraper, return the sheet to the freezer a few more minutes. Keep the finished curls chilled in the refrigerator until ready to use.
- In a large bowl (or the bowl of a stand mixer fitted with the whisk), beat 2 cups (340 g) cold heavy cream on medium-low and slowly add 1/3 cup (40 g) sifted confectioners’ sugar. Increase to medium-high and whip until medium-stiff peaks form.
- Right before serving, dollop or spread the whipped cream over the chilled pie, top with the chocolate curls, and serve immediately.
Why This Recipe is a Keeper
This pie balances ease and polish. The crust is a no-bake shortcut with full flavor. The pudding is cooked on the stovetop, so you get the richness of cooked custard without baking time or water baths. It’s stable in the fridge and keeps its texture when properly chilled, so it’s a great choice for potlucks, holiday tables, or a simple Sunday dessert.
It’s forgiving. The cornstarch-based pudding thickens reliably, and the espresso powder is subtle—just enough to make the chocolate sing without tasting like coffee. And because most of the work is hands-off chilling, you can prep in stages and not be chained to the kitchen.
Easy Ingredient Swaps
Swaps help the pie match your pantry or dietary needs, but don’t change core ratios in the pudding or crust if you want the same texture.
- Cookies: Use chocolate sandwich cookies other than Oreos if those are unavailable; keep the count similar for crust volume.
- Milk: You can use 2% or a milk alternative that behaves similarly when heated. Avoid very thin plant milks unless you’re okay with a slightly softer set.
- Chocolate: If you prefer dark chocolate, use a higher-cocoa semi-sweet but maintain the 10 ounces for the pudding for balance.
- Whipped cream: If you need a non-dairy topping, use coconut cream whipped cold, but flavor will vary.
What’s in the Gear List
Minimal, but helpful to have. These tools make assembly straightforward and the result tidy.
- 9-inch deep-dish pie plate — the recipe is sized for this vessel.
- Large mixing bowls and a medium saucepan — for the pudding and crust mix.
- Whisk and spatula — whisk for the pudding; spatula to smooth the filling.
- Offset spatula or bench scraper — useful for crust pressing and spreading chocolate for curls.
- 9×13-inch baking sheet — to spread melted chocolate for curls.
- Stand mixer with whisk or electric hand mixer — speeds whipped cream to medium-stiff peaks.
- Cheese shaver or metal scraper — to make chocolate curls cleanly.
Learn from These Mistakes
These are the most common missteps and how to avoid them.
- Not cooling the pudding enough before filling: Hot pudding will melt the crust and can create a soggy bottom. Cool until just cool to the touch.
- Skipping the plastic wrap step: If you don’t press plastic onto the surface, a skin forms and the top won’t be silky under the whipped cream.
- Rushing the curls: Chocolate that’s too warm will smear, and chocolate that’s too cold will shatter. Freeze briefly, then shave. A few tries may be needed to hit the sweet spot.
- Overwhipping cream: Stop at medium-stiff peaks. Overwhipping gives a grainy texture and loses volume.
Warm & Cool Weather Spins
The pie is naturally suited to warm weather because it’s no-bake, but it must stay chilled. For outdoor events, keep the pie in a cooler or serve after the main course to limit time at room temperature.
In cooler months, you can serve slightly warmer slices by letting the pie sit 10–15 minutes at room temperature—this softens the pudding slightly for a spoon-friendly slice. Just don’t leave it out longer than that to avoid a soft crust.
Insider Tips
Texture and flavor notes
Add the espresso powder exactly as written. It doesn’t make the pie taste like coffee; it amplifies chocolate. Press the crust firmly—this helps it hold its shape when you slice. When tempering the cornstarch mixture, pour hot chocolate in slowly to avoid lumps, and whisk vigorously at each step.
Presentation
Spread the whipped cream either in a smooth layer for a classic look or pipe it with a large star tip for a fancier finish. Scatter curls rather than cover them, so you see the glossy dark streaks against the cream.
Make Ahead Like a Pro
Make the crust and pudding up to 24 hours ahead. Assemble the pie, press plastic onto the surface, and refrigerate. Make the chocolate curls and keep them chilled in the fridge in an airtight container. Whip the cream just before serving for best texture, or whip it a few hours ahead and keep chilled in an airtight container for up to 4 hours.
When traveling, transport the pie chilled in a box with ice packs and top with whipped cream and curls on site if possible. If you must top beforehand, keep the pie very cold and set up a shaded area to serve.
Top Questions & Answers
Can I use a store-bought chocolate cookie crust? Yes. If you prefer the convenience, swap one-for-one, but the Oreo crust gives the distinctive flavor here.
Will the pudding set if I use less cornstarch? It may be softer. Stick to the measured 1/3 cup (39 g) for reliable set.
Can I freeze the pie? Freezing will change textures, especially the whipped cream. You can freeze the pie un-topped for up to one month; thaw overnight in the refrigerator and top just before serving.
Why temper the cornstarch mixture? Tempering prevents lumps and ensures a smooth, glossy pudding.
Next Steps
Gather your ingredients and set up stations: crust, pudding, and garnish. Follow the steps exactly for the best result, and give yourself the advantage of a freezer and refrigerator for timing. Make this the day before a gathering if you want to relax on serving day—finish it with freshly whipped cream and curls right before you bring it out.
If you try this pie, take note of any tiny changes you make—different chocolate percentages or cookie brands—and how they affect flavor. Small tweaks lead to a signature version you’ll reach for again. And when guests ask for the recipe, you’ll have a simple, dependable dish to share.
No-Bake Chocolate Pudding Pie
Ingredients
Equipment
Method
- Place 38 crushed full-size Oreo cookies (with filling) into a large bowl. Add 8 tablespoons (113 g) melted unsalted butter and 1 teaspoon DeLallo instant espresso powder. Mix until the crumbs are evenly moistened.
- Press the crumb mixture firmly and evenly into the bottom and up the sides of a 9-inch deep-dish pie plate to form a crust. Smooth the top and edges.
- Put the crust in the freezer for 30 minutes to set while you make the pudding.
- In a medium bowl whisk together 1/3 cup (39 g) cornstarch, 2 tablespoons (8 g) Dutch-process cocoa powder, 1/4 teaspoon salt, and 1 1/2 teaspoons DeLallo instant espresso powder. Whisk in 1/2 cup (113 g) heavy cream until the mixture is smooth. Set aside.
- In a medium saucepan combine 2 1/2 cups (567 g) milk, 1 cup (198 g) granulated sugar, and 10 ounces semi-sweet chocolate (roughly chopped). Place over medium heat and stir constantly until the chocolate is completely melted and the mixture is hot but not boiling.
- Remove the pan from the heat. Pour 1 cup of the hot chocolate mixture into the cornstarch-cocoa mixture and whisk until smooth and lump-free.
- Return the tempered cocoa mixture to the saucepan with the remaining hot chocolate mixture and place the pan back over medium-high heat. Whisk constantly until the mixture begins to bubble, then continue whisking and cooking for 4 to 5 minutes, until the pudding is very thick and can coat the back of a spoon.
- Remove the pan from the heat and immediately whisk in 2 tablespoons unsalted butter (cold, cut into tiny pieces) and 1 teaspoon vanilla extract until the butter is fully incorporated.
- Let the pudding cool at room temperature until it is cool to the touch. Scrape the cooled pudding into the chilled Oreo crust, smoothing the top with a spatula.
- Cover the surface of the pudding directly with plastic wrap (press the wrap onto the pudding so a skin doesn’t form). Refrigerate the pie for at least 6 hours and up to 24 hours.
- About 30 minutes before serving, make the chocolate curls: place 4 ounces semi-sweet chocolate and 2 tablespoons unsalted butter in a microwave-safe bowl. Heat on low power in 30-second increments, stirring between each increment, until fully melted and smooth.
- Pour the melted chocolate-butter mixture onto a flat 9×13-inch baking sheet and use an offset spatula to spread it as thinly and evenly as possible. Freeze the sheet for 5 minutes, then use a cheese shaver or metal scraper to shave the chocolate into curls. If the chocolate sticks to the scraper, return the sheet to the freezer a few more minutes. Keep the finished curls chilled in the refrigerator until ready to use.
- In a large bowl (or the bowl of a stand mixer fitted with the whisk), beat 2 cups (340 g) cold heavy cream on medium-low and slowly add 1/3 cup (40 g) sifted confectioners' sugar. Increase to medium-high and whip until medium-stiff peaks form.
- Right before serving, dollop or spread the whipped cream over the chilled pie, top with the chocolate curls, and serve immediately.