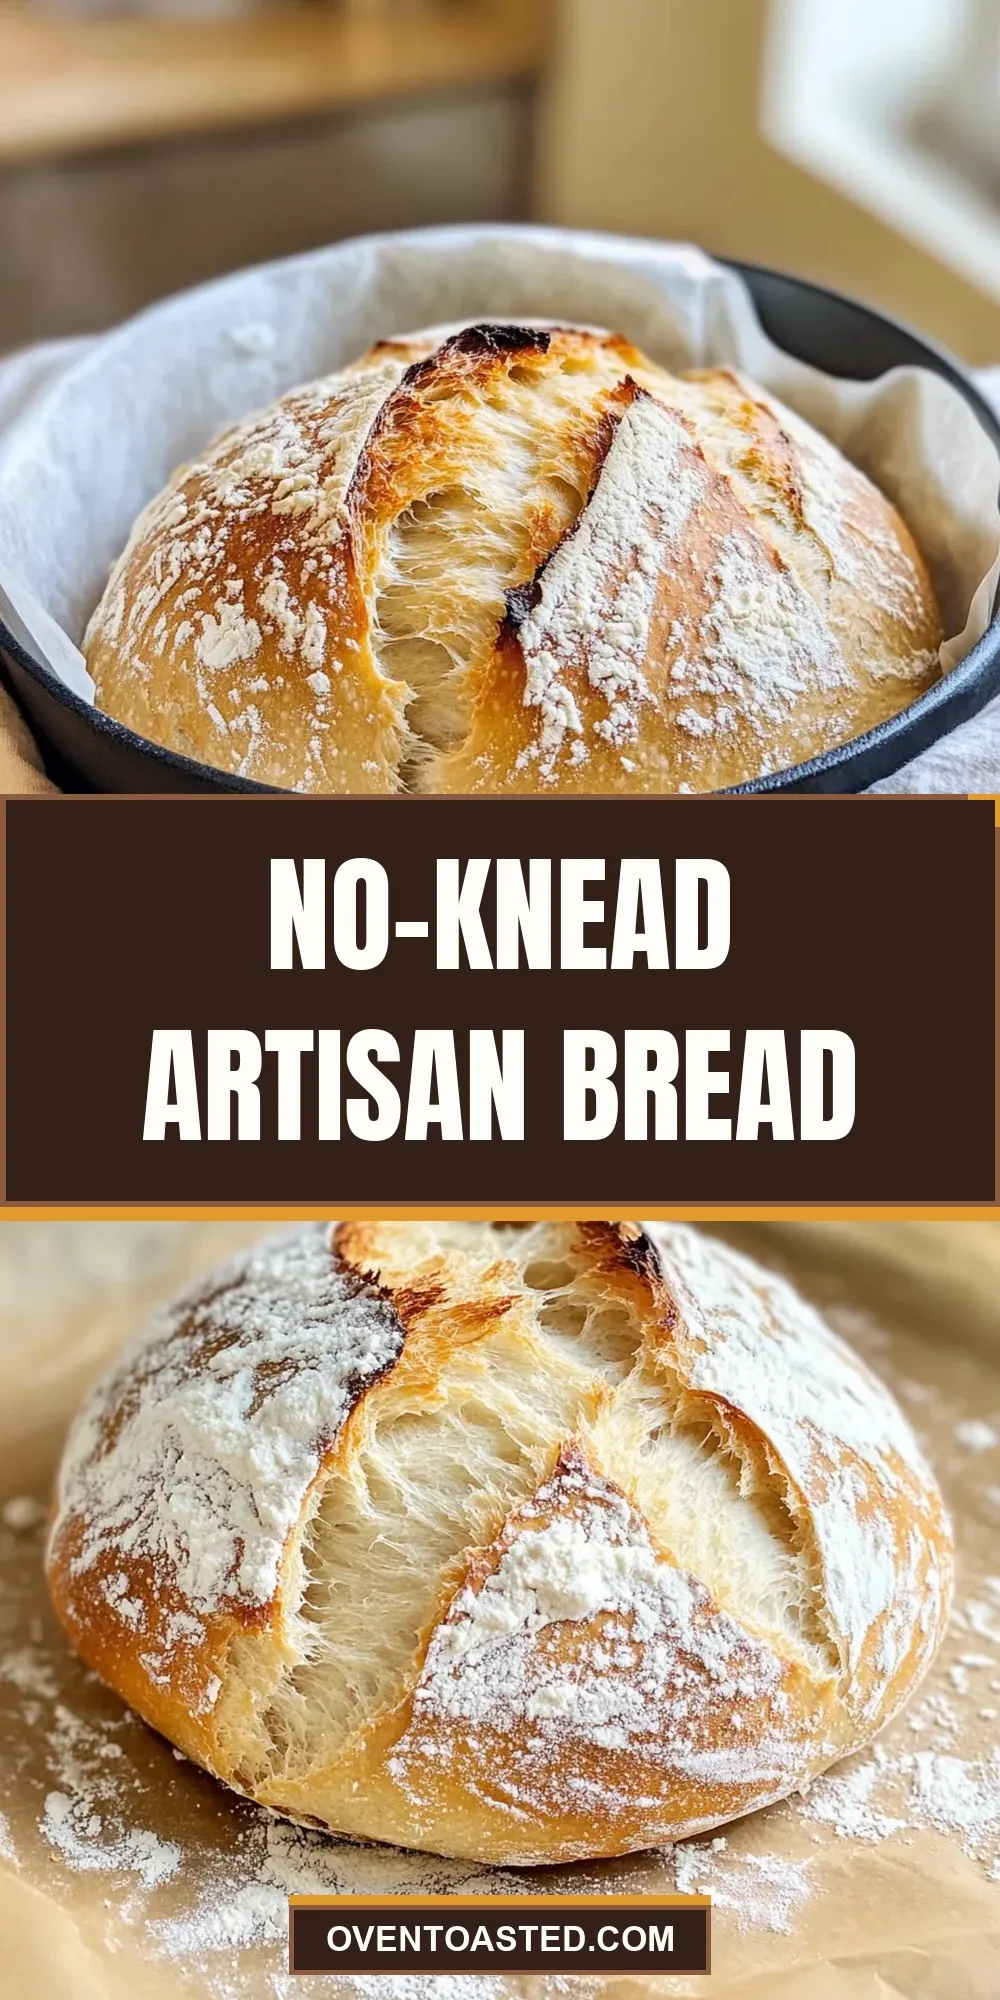
No-Knead Artisan Bread
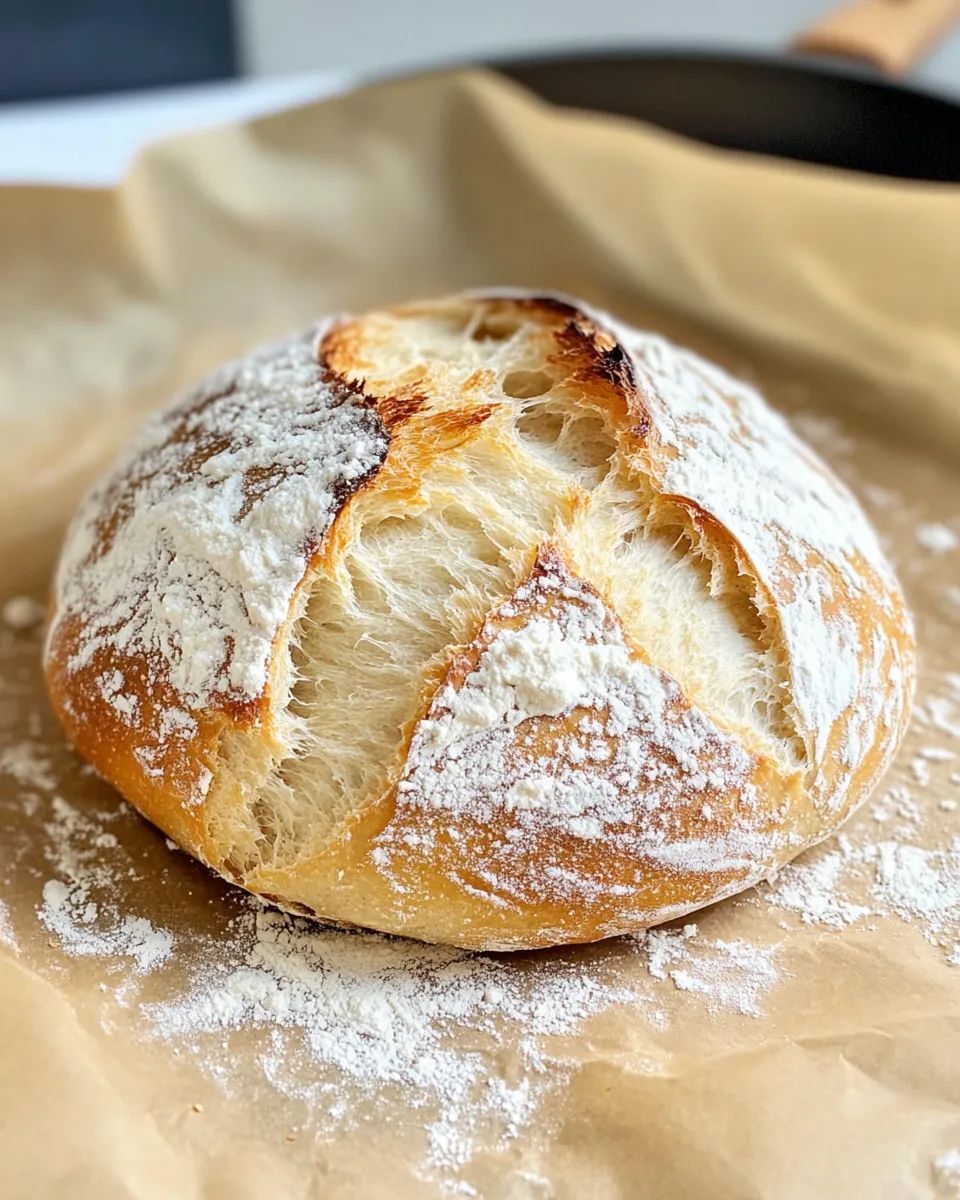
If you’ve ever dreamed of pulling a crusty, golden loaf of bread fresh from your oven without spending hours kneading or mastering complicated techniques, then you’re in for a treat. No-Knead Artisan Bread is a game-changer for home bakers craving that bakery-quality loaf with minimal effort. With just a handful of simple ingredients and a bit of patience, you can enjoy the rustic charm and satisfying crunch of artisan bread right in your own kitchen. Let’s dive into the magic behind this easy method and how you can make it your own.
Why It Works Every Time
The genius of No-Knead Artisan Bread lies in its simplicity and the science of slow fermentation. By mixing a wet dough with a small amount of yeast and allowing it to rest for 12 to 18 hours, the gluten develops naturally without the need for kneading. This long, slow fermentation also enhances flavor, giving you that signature tang and depth found in traditional artisan loaves. When baked in a hot, covered pot, the dough steams and crisps beautifully, creating a crackling crust and airy crumb. This method works every time because it relies on time and temperature rather than technique, making it perfect for beginners and seasoned bakers alike.
What You’ll Need
- 3 cups all-purpose flour – The base of your bread, providing structure.
- 1 1/2 teaspoons salt – Enhances flavor and controls yeast activity.
- 1/2 teaspoon instant yeast – A small amount to allow slow fermentation.
- 1 1/2 cups warm water – Hydrates the flour and activates the yeast.
This simple ingredient list means you can make No-Knead Artisan Bread with staples you probably already have on hand.
Essential Tools for Success
- Large mixing bowl – To combine and ferment the dough.
- Dutch oven or heavy lidded pot – Creates the ideal environment for steaming the bread.
- Measuring cups and spoons – For accurate ingredient amounts.
- Kitchen towel or plastic wrap – To cover the dough while it rises.
- Wooden spoon or spatula – For mixing the sticky dough.
Having the right tools ensures your No-Knead Artisan Bread will turn out perfect every time.
Make No-Knead Artisan Bread: A Simple Method
Step 1: Mix the Dough
In your large mixing bowl, combine 3 cups of all-purpose flour, 1 1/2 teaspoons of salt, and 1/2 teaspoon instant yeast. Add 1 1/2 cups of warm water and stir with a wooden spoon until the mixture forms a sticky, shaggy dough. Don’t worry about kneading – this dough is meant to be wet and loose.
Step 2: First Rise
Cover the bowl with a kitchen towel or plastic wrap and let the dough rest at room temperature for 12 to 18 hours. You’ll know it’s ready when the surface is dotted with bubbles and it has doubled in size.
Step 3: Shape the Dough
Lightly flour your work surface and turn out the dough. Using floured hands, fold it over a few times to shape it into a ball. Let it rest covered for about 30 minutes. This final rest helps the dough relax before baking.
Step 4: Preheat Your Oven
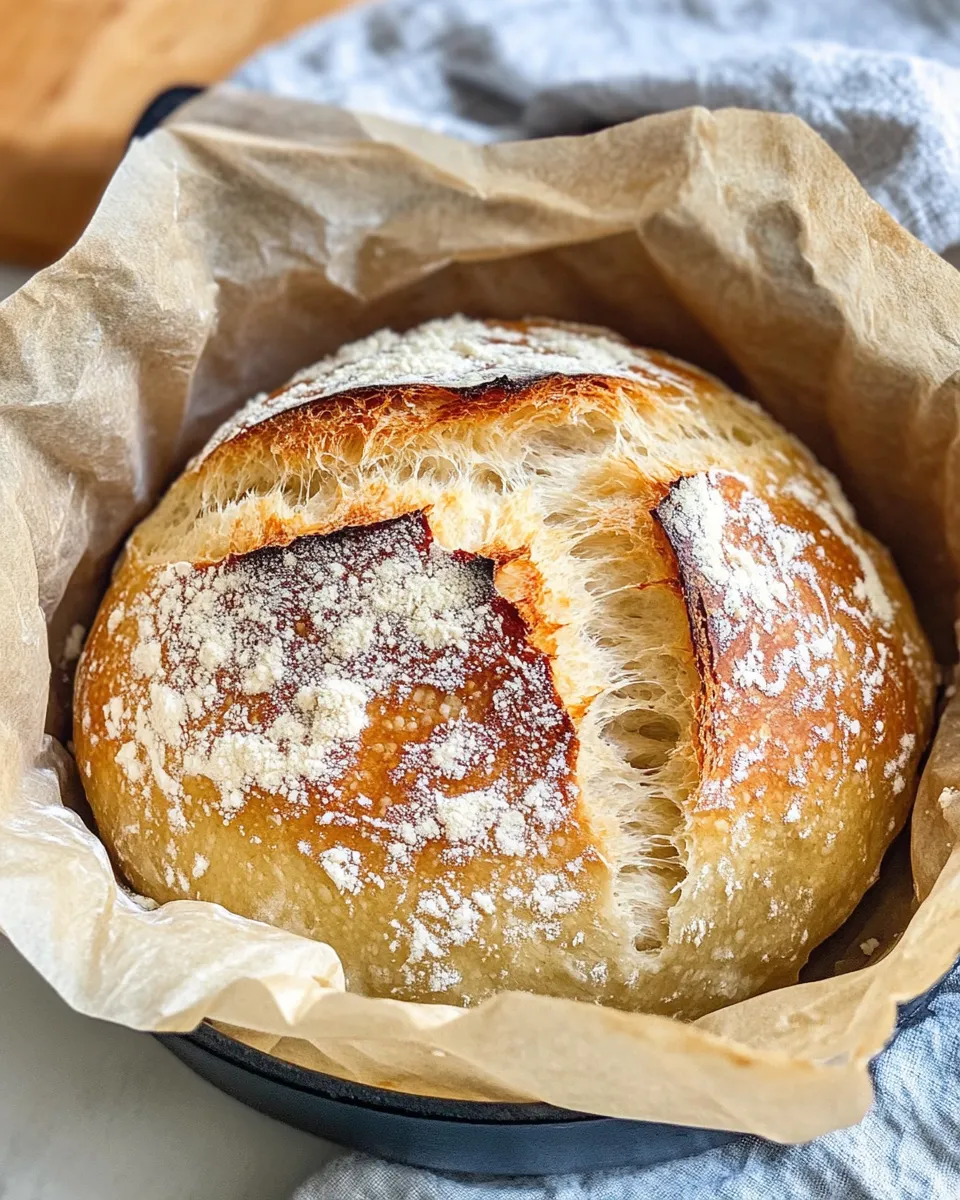
Place your Dutch oven or heavy pot with lid into the oven and preheat to 450°F (230°C). The pot needs to be hot before the dough goes in to create steam for that crisp crust.
Step 5: Bake the Bread
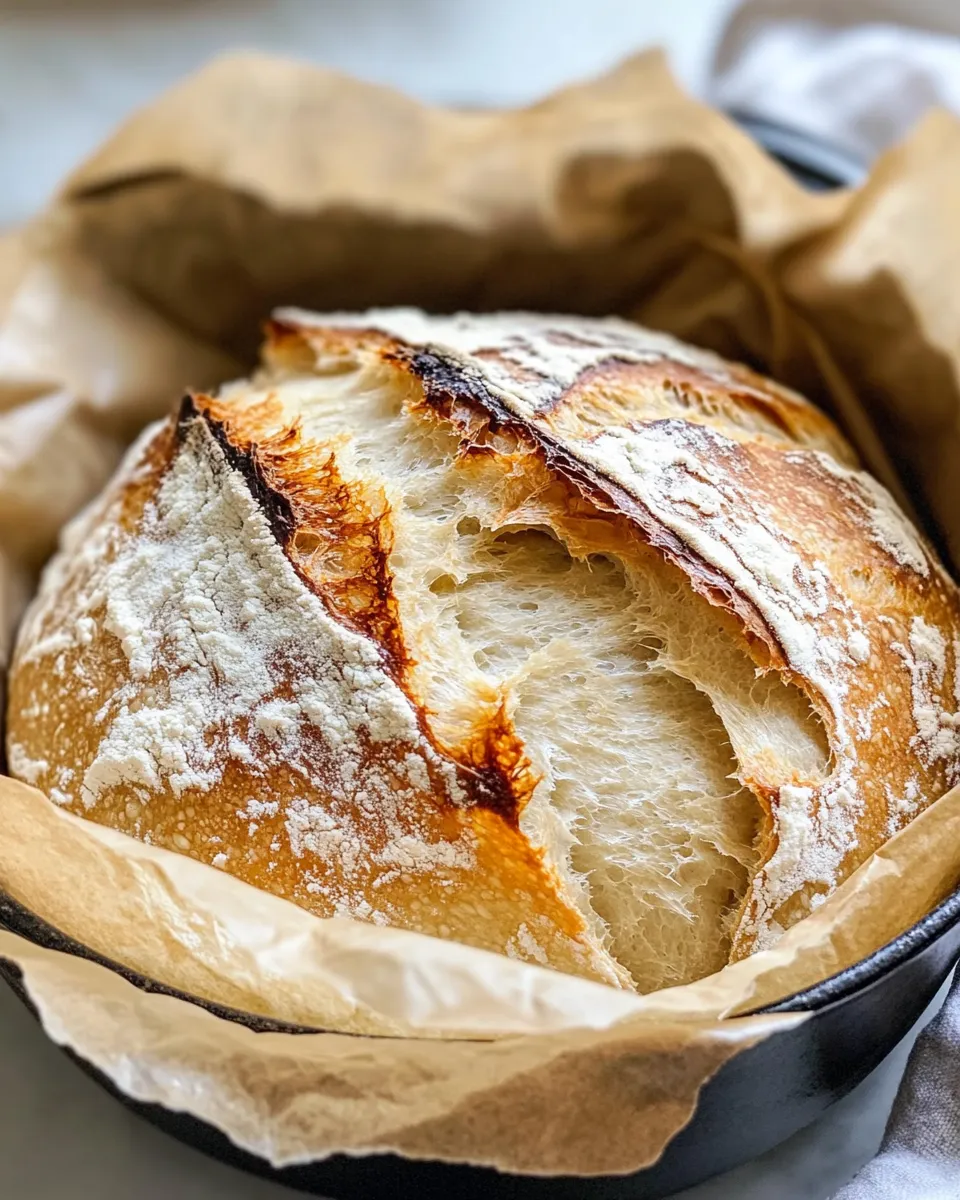
Carefully remove the hot pot from the oven. Place the dough ball into the pot (you can use parchment paper to help transfer it). Cover with the lid and bake for 30 minutes. Then, remove the lid and bake for an additional 15 to 20 minutes until the bread is deeply golden and crusty.
Step 6: Cool and Enjoy
Transfer the bread to a wire rack and let it cool for at least an hour before slicing. This resting time allows the crumb to set and flavors to develop fully.
Make It Your Way
- Add herbs like rosemary or thyme to the dough for a fragrant twist.
- Mix in a handful of olives or sun-dried tomatoes for savory bites.
- Swap part of the all-purpose flour for whole wheat for a nuttier flavor and denser texture.
- Use the crusty loaf to make sandwiches or toast with your favorite spreads.
- Try pairing your loaf with a fresh Panzanella Salad With Heirloom Tomatoes for a light, summery meal.
These simple variations can elevate your No-Knead Artisan Bread to new flavor heights.
If You’re Curious
Wondering about the science behind this magical bread? The long fermentation process allows natural enzymes and yeast to slowly break down starches and proteins, enhancing flavor and texture. The high hydration (wet dough) creates large air pockets, giving the bread an open crumb typical of artisan loaves. Baking in a covered pot traps steam, which gelatinizes the crust for a beautiful crispy exterior. This method is forgiving, meaning even beginners can succeed with minimal effort.
- You don’t need to knead because the dough’s hydration and time do the work.
- Using instant yeast speeds up fermentation slightly but still allows a long rest.
- Warm water activates the yeast but avoid hot water, which can kill it.
- The crust gets its color and crunch from the Maillard reaction during baking.
Cooling, Storing & Rewarming
After baking, it’s tempting to slice your fresh bread immediately, but cooling is crucial. Let the loaf rest on a wire rack for at least an hour so the crumb finishes cooking and sets properly.
To store, keep your bread in a paper bag at room temperature for up to two days. For longer storage, slice and freeze in an airtight container or bag. When ready to eat, rewarm slices in a toaster or oven to regain that fresh-baked texture.
Common Questions
Can I use bread flour instead of all-purpose flour?
Yes! Bread flour has a higher protein content, which can give your No-Knead Artisan Bread a chewier texture and better rise. You can substitute it 1:1 for all-purpose flour.
What if I don’t have a Dutch oven?
Use any heavy, oven-safe pot with a lid. Alternatively, bake the dough on a preheated baking stone or sheet and place a shallow pan of water in the oven to create steam. The covered pot method, however, yields the best crust.
Can I make this bread gluten-free?
This particular recipe relies on gluten development, so it won’t work with gluten-free flours. However, there are specialized no-knead gluten-free bread recipes that use alternative flours and binders.
Why is my bread dense or gummy inside?
This can happen if the dough didn’t ferment long enough or if it wasn’t baked at a high enough temperature. Make sure to allow the full 12-18 hours for rising and preheat your oven and pot thoroughly before baking.
In Closing
Making No-Knead Artisan Bread is one of the most rewarding kitchen projects you can try. It’s simple enough for beginners, yet yields stunning results that impress every time. With just flour, salt, yeast, and water, you’re well on your way to enjoying rustic, crusty bread that’s perfect for everything from sandwiches to dipping in olive oil. Experiment with add-ins or pair it with your favorite recipes to make it truly your own. Remember, the key is patience—the slow rise does all the work. So preheat that oven, grab your mixing bowl, and prepare to fall in love with homemade bread again.
Share on Pinterest
No-Knead Artisan Bread
Ingredients
Equipment
Method
- In your large mixing bowl, combine 3 cups of all-purpose flour, 1 1/2 teaspoons of salt, and 1/2 teaspoon instant yeast. Add 1 1/2 cups of warm water and stir with a wooden spoon until the mixture forms a sticky, shaggy dough. Don’t worry about kneading – this dough is meant to be wet and loose.
- Cover the bowl with a kitchen towel or plastic wrap and let the dough rest at room temperature for 12 to 18 hours. You’ll know it’s ready when the surface is dotted with bubbles and it has doubled in size.
- Lightly flour your work surface and turn out the dough. Using floured hands, fold it over a few times to shape it into a ball. Let it rest covered for about 30 minutes. This final rest helps the dough relax before baking.
- Place your Dutch oven or heavy pot with lid into the oven and preheat to 450°F (230°C). The pot needs to be hot before the dough goes in to create steam for that crisp crust.
- Carefully remove the hot pot from the oven. Place the dough ball into the pot (you can use parchment paper to help transfer it). Cover with the lid and bake for 30 minutes. Then, remove the lid and bake for an additional 15 to 20 minutes until the bread is deeply golden and crusty.
- Transfer the bread to a wire rack and let it cool for at least an hour before slicing. This resting time allows the crumb to set and flavors to develop fully.
Notes
- Let the dough ferment slowly for 12 to 18 hours for optimal flavor and texture.
- Use a heavy lidded pot like a Dutch oven to create steam and a crispy crust.
- Cool the bread completely before slicing to allow the crumb to set properly.
- Try adding herbs, olives, or sun-dried tomatoes for flavor variations.
- Store bread in a paper bag for up to two days or freeze sliced bread for longer storage.