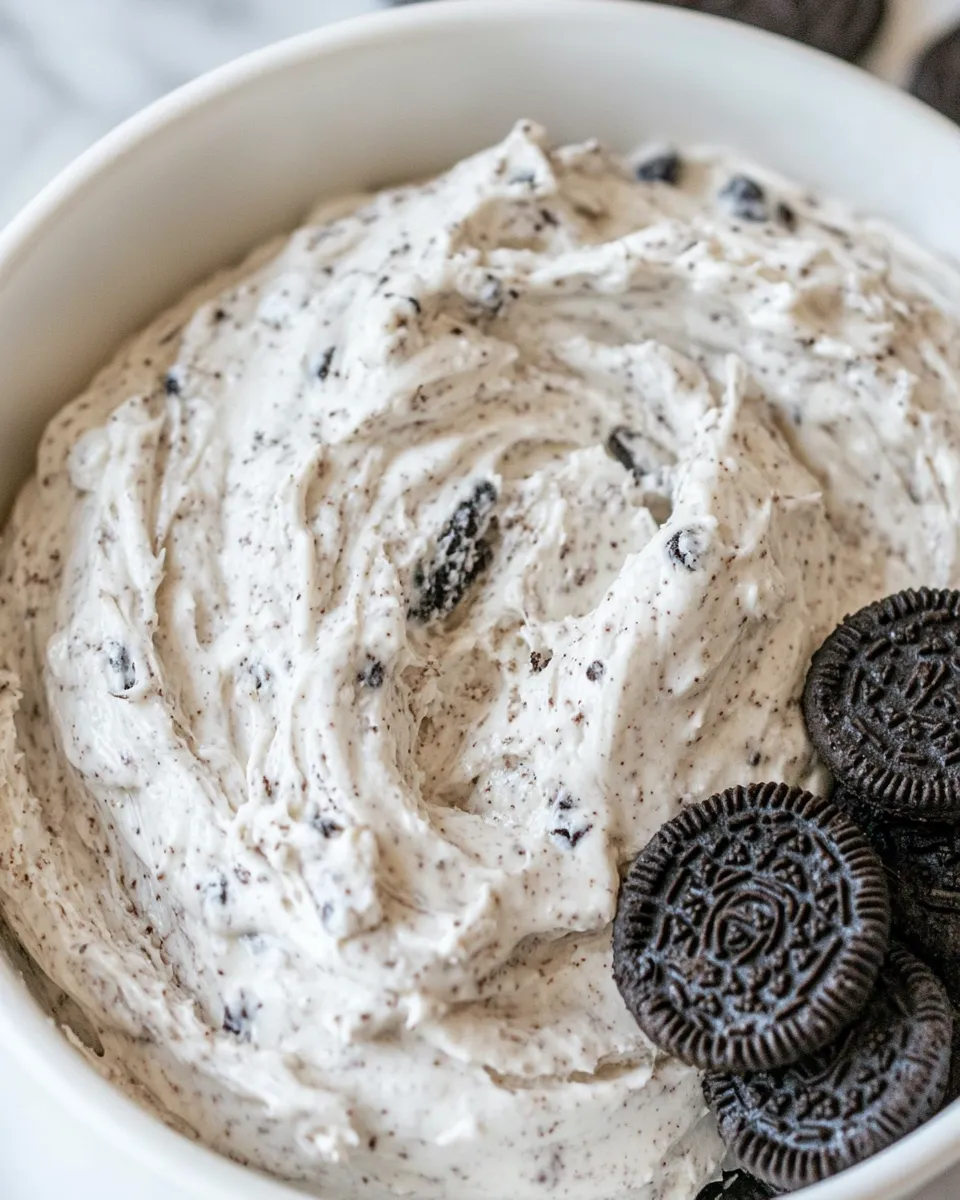
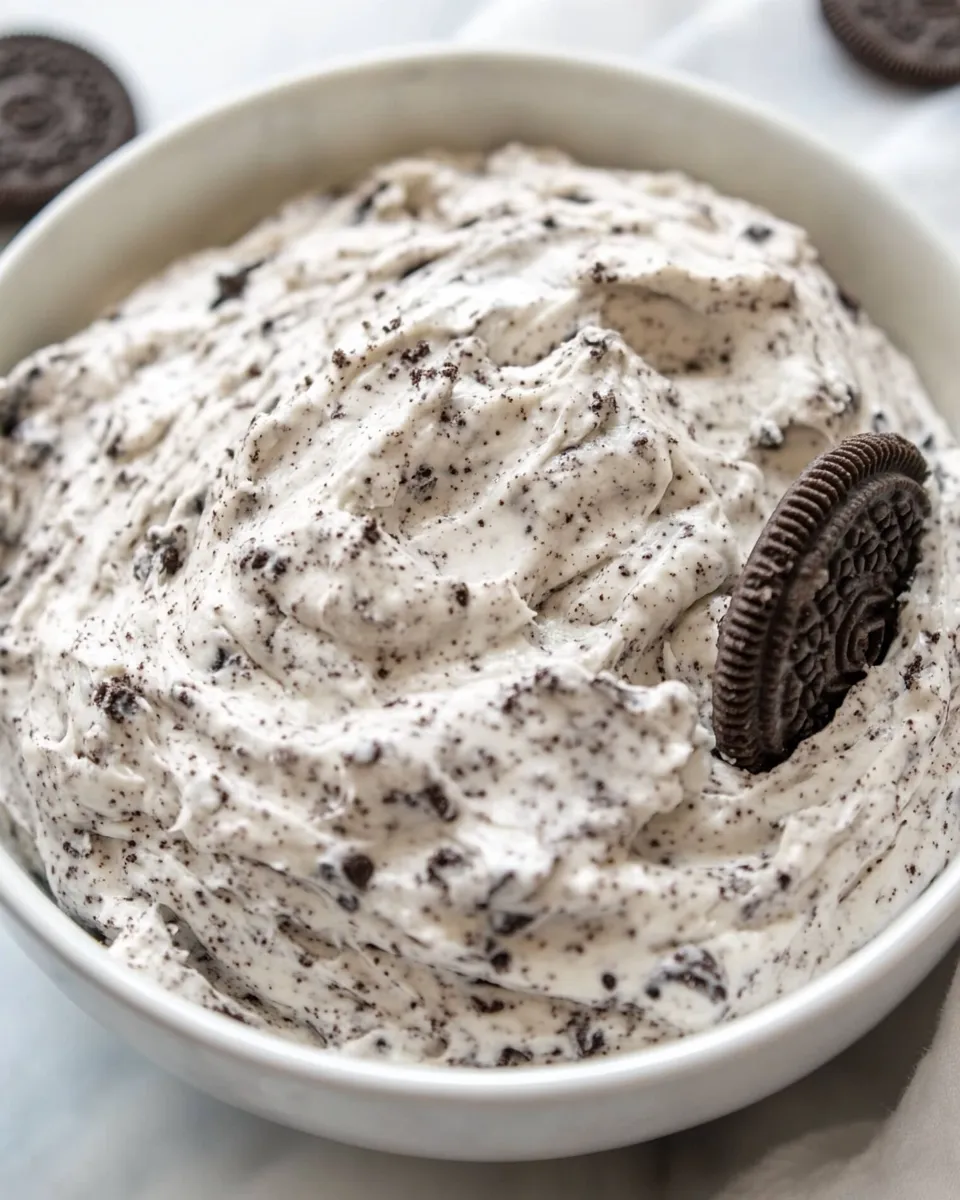
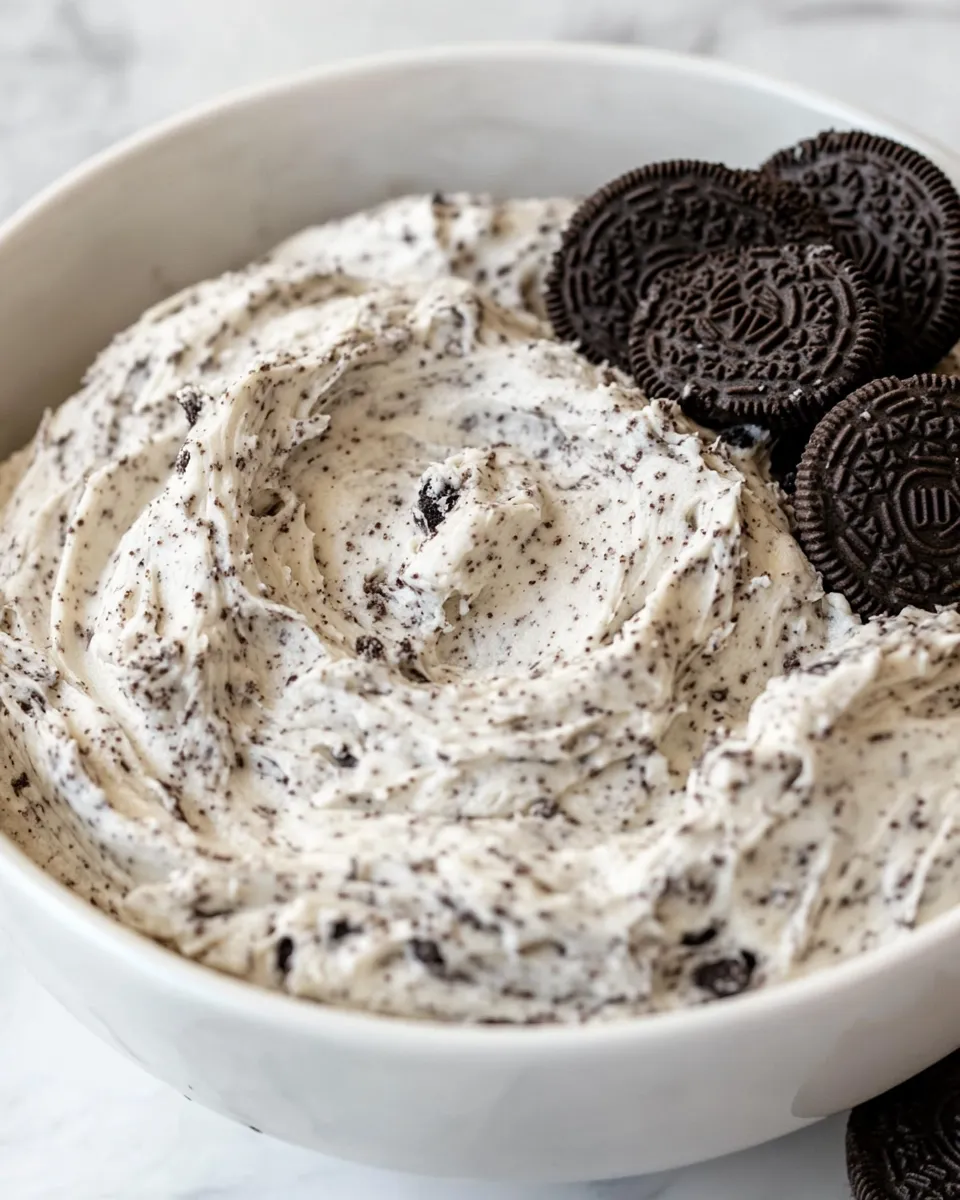
Oreo Frosting
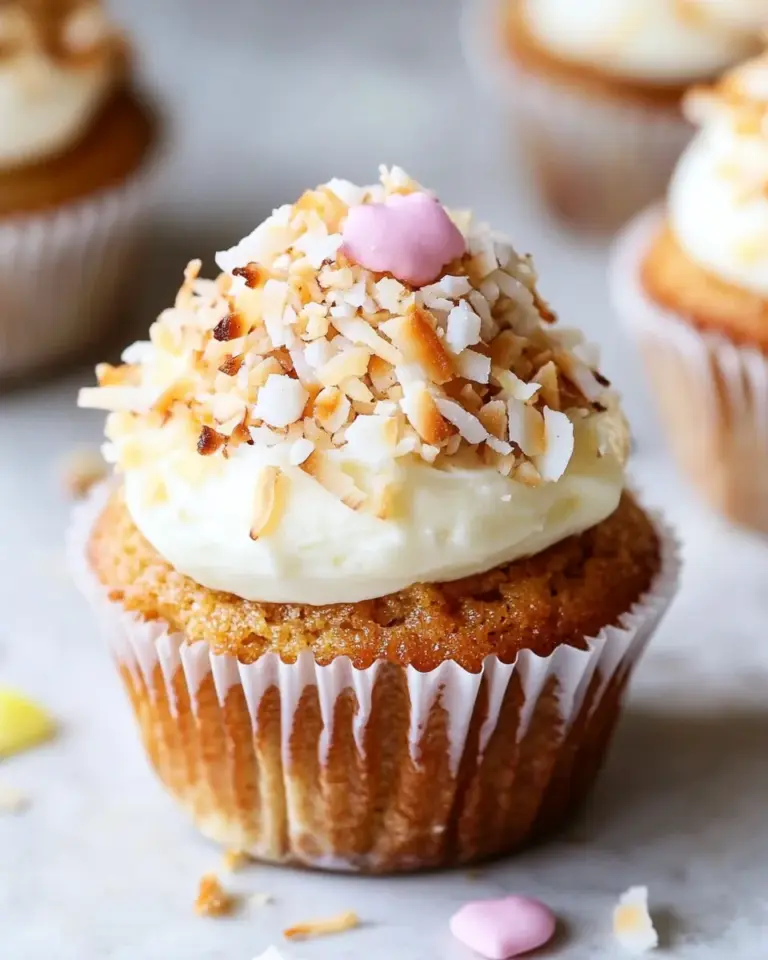
I adore a frosting that’s flavorful, easy to work with, and holds up when you need it to. This Oreo frosting ticks those boxes: marshmallow-sweet, buttery, and studded with crunchy cookie bits. It spreads smooth, pipes well with the right consistency, and tastes like a grown-up cookies-and-cream treat.
You don’t need exotic ingredients or complicated technique. The method is straightforward: cream the fats and fluff, add powdered sugar, finish with a splash of cream and vanilla, then fold in coarse Oreo pieces. Small adjustments to the cream let you choose whether you want a spreadable frosting for cupcakes or a pipeable consistency for decorative piping.
This recipe is practical for every baker — from weekday cupcakes to last-minute cake decorating. Read through the gear and troubleshooting notes; a few small tips will keep the texture perfect and the cookie chunks delightfully chunky.
Ingredient List
- ½ cup (113 g) unsalted butter, softened — adds richness and flavor; make sure it’s at room temperature for smooth creaming.
- ½ cup (96 g) vegetable shortening — stabilizes the frosting and helps it hold shape, especially at warmer temps.
- 1 (7 ounce) jar (198 g) marshmallow fluff — gives sweetness, lightness, and that marshmallow flavor without extra steps.
- 3 cups (339 g) powdered sugar — provides structure and sweetness; sift if you prefer an extra-smooth finish.
- 1 teaspoon salt — balances sweetness and heightens flavor.
- 1 teaspoon vanilla extract — rounds out the flavor profile; pure vanilla works best.
- 1-2 tablespoons heavy whipping cream — adjusts consistency; start with 1 tablespoon and add more only if needed.
- 10 Oreos, coarsely chopped — the star texture component; coarse pieces keep a pleasant bite in the frosting.
From Start to Finish: Oreo Frosting
- Place the ½ cup (113 g) softened unsalted butter, ½ cup (96 g) vegetable shortening, and the entire 1 (7 oz / 198 g) jar of marshmallow fluff in a large mixing bowl. Using a stand mixer or hand mixer, beat on medium speed until the mixture is smooth and well combined, scraping down the sides of the bowl as needed.
- With the mixer on low speed, add the 3 cups (339 g) powdered sugar to the bowl 1 cup at a time, mixing until each addition is fully incorporated before adding the next. Scrape down the bowl and beat again briefly to ensure there are no lumps.
- Add the 1 teaspoon salt, 1 teaspoon vanilla extract, and 1 tablespoon heavy whipping cream. Beat on low to medium speed until the frosting is smooth.
- If the frosting is too thick for your desired consistency, add up to 1 additional tablespoon of heavy whipping cream a little at a time, mixing briefly after each addition, until you reach the desired spreadable or pipeable texture.
- Coarsely chop the 10 Oreos and fold them into the frosting by hand with a spatula, or mix on low speed for just a few seconds until they are evenly distributed. Avoid overmixing so the cookie pieces stay chunky.
- Use the frosting to frost cupcakes, cake, or as desired.
What Makes This Recipe Special
This frosting balances light sweetness and texture in a way many frostings don’t. Marshmallow fluff adds a lift and glossy sheen that straight buttercreams can lack while keeping the process simple — no melting or tempering. The combo of butter and shortening gives both flavor and structure: butter for taste, shortening for stability, especially if your kitchen runs warm.
Using coarsely chopped Oreos keeps the mouthfeel interesting. You’ll taste pockets of cookie and cream rather than a uniform gray paste. Finally, the ability to tweak the cream by the tablespoon means you control whether the final product is thick enough to pipe peaks or thin enough to spread smoothly over multiple cake layers.
Ingredient Flex Options
- Butter + shortening ratio — the recipe calls for equal parts; keep that balance if you want stability and flavor. Reducing shortening will make the frosting softer; increasing it will make it firmer and less flavorful.
- Powdered sugar texture — if you need ultra-smooth frosting, sift the powdered sugar before adding. For a slightly grittier, rustic finish you can use it as is.
- Oreos — use the standard Oreos called for here. If you prefer less chocolate, remove some cookie filling before chopping, but be aware that changes alter sweetness and texture.
- Heavy cream — 1–2 tablespoons is a control lever: less for piping, a touch more for spreading.
What’s in the Gear List

- Stand mixer or hand mixer — either works; a stand mixer is hands-free and more consistent, a hand mixer is compact and effective for small batches.
- Large mixing bowl — gives you space to beat and scrape without spilling.
- Spatula — essential for scraping bowl sides and folding in cookies gently.
- Measuring cups and kitchen scale — the recipe lists grams for precision; use a scale for consistent results.
- Knife or food processor (optional) — a knife for coarse chopping preserves cookie texture; a food processor will make finer crumbs if that’s what you prefer.
- Piping bags and tips (optional) — if you want to pipe swirls or decorations rather than spreading.
Things That Go Wrong
If your frosting is too thin: the most common cause is adding too much heavy cream. Fixes: chill the frosting briefly (10–20 minutes) to firm it up, or beat in a tablespoon of sifted powdered sugar at a time until you hit the right texture.
If your frosting is too thick or grainy: you may have added too much powdered sugar too quickly or not creamed the fats thoroughly. Add the additional tablespoon of heavy cream in small amounts and beat until smooth. Warming the bowl briefly (set it in a warm water bath for a minute, dry thoroughly) can help ingredients meld.
If cookie pieces disappear or you have a uniformly gray texture: that’s overmixing. Fold Oreo pieces in by hand or pulse briefly on low if using a mixer. Large, coarse pieces are key for a satisfying contrast.
If it separates or looks greasy: this is rare with the given fat balance, but it can happen in very warm kitchens. Chill the frosting for 10–15 minutes, then re-whip on medium speed. Avoid overworking the frosting if it’s warm.
Substitutions by Diet
- Dairy-free / Vegan — replace the unsalted butter with a plant-based stick-style butter and use a non-dairy heavy cream alternative (coconut cream works but will add coconut flavor). Use a vegan marshmallow fluff alternative if available. Note: texture and flavor will shift; the frosting may be softer.
- Egg-free — this recipe is already egg-free (marshmallow fluff and other ingredients contain no whole eggs), but check labels if you need to avoid trace ingredients.
- Gluten-free — replace the Oreos with certified gluten-free chocolate sandwich cookies. The rest of the recipe is gluten-free by ingredient, but always check labels for cross-contamination.
- Lower sugar — reducing powdered sugar will affect structure. If you must reduce sweetness, try halving any optional garnish and rely on smaller amounts rather than cutting the powdered sugar below recipe levels; texture will be impacted.
Testing Timeline
When I test frostings, I think in short checkpoints:
1. Prep (10 minutes) — soften butter, set out shortening, and have the marshmallow fluff and measured sugar ready.
2. Mixing (8–12 minutes) — creaming the fats and fluff, adding powdered sugar in stages, and finishing with salt, vanilla, and cream. Expect 8–12 minutes of active mixing with periodic scraping.
3. Cookie prep (2–3 minutes) — coarsely chop the 10 Oreos while the frosting rests briefly.
4. Final fold and adjustments (3–5 minutes) — fold in Oreo pieces, test consistency, and add up to 1 more tablespoon cream if needed.
5. Chill or rest (optional, 10–20 minutes) — if you need firmer piping, chill briefly before final decorating.
Overall, from start to finish you can have frosting ready to use in about 25–40 minutes, depending on whether you chill briefly for stability.
Store, Freeze & Reheat
Store: Keep leftover frosting in an airtight container in the refrigerator for up to 5 days. Bring it to room temperature before using, then re-whip briefly to restore loft and smoothness.
Freeze: You can freeze the frosting in an airtight container for up to 2 months. Thaw overnight in the refrigerator, then let it come to room temperature and re-whip to restore texture. Note that cookie pieces may soften after freezing and thawing.
Reheat/Revive: If chilled frosting is too firm to spread, let it sit at room temperature for 20–30 minutes, then beat on low to medium speed until smooth. If the frosting becomes too soft after warming, chill it briefly and re-whip.
Ask the Chef
Q: Can I pipe this frosting?
A: Yes. Aim for the firmer end of the cream range (use only 1 tablespoon heavy cream initially) and chill briefly if needed. Use a large round or star tip for effect; the cookie pieces will prevent very fine tips from working cleanly.
Q: Can I make this ahead for a party?
A: Make the frosting and store it refrigerated up to 3–5 days, or freeze up to 2 months. Thaw and re-whip before using. If you’ll be decorating the day of, make the frosting the night before and give it a quick whip before piping.
Q: Will the cookie pieces sink into cake layers?
A: If you’re filling cake layers, press the cookie chunks into the frosting on the cake surface rather than mixing in too many large pieces that might cause uneven layers. Alternatively, reserve some chopped Oreos to sprinkle on top rather than folding all of them into the frosting.
Q: Can I use Cool Whip instead of marshmallow fluff?
A: The marshmallow fluff contributes structure and sweetness differently than Cool Whip. I don’t recommend a straight swap without adjusting other components — you’ll likely need more powdered sugar and possibly different stabilizers.
Time to Try It
Make a small test batch the first time: follow the recipe exactly and try it on a single batch of cupcakes. That gives you a chance to see how the texture holds up and how much cookie chunk you prefer. Once you’re happy with the balance of cream and cookie, scale up confidently.
This Oreo frosting is forgiving, fast, and crowd-pleasing. It’s one of my go-to finishes when I want something that feels special without complicated technique. Have fun with the cookie distribution — and don’t skimp on the coarse pieces; they make the frosting worth repeating.
Oreo Frosting
Ingredients
Equipment
Method
- Place the ½ cup (113 g) softened unsalted butter, ½ cup (96 g) vegetable shortening, and the entire 1 (7 oz / 198 g) jar of marshmallow fluff in a large mixing bowl. Using a stand mixer or hand mixer, beat on medium speed until the mixture is smooth and well combined, scraping down the sides of the bowl as needed.
- With the mixer on low speed, add the 3 cups (339 g) powdered sugar to the bowl 1 cup at a time, mixing until each addition is fully incorporated before adding the next. Scrape down the bowl and beat again briefly to ensure there are no lumps.
- Add the 1 teaspoon salt, 1 teaspoon vanilla extract, and 1 tablespoon heavy whipping cream. Beat on low to medium speed until the frosting is smooth.
- If the frosting is too thick for your desired consistency, add up to 1 additional tablespoon of heavy whipping cream a little at a time, mixing briefly after each addition, until you reach the desired spreadable or pipeable texture.
- Coarsely chop the 10 Oreos and fold them into the frosting by hand with a spatula, or mix on low speed for just a few seconds until they are evenly distributed. Avoid overmixing so the cookie pieces stay chunky.
- Use the frosting to frost cupcakes, cake, or as desired.
Notes
Frosting can be frozen for up to 3 months. Thaw on the counter before using.