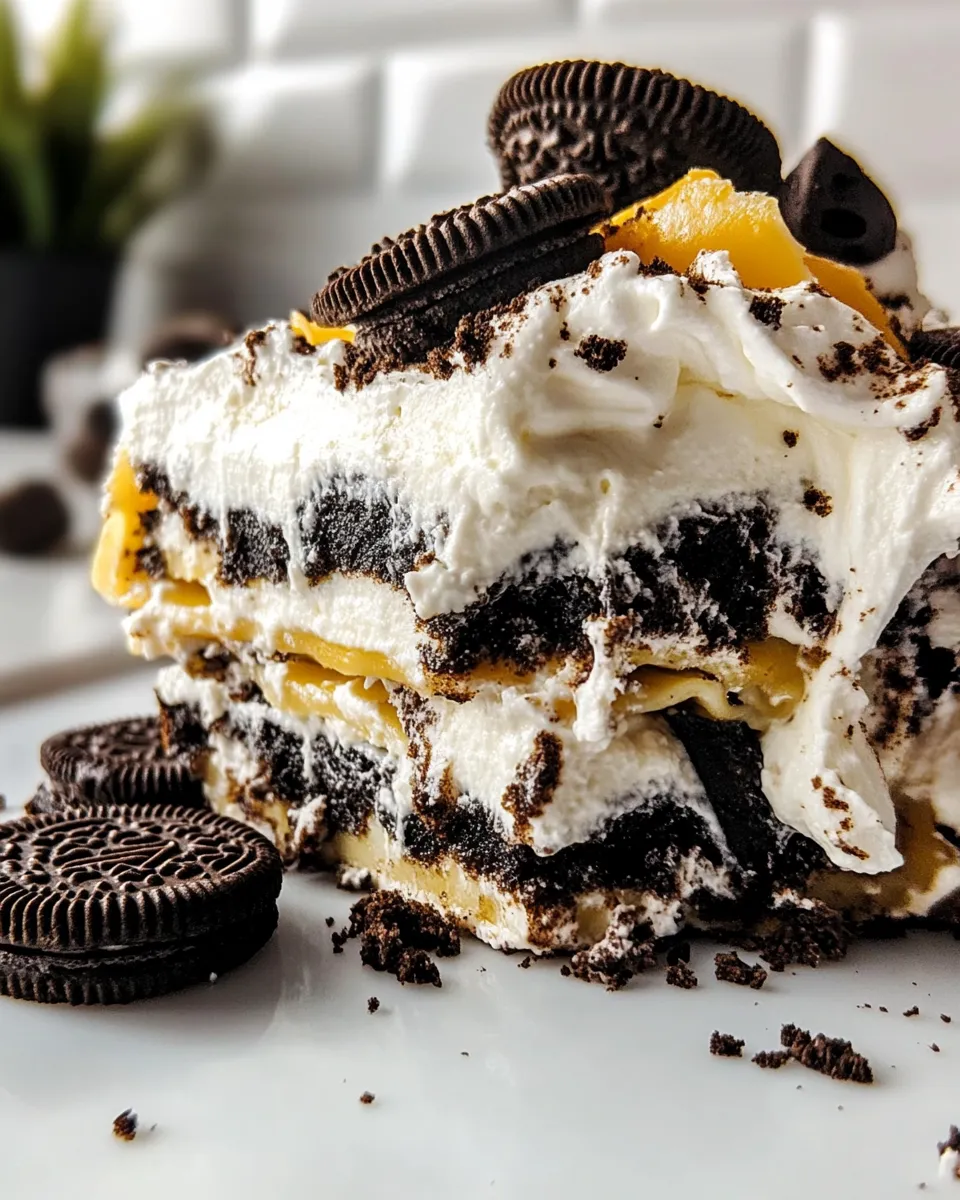
Oreo Lasagna Dessert
I make this Oreo lasagna on repeat for potlucks and lazy Sunday desserts. It comes together fast, keeps well in the fridge, and reliably gets me compliments. No baking required, and the layers are exactly the kind of retro, crowd-pleasing dessert that people remember.
This recipe is straightforward: instant vanilla pudding, nonfat milk, a tub of whipped topping, and a whole lot of Oreos. Follow the dipping step carefully and you’ll get soft-but-not-soggy cookie layers with creamy filling in between. Chill time is the real game-changer—give it a solid rest in the fridge.
I’ll walk you through the ingredient notes, step-by-step directions pulled straight from the recipe, helpful gear, common mistakes to avoid, and easy ways to tweak the flavors. Practical tips included so your first (or tenth) try turns out perfectly.
The Ingredient Lineup
Ingredients
- 13.4 ounce box instant vanilla pudding — the base of the creamy layers; provides structure and vanilla flavor.
- 2 ½ cups nonfat milk, divided — 2 cups make the pudding; ½ cup is for a quick dip to soften the Oreos without soaking them.
- 36 Oreos (any flavor) — the cake-like layers; any flavor works, though classic or chocolate-filled are most common.
- 18 ounce container whipped topping — light, stable whipped layer that blends with the pudding for a no-bake “cream” texture.
The Method for Oreo Lasagna Dessert
- Measure 2 1/2 cups nonfat milk. Pour 1/2 cup into a small bowl and set aside for dipping; use the remaining 2 cups for the pudding.
- In a medium bowl, whisk the 13.4 ounce box instant vanilla pudding mix with the 2 cups nonfat milk until smooth. Let the pudding sit about 5 minutes to thicken.
- Set an 8×8-inch pan on the counter. Remove 4 Oreos from the bag and set them aside to crush later; the remaining 32 Oreos will be used for the layers.
- Working with 16 Oreos at a time, dip each Oreo briefly into the reserved 1/2 cup milk (do not soak) and arrange them in a single layer on the bottom of the 8×8-inch pan.
- Spread half of the thickened pudding evenly over the first Oreo layer.
- Spread half of the 18 ounce container of whipped topping evenly over the pudding.
- Dip the next 16 Oreos, one at a time, in the reserved milk and arrange them in a single layer over the whipped topping.
- Spread the remaining pudding evenly over the second Oreo layer.
- Spread the remaining whipped topping evenly over the pudding.
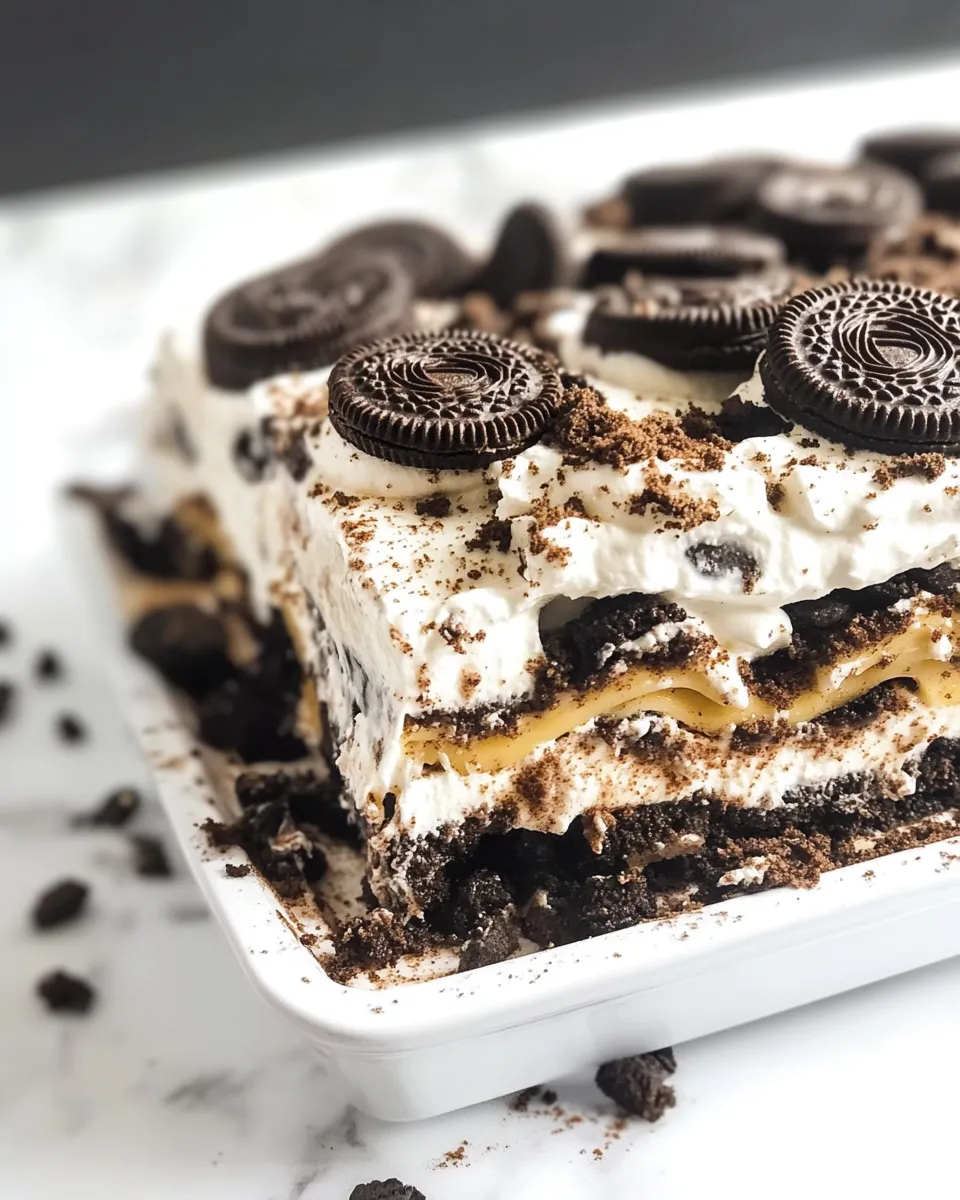
- Place the 4 reserved Oreos in a sealed plastic bag and crush them with a rolling pin or chop them finely with a knife. Sprinkle the crumbs over the top of the whipped topping.
- Cover the pan tightly and chill in the refrigerator at least 4 hours before serving (overnight is best).
- Store leftovers in the refrigerator for up to 3 days.
What Sets This Recipe Apart
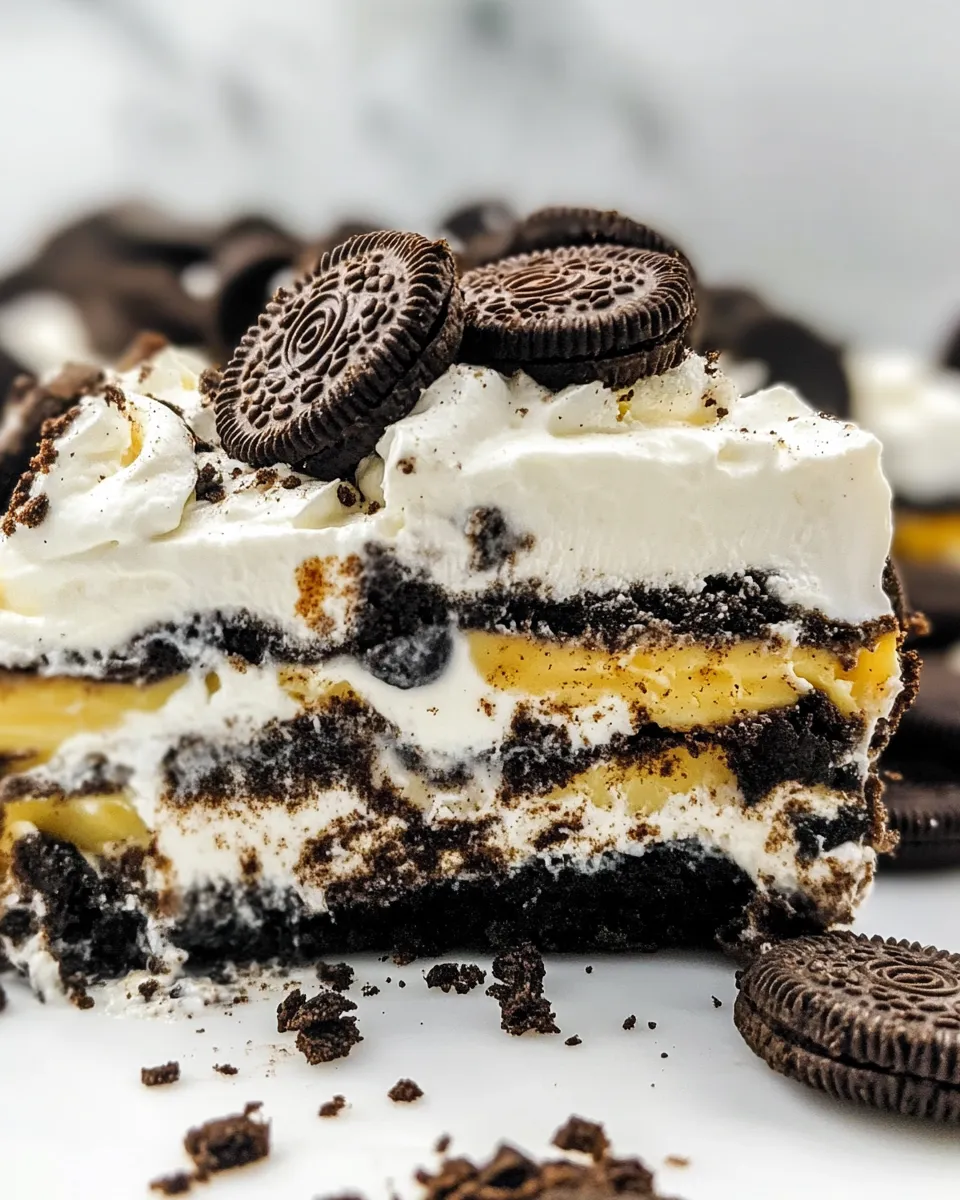
This Oreo lasagna is built on contrasts: crunchy-ish cookies softened just enough by a quick dip, creamy pudding that holds its shape, and a light whipped topping that keeps the whole thing airy. The results are rich without being heavy, and they’re approachable—no tempering, no special equipment.
Another advantage is predictability. Instant pudding sets reliably, and whipped topping keeps things light and stable. The process is forgiving; if one cookie layer shifts a bit or you spread the pudding imperfectly, the final result still looks inviting once chilled and cut.
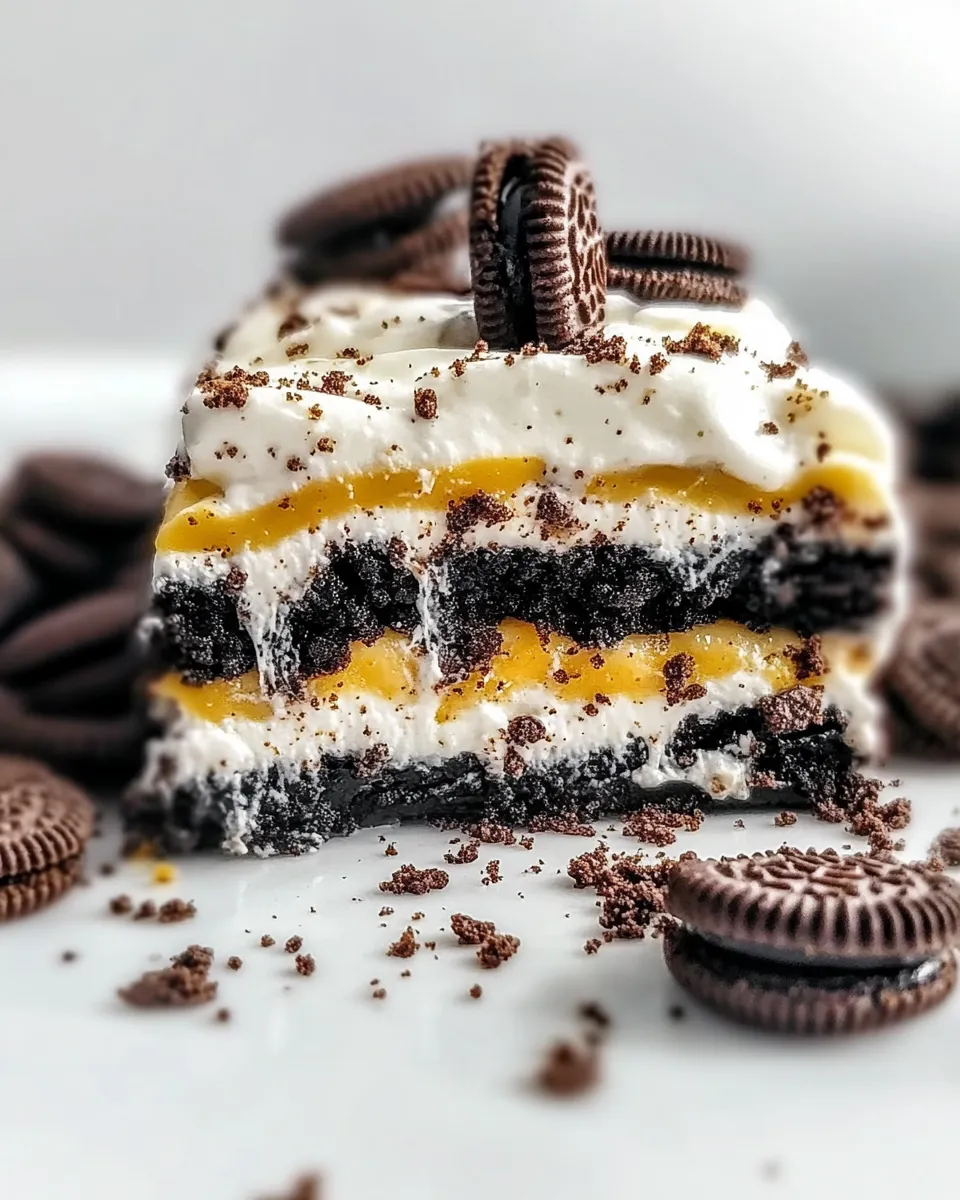
It’s quick to assemble but benefits from downtime. The chilling step lets the cookies soften and the layers marry. That resting period turns simple ingredients into a dessert with the texture and presence of something you might expect from a bakery.
Flavor-Forward Alternatives
Want to play with the profile? Swap flavors and add layers without changing the method. A few ideas that play well with the basic structure:
- Mint Oreos for a cool, refreshing twist; pair with a light dusting of cocoa or shaved dark chocolate on top.
- Use golden Oreos and lemon instant pudding for a brighter, citrus-forward version.
- Add a thin layer of chocolate ganache (cooled) between one pudding layer and the whipped topping for extra decadence.
- Crumb a handful of Oreos into the pudding itself for speckled texture throughout.
Keep proportions and method the same. These swaps change flavor but not the structure, so the recipe remains as simple to follow as the original.
Gear Checklist
- 8×8-inch pan — the recipe is sized specifically for this so layers work out evenly.
- Medium mixing bowl — for the pudding; large enough to whisk without splashes.
- Whisk — quick and effective for instant pudding mix.
- Measuring cups — for the 2 1/2 cups of milk.
- Small bowl — to hold the 1/2 cup milk used for dipping cookies.
- Sealed plastic bag and rolling pin or a knife and board — to crush the reserved Oreos for the topping.
- Spatula or offset knife — to spread pudding and whipped topping smoothly.
- Plastic wrap or tight-fitting lid — to cover the pan while chilling.
Slip-Ups to Skip
Don’t skip the reserved 1/2 cup milk step. That brief dip softens the cookies enough to layer into the pan and prevents hard, cracker-like bites. But don’t soak them—only a quick dip. Over-soaked cookies collapse and make the layers mushy.
Don’t rush the chill time. Less than four hours often leaves the center soft and unsettled. Overnight is best. If you serve it too soon, it won’t slice cleanly and the textures won’t meld.
Measure the milk accurately. The pudding mix is calibrated for a specific liquid ratio. Too much milk makes the filling loose; too little and it won’t spread smoothly.
Spring to Winter: Ideas
Seasonal touches can make this simple dessert feel festive year-round. In spring and summer, top with fresh berries or a few raspberries around the edges for color. For a patriotic summer table, use red and blue berries with classic Oreos.
Come fall, sprinkle a few toasted pecans over the crumb topping or swap in a spice cookie variation of sandwich cookies. In winter, add a hint of peppermint extract to the pudding or dust the top with a mix of cocoa and powdered sugar for a snowy look.
Serving temperature matters. Take it out of the fridge a few minutes before cutting so the edges don’t crumble. But serve chilled; warm or room-temperature slices lose the firm, satisfying structure.
Behind the Recipe
I grew up on easy, layered desserts—trifles, puddings, and the occasional cookie lasagna. This Oreo version is a mash-up of comfort-food simplicity and the extra-bold appeal of a branded cookie we all recognize. It’s the kind of recipe that started as a potluck staple and earned a permanent spot in my dessert rotation.
What I love about it is the way everyday pantry staples turn into something celebratory. The ingredient list is short and familiar, so it’s a dependable last-minute option when you need to bring something that will actually disappear from the dessert table.
Make Ahead Like a Pro
Assemble this dessert up to 24 hours ahead. Cover tightly and refrigerate; the flavors improve with time. The recipe itself instructs chilling at least 4 hours and says overnight is best—follow that and you’ll have a sliceable, neat dessert when guests arrive.
Store leftovers in the refrigerator for up to 3 days. Keep the pan covered to prevent the whipped topping from absorbing fridge odors or drying at the edges. For neat slices, run a sharp knife under hot water, dry it, then slice; wipe the blade between cuts to keep edges clean.
Troubleshooting Q&A
Q: My cookies were soggy. What happened?
A: You likely dipped the Oreos too long or used too much milk. Dip each cookie briefly—just enough to wet the surface—and lay it in the pan. The goal is softened, not saturated.
Q: The pudding seems too loose even after chilling.
A: Make sure you used the exact amount of milk called for with the pudding mix and gave it the initial 5 minutes to thicken before spreading. If you under-mixed or used more milk, it won’t set properly.
Q: My layers slid around when I added the second cookie layer.
A: Work carefully when laying the second set of Oreos. Arrange them gently and press only slightly so they make contact with the whipped topping beneath. If the topping is too soft, chill for 10–15 minutes between layers to firm it up before adding the next set.
Q: It’s hard to get clean slices.
A: Chill longer, and use a warmed, dry knife. Wipe between cuts. For the cleanest presentation, refrigerate overnight and cut with a chef’s knife heated briefly under hot water.
Time to Try It
This Oreo Lasagna Dessert is worth bookmarking. It comes together quickly, requires minimal skill, and delivers big on texture and nostalgia. Assemble in under 20 minutes, chill for at least 4 hours (overnight preferred), and serve straight from the pan for an easy, crowd-pleasing finish to any meal.
Make a batch this week. Bring it to potluck, plate it for dessert after a casual dinner, or keep it in the fridge for a crowd-pleasing snack. It’s simple, reliable, and exactly the sort of dessert that brings people to the table.
Oreo Lasagna Dessert
Ingredients
Equipment
Method
- Measure 2 1/2 cups nonfat milk. Pour 1/2 cup into a small bowl and set aside for dipping; use the remaining 2 cups for the pudding.
- In a medium bowl, whisk the 13.4 ounce box instant vanilla pudding mix with the 2 cups nonfat milk until smooth. Let the pudding sit about 5 minutes to thicken.
- Set an 8×8-inch pan on the counter. Remove 4 Oreos from the bag and set them aside to crush later; the remaining 32 Oreos will be used for the layers.
- Working with 16 Oreos at a time, dip each Oreo briefly into the reserved 1/2 cup milk (do not soak) and arrange them in a single layer on the bottom of the 8×8-inch pan.
- Spread half of the thickened pudding evenly over the first Oreo layer.
- Spread half of the 18 ounce container of whipped topping evenly over the pudding.
- Dip the next 16 Oreos, one at a time, in the reserved milk and arrange them in a single layer over the whipped topping.
- Spread the remaining pudding evenly over the second Oreo layer.
- Spread the remaining whipped topping evenly over the pudding.
- Place the 4 reserved Oreos in a sealed plastic bag and crush them with a rolling pin or chop them finely with a knife. Sprinkle the crumbs over the top of the whipped topping.
- Cover the pan tightly and chill in the refrigerator at least 4 hours before serving (overnight is best).
- Store leftovers in the refrigerator for up to 3 days.
Notes
• To have enough Oreos, be sure to buy a family size or party size package.
• Use any flavor pudding mix!
• Use nonfat or regular milk, but not non dairy (pudding mix won’t set up properly with non dairy milk)
• Make it sugar-free: use sugar free pudding mix, sugar free whipped topping and sugar-free Oreos.