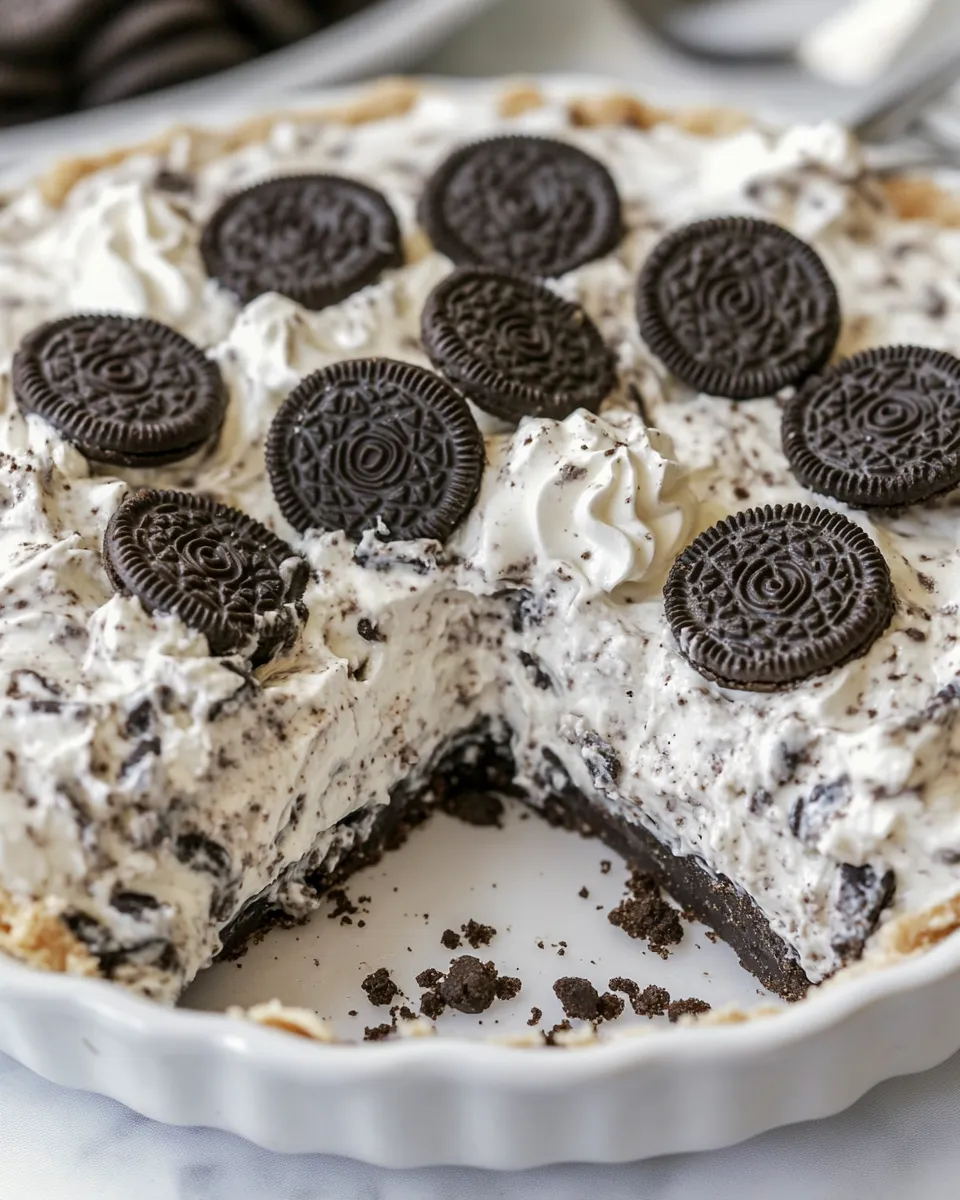
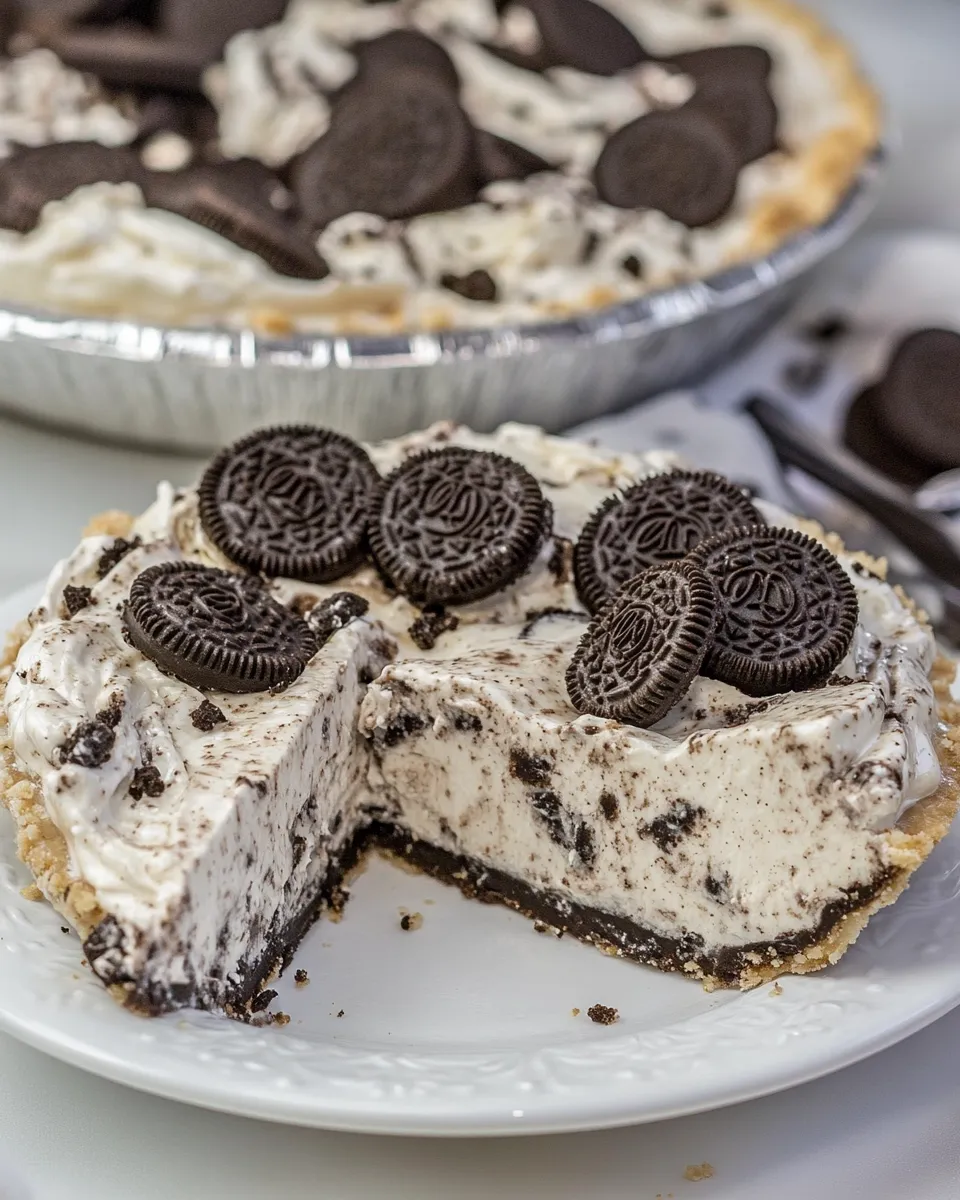
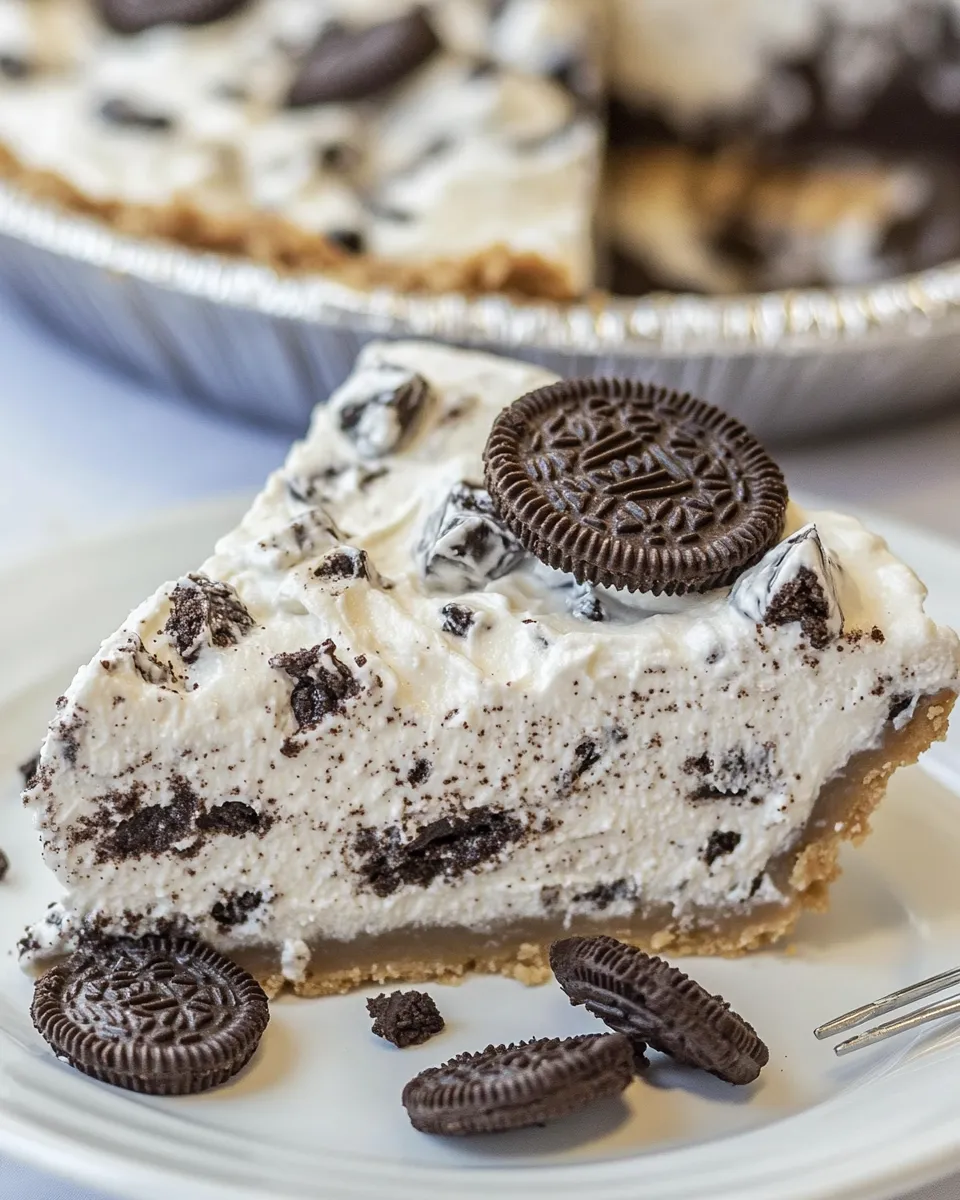
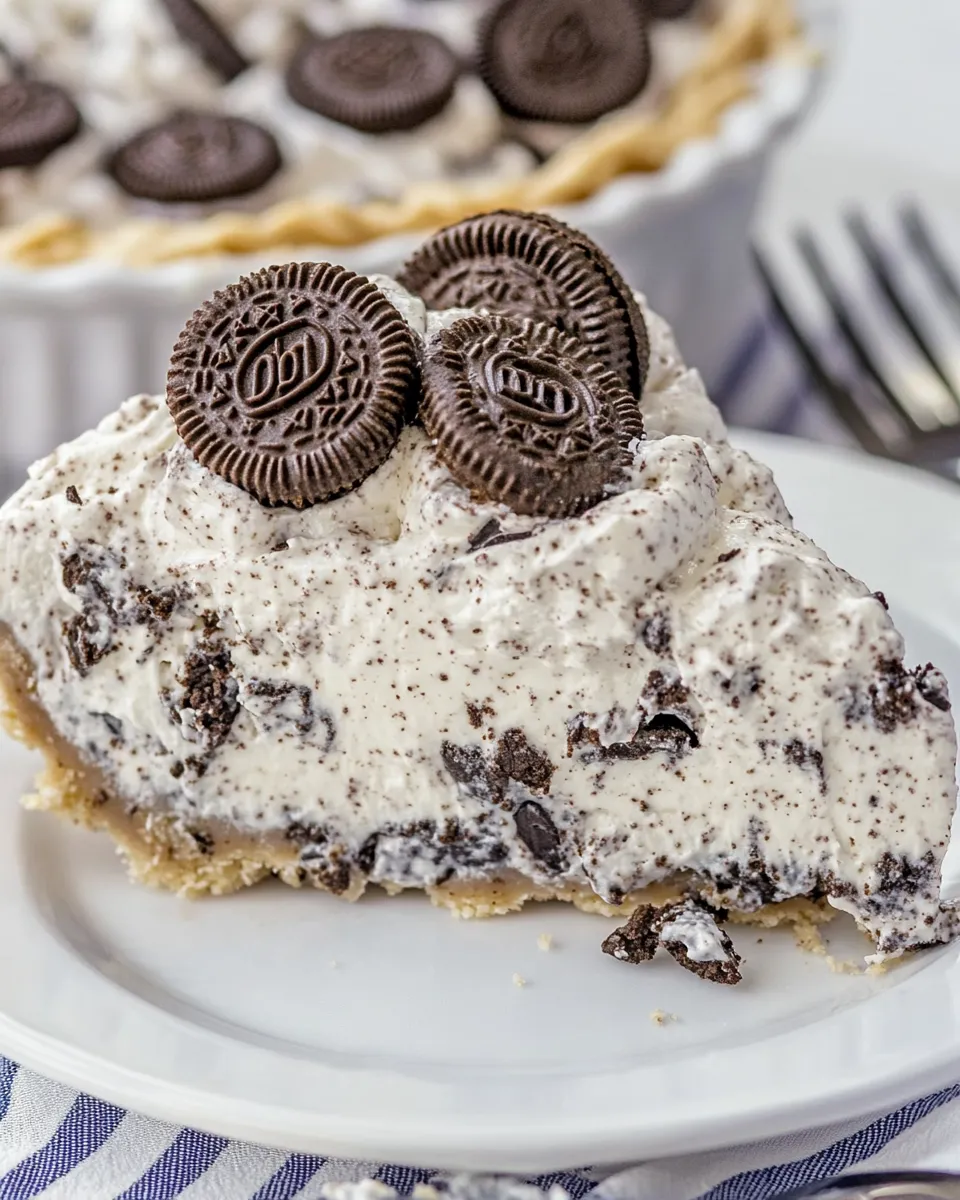
Oreo Pie (No Bake)
Dense, cold, and endlessly comforting — this Oreo Pie is the kind of dessert that feeds a crowd without fuss. It hangs out in the fridge, gets firmer with time, and tastes better the next day. No oven needed, no tempering, just a handful of pantry staples and a firm pie crust to hold everything together.
I teach a simple method here: mix pudding, fold in Cool Whip, stir in chopped Oreos and mini marshmallows, then chill in a big 19-inch Oreo crust. The steps are short, the cleanup is light, and the payoff is a slice that’s creamy, crunchy, and a little nostalgic with every bite.
If you’re bringing this to a potluck or making it for a week of desserts, the recipe scales well and tolerates small swaps. I’ll walk you through what to buy, how to assemble without missteps, smart swaps if you’re missing something, and how to keep the pie at its best for several days.
What to Buy
Shop for these items with the mindset of speed and reliability: pick the packaged options that make assembly quick. For the Oreos and Cool Whip, regular versions work fine — this pie is meant to be approachable, not fussy. If you prefer a slightly lighter mouthfeel, choose low-fat or reduced-sugar options where noted below, but keep to the listed amounts.
Ingredients
- 13.4 ounce box instant vanilla pudding mix — the base that sets the filling quickly and provides vanilla flavor.
- 1 ½ cups(355ml) nonfat milk — hydrates the pudding mix; nonfat keeps the filling lighter.
- 18 ounce container Cool Whip — adds air and creamy stability to the filling.
- 30Oreoschopped — provides chocolate crunch and cookie pockets throughout the pie.
- 2cupsmini marshmallows — add chew and a playful texture contrast.
- 19-inchOreo Crust(or make an Oreo Crust from scratch) — the sturdy, chocolate base that holds the filling; can be store-bought for speed.
Directions: Oreo Pie (No Bake)
- Have a 19-inch Oreo crust ready in a pie plate (store-bought or homemade) and set aside.
- In a large bowl, whisk the 13.4 ounce box instant vanilla pudding mix with 1 ½ cups (355 ml) nonfat milk until smooth. Let the mixture sit about 3–4 minutes, or until it reaches a soft-set consistency.
- Add the entire 18-ounce container of Cool Whip to the pudding. Gently fold with a rubber spatula until the mixture is uniformly combined.
- Stir in the 30 chopped Oreos and 2 cups mini marshmallows until evenly distributed through the filling. (If your Oreos are not yet chopped, chop them before adding.)
- Spoon the filling into the prepared 19-inch Oreo crust, spreading evenly and piling slightly higher than the rim if needed. If you have extra filling, transfer it to a covered container and refrigerate.
- Cover the pie and chill in the refrigerator for at least 4 hours before serving. Store the assembled pie in the refrigerator for up to 3 days.
Why This Recipe is a Keeper
This pie is forgiving. The pudding sets reliably and Cool Whip prevents the filling from collapsing, so even a shaky fold won’t ruin the texture. It’s fast — dessert in under 30 minutes of hands-on time — and it feeds many because the recipe uses a 19-inch crust. The combination of crunchy cookie, pillowy marshmallows, and silky vanilla filling is familiar and crowd-pleasing.
It’s also portable. Wrapped tightly, it survives travel to picnics and potlucks. And because it’s no-bake, you don’t heat up the kitchen in summer — a practical plus when feeding a group.
Smart Substitutions
Short on an ingredient? Here are practical alternatives that keep the structure and flavor intact.
- Instant vanilla pudding mix — swap for instant chocolate pudding if you want a richer, more chocolate-forward result; keep the same amount.
- Nonfat milk — use whole milk for a richer mouthfeel or a dairy-free milk (unsweetened almond or oat) for a lighter or vegan-adjacent version. Texture may vary slightly.
- Cool Whip — replace with whipped cream stabilized with a small amount of instant pudding or mascarpone folded in for structure; use a similar volume for consistency.
- Oreos — any chocolate sandwich cookie will work; double-stuffed adds more cookie filling and makes the pie more indulgent.
- Mini marshmallows — swap for chopped regular marshmallows or leave them out for a cleaner cookie-and-cream texture.
- 19-inch Oreo crust — if you only have smaller crusts, assemble in two or three pans and reduce chilling time per pan as needed.
Must-Have Equipment
- Large mixing bowl — you need room to whisk and fold without splashing.
- Rubber spatula — essential for gentle folding so the Cool Whip keeps its air.
- Measuring cup — for accurate milk measurement (1 ½ cups / 355 ml).
- Pie plate with 19-inch crust — the recipe assumes this size; a shallow, wide pan gives the classic look.
- Plastic wrap or pie cover — to prevent fridge odors and surface skinning while chilling.
Slip-Ups to Skip
Small mistakes are common with no-bake pies. Skip these and you’ll avoid the most common letdowns.
- Overmixing the Cool Whip — fold gently. Vigorous stirring will deflate the whipped topping and yield a dense filling.
- Skipping the chill — the pie needs at least 4 hours to set. Serve too early and slices will slump.
- Adding cookies too early — don’t crush the Oreos into crumbs before folding if you want chunky texture. Chop to your preferred size and fold them in gently.
- Using hot ingredients — everything should be cool. Warm items will melt Cool Whip and ruin the texture.
Seasonal Serving Ideas
Make the pie feel timely with a few small finishing touches that don’t require extra baking.
- Summer — top with fresh berries and a light dusting of crushed Oreos for contrast; berries add acidity to cut the sweetness.
- Fall — sprinkle a little cinnamon or cross between cinnamon and pumpkin spice on top for warm aroma; pair with coffee.
- Winter holidays — press in some crushed peppermint candies on the surface or add a drizzle of chocolate ganache right before serving for a festive touch.
- Spring — scatter edible flowers or chopped toasted nuts for color and crunch.
Chef’s Notes
Texture control
If you like more cookie pockets, chop the Oreos coarsely. For a silkier bite, chop finer. Mini marshmallows soften as the pie chills; if you prefer chew, add half the marshmallows right before serving.
Portioning
A 19-inch pie makes large slices. If you want smaller portions, slice thinner or serve with small spoons at a party buffet. Leftover filling makes for an easy parfait layered with extra crushed cookies.
Presentation tip
Keep a small bowl of reserved chopped Oreos to sprinkle on top just before serving so the topping looks fresh and crisp against the chilled filling.
Keep It Fresh: Storage Guide
Cover the pie tightly with plastic wrap or a pie lid and refrigerate. The assembled pie will keep for up to 3 days in the refrigerator. After that, cookie texture softens and overall quality declines. If you made extra filling, store it in a covered container in the fridge and use it within 2–3 days.
For transport, freeze briefly for about 20–30 minutes to firm the top then wrap; this helps it survive a bumpy car trip. Thaw in the refrigerator until just soft enough to slice.
Oreo Pie (No Bake) Q&A
Can I freeze the pie?
Yes, you can freeze the assembled pie, but textures change. Freeze wrapped tightly for up to 1 month. Thaw overnight in the refrigerator. Expect softer cookie pieces and a slightly different mouthfeel once thawed.
Can I use homemade whipped cream instead of Cool Whip?
Yes. Whip heavy cream to medium peaks and fold in a tablespoon or two of instant pudding mix to help stabilize it. Use an equivalent volume to the 18-ounce Cool Whip container.
What if I don’t have a 19-inch crust?
Use smaller pans and distribute the filling or make multiple smaller pies. Adjust presentation accordingly. The recipe’s filling is measured for a 19-inch crust, so divide evenly for multiple pans.
Can I make this ahead?
Absolutely. Make it the day before for best sliceability and flavor melding. Keep refrigerated and finish with any fresh toppings right before serving.
Final Thoughts
This Oreo Pie (No Bake) is reliable, forgiving, and fast. It’s one of those desserts that delivers nostalgia and crowd-pleasing texture without a lot of effort. Follow the directions as written for consistent results: hydrate the pudding properly, fold gently, and give it time in the fridge. You’ll be rewarded with a creamy, crunchy centerpiece that’s easy to love and hard to resist.
Make it for a potluck, a lazy weekend dessert, or a last-minute celebration. Keep a tub of whipped topping and a sleeve of Oreos on hand — you’ll be surprised how often this pie becomes the answer to the question, “Can you bring dessert?”
Oreo Pie (No Bake)
Ingredients
Equipment
Method
- Have a 19-inch Oreo crust ready in a pie plate (store-bought or homemade) and set aside.
- In a large bowl, whisk the 13.4 ounce box instant vanilla pudding mix with 1 ½ cups (355 ml) nonfat milk until smooth. Let the mixture sit about 3–4 minutes, or until it reaches a soft-set consistency.
- Add the entire 18-ounce container of Cool Whip to the pudding. Gently fold with a rubber spatula until the mixture is uniformly combined.
- Stir in the 30 chopped Oreos and 2 cups mini marshmallows until evenly distributed through the filling. (If your Oreos are not yet chopped, chop them before adding.)
- Spoon the filling into the prepared 19-inch Oreo crust, spreading evenly and piling slightly higher than the rim if needed. If you have extra filling, transfer it to a covered container and refrigerate.
- Cover the pie and chill in the refrigerator for at least 4 hours before serving. Store the assembled pie in the refrigerator for up to 3 days.
Notes
You can use sugar-free pudding mix and/or change up the pudding flavor too.