Our Favorite Buttermilk Waffles Recipe
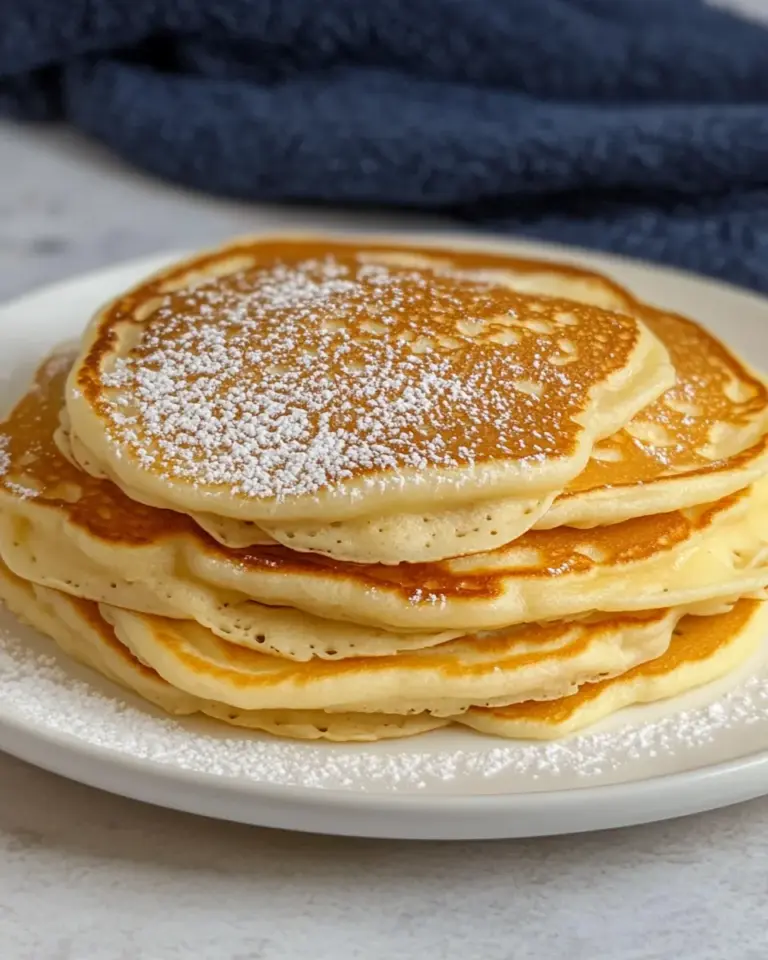
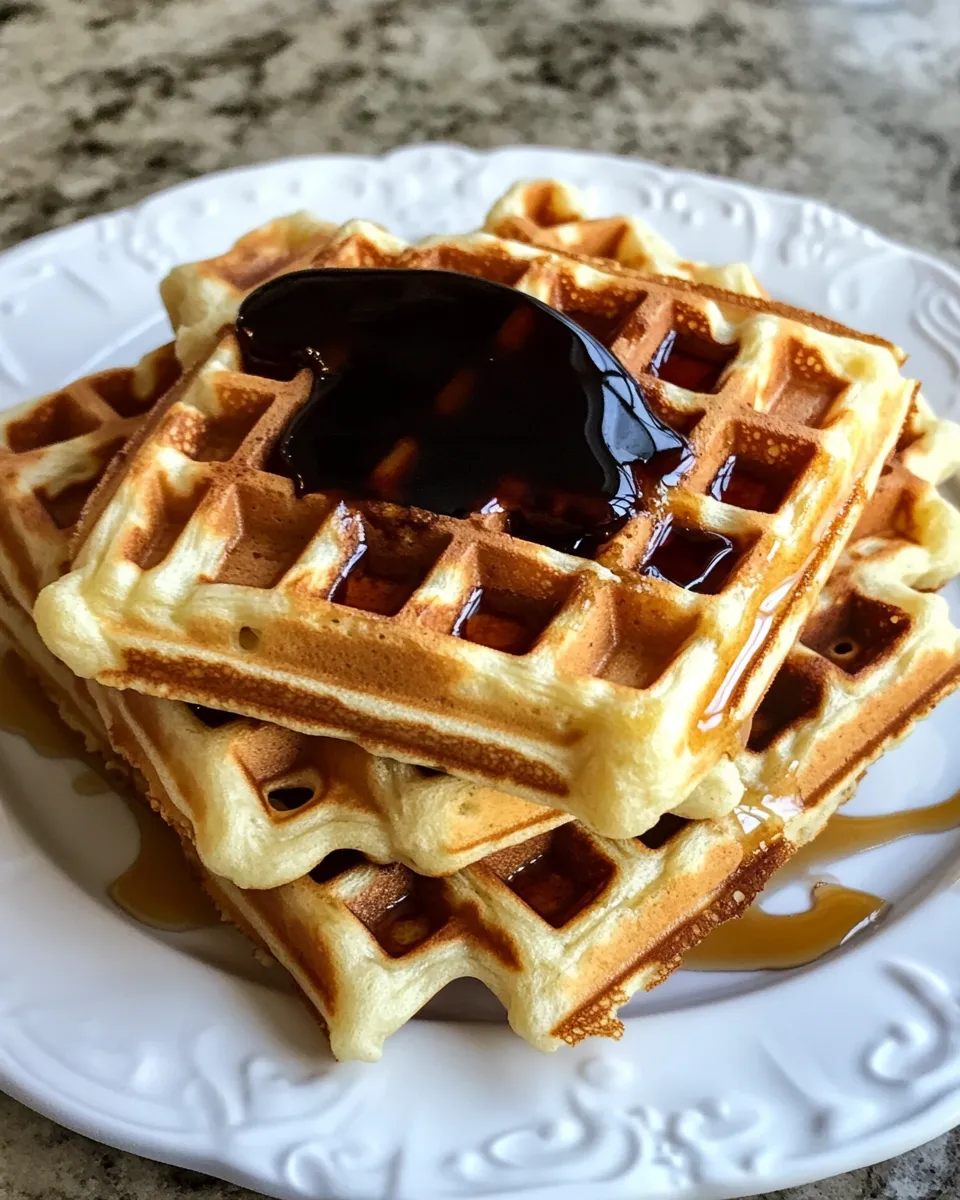
Waffles are one of those weekend rituals that feel like a small celebration. Crispy outside, tender inside, and scent that spreads through the house like a warm invitation. This buttermilk waffle recipe is straightforward, forgiving, and worth the minimal attention it asks for. I return to it when I want a reliable breakfast that feels special without being complicated.
There’s a little science in the batter—acid from the buttermilk meeting baking soda gives lift and a tender crumb. There’s also a touch of fat from melted butter and a splash of vanilla that rounds the flavor. The result is waffles with golden, ridged exteriors and soft, slightly tangy interiors that hold syrup, fruit, and whatever else you love.
I’ll walk you through a clear ingredient checklist, the exact steps I use every time, and practical tips for fixing common problems. Whether you’re making these for weekday breakfasts or a holiday brunch, the process is designed to keep the waffles crisp and the cleanup manageable. Let’s get cooking.
Ingredient Checklist
- 1 cup (120g) all-purpose flour — forms the structure of the waffle; measure by spooning into the cup and leveling for accuracy.
- 1/4 teaspoon (0.65g) kosher salt — balances sweetness and enhances overall flavor; adjust slightly if using finely ground table salt.
- 1 tablespoon (12g) sugar — adds a touch of sweetness and helps with browning on the waffle iron.
- 1 teaspoon (4g) baking powder — one of the leavening agents that helps the waffle rise and creates a light texture.
- 1/2 teaspoon (2g) baking soda — reacts with the buttermilk to provide extra lift and tenderness.
- 1 cup (245g) buttermilk — the acidic liquid that tenderizes the batter and contributes tang; key to the recipe’s flavor and texture.
- 1 large (50g) egg — binds ingredients and adds richness and structure.
- 3 tablespoons (42g) butter, melted — adds flavor and helps create a crisp exterior; part is used in the batter and part is brushed on the waffle iron.
- 1 teaspoon (5g) vanilla extract — rounds and deepens the flavor with a subtle, sweet aroma.
Buttermilk Waffles, Made Easy
- Preheat your waffle iron according to the manufacturer’s instructions.
- In a medium bowl, whisk together the all-purpose flour, kosher salt, sugar, baking powder, and baking soda. Set the dry mixture aside.
- In a 2-cup measuring cup or small bowl, whisk together the buttermilk, large egg, melted butter, and vanilla extract until combined. (If the butter is not yet melted, melt it and let it cool slightly before mixing.)
- Pour the wet mixture into the dry ingredients and stir gently with a spatula or whisk until just combined. A few small lumps are fine—do not overmix.
- Lightly brush or wipe a little of the melted butter onto the preheated waffle iron grids (use part of the measured melted butter) to prevent sticking.
- Pour the appropriate amount of batter onto the center of the waffle iron (follow your waffle iron’s portion guidance), close the lid, and cook until the waffle is golden brown and steam has mostly stopped—following your waffle iron’s recommended cook time.
- Transfer cooked waffles to a wire rack to keep them crisp while you finish the remaining batter. Serve immediately with your favorite syrup and toppings.
Why You’ll Keep Making It
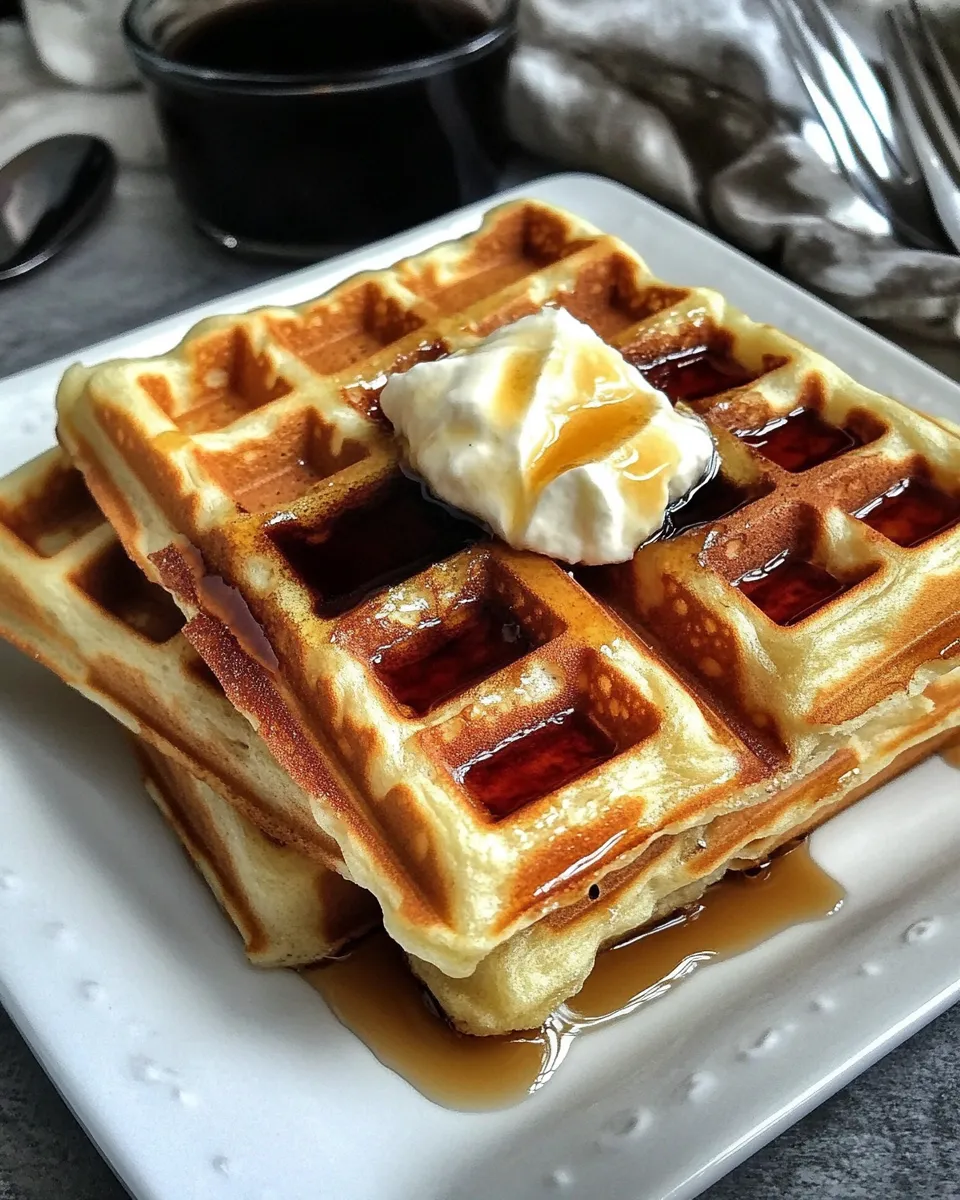
This recipe hits the balance of crispness and tenderness every time. The buttermilk and baking soda do the heavy lifting for texture, while the small amount of sugar and melted butter make the crust golden and flavorful. It’s a dependable base: tweak toppings, add mix-ins, or scale the recipe for a crowd without losing the essentials that make the waffles excellent.
It’s also fast to come together. You don’t need to separate eggs or temper ingredients, and the batter tolerates a few lumps—no delicate folding or complicated technique. If you like waffles that hold up to butter and syrup without getting soggy immediately, this is the one you’ll reach for again.
Vegan & Vegetarian Swaps
Vegetarian eaters are already covered by this recipe, but if you want to make the waffles vegan, here are practical swap ideas to keep the texture and flavor similar:
- Buttermilk alternative — use a plant-based milk mixed with a tablespoon of vinegar or lemon juice to mimic the acidity; let it sit briefly to thicken.
- Egg swap — use a commercial egg replacer or a flax “egg” (1 tablespoon ground flax + 3 tablespoons water, chilled until gelled) to bind the batter.
- Butter swap — replace melted butter with a solid neutral-tasting vegan butter melted, or use a neutral oil for a slightly lighter texture.
These swaps change the flavor profile slightly but keep the batter’s behavior similar in the waffle iron. Cook times and browning will be virtually the same; monitor the steam and color for doneness.
Cook’s Kit
Gather these items before you start so the process flows:
- Waffle iron — any standard home waffle iron works; know whether yours is Belgian or classic for portion size.
- Mixing bowls — one medium for dry ingredients and one for wet; a 2-cup measure or small bowl for mixing liquids keeps things tidy.
- Whisk and spatula — whisk the dry mix and liquids; use a spatula to fold and scrape the batter without overmixing.
- Wire rack and baking sheet — keep cooked waffles crisp by setting them on a wire rack placed over a sheet while you finish the batch.
- Brush or paper towel — to lightly oil the waffle iron grids with melted butter between batches.
Common Errors (and Fixes)
Batter is too thin or too thick
Fix: The batter should pour but be reasonably thick. If it feels runny, add a tablespoon of flour at a time. If it’s stodgy, add a splash of buttermilk. Measure ingredients carefully to avoid major imbalances.
Waffles are soggy or limp
Fix: Move finished waffles to a wire rack rather than stacking them on a plate; stacking traps steam and softens the crust. Ensure the waffle iron is fully preheated and the iron grids are hot enough to create a good sear.
Waffles stick to the iron
Fix: Brush the preheated grids lightly with melted butter before the first batch and between batches if needed. Use only the measured butter indicated—too much oil can cause smoking, too little and things stick.
Uneven browning
Fix: Check your waffle iron’s heat distribution. Rotate your waffle, if possible, mid-cycle or adjust cooking time. Wait until steam mostly stops before opening—this signals the interior has set.
Holiday-Friendly Variations
Small changes make these waffles festive without changing the method:
- Spiced waffles — fold in a pinch of cinnamon and nutmeg to the dry mix for a warm holiday aroma.
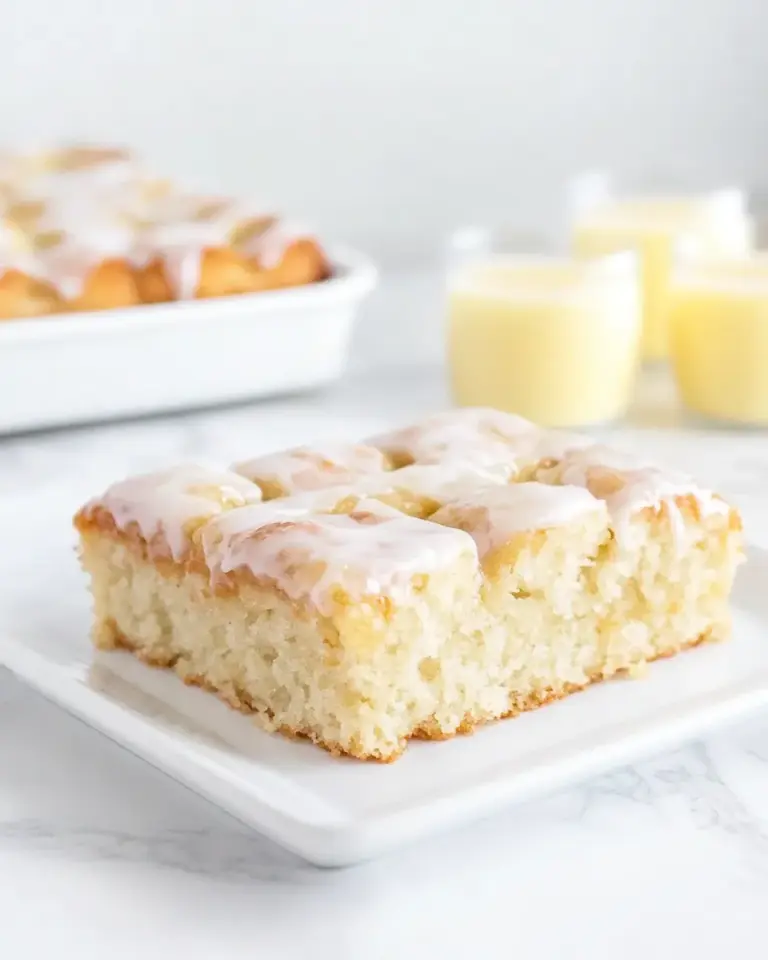
- Citrus glaze — top with a thin lemon or orange glaze after cooking for brightness.
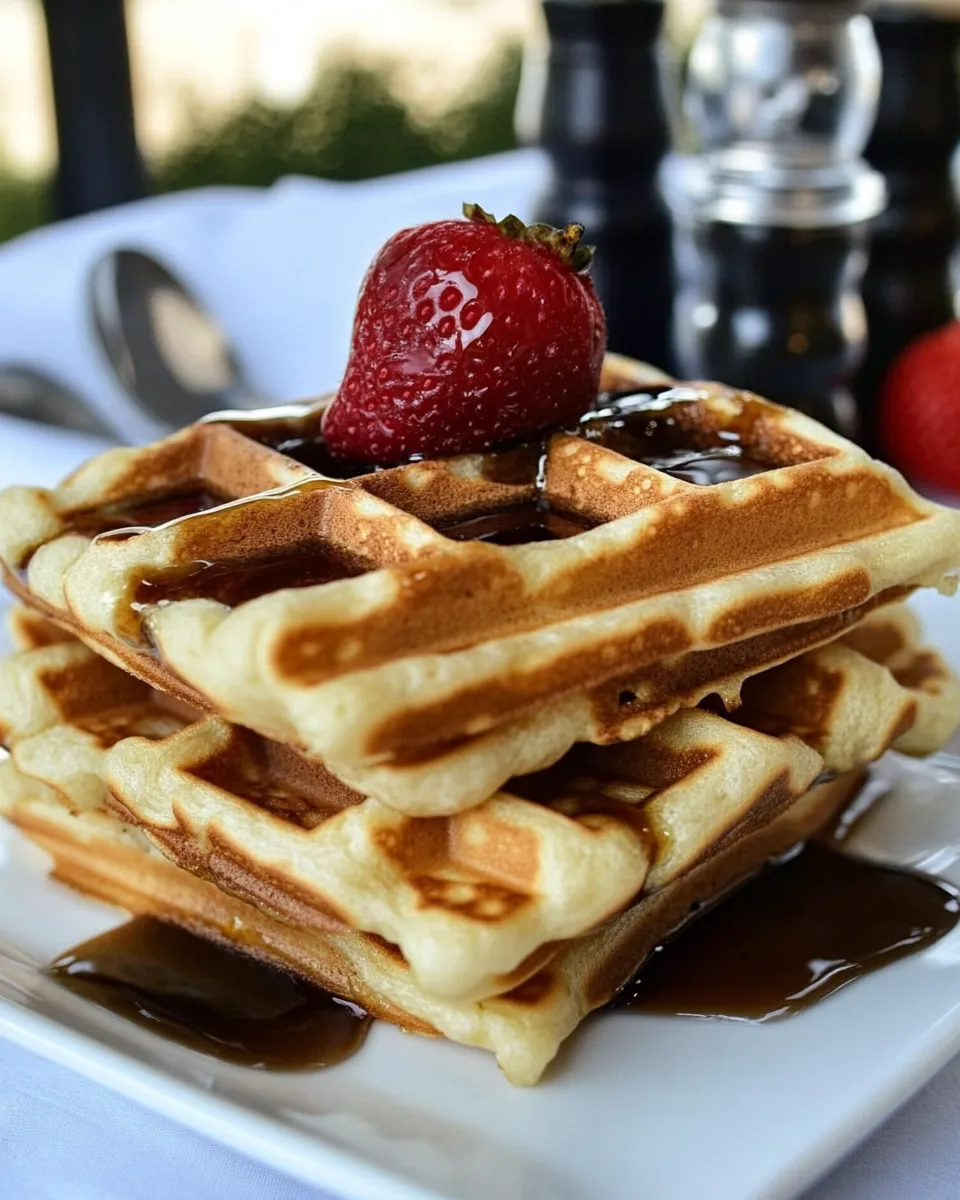
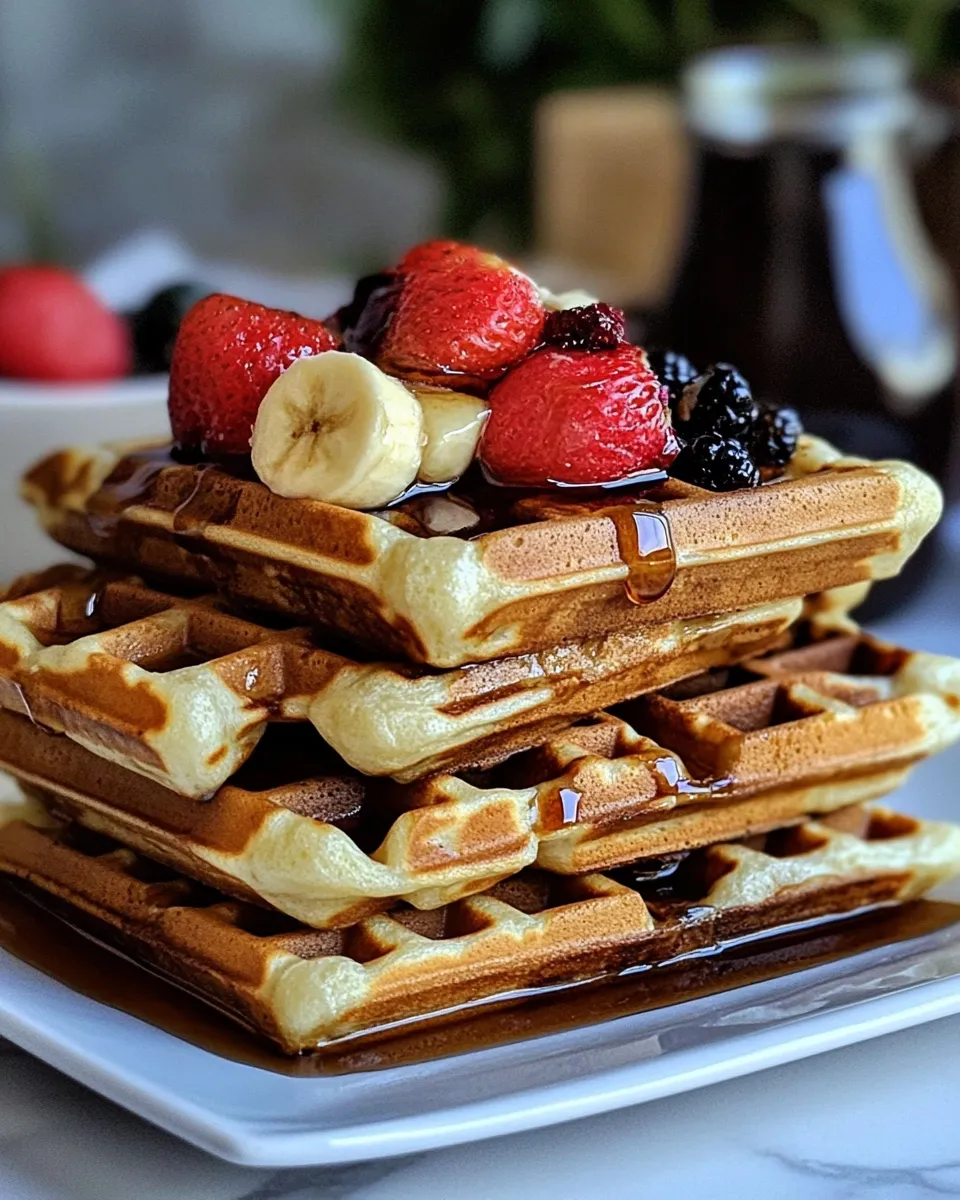
- Berry compote — quickly simmer berries with a little sugar for a syrup alternative that’s fresh and seasonal.
None of these variations require altering the cook method—add spices to the dry mix or serve with a prepared topping to keep the waffle texture reliable on the iron.
Pro Tips & Notes
- Resting the batter: a short 5–10 minute rest after mixing can hydrate the flour and improve tenderness, but don’t rest so long that the leaveners lose effectiveness.
- Use a wire rack: Always move waffles to a wire rack to preserve crispness; a warm oven at low heat can hold a finished batch without steaming them if you need to time a brunch.
- Portion control: Follow your waffle iron’s recommended portion size—overfilling makes a mess; underfilling yields thin waffles.
- Temperature matters: Look for the steam to slow significantly before opening the iron; that’s the best indicator of doneness across models.
- Butter management: Use part of the measured melted butter in the batter and the rest to grease the iron. This keeps flavor consistent and prevents sticking.
Storage & Reheat Guide
Store leftover waffles in an airtight container in the refrigerator for up to 3 days. For longer storage, freeze on a sheet until solid, then stack in a zipper bag for up to 1 month. Reheat straight from frozen for best results.
To reheat: place waffles in a toaster or toaster oven on medium until warmed through and crisp. In a conventional oven, arrange waffles on a wire rack set over a baking sheet and bake at 375°F (190°C) for 8–12 minutes. Avoid microwaving unless you plan to crisp them briefly in a toaster afterward; microwaves make them soft.
Buttermilk Waffles FAQs
Can I make the batter ahead of time?
You can mix the batter and refrigerate it for up to 24 hours, but expect a slight loss in lift; the waffles will still be tasty. If you refrigerate, stir gently before cooking and don’t overmix.
What if I don’t have buttermilk?
Make a quick buttermilk substitute by adding 1 tablespoon of vinegar or lemon juice to just under 1 cup of milk and let it sit for 5 minutes. Use this mixture in place of the buttermilk in the recipe.
How do I get extra-crispy waffles?
Use the wire rack technique and make sure your waffle iron is fully preheated. Slightly longer cooking time and a bit more fat on the grids will firm the crust, but watch closely to avoid burning.
Can I double the recipe?
Yes. Keep the same proportions and work in batches. A second pair of hands or a warmed oven to hold finished waffles will make the process smoother for a larger group.
Save & Share
I keep this recipe front-and-center because it’s reliable and forgiving, and it rewards small upgrades—better maple syrup, a pat of cultured butter, or a bowl of roasted fruit. If you try it, take a picture and share it with friends or family. Tag someone who needs a simple, delicious weekend breakfast idea.
Happy cooking. Come back when you want variations for chocolate chip waffles, savory cheese waffles, or a make-ahead strategy for a brunch crowd—I’ll share what I use to scale and save time without losing flavor.
Our Favorite Buttermilk Waffles Recipe
Ingredients
Equipment
Method
- Preheat your waffle iron according to the manufacturer's instructions.
- In a medium bowl, whisk together the all-purpose flour, kosher salt, sugar, baking powder, and baking soda. Set the dry mixture aside.
- In a 2-cup measuring cup or small bowl, whisk together the buttermilk, large egg, melted butter, and vanilla extract until combined. (If the butter is not yet melted, melt it and let it cool slightly before mixing.)
- Pour the wet mixture into the dry ingredients and stir gently with a spatula or whisk until just combined. A few small lumps are fine—do not overmix.
- Lightly brush or wipe a little of the melted butter onto the preheated waffle iron grids (use part of the measured melted butter) to prevent sticking.
- Pour the appropriate amount of batter onto the center of the waffle iron (follow your waffle iron's portion guidance), close the lid, and cook until the waffle is golden brown and steam has mostly stopped—following your waffle iron’s recommended cook time.
- Transfer cooked waffles to a wire rack to keep them crisp while you finish the remaining batter. Serve immediately with your favorite syrup and toppings.