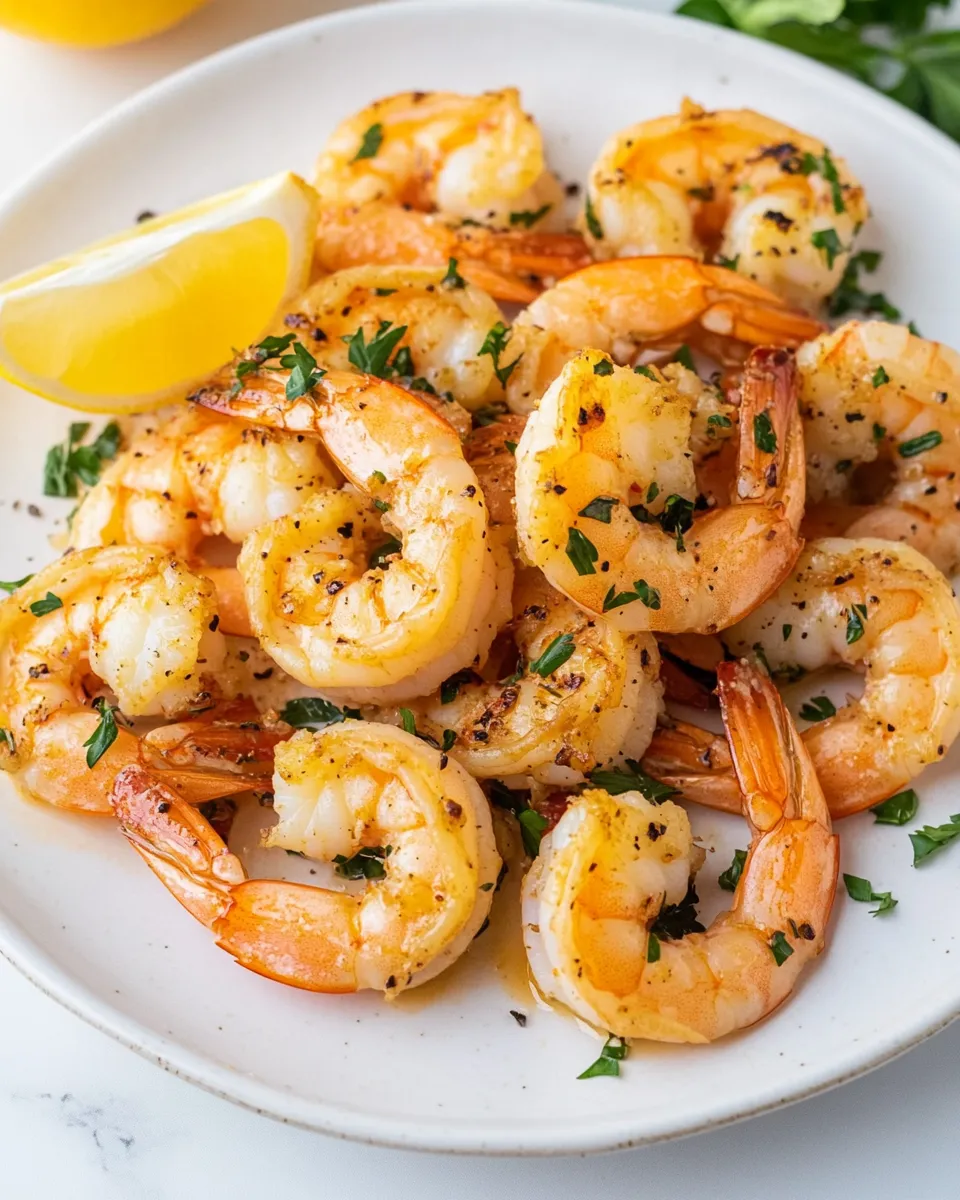
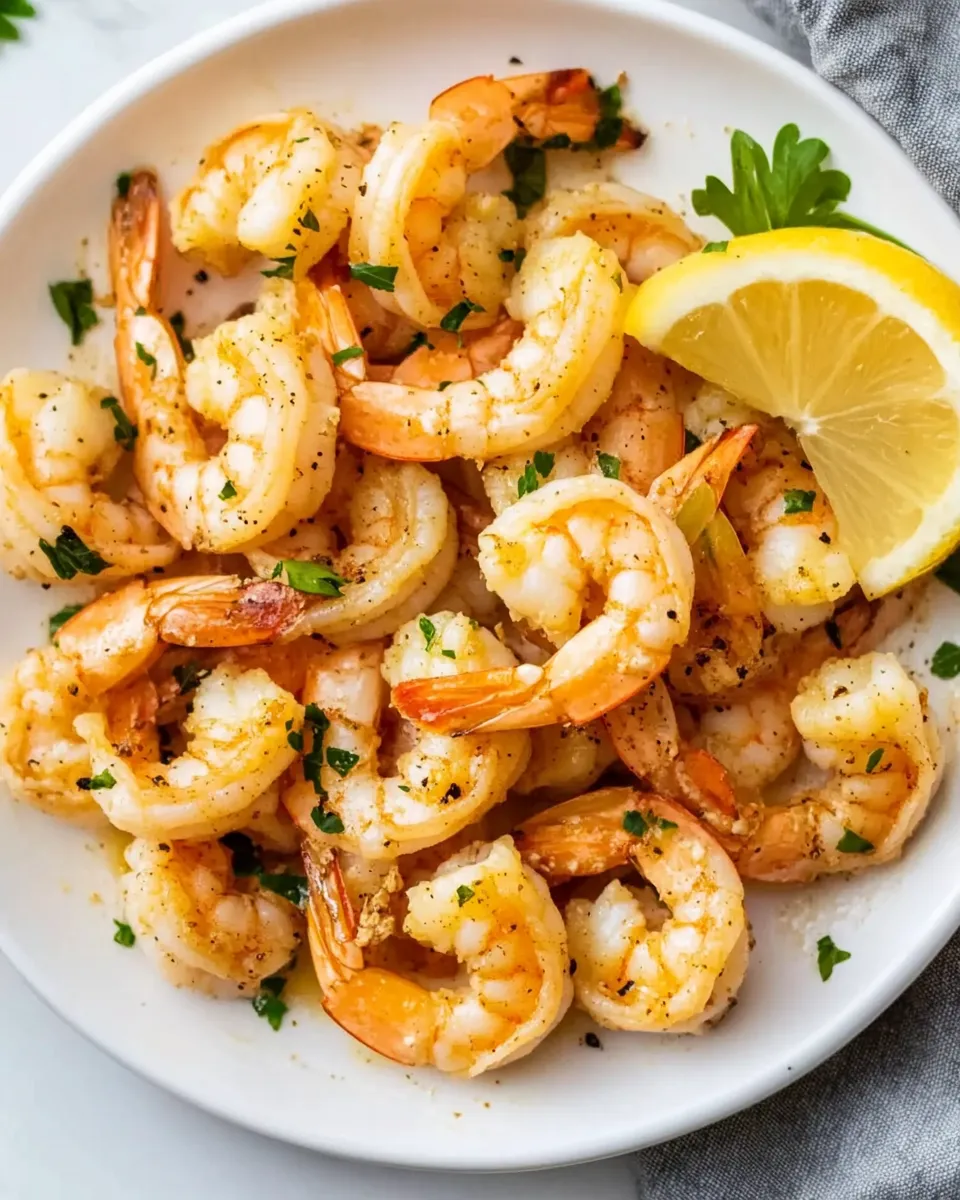
Pan Seared Shrimp
I love shrimp for the way they cook: fast, forgiving, and endlessly adaptable. This pan-seared version is one of my weeknight go-tos — it comes together in minutes, delivers bright lemon notes, and finishes with a little parsley for color and freshness. No long marinades, no special equipment, and the payoff is reliably restaurant-worthy. I’ll show you exactly how I do it so you get the same result every time.
Read through the steps once, gather the few ingredients, and get your skillet hot. The technique is simple: a hot pan, the right fat, and not crowding the shrimp so they can brown. I’ll cover small swaps if you don’t have something, common mistakes to avoid, and how to scale or prep ahead. Let’s make shrimp that are tender, juicy, and slightly caramelized on the edges.
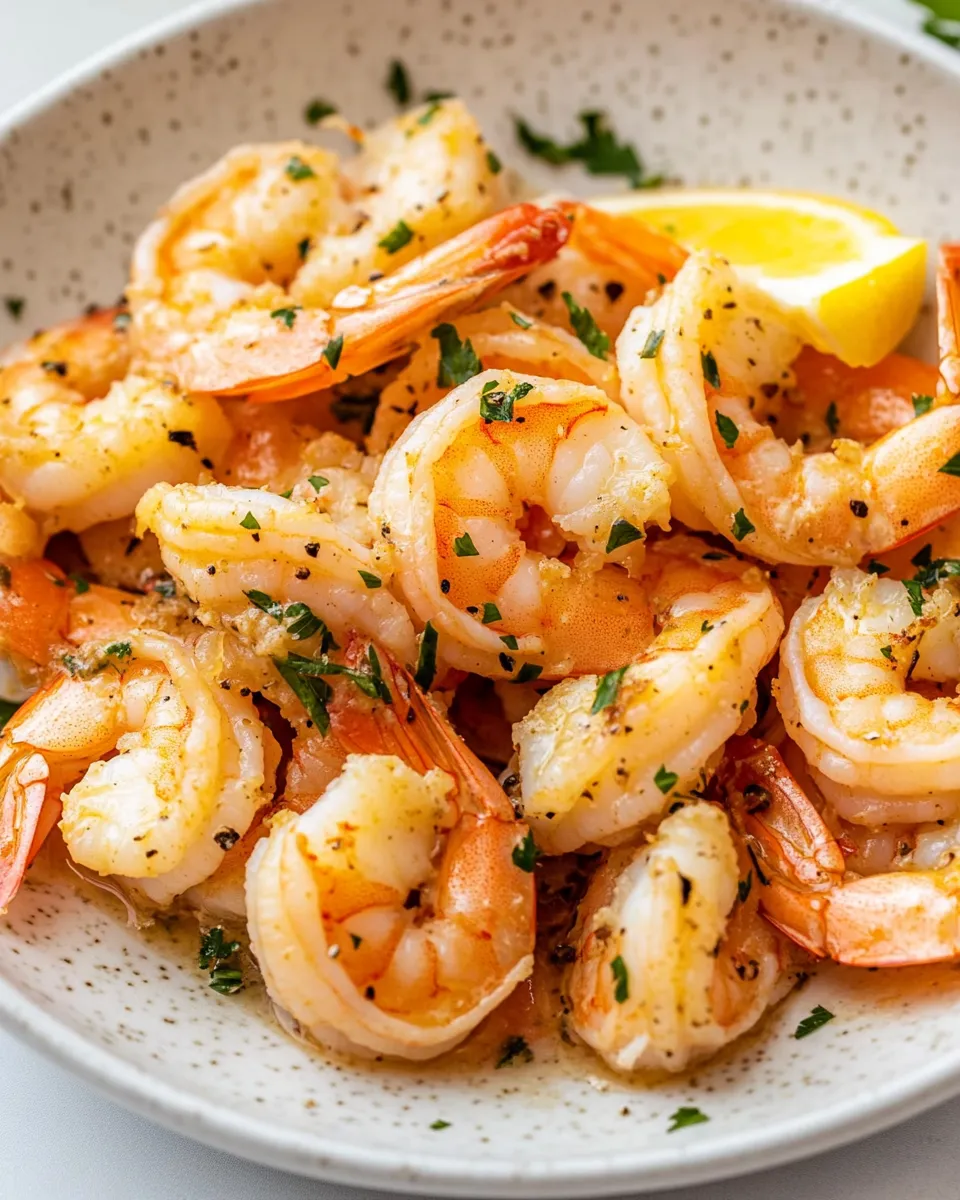
This recipe is perfect on its own with a bowl of rice or tucked into tacos, salads, or pasta. Keep the lemon handy — it brightens everything. Below you’ll find the ingredient list exactly as written, step-by-step instructions, notes, and answers to the questions I get asked most often when friends try this at home.
Ingredients
- 2 tablespoons (30ml) olive oil — provides a high-heat fat for searing and adds a clean, fruity base flavor.
- 2 tablespoons (28g) butter — gives richness and helps the shrimp brown without burning when combined with oil.
- 1 pound (450g) raw shrimp — I used 31-40 count per pound size, thawed if frozen, peeled and deveined — the main ingredient; size affects cook time, but the method stays the same.
- 4 small garlic cloves, minced or pressed — brings immediate savory aromatics; mince finely so it disperses without burning.
- 1 teaspoon Italian seasoning — an easy herb blend that complements the lemon and garlic without overpowering the shrimp.
- ½ teaspoon paprika, smoked or regular — adds color and a warm, gentle background note; smoked brings more depth.
- ½ teaspoon salt — seasons the shrimp; adjust to taste, especially if serving with salty sides.
- ¼ teaspoon ground black pepper — balances sweetness and adds a touch of heat.
- 1 lemon, juice and zest to taste — zest added for aromatic brightness, juice added at the end for acidity that lifts the dish.
- 1 tablespoon chopped fresh parsley — fresh herb to finish; adds color and a fresh, slightly peppery note.
Your Shopping Guide
Buy the best shrimp you can find within your budget. Fresh shrimp labeled “previously frozen” are often just as good as “fresh” because they’ve been frozen quickly after catch. If buying frozen, thaw them in the refrigerator overnight or under cold running water for a quicker option. Look for shrimp that are translucent and have a mild, ocean-fresh smell — not ammonia or overly fishy.
For this recipe, 31–40 count per pound is a comfortable size: big enough to sear and get some color, small enough to cook through in 2–3 minutes per side. Grab peeled and deveined shrimp if you want to skip prep; if you buy shell-on shrimp, factor in extra time for peeling. Pick a fresh lemon and fresh parsley for the bright finish — jarred parsley or bottled lemon won’t give the same lift.
From Start to Finish: Pan Seared Shrimp
- Pat the shrimp dry with paper towels (use thawed, peeled, and deveined shrimp as listed).
- Place a 12-inch skillet over medium heat and add the olive oil and butter; heat until the butter is melted and the fat shimmers but does not brown.
- In a bowl, toss the shrimp with the minced garlic, Italian seasoning, paprika, salt, and black pepper so the shrimp are evenly coated.
- Add the seasoned shrimp to the hot skillet in a single layer (do not overcrowd the pan). Cook undisturbed for 2–3 minutes, until the underside is opaque and lightly browned.
- Flip the shrimp and cook the second side for 2–3 minutes, until the shrimp are opaque, pink, and cooked through.
- About 1 minute before the shrimp are done, add the lemon zest and drizzle lemon juice to taste over the shrimp; stir once to combine and heat the lemon briefly.
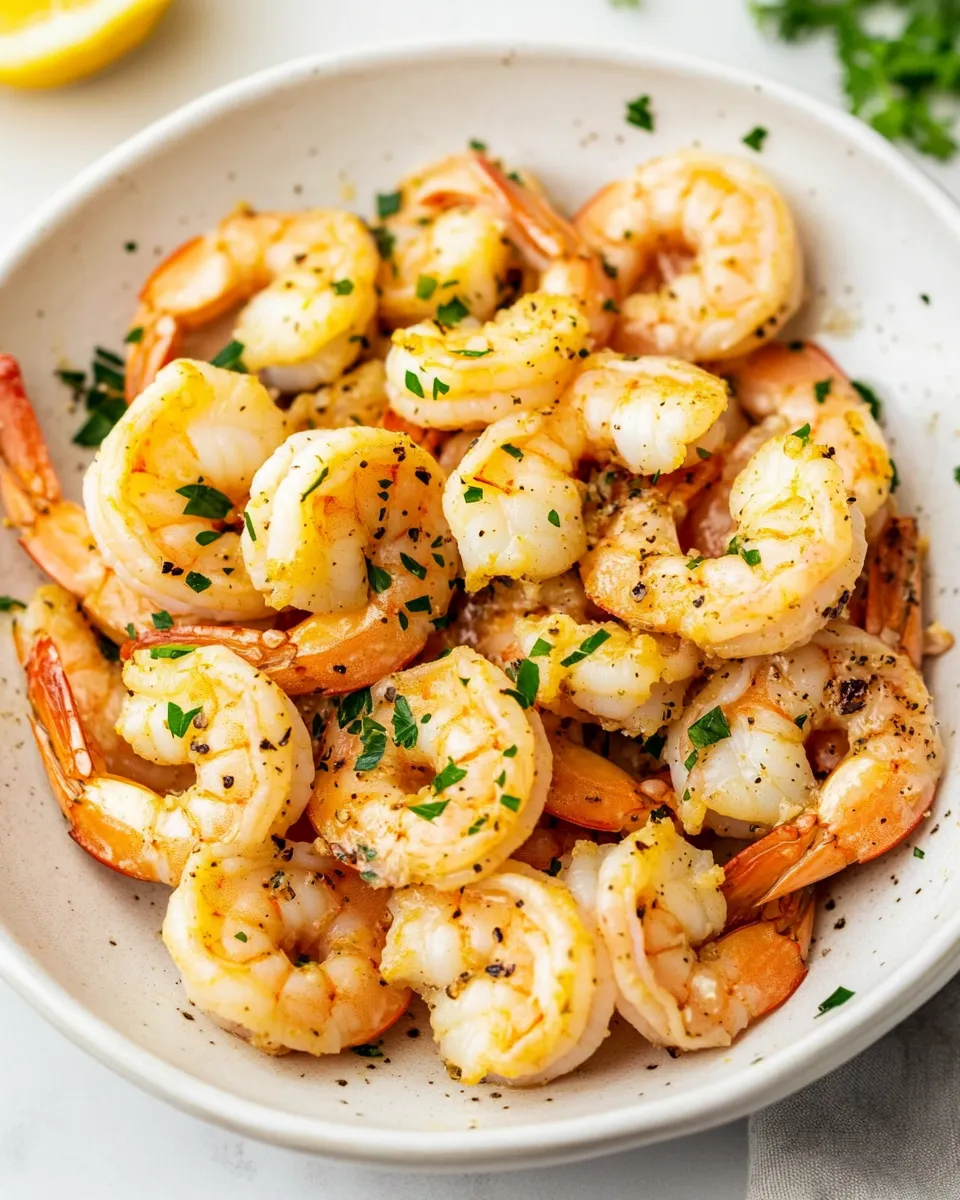
- Remove the skillet from the heat, transfer the shrimp to a serving plate, sprinkle with the chopped parsley, and serve immediately.
Why Pan Seared Shrimp is Worth Your Time
This method is efficient: the hands-on time is minimal, and the results are immediate. A good sear develops flavor through browning, while the short cook time preserves tenderness. The recipe balances fat (butter and oil) for flavor and browning, brightened by lemon to keep it lively. It’s a reliable dish to serve when you want something that feels special but doesn’t require babysitting.
It’s also a flexible building block. Once you master the timing and technique here, you can riff easily — toss the finished shrimp into pasta, spoon them over grain bowls, or slide them into warmed tortillas. The approach trains you to read shrimp — color and texture tell you when they’re done — which is a skill that improves every seafood dish you make.
What to Use Instead
If you don’t have butter, you can use an equal amount of oil plus a splash more for flavor; it won’t have the same richness but will still brown nicely. If you’re avoiding dairy, substitute a neutral oil and finish with a squeeze more lemon and extra parsley for brightness. No Italian seasoning? Use a mix of dried oregano and basil or a pinch of dried thyme. If you only have smoked paprika, use it — it adds a pleasant depth. For parsley, cilantro is a valid swap if you prefer its flavor profile.
Setup & Equipment
Essential: a 12-inch skillet. Heavy-bottomed stainless steel or cast iron works best because it holds heat and gives consistent browning. Nonstick can work, but you’ll miss some of the fond (the browned bits) that add flavor. Paper towels to dry the shrimp are crucial — moisture is the enemy of a good sear.
Other helpful items: a bowl for tossing the shrimp with seasonings, a spatula or tongs for flipping, and a microplane or fine grater for zesting the lemon. Have everything within arm’s reach before you heat the pan — shrimp cook fast and you don’t want to scramble to mince garlic or zest while they’re in the skillet.
Errors to Dodge
Don’t overcrowd the pan. Too many shrimp in the skillet cools the surface and causes steaming instead of searing. Work in batches if needed. Also, don’t skip drying the shrimp first — water causes splatter and prevents browning. Keep the heat at medium to medium-high; if the butter browns or burns, the flavor turns bitter. Finally, avoid overcooking: shrimp go from perfectly cooked to rubbery quickly. Once they’re opaque and pink, they’re done.
Fresh Seasonal Changes
In spring and summer, use bright, juicy lemons and plenty of fresh parsley or basil. Add chopped spring onions or a handful of fresh herbs right at the end for the lightest flavor. In cooler months, consider finishing with a small knob of butter or a sprinkle of smoked paprika to lend warmth. If citrus is out of season where you live, a splash of good white wine added at the end (and reduced briefly) makes a pleasant substitute for brightness.
Notes on Ingredients
Shrimp size affects cook time but not the basic technique. The recipe lists 31–40 count per pound; bigger shrimp (lower count number) will take a little longer, smaller shrimp slightly less. Garlic is listed minced or pressed — pressing gives a cleaner, almost paste-like texture that disperses better when cooking fast. Italian seasoning is simply a convenience; use fresh herbs if you have them, but dry keeps this recipe fast and fuss-free.
The recipe calls for both oil and butter — that’s deliberate. Oil raises the smoke point and keeps the butter from burning, while butter adds flavor and helps with browning. If you must omit butter, increase the oil slightly and finish with a splash of lemon for brightness.
Prep Ahead & Store
You can season the shrimp up to an hour ahead and keep them chilled on a tray covered in plastic wrap. Don’t salt them too far ahead, as salt draws moisture out over time. If you need the whole dish ready ahead, cook the shrimp fully and cool them quickly on a rimmed sheet pan, then refrigerate in a shallow airtight container for up to 48 hours. Reheat gently in a skillet over medium-low heat with a splash of oil or butter; watch closely to avoid overcooking.
Leftover shrimp are great cold in salads or chopped into a quick shrimp salad. They’ll keep in the fridge for 48 hours; for longer storage, freeze cooked shrimp in an airtight container for up to 2 months, though texture will decline slightly.
Your Top Questions
Q: How do I know when shrimp are done?
A: They turn opaque and pink with a slight curve. The flesh should be firm but still give a little, not rubbery. Overcooked shrimp curl tightly into an “O”; perfectly cooked ones hold a looser “C.”
Q: Can I use frozen shrimp?
A: Yes. Thaw in the refrigerator overnight or run under cold water to speed it up. Pat very dry before seasoning and cooking.
Q: My garlic burned — what went wrong?
A: Garlic burns quickly. Mince it fine and toss it with the shrimp rather than frying it alone in the pan first. Keep the heat to medium and move the shrimp if the garlic starts to darken too fast.
Q: Can I double the recipe?
A: You can, but cook in batches so you don’t overcrowd the pan. Overcrowding causes steaming and prevents browning.
In Closing
Pan seared shrimp is one of those recipes that rewards attention to a few simple details: dry shrimp, a hot skillet, and restraint to avoid overcooking. It’s quick, flexible, and consistently delicious. Use the ingredient list and steps above as your baseline, and once you’re comfortable, feel free to tweak the herbs, add a pinch of chili flakes, or toss finished shrimp into pasta or tacos. Little changes lead to big variety without changing the core technique.
Make a batch tonight. It’s an easy way to up your weeknight dinner game with minimal fuss and maximum flavor.
Pan Seared Shrimp
Ingredients
Equipment
Method
- Pat the shrimp dry with paper towels (use thawed, peeled, and deveined shrimp as listed).
- Place a 12-inch skillet over medium heat and add the olive oil and butter; heat until the butter is melted and the fat shimmers but does not brown.
- In a bowl, toss the shrimp with the minced garlic, Italian seasoning, paprika, salt, and black pepper so the shrimp are evenly coated.
- Add the seasoned shrimp to the hot skillet in a single layer (do not overcrowd the pan). Cook undisturbed for 2–3 minutes, until the underside is opaque and lightly browned.
- Flip the shrimp and cook the second side for 2–3 minutes, until the shrimp are opaque, pink, and cooked through.
- About 1 minute before the shrimp are done, add the lemon zest and drizzle lemon juice to taste over the shrimp; stir once to combine and heat the lemon briefly.
- Remove the skillet from the heat, transfer the shrimp to a serving plate, sprinkle with the chopped parsley, and serve immediately.
Notes
Be sure to start with raw shrimp(not the pre-cooked kind). If needed, thaw the shrimp, remove the shells, and cut out the veins. You can leave the tails on, or remove them if you prefer.
Use the whole lemon.You can add as much lemon zest and lemon juice to this recipe as you like, just be sure to zest the lemon with amicroplanebefore you cut it in half to juice it. Doing those steps the other way around is nearly impossible!
Have your side dishes ready.The shrimp literally cooks in 5 minutes and is best eaten right away. Make your sides first, and cook the shrimp last – this way everything will be ready at the same time.
To Store:Cooked shrimp will stay fresh for 3-4 days if kept in an airtight container in the fridge. Reheat gently in a skillet as needed, or enjoy cold on top of a salad.