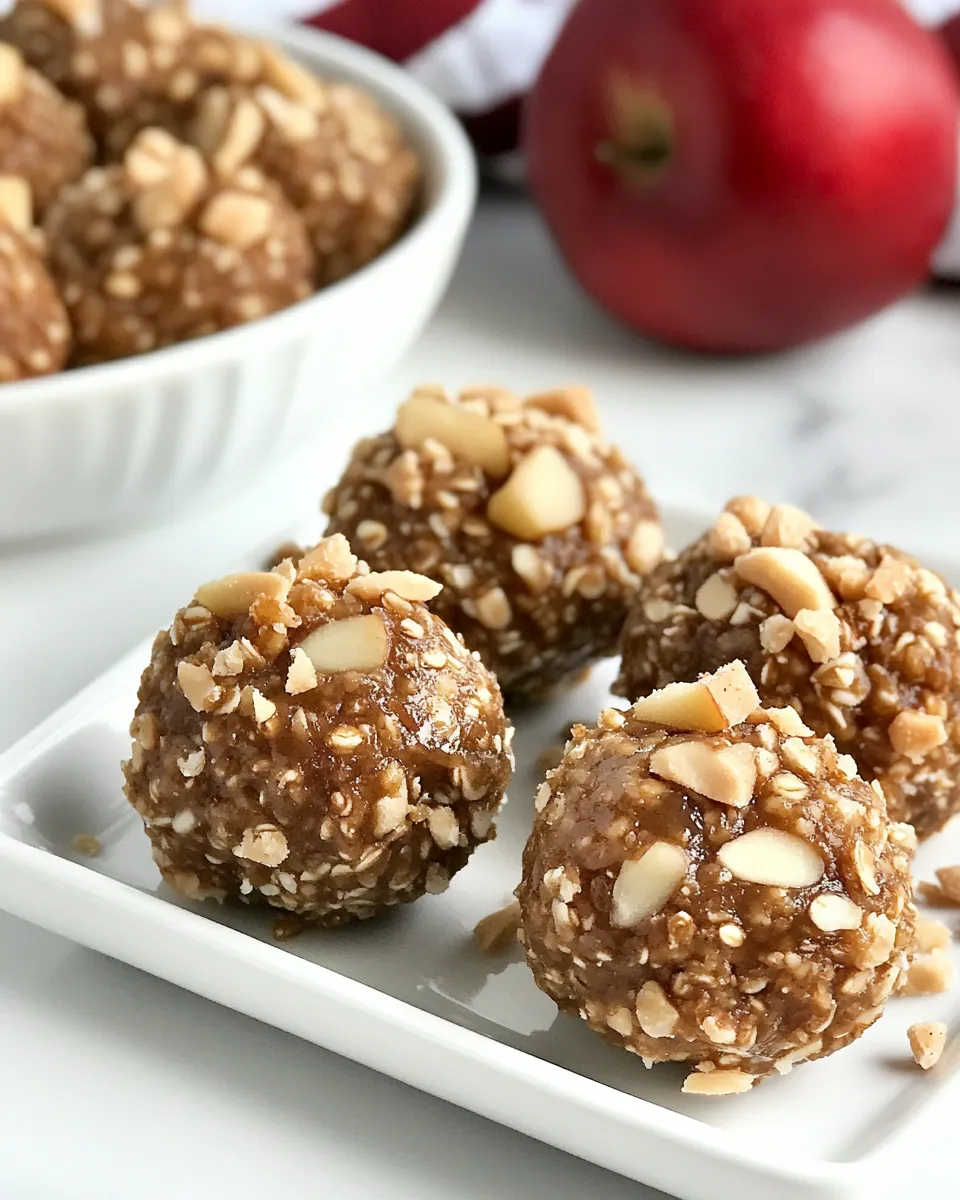
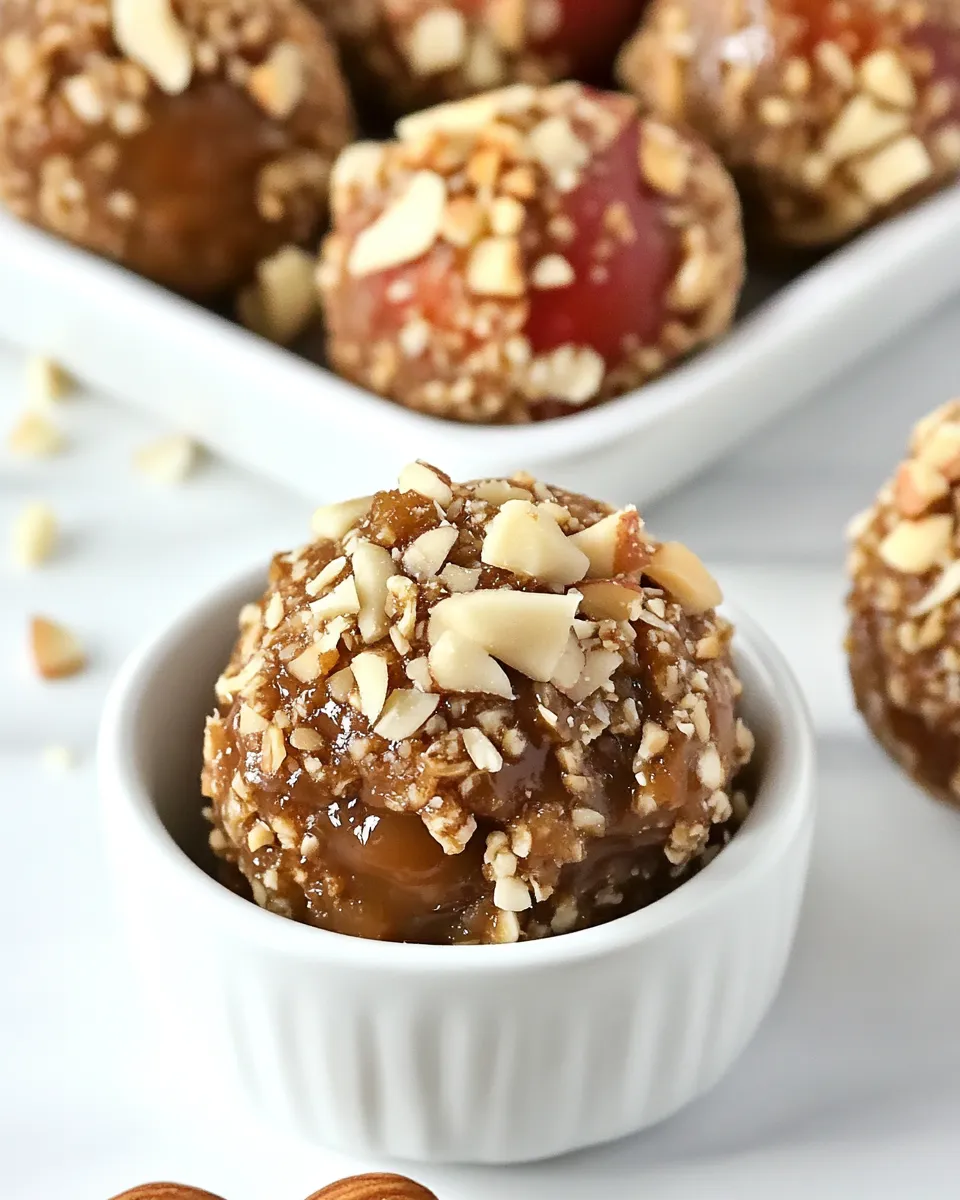
Peanut Apple Butter Bites
These little no-bake bites are the kind of snack I reach for when I want something homemade without the fuss. They come together in a single bowl, don’t need an oven, and hinge on a simple, comforting pairing: peanut butter and apple butter. The combination brings nuttiness and a gentle fruit sweetness that feels like a quick dessert and a portable lunchbox treat at the same time.
I like that the recipe reads like something you can scale up or down depending on how many people are coming by. Make a single batch for a weekly snack, or double it when you want to bring something to a gathering. They keep their shape in the fridge and freeze well, which makes planning ahead painless.
Below you’ll find a short ingredient list, the exact step-by-step method I use every time, and practical notes from testing — the sort of tips I wish I’d had the first time I rolled sticky little balls between my palms. Let’s get into it.
Ingredients at a Glance
- 1/2 cup peanut butter — Provides the creamy base and holds the bites together; smooth works best for even texture.
- 1/2 cup Musselman’s Apple Butter — Adds concentrated apple flavor and natural sweetness; it also loosens the peanut butter for easy mixing.
- 1 cup finely ground graham cracker crumbs — Gives structure and a subtly sweet, bready note; finely ground is important so the mixture binds evenly.
- 1/2 cup finely chopped peanuts — Used to coat the outside for crunch and a nutty finish; press gently so pieces stick.
How to Prepare (Peanut Apple Butter Bites)
- In a medium bowl, stir together 1/2 cup peanut butter and 1/2 cup Musselman’s Apple Butter until smooth and fully combined.
- Add 1 cup finely ground graham cracker crumbs and stir until the mixture is evenly moistened and comes together.
- Cover the bowl and chill in the refrigerator for at least 30 minutes to firm the mixture.
- Line a baking sheet with wax paper. Use a tablespoon or small cookie scoop to portion tablespoon-sized scoops of the chilled mixture onto the prepared sheet.
- Roll each scoop between your palms into a uniform ball (the mixture will be soft; if it becomes too sticky, return it to the refrigerator briefly).
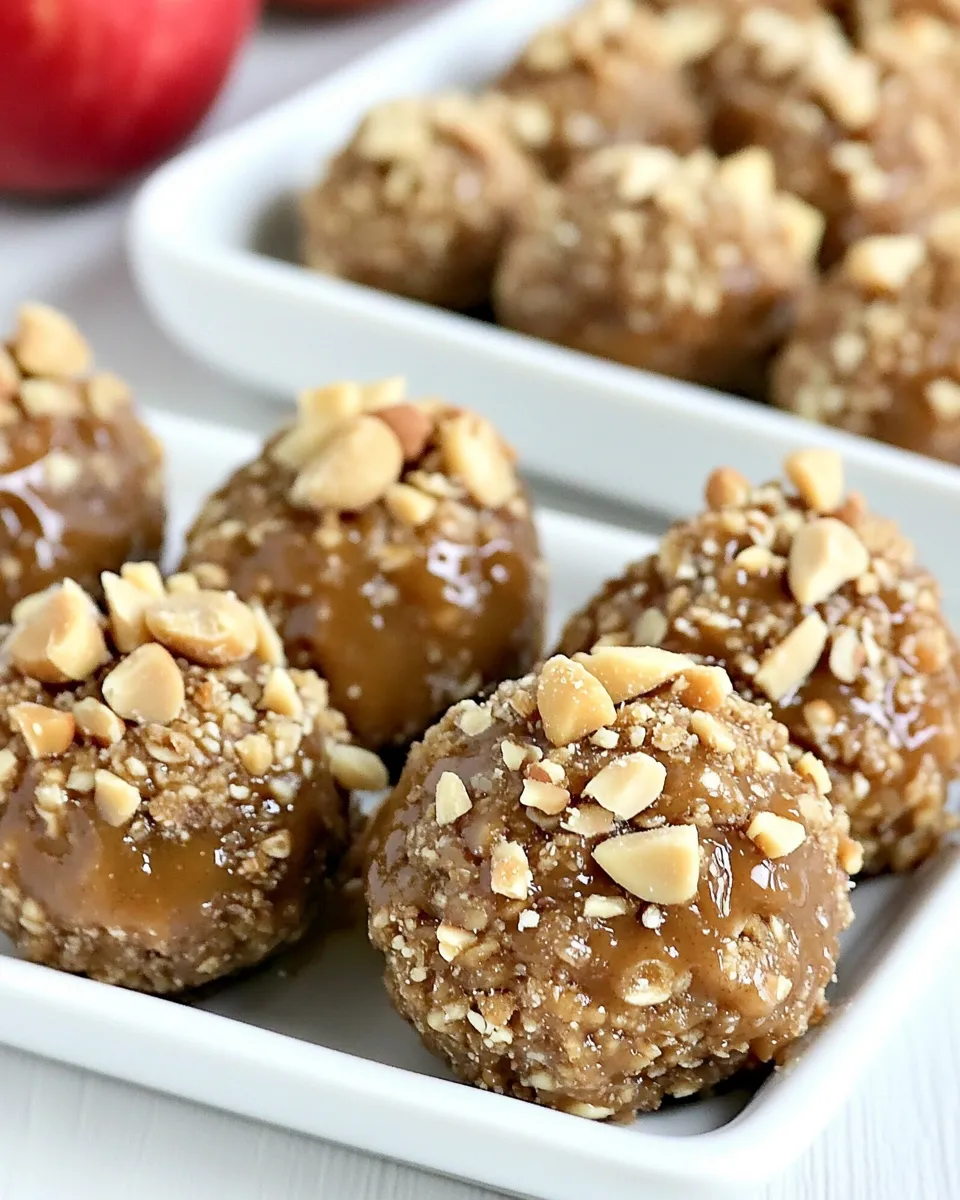
- Place 1/2 cup finely chopped peanuts in a small bowl. Roll each ball in the chopped peanuts, pressing gently so the peanuts adhere and coat the outside.
- Return the coated bites to the lined baking sheet and refrigerate until firm, about 15–30 minutes.
- Store the bites in the refrigerator; they can also be frozen.
What Makes This Recipe Special
Two things stand out: the flavor pairing and the texture contrast. Peanut butter gives a familiar, savory-nutty backbone while apple butter brings concentrated fruit flavor without adding extra liquid. Together they create a rounded taste that isn’t overly sweet.
Then there’s the crunch. The finely ground graham cracker crumbs make the interior tender and cookie-like, and the chopped peanuts on the outside add a satisfying bite. The result is a small, handheld treat with a pleasant balance between soft and crunchy.
It’s also a very accessible recipe. No tempering chocolate, no baking, no special equipment. That simplicity makes it a weekday solution and a last-minute treat you can assemble while a pot simmers or while the kids work on homework.
No-Store Runs Needed
One of my favorite things about this recipe is how often everything is already in my pantry. Peanut butter and graham crumbs are staples in many kitchens, and a jar of apple butter lasts a long time. If you keep a tub of chopped nuts for salads or baking, you’re basically done.
If you don’t have graham cracker crumbs on hand, you can usually make them by pulsing a few whole graham crackers in a spice grinder or food processor until very fine. That’s a quick fix and worth doing rather than making a special trip to the store.
Because the bites don’t require fresh dairy or eggs, they’re forgiving when you want a snack with minimal planning. If you have the four ingredients listed above, you can finish this in under an hour.
Gear Up: What to Grab
- Medium mixing bowl — for combining the peanut butter and apple butter.
- Spoon or spatula — for stirring the mixture until smooth.
- Measuring cups — to keep the ratios correct.
- Baking sheet and wax paper — an easy, nonstick surface for forming and chilling the bites.
- Tablespoon or small cookie scoop — for evenly sized portions.
- Small bowl — for the chopped peanuts used as the coating.
- Refrigerator and a flat space to chill — chilling is essential for shaping.
Slip-Ups to Skip
- Skipping the chill. If you try to scoop immediately after mixing, the mixture will be too soft and sticky to handle. Chill at least 30 minutes as directed.
- Using coarse crumbs. If your graham cracker crumbs are chunky, the bites won’t bind as well. Grind them until they’re fine for an even texture.
- Over-rolling. Pressing too hard while rolling can make the bites dense. Gentle, even rolls give the best result.
- Not packing the peanuts. If you don’t press the peanuts into the surface, they’ll fall off. A light press is all you need to adhere them.
Season-by-Season Upgrades
This recipe is a great template because it keeps the core method intact while letting you adapt how you serve the bites across the year. In cooler months, serve them alongside a warm cup of tea or cider for a cozy pairing. In spring and summer, they’re easy to pack in a picnic box or lunch tote because they travel well when kept cool.
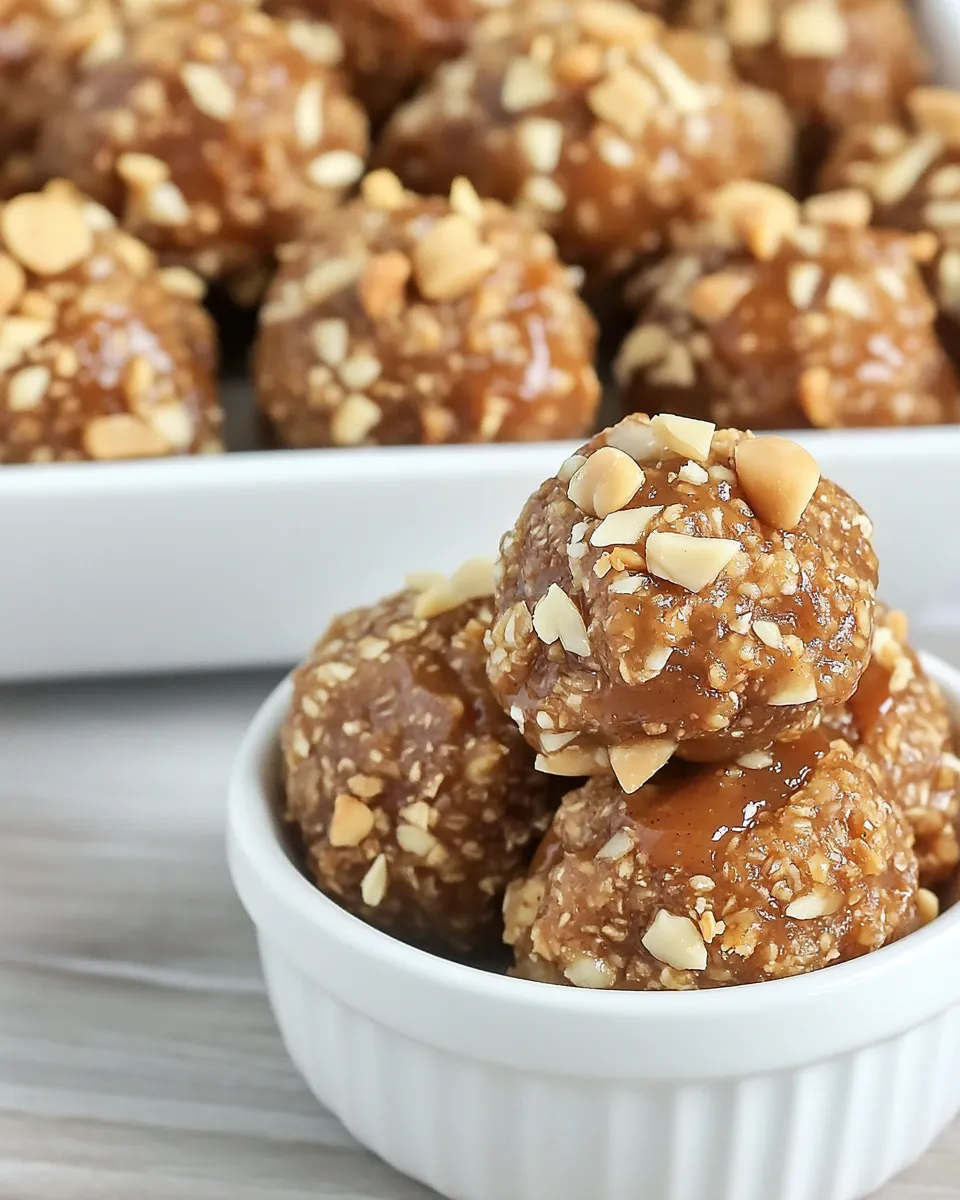
If you want to make them feel festive without changing the process, think about presentation: display on a wooden board for a rustic touch, arrange them in paper liners for a party, or stack them in a jar for gifting. Small presentation changes go a long way without altering the recipe.
What I Learned Testing
I made these multiple times to dial in the chilling times and rolling technique. Thirty minutes in the fridge is a minimum; when I hurried it, the mixture stuck to my hands and the balls lost shape. Letting the mixture chill fully makes scooping and rolling straightforward.
Another small discovery: portion control matters. Using a tablespoon or small cookie scoop keeps the bites uniform, which helps with even chilling and a tidy presentation. If you want larger bites, double them rather than eyeballing — the texture scales more predictably that way.
Finally, the chopped peanut coat makes all the difference in mouthfeel. It elevates the simple interior into something with structure and contrast. Press the peanuts on gently so they stay put, and refrigerate again to set the coating.
Best Ways to Store
Store the bites in the refrigerator; they can also be frozen. For short-term storage, place them in an airtight container with layers separated by parchment or wax paper so they don’t stick together. They’ll be ready to eat directly from the fridge.
If you’re freezing, arrange them on a lined sheet to flash-freeze for 30–60 minutes, then transfer to a freezer-safe container or bag. Thaw in the refrigerator before serving. Freezing is handy when you want to make a big batch ahead and pull a few at a time.
(Peanut Apple Butter Bites) Q&A
- Q: Can I make these ahead of time?
A: Yes. They chill and hold well in the refrigerator, and they freeze cleanly if you want to prepare a larger batch. - Q: Will crunchy peanut butter work?
A: Crunchy peanut butter will change the interior texture and may make the mixture a bit more difficult to bind evenly, but it will still work if you don’t mind a chunkier bite. - Q: Can I skip the peanut coating?
A: Yes. The coating adds crunch and visual interest, but the bites are fine uncoated — just roll them and chill until firm. - Q: Are these suitable for school lunches?
A: They’re portable and tidy when kept cool. Check school policies regarding peanuts before packing them for a child’s lunch. - Q: How do I keep the peanuts from falling off?
A: Press them gently into the surface while rolling, then return the bites to the refrigerator to firm so the peanuts set in place.
In Closing
Peanut Apple Butter Bites are one of those reliable, low-effort treats that feel special because of their balance of flavors and textures. They’re forgiving to make, easy to scale, and friendly to keep on hand for snacks or quick dessert plates. Follow the steps as written, chill when prompted, and use a scoop for consistency — those small habits make a huge difference in the final result.
Make a batch this week and tuck them into the fridge. They’re ready whenever you need a small, satisfying pick-me-up.
Peanut Apple Butter Bites
Ingredients
Equipment
Method
- In a medium bowl, stir together 1/2 cup peanut butter and 1/2 cup Musselman’s Apple Butter until smooth and fully combined.
- Add 1 cup finely ground graham cracker crumbs and stir until the mixture is evenly moistened and comes together.
- Cover the bowl and chill in the refrigerator for at least 30 minutes to firm the mixture.
- Line a baking sheet with wax paper. Use a tablespoon or small cookie scoop to portion tablespoon-sized scoops of the chilled mixture onto the prepared sheet.
- Roll each scoop between your palms into a uniform ball (the mixture will be soft; if it becomes too sticky, return it to the refrigerator briefly).
- Place 1/2 cup finely chopped peanuts in a small bowl. Roll each ball in the chopped peanuts, pressing gently so the peanuts adhere and coat the outside.
- Return the coated bites to the lined baking sheet and refrigerate until firm, about 15–30 minutes.
- Store the bites in the refrigerator; they can also be frozen.