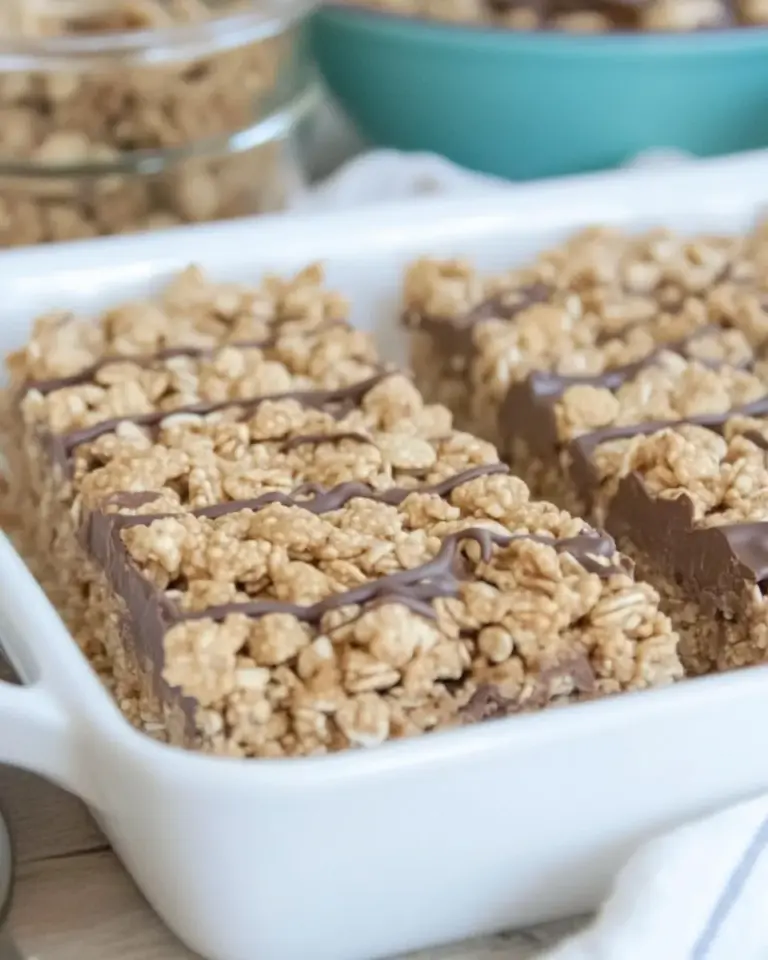
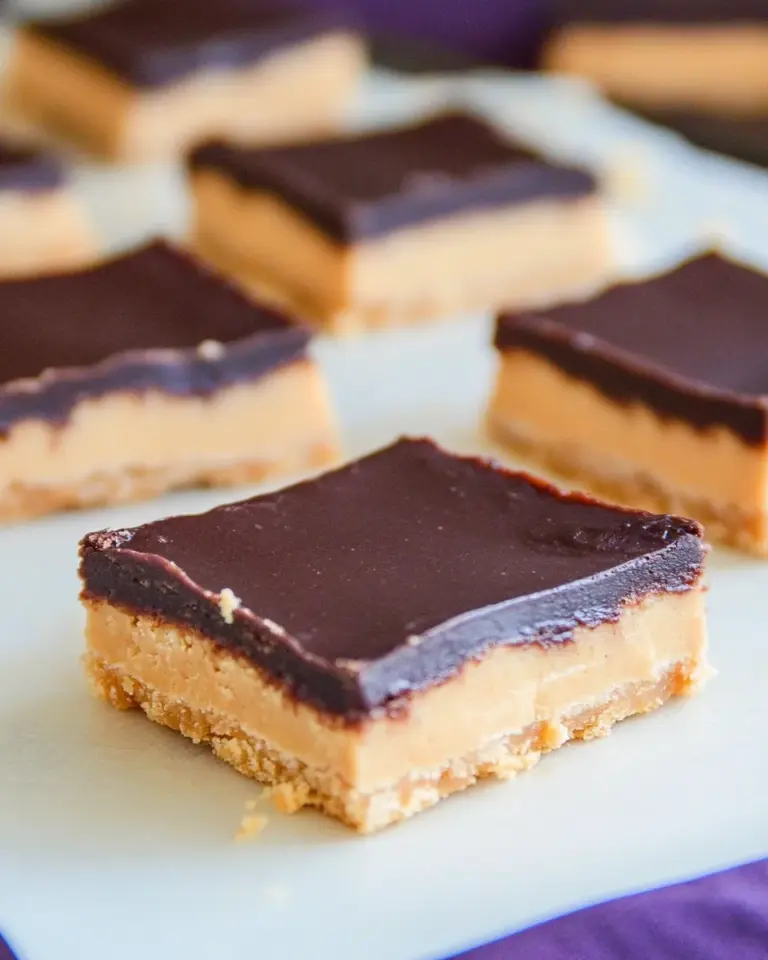
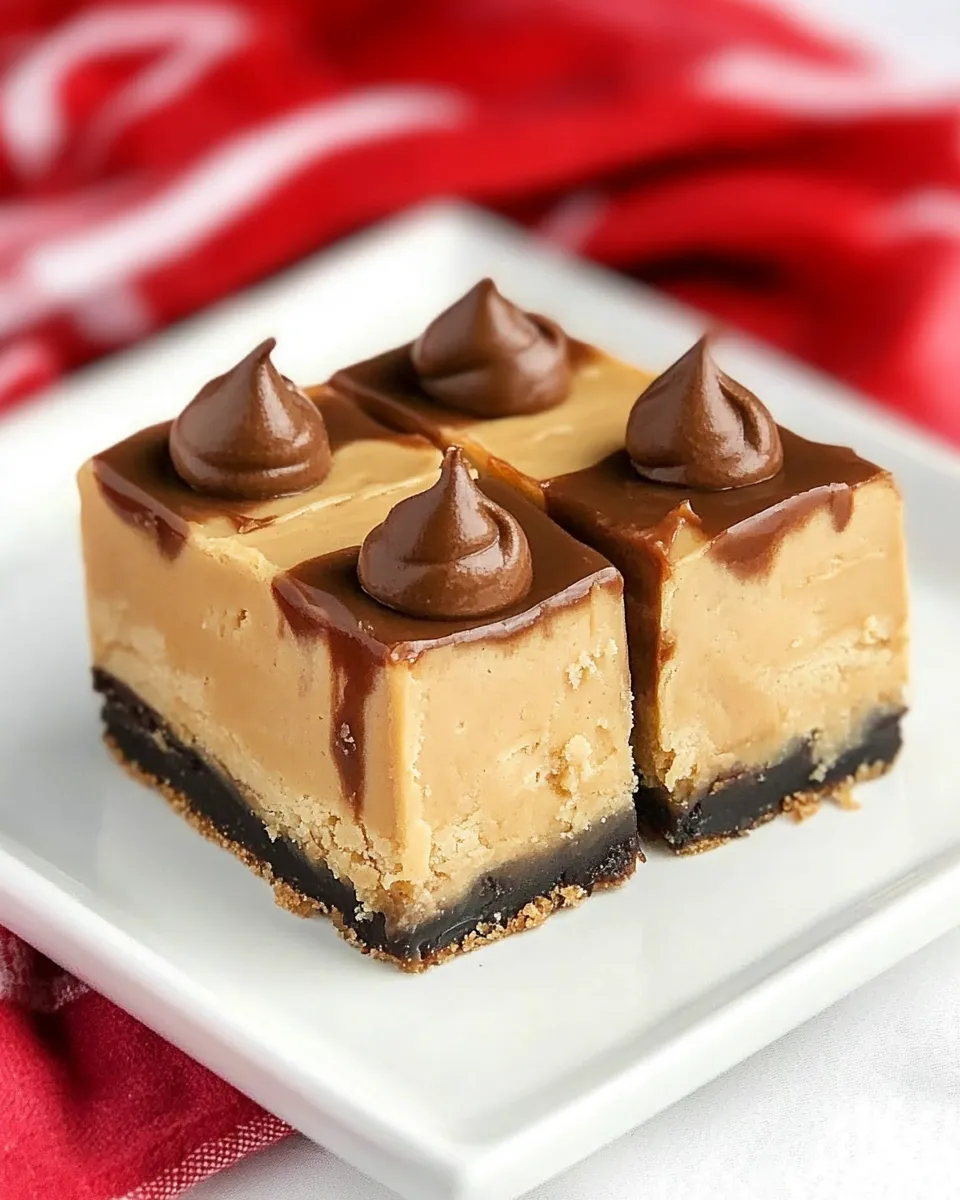
Peanut Butter Cheesecake Bars
These bars are a comfort-food hybrid: the familiar graham crust with the promise of a rich peanut-butter cheesecake topping. I focus here on getting the foundation right — the crust — because a good base makes everything that follows slice cleanly and hold together. Small technique shifts on this step save time and frustration later.
This recipe is straightforward and forgiving, but it rewards attention: compact the crumbs well, give the crust time to cool and chill, and your bars will cut into tidy squares without crumbling. I’ll walk you through shopping, smart swaps, common problems and fixes, and finally the exact step-by-step directions for the crust from the source recipe.
No frills in the method. Practical tips, clear troubleshooting, and storage advice so you can make the bars ahead and serve without panic. Read through, gather the few pantry basics, and you’ll be ready to build the rest of these Peanut Butter Cheesecake Bars confidently.
Your Shopping Guide

You don’t need a long shopping list for a solid crust. Look for fresh graham crackers (or a full box of graham crumbs if your store carries them), unsalted butter if possible so you control the salt level, and granulated sugar. Pick the best-quality graham crackers you can find; they make more difference than you expect in texture and flavor.
Check butter labels for “real butter” rather than blends. If buying crackers, crush them in the store’s plastic bag with a rolling pin at home or process them for finer crumbs. For sugar, standard white granulated sugar is what this crust calls for—no special sugars required.
Peanut Butter Cheesecake Bars, Made Easy
Think of this as a two-stage project: make a sturdy, compacted crust; then finish the filling and chill. Because the provided directions cover the crust specifically, the approach here focuses on making that stage effortless. The crust comes together quickly and bakes briefly — nine minutes — which sets up a firm base for whatever filling you add.
Make the crust in a single bowl, press it firmly, and give it time to cool. The technique is simple, but pressing evenly and compactly is important for even slices. I’ll describe my go-to method for compacting and chilling so you won’t wrestle with a crumbly slab when it’s time to slice.
The Upside of Peanut Butter Cheesecake Bars
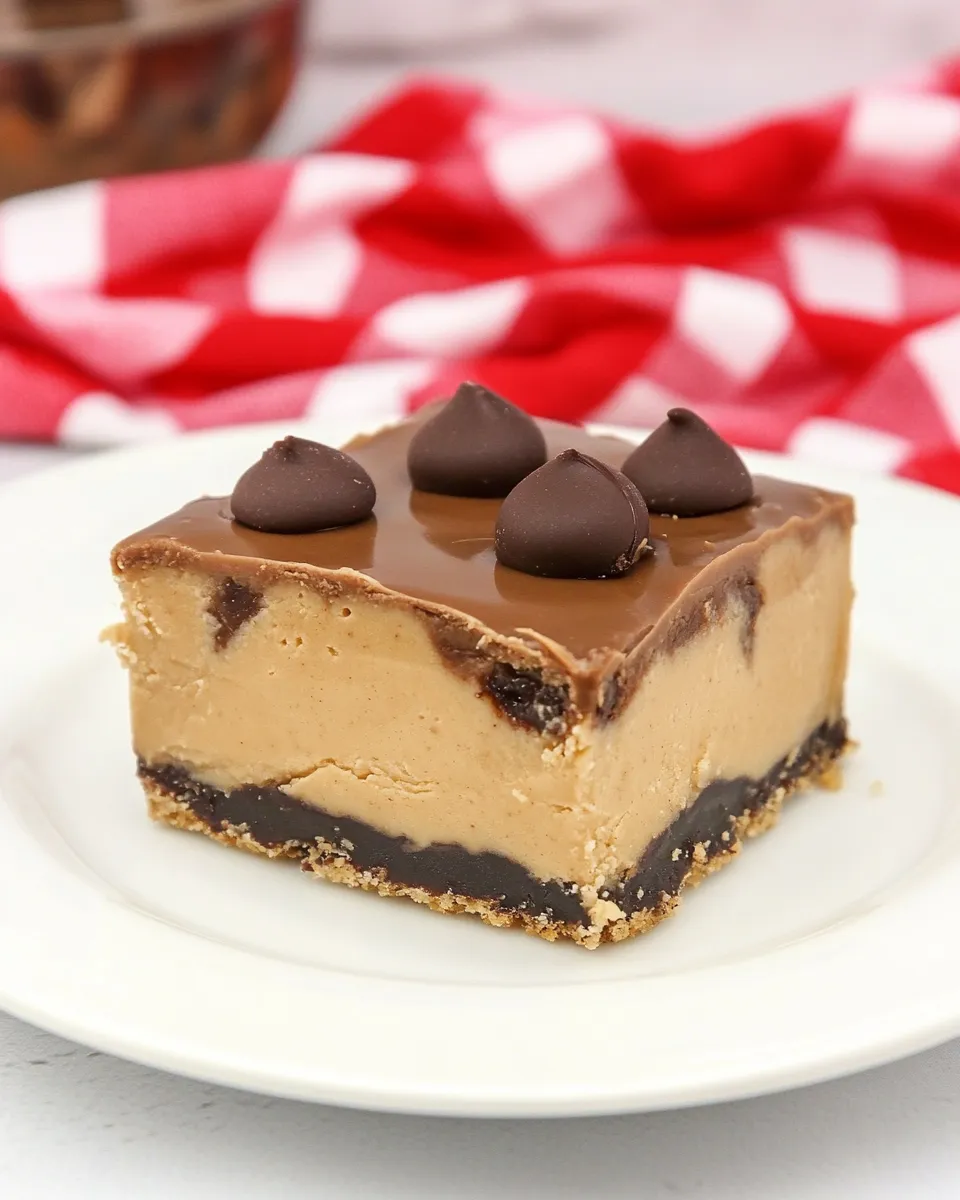
These bars are portable, portionable, and crowd-pleasing. A well-set crust means cleaner assembly and sharper presentation. Because the crust is baked briefly, it gains a slightly toasted edge and holds up to dense fillings without getting soggy quickly.
They travel well for potlucks and parties: slice them into squares and pack them in a single layer. The method here encourages making the crust a day ahead — it frees up time and keeps your finishing steps calm.
Smart Substitutions
Substitutions help if you can’t find an ingredient or need to adapt to pantry constraints. For the butter, a salted stick will work fine—just cut back on any extra salt in the rest of your recipe. If you’re out of graham crackers, plain digestive biscuits or a neutral-flavored cookie can be crushed to make crumbs; expect a slightly different sweetness and texture. If you prefer a deeper caramel note, use a mix of graham and a small amount of crushed shortbread or vanilla wafers.
For sugar, you can experiment: swapping in a similar volume of a liquid sweetener isn’t a direct one-to-one conversion here because the crust relies on dry crumbs absorbing melted butter. If you must change, choose substitutions that keep the crumb texture dry enough to bind when butter is added.
Equipment & Tools
Minimal gear is required, and using the right tool makes the job easier:
- 8 x 8-inch pan — for the correct baking size and thickness.
- Nonstick foil — makes lifting the bars out effortless with the overhang.
- Medium mixing bowl — big enough to toss crumbs and butter without spilling.
- Measuring cup and spoons — to keep amounts accurate.
- Flat spatula or bottom of a measuring cup — for pressing the crust evenly.
- Wire rack — to cool the crust completely in the pan.
Optional but helpful: a food processor for crushing crackers quickly and a kitchen scale if you prefer weight over volume for consistent results.
Watch Outs & How to Fix
Under-pressed crust: if it looks loose after pressing, set the pan on a flat surface and press again with steady, even pressure using the bottom of a measuring cup. Don’t skip compacting; it’s what prevents crumbling later.
Oven too hot/too long: the crust only needs nine minutes. If it browns too quickly, reduce oven temperature by 15–25°F and keep a close eye. Overbaking drys the crust making it crumbly and harder to compact.
Crust falls apart after slicing: this usually means it didn’t chill enough. Pop the pan back into the fridge for at least 30 minutes to firm up before slicing. If slices still don’t hold, serve the dessert in smaller scoops or use a spatula to lift pieces carefully.
Make It Diet-Friendly
There are ways to lighten this crust without changing method. Use a slightly reduced amount of butter or switch to a butter with lower fat content, then ensure you press the crumbs extra firmly to compensate for less fat. Reducing sugar modestly can also work because the crumbs will still brown in the oven and the filling contributes primary sweetness.
Serve smaller portions: cutting the pan into more pieces gives everyone a taste with fewer calories per serving. Finally, consider using a denser, more fiber-rich cracker base in part (if suitable) to increase satiety — test the texture before committing to a full batch.
Flavor Logic
The crust’s role is structural and flavor-enhancing. Butter adds richness and helps the crumbs bind; sugar gives a touch of sweetness and helps with browning; graham crumbs provide that toasty, slightly honeyed backbone that plays beautifully with peanut butter and cream cheese flavors.
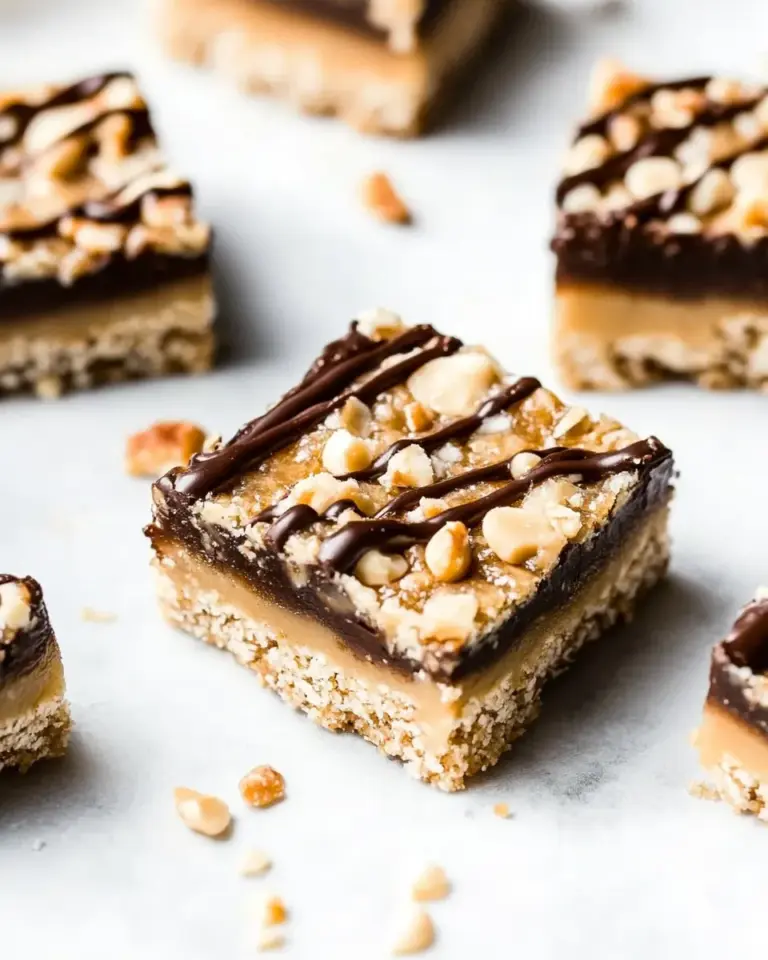
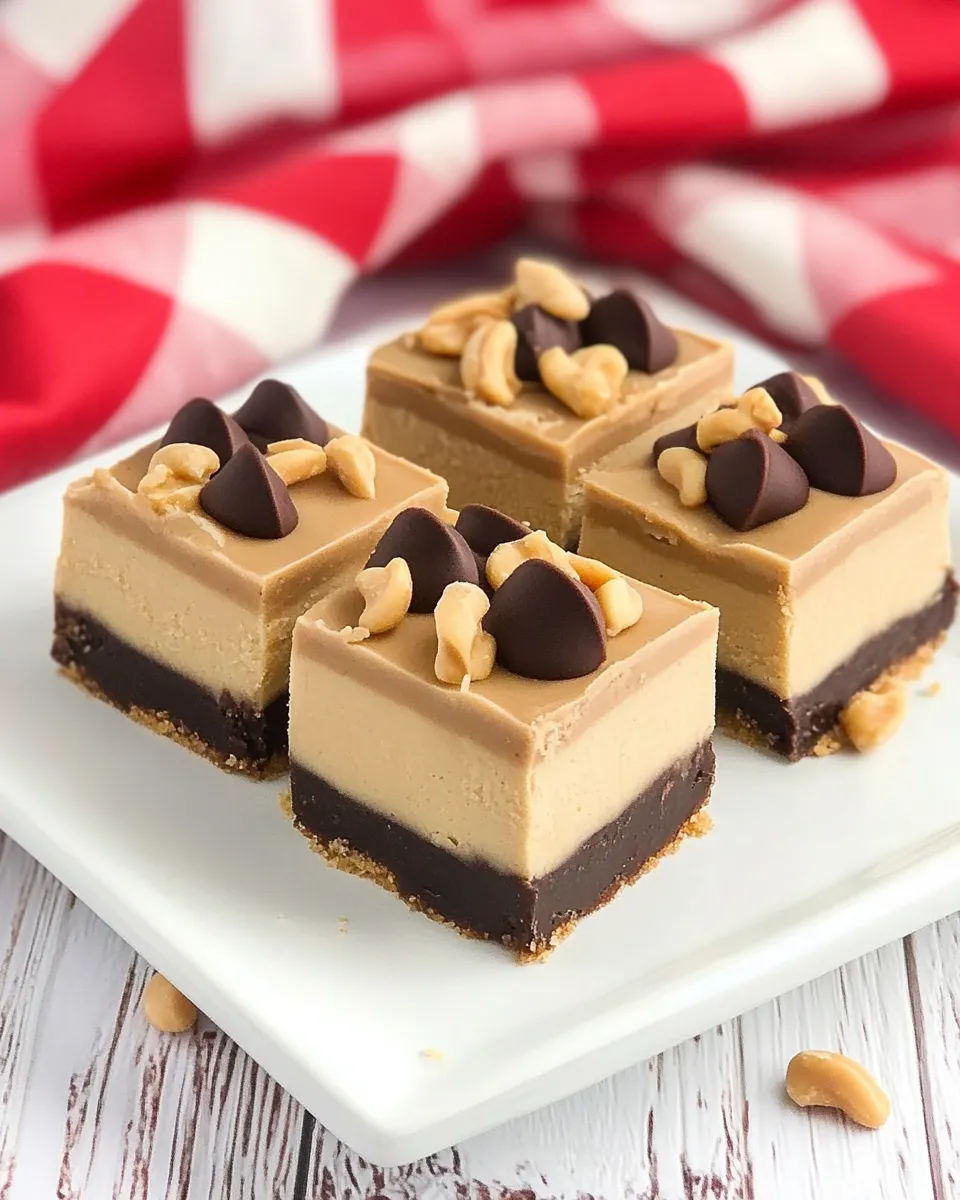
When you add a peanut-butter-and-cheesecake layer, aim to balance textures: a smooth, slightly tangy filling pairs with the nutty, crumbly crust. If you want a textural contrast, sprinkle a few chopped nuts on top or add a thin chocolate drizzle once bars are fully chilled. Those finishing touches elevate a simple crust to something dessert-worthy without complicating the base technique.
Storage Pro Tips
These bars keep well when stored properly. Once fully chilled and cut, place them in a single layer in an airtight container with parchment between layers. Refrigerate to maintain firmness. If you need to stack multiple layers, use parchment or wax paper to protect the surface and prevent sticking.
Room temperature storage is okay for short windows (a few hours) but refrigeration is better for longer periods or warmer climates. For longer storage, freeze the bars in an airtight container with separation between layers; thaw in the refrigerator before serving for cleaner slices.
Quick Q&A
Q: Can I make the crust ahead? A: Yes — bake, cool, and chill the crust for at least 30 minutes or up to a day before adding the filling. Chilling the crust firm makes assembly and slicing easier.
Q: Do I need nonstick foil? A: It’s highly recommended. The overhang makes lifting the slab out effortless and prevents sticking. If you don’t have nonstick foil, use parchment with buttered contact to avoid tears.
Q: How thick will the crust be in an 8 x 8-inch pan? A: The measured quantities create a medium-thick crust that supports a generous filling without overwhelming it. Press evenly for consistent thickness across the pan.
Ingredients
- 8 tablespoons (1 stick), butter, melted — melts into the crumbs to bind the crust and adds rich flavor.
- 1/2 cup sugar — provides sweetness and helps with light browning during the short bake.
- 1 1/2 cups graham cracker crumbs — the body of the crust; choose fresh crumbs for best texture and flavor.
Ready to Cook?
- Preheat oven to 350°F (175°C). Line an 8 x 8-inch pan with nonstick foil, leaving an overhang on two sides to lift the bars out later.
- If your butter is not already melted, melt 8 tablespoons (1 stick) butter in a microwave-safe bowl or small saucepan.
- In a medium bowl, combine the melted butter, 1/2 cup sugar, and 1 1/2 cups graham cracker crumbs. Stir until the crumbs are evenly moistened and the mixture holds together when pressed.
- Press the mixture firmly and evenly into the bottom of the prepared pan, using the bottom of a measuring cup or a flat spatula to compact it.
- Bake for 9 minutes, then remove the pan from the oven and let the crust cool completely in the pan on a wire rack.
- For firmer bars and easier slicing, chill the cooled crust in the refrigerator for at least 30 minutes.
- Use the foil overhang to lift the crust from the pan, place on a cutting board, and cut into 16 squares. Store the bars in an airtight container in the refrigerator.
Follow these steps for a dependable base. Once your crust is set and chilled, build your peanut-butter cheesecake layer on top, chill until firm, and slice. The crust will hold up well under a thick filling, giving you clean edges and confident plating.
Peanut Butter Cheesecake Bars
Ingredients
Equipment
Method
- Preheat oven to 350°F (175°C). Line an 8 x 8-inch pan with nonstick foil, leaving an overhang on two sides to lift the bars out later.
- If your butter is not already melted, melt 8 tablespoons (1 stick) butter in a microwave-safe bowl or small saucepan.
- In a medium bowl, combine the melted butter, 1/2 cup sugar, and 1 1/2 cups graham cracker crumbs. Stir until the crumbs are evenly moistened and the mixture holds together when pressed.
- Press the mixture firmly and evenly into the bottom of the prepared pan, using the bottom of a measuring cup or a flat spatula to compact it.
- Bake for 9 minutes, then remove the pan from the oven and let the crust cool completely in the pan on a wire rack.
- For firmer bars and easier slicing, chill the cooled crust in the refrigerator for at least 30 minutes.
- Use the foil overhang to lift the crust from the pan, place on a cutting board, and cut into 16 squares. Store the bars in an airtight container in the refrigerator.