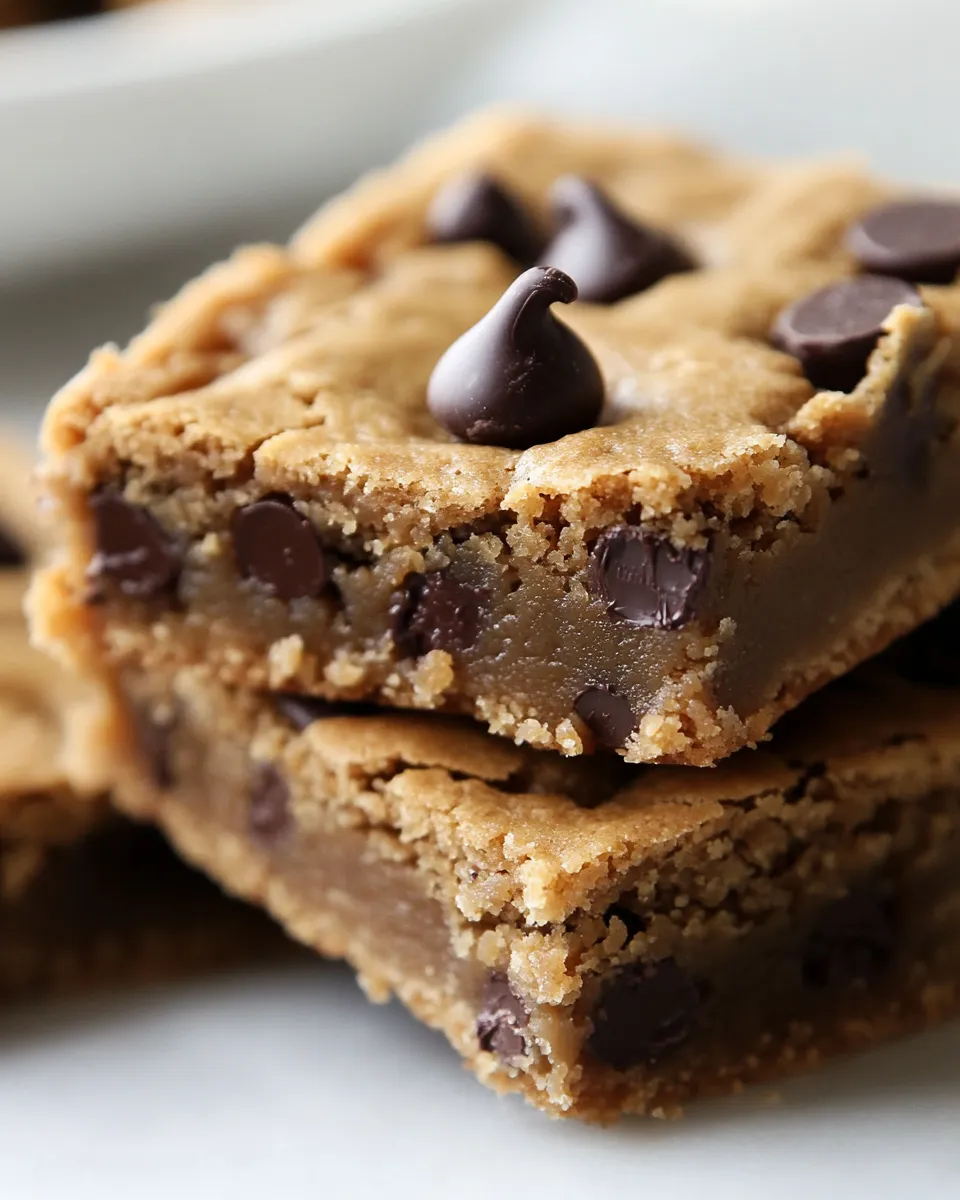
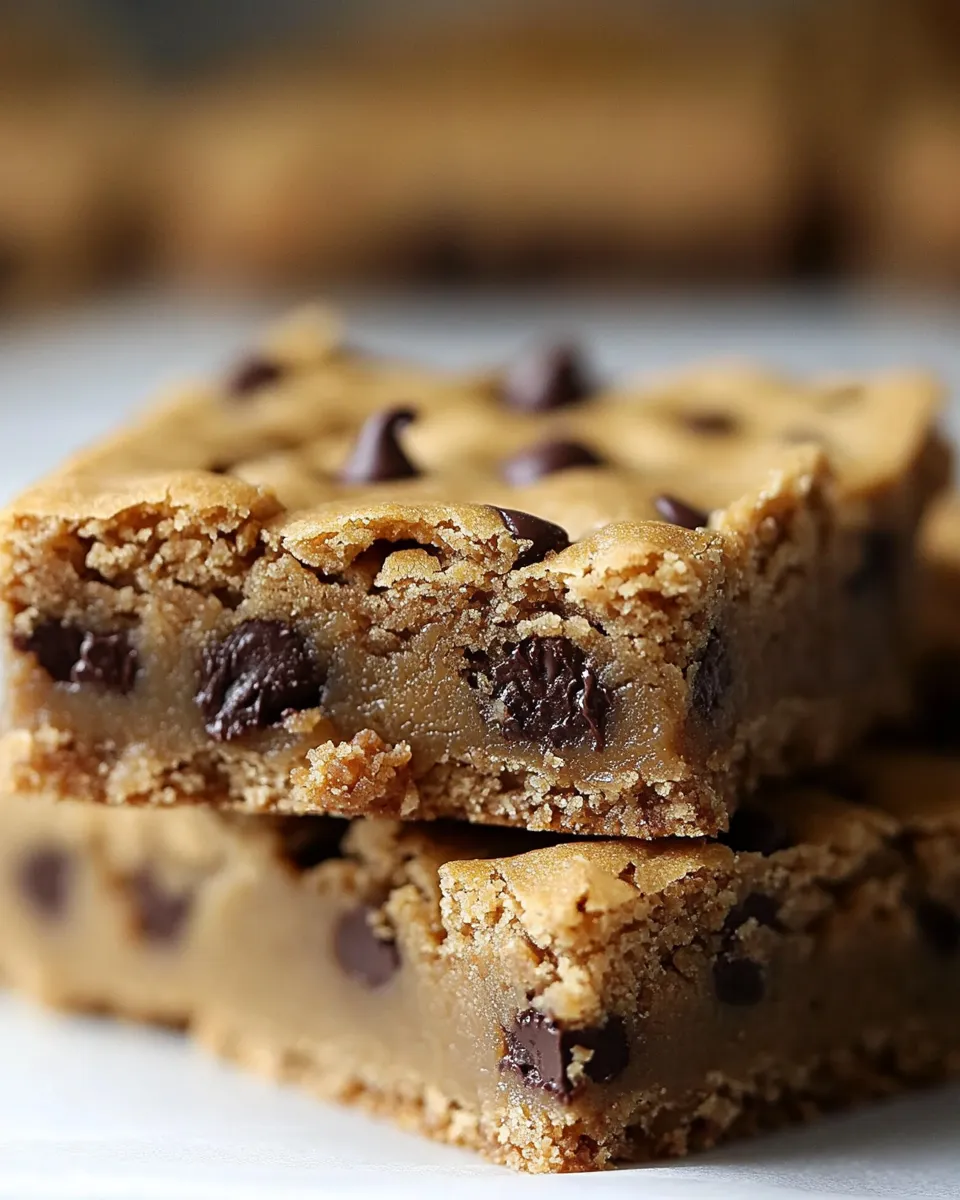
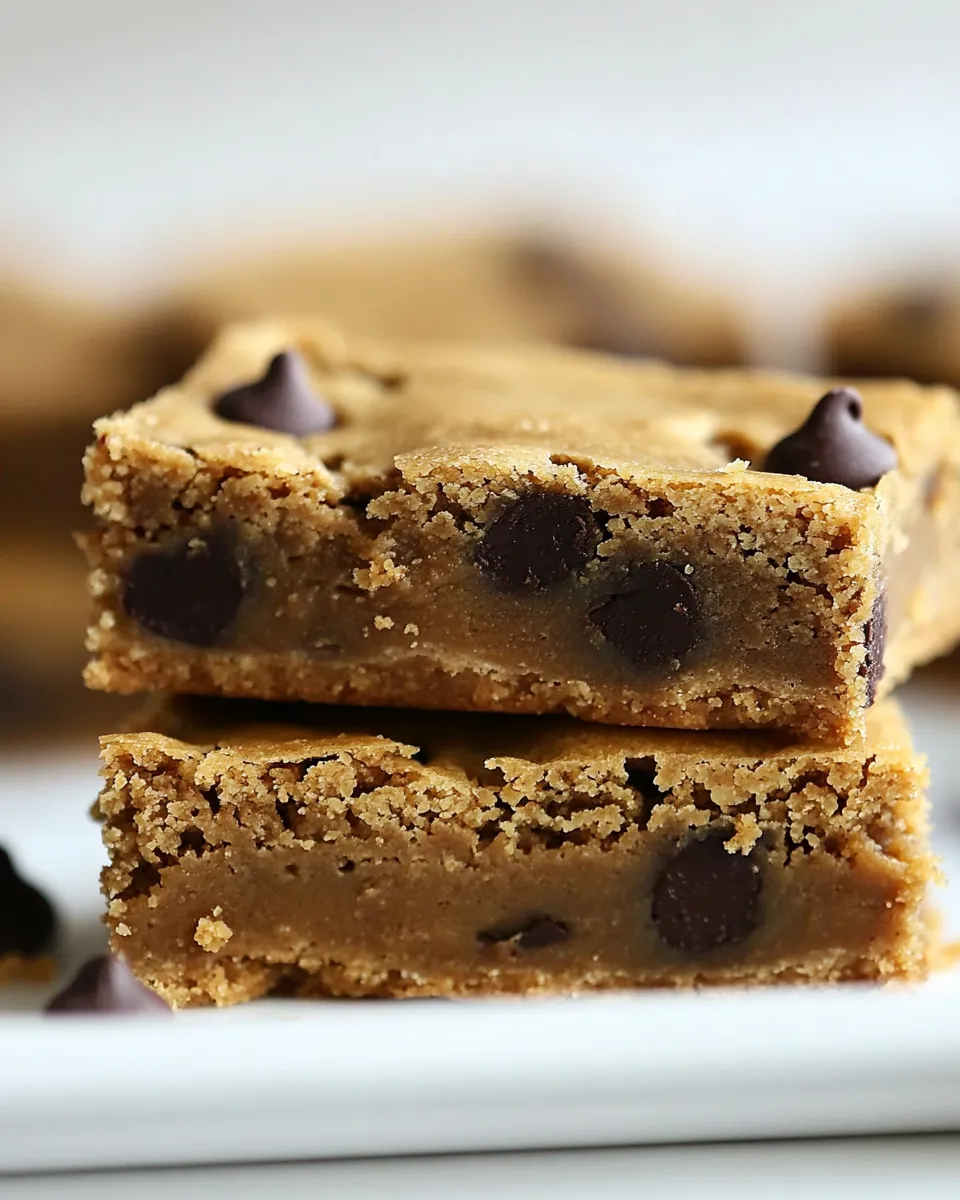
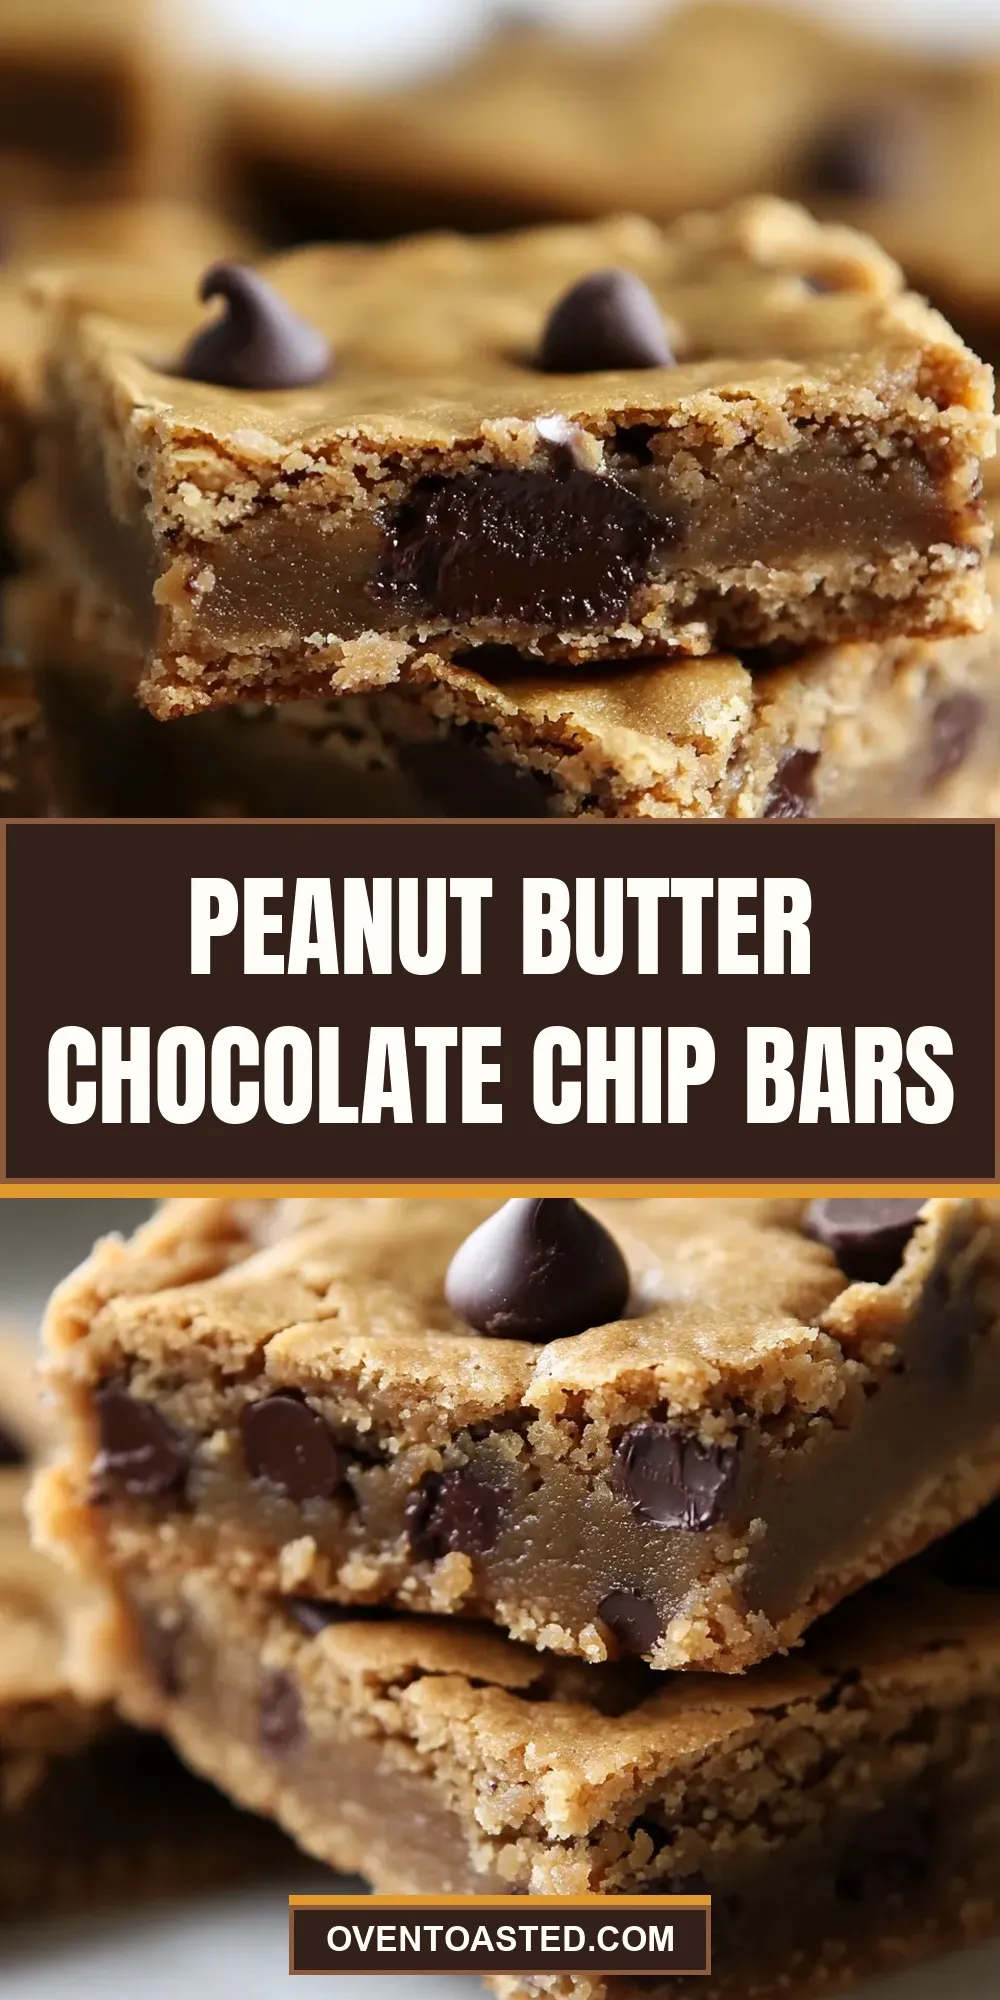
Peanut Butter Chocolate Chip Bars
These bars are the kind of recipe I reach for when I want something fast, reliable, and universally loved. They sit comfortably between cookie and brownie — chewy, peanut-buttery, studded with chocolate. The texture is forgiving, the bake time is short, and you can have them cooling on the counter before the house has stopped smelling like butter and vanilla.
I test recipes with a practical mindset: will this hold up in a packed lunch? Will it travel? Can I make it with pantry staples? The answer with these bars is yes. They require basic ingredients, minimal tools, and a single bowl. No special equipment. No tempering. Just straightforward steps and predictable results.
Below you’ll find a compact ingredient checklist, the exact step-by-step method I use every time, troubleshooting tips, swaps for common allergies, and ways to customize the bars. Read through once, then bake. You’ll be slicing them in about an hour.
Ingredient Checklist
- ½ cup unsalted butter, melted — provides fat for tenderness and carries flavor; cool slightly before combining so it doesn’t cook the egg.
- ⅓ heaping cup peanut butter* — the star flavor; a heaping measure gives a pronounced peanut profile without making the batter greasy.
- 1 large egg — binds the batter and adds structure; room temperature is easier to mix in evenly.
- 1 cup light brown sugar, packed — adds sweetness and moisture; packed brown sugar helps keep the bars soft.
- 1 tablespoon vanilla extract — lifts and deepens the overall flavor; use real vanilla when you can.
- 1 cup all-purpose flour — the base; measure gently to avoid over-flouring, which can make bars dry.
- ½ teaspoon salt, or to taste — balances sweetness and enhances peanut flavor; if your peanut butter is salted, taste the batter before adding full amount.
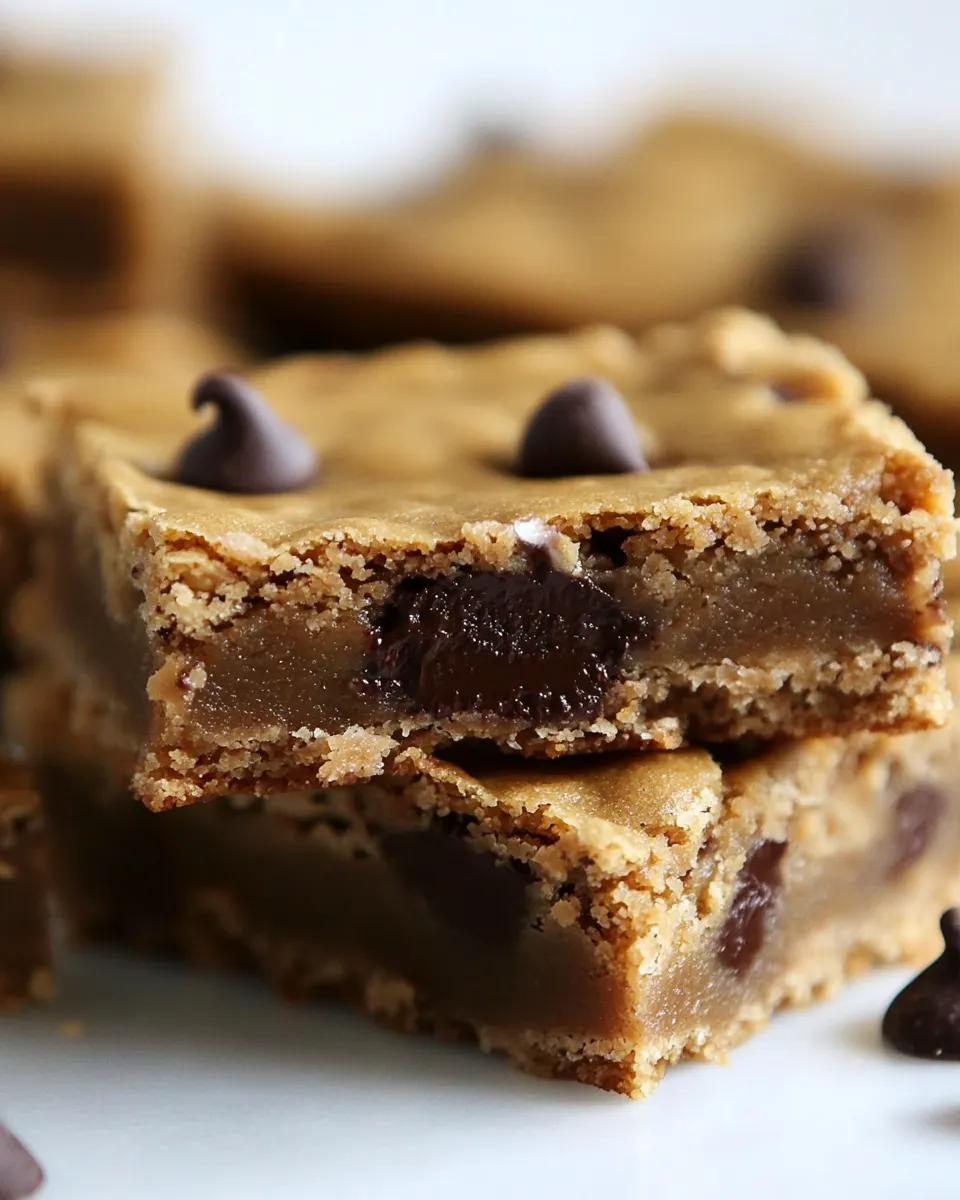
- 1 cup semi-sweet chocolate chips + 2 tablespoons, for sprinkling — chocolate throughout and a scattering on top for a glossy, melty finish; adjust chip size if you’d like larger pockets of chocolate.
Build Peanut Butter Chocolate Chip Bars Step by Step
- Preheat the oven to 350°F. Line an 8×8-inch baking pan with aluminum foil, leaving an overhang on two sides to lift the bars out later; set the pan aside.
- In a large microwave-safe bowl, melt ½ cup unsalted butter on high for about 1 minute. Let the melted butter cool 1–2 minutes so it is warm but not hot.
- Reserve about 1 teaspoon of the cooled melted butter and use it to lightly grease the foil-lined pan. (Use the remaining melted butter in the batter.)
- To the bowl with the remaining melted butter, add ⅓ heaping cup peanut butter, 1 large egg, 1 cup light brown sugar (packed), and 1 tablespoon vanilla extract. Whisk until the mixture is smooth and uniform.
- Add 1 cup all-purpose flour and ½ teaspoon salt to the wet mixture. Stir with a spatula or spoon just until combined — do not overmix.
- Stir in 1 cup semi-sweet chocolate chips until evenly distributed.
- Pour the batter into the prepared pan and smooth the top lightly with a spatula. Sprinkle the remaining 2 tablespoons chocolate chips evenly over the top and gently press them into the batter.
- Bake on the center oven rack for 20–25 minutes, or until a toothpick inserted into the center comes out clean or with a few moist crumbs (no wet batter).
- Remove the pan from the oven and let the bars cool in the pan on a wire rack for at least 30 minutes. Use the foil overhang to lift the bars from the pan, then slice and serve.
- Store bars airtight at room temperature for up to 1 week, or freeze for up to 6 months.
Top Reasons to Make Peanut Butter Chocolate Chip Bars
These bars are fast. From start to finish you’re working with a quick melt, a single mixing bowl, and a 20–25 minute bake. They’re also forgiving — slight changes in stirring or a minute overbake won’t wreck the texture the way it might with delicate cakes.
They’re crowd-pleasers. Peanut butter and chocolate are a classic pairing, and these bars hit both flavors clearly. They work for school lunches, potlucks, after-school snacks, and easy dessert plates. No fuss, just dependable flavor.
Finally, they travel well. Baked and cooled bars stack in containers and keep their shape without crumbling into a mess. That makes them practical for gifting or serving at gatherings.
Allergy-Friendly Substitutes
Common allergies are easy to handle here with a few straightforward swaps.
- Nut allergy: Replace the peanut butter with a seed butter like sunflower seed butter. The texture and ratio stay the same; the flavor shifts but the chemistry of the batter remains stable.
- Dairy-free: Use a vegan butter substitute melted in place of the unsalted butter. Choose a block or tub labeled for baking for best results.
- Egg-free: Try a 1:1 commercial egg replacer or a flax “egg” (1 tablespoon ground flax + 3 tablespoons water, let sit 5 minutes). Texture will be slightly different but acceptable for a dense bar.
- Gluten-free: Use a one-to-one gluten-free flour blend designed for baking. Look for blends containing xanthan gum or add ¼ teaspoon xanthan gum if your blend lacks it.
Essential Tools for Success
- 8×8-inch baking pan: The recipe is calibrated for this size; a different pan will change thickness and bake time.
- Aluminum foil: For lining and lifting the bars out cleanly once cooled.
- Large microwave-safe bowl: Melts the butter and gives you enough space to whisk the batter without splashing.
- Rubber spatula or spoon: For gentle folding and spreading — avoid overmixing.
- Wire rack: For cooling; bars finish setting as they cool on a rack and won’t steam on the bottom.
- Toothpick or cake tester: For checking doneness without overbaking.
Watch Outs & How to Fix
Baking time
Watch the clock but trust the toothpick. If a toothpick comes out with a few moist crumbs, you’re done. If it comes out wet with raw batter, give it a few more minutes. Overbaking dries the bars; underbaking leaves them gummy.
Greasy or dense bars
If the bars feel greasy, it usually means either the peanut butter was very oily or the butter measurement was off. Use the exact amounts and blot excess oil from natural peanut butters before measuring. If they’re overly dense, don’t overmix once flour is added.
Top chips sink or burn
If chips sink, gently fold them in with a light hand and press a few on top before baking (this recipe already accounts for stirring most in and sprinkling some on top). If chips on top are browning too much, tent the pan with foil for the last few minutes.
Bars won’t set
If the center stays too soft after cooling, they likely needed more bake time. Return to the oven in 3–4 minute increments. Once baked, allow a full 30 minutes cooling in the pan before slicing — they firm up as they cool.
Customize for Your Needs
There’s room to personalize these bars without breaking the structure.
- Crunch factor: Stir in ⅓ cup chopped peanuts or chopped nuts of choice with the chocolate chips for texture.
- Salted caramel: Drizzle a little cooled salted caramel over the top after baking for a decadent twist.
- Spice it up: Add a pinch (¼ teaspoon) of cinnamon or even a tiny pinch of cayenne for a subtle warmth that complements chocolate.
- Chunkier chocolate: Swap some chips for chopped chocolate chunks to get more molten pockets.
Chef’s Notes
I prefer a heaping ⅓ cup of peanut butter here because it provides a clear peanut presence without making the batter too heavy. If you like a stronger peanut flavor, you can nudge that up a touch — but watch the batter texture. If your peanut butter is very runny, reduce any additional liquid elsewhere (there’s none in this recipe besides egg and melted butter, so adjust subtly).
Use light brown sugar for moisture and a gentle molasses note. Dark brown sugar will deepen the flavor and make the bars slightly more tender, but it’s optional. The salt measurement is modest; always taste the batter (it’s safe prior to adding raw egg — once egg is added, skip tasting) and adjust for your peanut butter’s saltiness.
Make Ahead Like a Pro
These bars are an excellent make-ahead item. After cooling completely, wrap the whole pan (lifted out using the foil overhang) in plastic wrap and then foil. They keep at room temperature for up to a week when stored airtight, though I prefer chilling after day two for peak texture.
For longer storage, freeze individually wrapped bars or freeze the whole slab. Thaw at room temperature for about an hour or overnight in the fridge. If frozen in a block, slice after partial thawing so the cuts are cleaner.
Reader Questions
Q: Can I double this recipe for a 9×13 pan? A: You can, but expect a different thickness and bake time. Doubling the batter into a larger pan will produce slightly thinner bars — reduce bake time and check frequently. For a true 9×13 version, consider increasing the recipe by 2.5x rather than exactly double to maintain a similar thickness; test for doneness earlier.
Q: My peanut butter is super oily. Will that ruin the bars? A: It can make the bars slightly greasier. Stir the peanut butter well before measuring, or spoon it into the cup and level off rather than shaking it down. If it still seems oily, blot with a paper towel before measuring. The recipe tolerates a range of peanut butter styles, but natural brands need a little more care.
Q: Can I use chunky peanut butter? A: Yes. The bars will have extra texture and pockets of chopped peanuts. Fold the peanut pieces into the batter along with the chocolate chips.
In Closing
This Peanut Butter Chocolate Chip Bars recipe is designed to be a dependable, quick crowd-pleaser. It’s simple enough for a weeknight dessert and sturdy enough for baking ahead for events. Stick to the basic steps and proportions, give the bars time to cool, and you’ll have a tray of reliably delicious treats. Try one small tweak at a time — and let the chocolate chips tell you when you’ve gone too far.
Peanut Butter Chocolate Chip Bars
Ingredients
Method
- Preheat the oven to 350°F. Line an 8x8-inch baking pan with aluminum foil, leaving an overhang on two sides to lift the bars out later; set the pan aside.
- In a large microwave-safe bowl, melt ½ cup unsalted butter on high for about 1 minute. Let the melted butter cool 1–2 minutes so it is warm but not hot.
- Reserve about 1 teaspoon of the cooled melted butter and use it to lightly grease the foil-lined pan. (Use the remaining melted butter in the batter.)
- To the bowl with the remaining melted butter, add ⅓ heaping cup peanut butter, 1 large egg, 1 cup light brown sugar (packed), and 1 tablespoon vanilla extract. Whisk until the mixture is smooth and uniform.
- Add 1 cup all-purpose flour and ½ teaspoon salt to the wet mixture. Stir with a spatula or spoon just until combined — do not overmix.
- Stir in 1 cup semi-sweet chocolate chips until evenly distributed.
- Pour the batter into the prepared pan and smooth the top lightly with a spatula. Sprinkle the remaining 2 tablespoons chocolate chips evenly over the top and gently press them into the batter.
- Bake on the center oven rack for 20–25 minutes, or until a toothpick inserted into the center comes out clean or with a few moist crumbs (no wet batter).
- Remove the pan from the oven and let the bars cool in the pan on a wire rack for at least 30 minutes. Use the foil overhang to lift the bars from the pan, then slice and serve.
- Store bars airtight at room temperature for up to 1 week, or freeze for up to 6 months.
Notes
*I use Jif, Skippy or similar; natural PB can separate and/or be too oily.