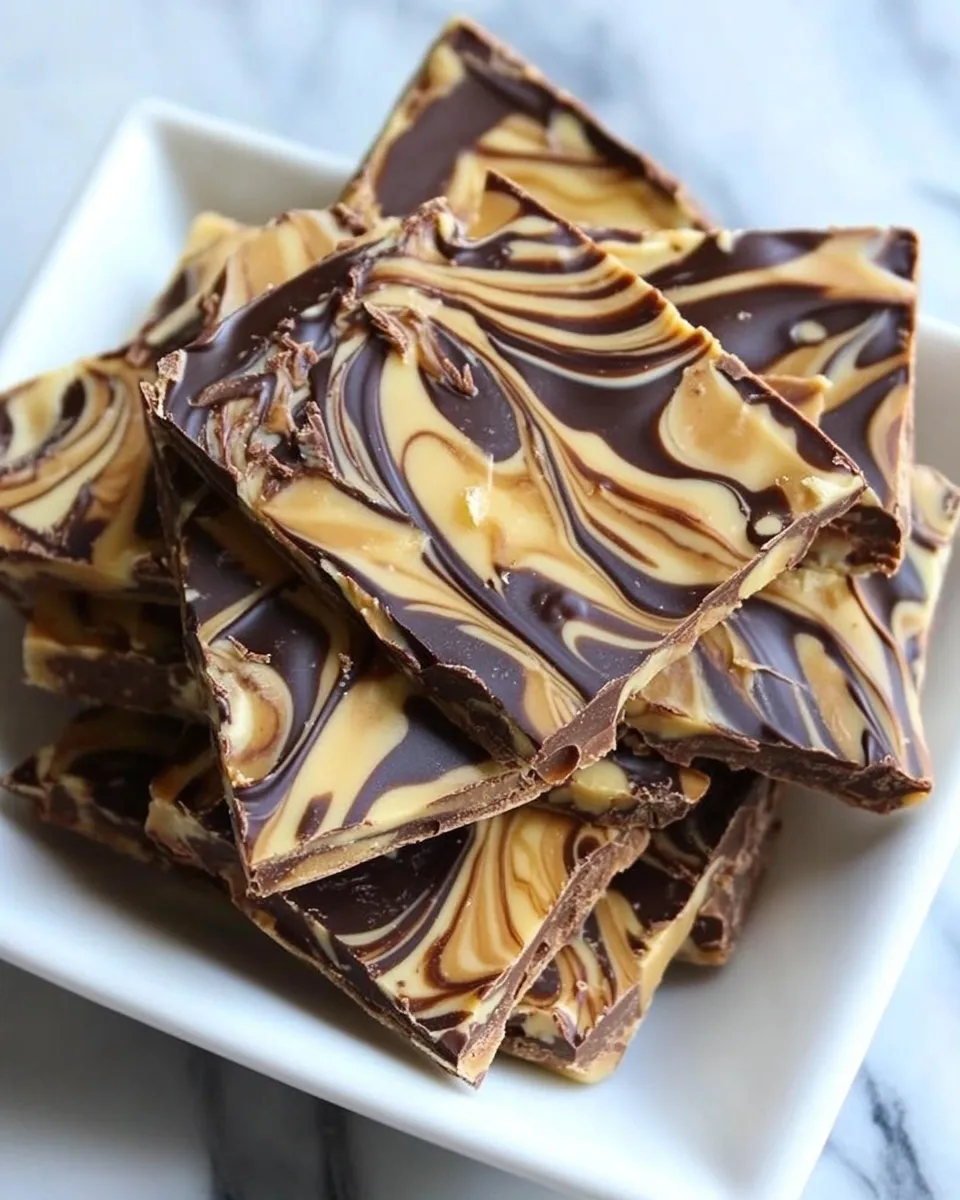
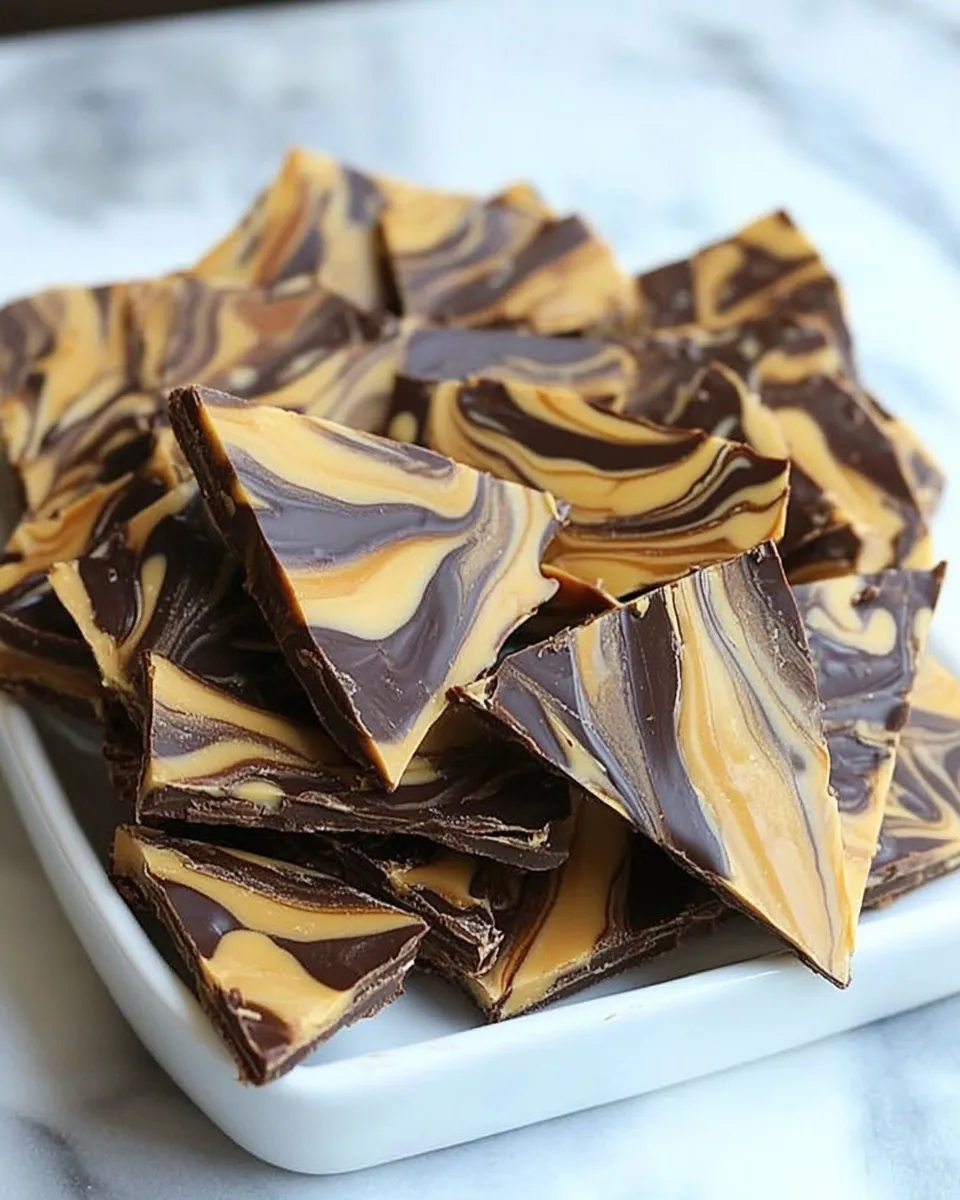
Peanut Butter Chocolate Swirl Bark
I fell in love with this simple, show-stopping treat the first time I made it. It’s one of those recipes that reads like a shortcut to happiness: two textures, two flavors, and zero baking drama. If you need a quick gift, an easy party platter item, or a no-fuss afternoon pick-me-up, this does the job every time.
There’s a reason this bark is a perennial favorite in my rotation. The chocolate sets glossy and smooth; the peanut butter adds those pockets of creamy, nutty contrast. It’s forgiving, which means good results even if you’re multitasking in the kitchen.
Below I’ll walk you through what to buy, the exactly-ordered steps to follow, and a handful of practical tips I learned after making this dozens of times. Keep a baking sheet, parchment, and a toothpick handy—you’ll be done faster than you think.
Your Shopping Guide
Buy quality chocolate you actually like to eat. For this recipe the texture and flavor of the semi-sweet chocolate matter more than the brand name. Look for bars or chunks labeled “semi-sweet” with 50–60% cocoa for balanced flavor. If you prefer a less intense chocolate note, choose a slightly lower cocoa percentage.
Peanut butter chips and a tablespoon of creamy peanut butter are the other two components. The chips melt reliably and add the peanut profile, while the tablespoon of creamy peanut butter helps with spreadability and mouthfeel. If the chips come in small bags, pick one that’s still sealed and not old—the fresher, the better for melting quality.
Buy a roll of parchment or a silicone baking mat if you don’t have one. Both prevent sticking and make removal a breeze. If you plan to give this as a gift, pick an airtight container or small tins to keep the bark crisp.
Peanut Butter Chocolate Swirl Bark: From Prep to Plate
This section is the step-by-step. Follow each direction in order for the best marbled effect and clean snap when the bark sets. I recommend reading the steps once before you start so you can move through melting and drizzling without pausing.
- Line a large baking sheet with parchment paper or a silicone baking mat; set aside.
- Melt the 8 ounces coarsely chopped semi-sweet chocolate: either (a) set a heatproof bowl over a pot of simmering water (bowl should not touch the water) and stir until smooth, or (b) microwave in a microwave-safe bowl at 50% power in 20-second increments, stirring between each increment, until completely melted and smooth. Set aside.
- Combine 1 cup peanut butter chips and 1 tablespoon creamy peanut butter in a small microwave-safe bowl. Microwave at 50% power in 20-second increments, stirring after each increment, until the mixture is completely smooth and melted. (Alternatively, melt over a double boiler the same way as the chocolate.)
- Pour the melted semi-sweet chocolate onto the prepared baking sheet and use a rubber spatula to spread it into an even layer.
- Drizzle the melted peanut butter mixture over the chocolate in parallel lines across the surface.
- Use a toothpick or the tip of a knife to gently drag through the chocolate and peanut butter lines to create swirls or a marbled pattern.
- Transfer the baking sheet to the refrigerator and chill until the bark is completely set, about 30 minutes.
- Once hardened, remove the bark from the baking sheet and break it into pieces of your desired size.
- Store bark in an airtight container at room temperature in a cool, dry place for up to 1 week. During warmer months, store the bark in the refrigerator for up to 2 weeks.
Ingredients
- 8 ounces semi-sweet chocolate, coarsely chopped — provides the chocolate base and structure; coarsely chopping helps it melt evenly.
- 1 cup peanut butter chips — supplies the peanut flavor and melts into a spreadable drizzle.
- 1 tablespoon creamy peanut butter — smooths the peanut butter chips and improves swirl consistency.
What You’ll Love About This Recipe
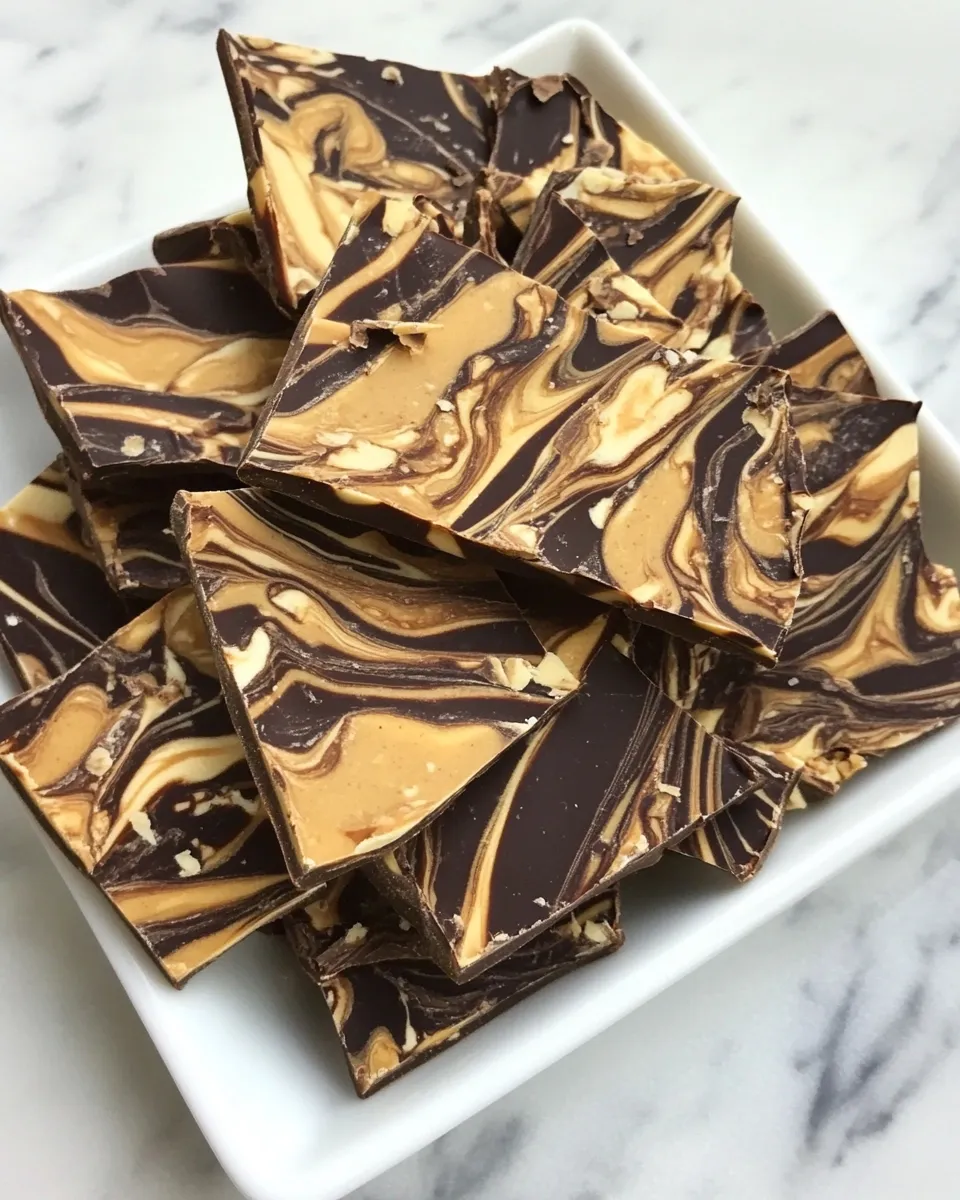
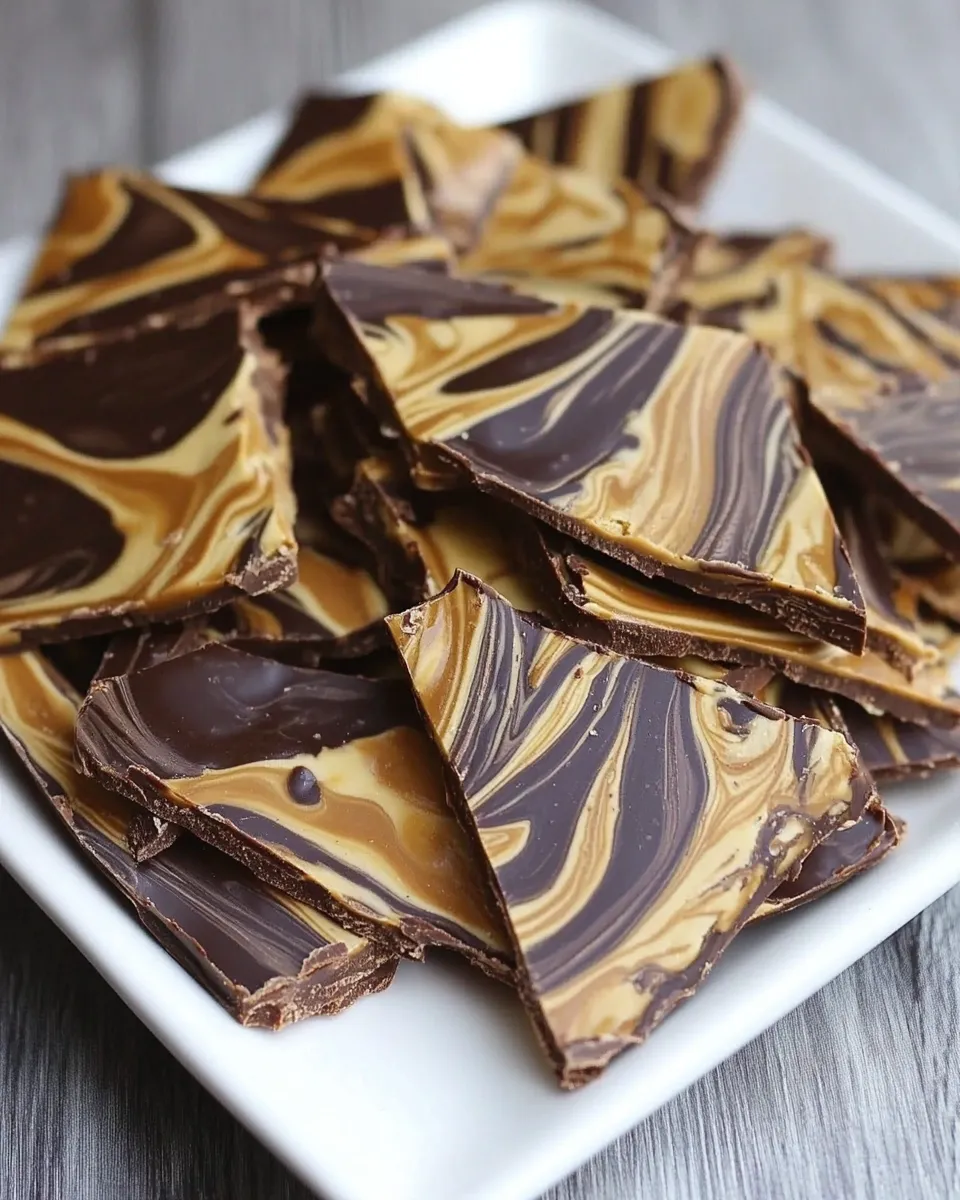
First, the speed. From start to refrigerator the active time is minimal. Melting, spreading, and swirling take about 15 minutes; the rest is passive chilling. Second, the visual payoff—the marbled surface looks artisanal even with minimal effort. Third, flexibility: serve it broken into rustic shards for a casual platter or boxed up neatly for gifts.
The flavor balance is another winner. Semi-sweet chocolate keeps the bark from tasting cloying, while the peanut butter brings a savory roundness. Texture-wise, you get a firm snap that gives way to creamy pockets—small contrasts that make every bite interesting.
Texture-Safe Substitutions
If you’re after a different mouthfeel without risking a grainy or greasy finish, here are safe swaps that preserve texture:
- Chocolate: You can use milk chocolate instead of semi-sweet if you prefer a softer, sweeter bite. Avoid chocolate chips labeled “bakery chips” if you want a glossy, firm finish; bars typically melt smoother.
- Peanut butter chips: If you don’t have peanut butter chips, you can use more creamy peanut butter in place of chips, but reduce slightly if it’s very oily. The key is a smooth, not separated, peanut butter.
- Nut alternatives: If someone needs almond flavor, use almond butter chips only if they melt smoothly—some nut butters separate and change texture. I recommend testing a small amount first.
What’s in the Gear List
Minimal tools mean fewer dishes and less cleanup. Here’s what I use every time:
- Large baking sheet — for spreading the bark thin and even.
- Parchment paper or silicone baking mat — prevents sticking and makes removal easy.
- Heatproof bowl and pot (for double boiler) or microwave-safe bowls — choose whichever melting method you prefer.
- Rubber spatula — for smooth spreading and scraping every last drop of chocolate.
- Toothpick or small knife — for creating the marbled design.
Optional but helpful: an instant-read thermometer if you want to be precise with chocolate tempering. For this recipe tempering isn’t required, but the thermometer helps if you plan to work with bigger batches later.
Don’t Do This
There are a few simple missteps to avoid. Don’t let any water or steam touch your chocolate while melting. Even a drop will seize the chocolate, leaving it grainy. If using a double boiler, make sure the bowl doesn’t touch the simmering water.
Don’t overheat the peanut butter mixture. Heat in short bursts and stir between increments. Overheating can make the oils separate, which affects how the peanut butter spreads and adheres to the chocolate.
Don’t rush removal before the bark is fully set. Pulling it too early causes soft, bending pieces that break messily. Let it chill the full 30 minutes or until it’s firm to the touch.
Season-by-Season Upgrades
Small touches can make this feel seasonal without changing the core process. In winter, sprinkle a few crushed candy canes or flaky sea salt on top before chilling for a festive contrast. In spring, add a few dried strawberry bits for color and a fresh pop—sprinkle them while the chocolate is still wet so they adhere.
For summer gatherings, chill the bark fully and serve cold to keep the texture crisp. If you want an autumnal twist, dust the peanut butter drizzle with a light sprinkle of cinnamon before it sets. These add-ins should be used sparingly so they don’t interfere with the chocolate’s set.
What I Learned Testing
I made batches at different thicknesses and learned that 1/8–1/4 inch gives the best balance between bite and snap. Too thin and the pieces shatter; too thick and it feels clunky in the mouth. Spread the chocolate to a uniform thickness with a silicon spatula to avoid fragile edges.
Another lesson: the swirl pattern looks best when the peanut butter lines are thin and evenly spaced. Pouring a heavy strip and dragging once creates a bold but less refined pattern, while thinner parallel lines yield a delicate marbling when you drag through them with a toothpick.
When I stored bark at room temperature during humid months, it softened faster. That taught me to prefer refrigeration in heat, both for texture and for longer shelf life.
Freezer-Friendly Notes
This bark freezes well. Lay individual pieces on a tray to flash-freeze, then transfer them to a zipper bag or airtight container with parchment between layers to prevent sticking. Properly stored, bark will keep frozen for up to 3 months.
To thaw, move pieces to the refrigerator for a few hours or to room temperature for about 30–60 minutes. Avoid thawing on the counter for too long in warm conditions; condensation can form on the chocolate and dull the sheen.
Troubleshooting Q&A
- Q: My chocolate seized while melting. What now?
A: If a small amount of water hit the chocolate it can seize into a grainy paste. If it’s slightly seized, stir in a teaspoon of neutral oil to smooth it, but results may vary. If it’s badly seized, start fresh—this saves time and gives a better finish. - Q: The peanut butter look oily after melting. Is it ruined?
A: If the peanut butter separates, stop heating immediately and stir gently to reincorporate. If the oil doesn’t integrate, spoon off excess oil and proceed—texture may be slightly different but still tasty. - Q: Bark is soft even after chilling. Why?
A: Two common reasons: the chocolate overheated and lost temper, or ambient temperature is too warm. Move bark to the coldest part of your refrigerator and allow more time. For long-term storage in warm months, refrigerate. - Q: How do I get cleaner breaks?
A: Let it fully harden in the fridge and break on a hard surface. If you want neat squares, score the set chocolate with a knife before it fully hardens, then chill and snap along the lines.
Before You Go
This Peanut Butter Chocolate Swirl Bark is a reliable, low-effort treat that looks like you spent more time than you did. Keep the three ingredients on hand and you’ve got a last-minute gift or quick snack ready in under an hour. If you try any of the seasonal ideas, let me know which one became your favorite—I love hearing what readers tweak and enjoy.
Happy swirling. Keep a towel nearby; melted chocolate can be messy, but it’s worth it.
Peanut Butter Chocolate Swirl Bark
Ingredients
Equipment
Method
- Line a large baking sheet with parchment paper or a silicone baking mat; set aside.
- Melt the 8 ounces coarsely chopped semi-sweet chocolate: either (a) set a heatproof bowl over a pot of simmering water (bowl should not touch the water) and stir until smooth, or (b) microwave in a microwave-safe bowl at 50% power in 20-second increments, stirring between each increment, until completely melted and smooth. Set aside.
- Combine 1 cup peanut butter chips and 1 tablespoon creamy peanut butter in a small microwave-safe bowl. Microwave at 50% power in 20-second increments, stirring after each increment, until the mixture is completely smooth and melted. (Alternatively, melt over a double boiler the same way as the chocolate.)
- Pour the melted semi-sweet chocolate onto the prepared baking sheet and use a rubber spatula to spread it into an even layer.
- Drizzle the melted peanut butter mixture over the chocolate in parallel lines across the surface.
- Use a toothpick or the tip of a knife to gently drag through the chocolate and peanut butter lines to create swirls or a marbled pattern.
- Transfer the baking sheet to the refrigerator and chill until the bark is completely set, about 30 minutes.
- Once hardened, remove the bark from the baking sheet and break it into pieces of your desired size.
- Store bark in an airtight container at room temperature in a cool, dry place for up to 1 week. During warmer months, store the bark in the refrigerator for up to 2 weeks.