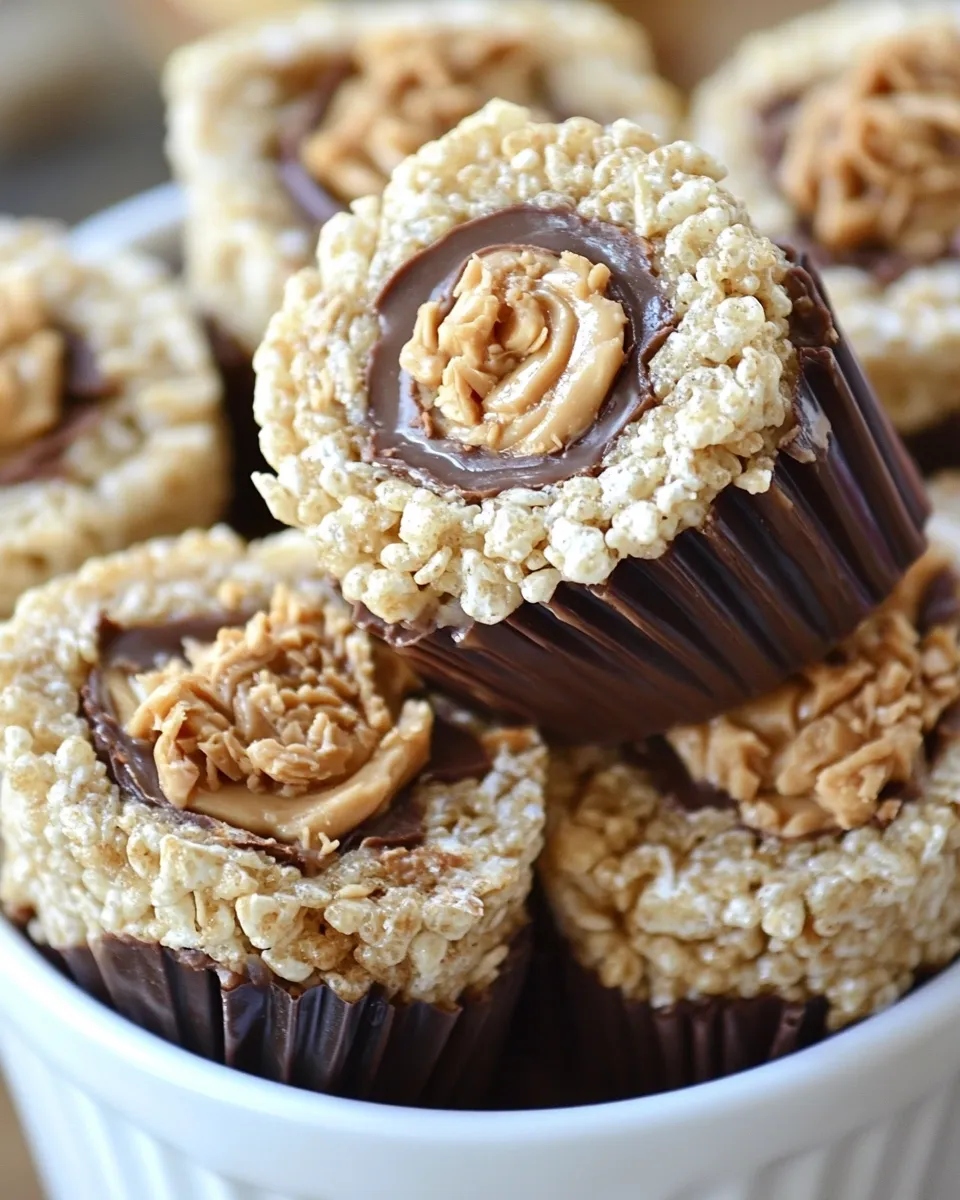
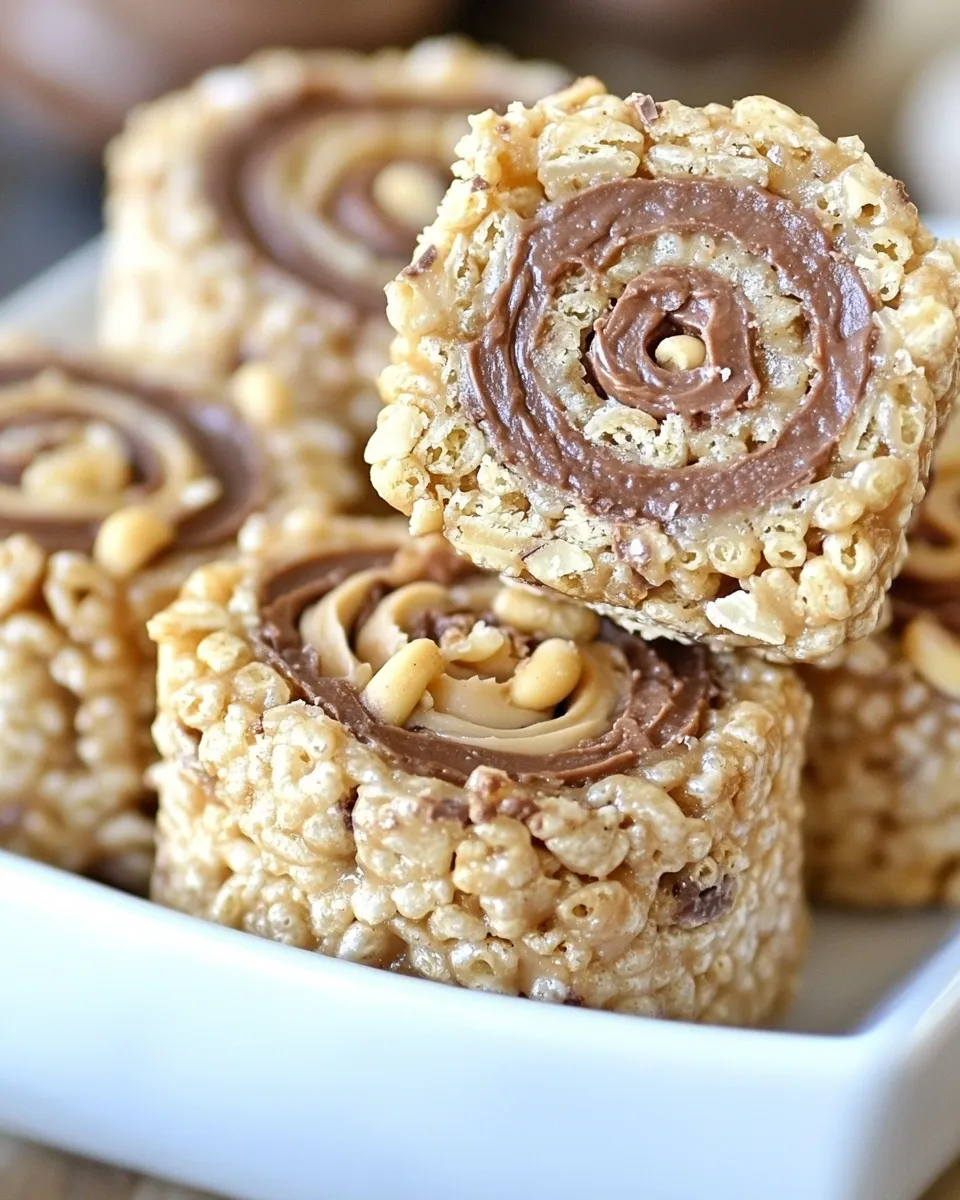
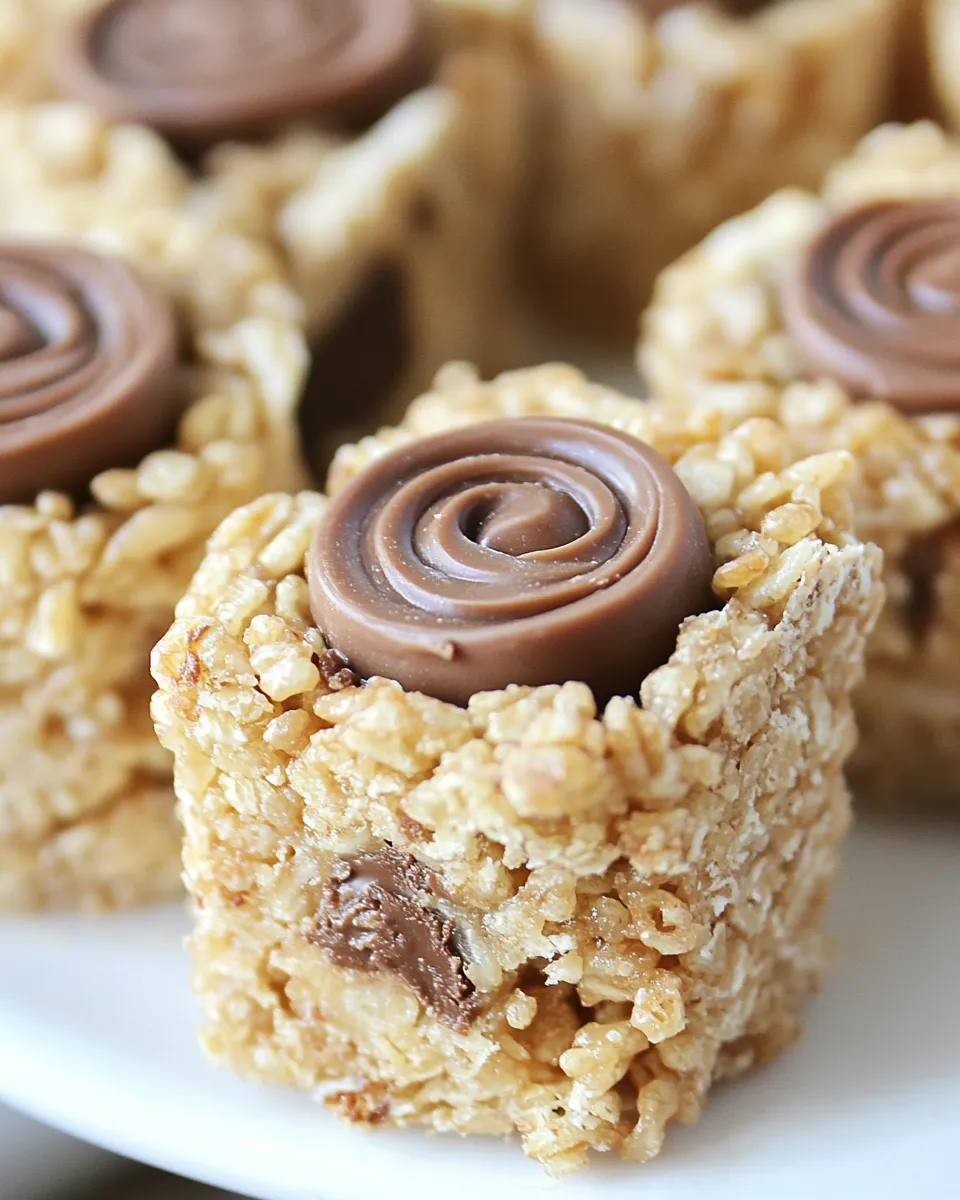
Peanut Butter Cup Rice Krispie Treats Pinwheels
These Peanut Butter Cup Rice Krispie Treats Pinwheels are exactly the sort of handheld, festive snack I pull out when people come over. They’re bold, sticky, and made with pantry-friendly ingredients. No need to temper chocolate or melt a complicated ganache—this recipe relies on simple assembly and a couple of microwaving steps to get you to a spectacular result fast.
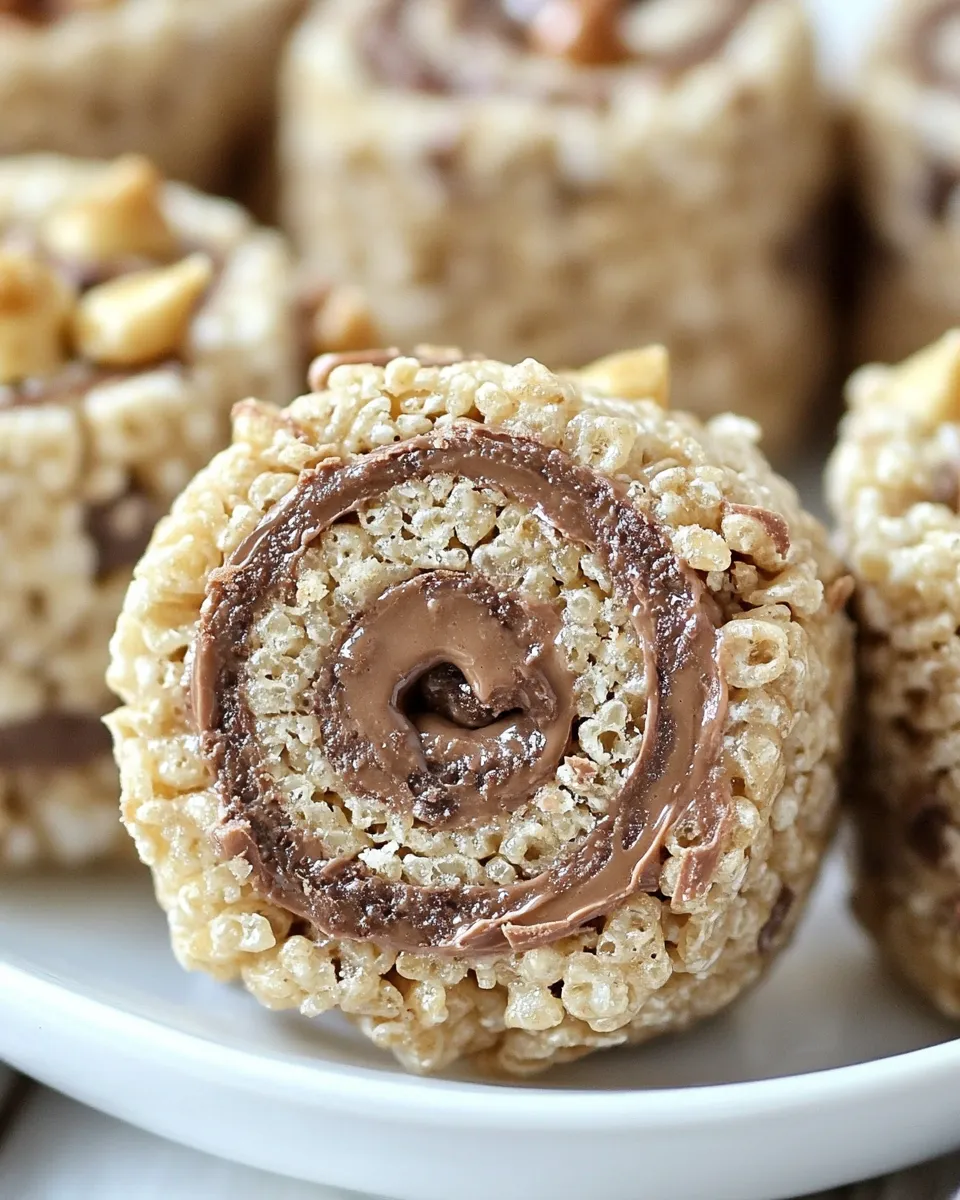
They combine Cocoa Krispies for that crisp rice texture, classic marshmallow glue, a creamy peanut butter layer, and plenty of chopped Reese’s peanut butter cups tucked into a spiral. The technique is straightforward: press, spread, sprinkle, and roll. The result is slices that look like pinwheels and taste like a cross between a Rice Krispie treat and a peanut butter cup.
I’ll walk you through what to buy, the exact method, small troubleshooting points, and sensible storage advice so your pinwheels hold their shape and shine. Read through the full method once before you start and have your parchment and a sharp knife ready. This is a great make-ahead party treat and a kid-pleaser, too.
What to Buy
Stick to the ingredients list for the best balance of texture and flavor. You want Cocoa Krispies for the chocolate-flavored crisp—regular Rice Krispies won’t give you the same cocoa punch. Use miniature marshmallows + marshmallow creme as called for: the miniature marshmallows help bind the cereal layer, and the marshmallow creme mixes more smoothly with peanut butter for the spreadable layer.
Buy Reese’s peanut butter cups that are easy to chop; standard-size cups work well when chopped roughly. Pick a creamy peanut butter you like—flavor matters here. Finally, grab parchment and a 10×15-inch jelly-roll pan if you don’t already have one. A sharp knife and a microwave-safe bowl or two are all you need beyond that.
Ingredients
- 10 oz miniature marshmallows — the binder for the cereal layer, melts quickly in the microwave.
- 1/4 cup butter — adds richness and helps the marshmallows melt smoothly; plus more for greasing.
- 6 cups Cocoa Krispies cereal — provides the chocolatey crisp texture for the base.
- 7 oz jar marshmallow creme — creates a spreadable top layer when mixed with peanut butter.
- 1/2 cup creamy peanut butter — adds flavor, moisture, and helps the top layer set with a smooth texture.
- 2 cups Reese’s peanut butter cups, roughly chopped — the chocolate-peanut pockets that make these pinwheels special; press into the top layer.
Method: Peanut Butter Cup Rice Krispie Treats Pinwheels
- Line a 10×15-inch jelly-roll pan with parchment paper and lightly butter the parchment; set the pan aside.
- In a large microwave-safe bowl, combine 10 oz miniature marshmallows and 1/4 cup butter. Cover and microwave on high for 30 seconds, stir, then repeat 30-second intervals, stirring between each, until the marshmallows and butter are completely melted and smooth.
- Add 6 cups Cocoa Krispies cereal to the melted marshmallow mixture and stir until the cereal is evenly coated.
- Press the cereal mixture firmly and evenly into the prepared pan.
- In a separate microwave-safe bowl, combine 7 oz marshmallow creme and 1/2 cup creamy peanut butter. Microwave for 30 seconds, then stir; if needed, microwave an additional 10–15 seconds and stir until the mixture is smooth and spreadable.
- Spread the marshmallow-peanut butter mixture evenly over the pressed Rice Krispies layer.
- Evenly sprinkle 2 cups roughly chopped Reese’s peanut butter cups over the top and press down lightly to adhere.
- Starting at the long side of the pan, use the parchment to roll the layered slab into a tight jelly-roll, peeling the parchment away as you roll; pinch the seam to seal.
- Place the roll seam-side down on the pan and refrigerate 30–45 minutes, or until the peanut butter cups’ chocolate has set and the roll is firm.
- Remove from the refrigerator, slice into pinwheels with a sharp knife (wipe the knife between cuts for cleaner slices), and serve.
Why This Recipe Is Reliable
This recipe relies on tried-and-true methods: microwaving marshmallows for even melting, pressing the cereal into a lined pan to get an even base, and chilling to firm the roll before slicing. There’s no baking, which reduces the number of variables that can go wrong. The two-layer approach—one sticky cereal base and one spreadable peanut-butter marshmallow top—gives structure and flavor contrast that holds up when rolled.
The quantities are balanced for texture: six cups of Cocoa Krispies versus two cups of chopped peanut butter cups ensures the roll holds together rather than becoming an overrun of chocolate bits. The short refrigeration step sets the chocolate and the marshmallow-peanut butter spread, making slicing predictable and clean if the knife is wiped between cuts.
What to Use Instead
Want to tweak something? Here are safe swaps that keep proportions intact.
- Swap Cocoa Krispies for regular Rice Krispies plus 2–3 tablespoons cocoa powder if you want a less branded option. Note: the texture will be slightly drier; press more firmly.
- Use mini peanut butter cups (if you can find smaller ones) for more even distribution. Keep the 2 cup volume.
- If you need a slightly firmer top layer, reduce the marshmallow creme by an ounce and replace with another tablespoon of peanut butter, but keep overall spreadable consistency in mind.
Recommended Tools
- 10×15-inch jelly-roll pan — essential for the slab size and proper rolling.
- Parchment paper — makes rolling and cleanup possible; do not substitute foil.
- Two microwave-safe bowls — one for melting the marshmallows and butter, one for the marshmallow creme and peanut butter.
- Rubber spatula — for scraping bowls and pressing layers evenly.
- Sharp chef’s knife — for clean pinwheel slices; keep it wiped between cuts.
Avoid These Mistakes
These are the most common missteps and how to prevent them.
- Undermelting the marshmallows. If the marshmallows aren’t completely smooth, the cereal won’t coat evenly. Continue microwaving in 10–15 second bursts if needed and stir thoroughly.
- Pressing the base too loosely. The cereal layer must be compact to roll without crumbling. Use the bottom of a measuring cup or a flat spatula to press firmly and evenly.
- Rolling too gently or too quickly. Roll tightly and steadily from the long side. If the roll is loose it will fall apart when sliced; if it’s too fast the layers can shift.
- Skipping the chill. The fridge step makes slicing clean. Warm or room-temperature rolls will smear and flatten when cut.
- Using a dull knife. A dull blade tears instead of slicing. Wipe the knife between cuts to remove sticky residue and maintain clean edges.
Better-for-You Options
If you want to lighten things up a bit without changing the technique too much, consider these modest tweaks. Keep in mind these will change texture and flavor:
- Use a natural peanut butter with only peanuts and salt to reduce added sugars. Natural peanut butter can be a touch oilier; chill the spread briefly before using.
- Swap miniature marshmallows for a lower-sugar variety if you can find them, but expect a slightly firmer, less sweet base.
- Reduce the quantity of chopped peanut butter cups (e.g., to 1 to 1 1/2 cups) to cut back on added chocolate while keeping the idea of the cups in each slice.
Behind-the-Scenes Notes
From testing, the key to consistent pinwheels is temperature control. The marshmallow layers both need to be warm enough to spread and set into one another, but not so hot that the Reese’s cups melt completely and lose their shape during rolling. That’s why the roll goes into the refrigerator before slicing.
Another small detail: buttering the parchment is not cosmetic. It prevents the cereal from sticking to the paper permanently and helps the roll release smoothly as you peel the parchment away. Also, using a tight, even roll rather than a loose spiral produces slices that show a clear swirl of the peanut butter layer and chocolate pieces.
Best Ways to Store
Store the pinwheels in an airtight container. They keep well refrigerated for up to 5 days; chilling preserves the texture and prevents the chocolate in the cups from softening too much. If you need to store at room temperature for a short event, keep them covered and out of direct heat for up to a day.
For longer storage, wrap the roll (or slices) tightly in plastic wrap and freeze up to 2 months. Thaw in the refrigerator to preserve shape and then slice if you froze the whole roll. If you freeze slices, let them sit at room temperature for 10–20 minutes before serving for best texture.
Common Qs About Peanut Butter Cup Rice Krispie Treats Pinwheels
Q: Can I make this without a microwave? A: Yes, but you’ll need to melt the butter and marshmallows on the stovetop in a large saucepan over low heat, stirring constantly. For the marshmallow creme and peanut butter mixture, warm gently in a small saucepan and stir until smooth. The key is even, controlled heat.
Q: How thin or thick should I slice the pinwheels? A: Aim for slices about 1/2 to 3/4 inch thick. Thinner slices can fall apart more easily, and thicker slices are harder to chew cleanly.
Q: Can I use crunchy peanut butter? A: You can, but chunky bits may make spreading and rolling slightly more difficult. The finished texture will be crunchier, which some folks prefer.
Q: Why did my roll crack when I tried to slice it? A: Cracking usually indicates the roll warmed up too much and became dry at the seam, or it wasn’t pressed tightly enough. Refrigerate until firm and use a sharp knife, wiping it clean between cuts.
The Takeaway
Peanut Butter Cup Rice Krispie Treats Pinwheels deliver big flavor with minimal fuss. Follow the exact ingredient list and the ten-step method for consistent results: press the cereal layer firmly, spread a smooth marshmallow-peanut butter topping, sprinkle and press in chopped Reese’s, roll tightly, chill, then slice. Keep a sharp knife handy and wipe it between cuts for neat pinwheels.
This is a party-ready, make-ahead treat with approachable technique and familiar flavors. Once you have the routine, the assembly becomes quick and repeatable—perfect for bake sales, kid birthdays, or a weekend snack that looks like you fussed more than you actually did.
Peanut Butter Cup Rice Krispie Treats Pinwheels
Ingredients
Equipment
Method
- Line a 10x15-inch jelly-roll pan with parchment paper and lightly butter the parchment; set the pan aside.
- In a large microwave-safe bowl, combine 10 oz miniature marshmallows and 1/4 cup butter. Cover and microwave on high for 30 seconds, stir, then repeat 30-second intervals, stirring between each, until the marshmallows and butter are completely melted and smooth.
- Add 6 cups Cocoa Krispies cereal to the melted marshmallow mixture and stir until the cereal is evenly coated.
- Press the cereal mixture firmly and evenly into the prepared pan.
- In a separate microwave-safe bowl, combine 7 oz marshmallow creme and 1/2 cup creamy peanut butter. Microwave for 30 seconds, then stir; if needed, microwave an additional 10–15 seconds and stir until the mixture is smooth and spreadable.
- Spread the marshmallow-peanut butter mixture evenly over the pressed Rice Krispies layer.
- Evenly sprinkle 2 cups roughly chopped Reese’s peanut butter cups over the top and press down lightly to adhere.
- Starting at the long side of the pan, use the parchment to roll the layered slab into a tight jelly-roll, peeling the parchment away as you roll; pinch the seam to seal.
- Place the roll seam-side down on the pan and refrigerate 30–45 minutes, or until the peanut butter cups’ chocolate has set and the roll is firm.
- Remove from the refrigerator, slice into pinwheels with a sharp knife (wipe the knife between cuts for cleaner slices), and serve.