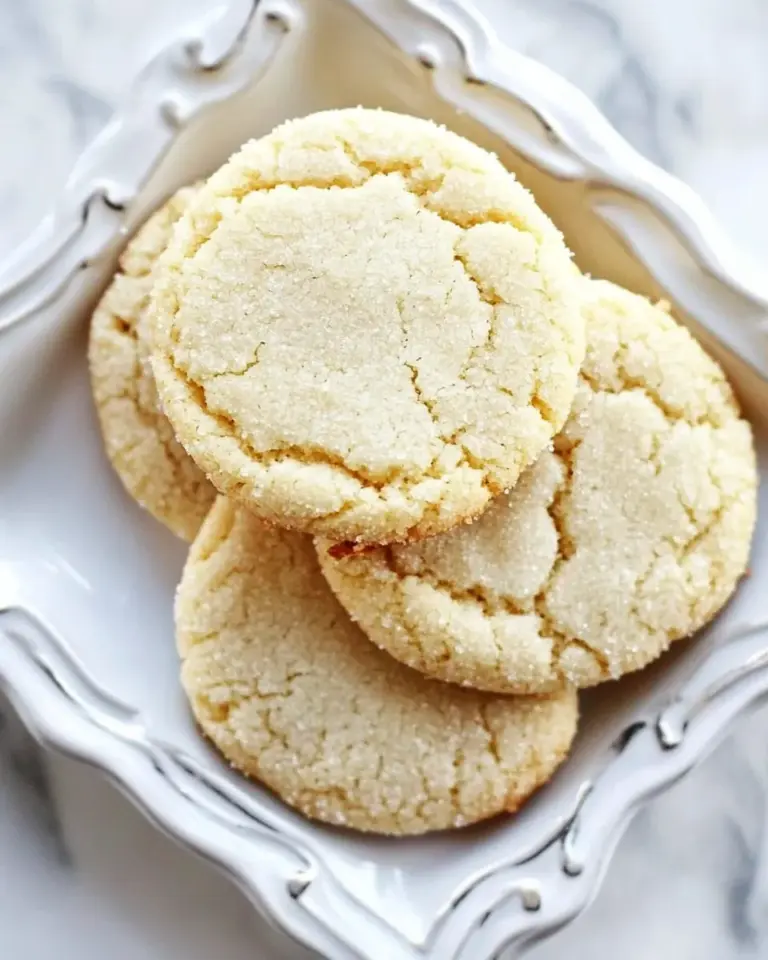
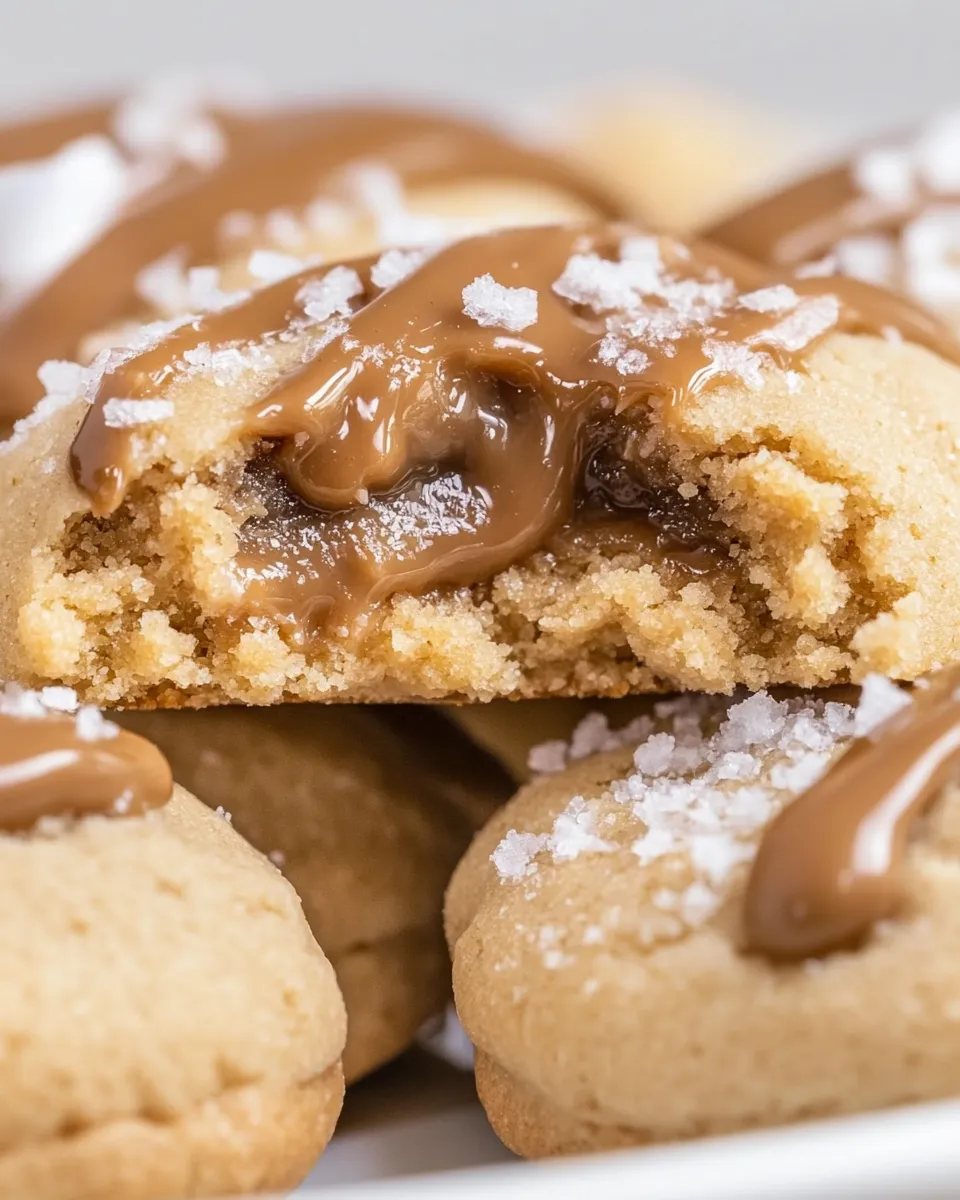
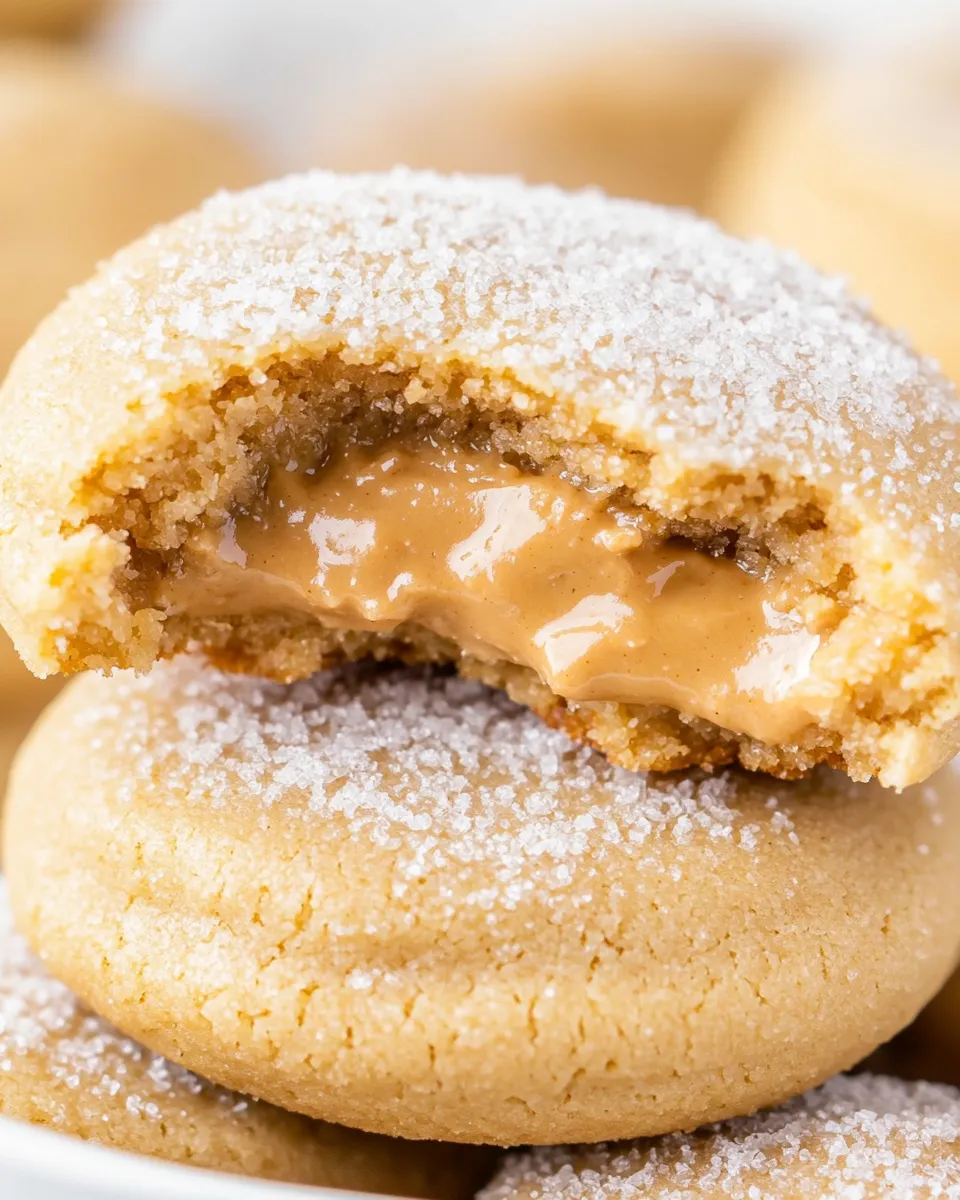
Peanut Butter Lava Cookies
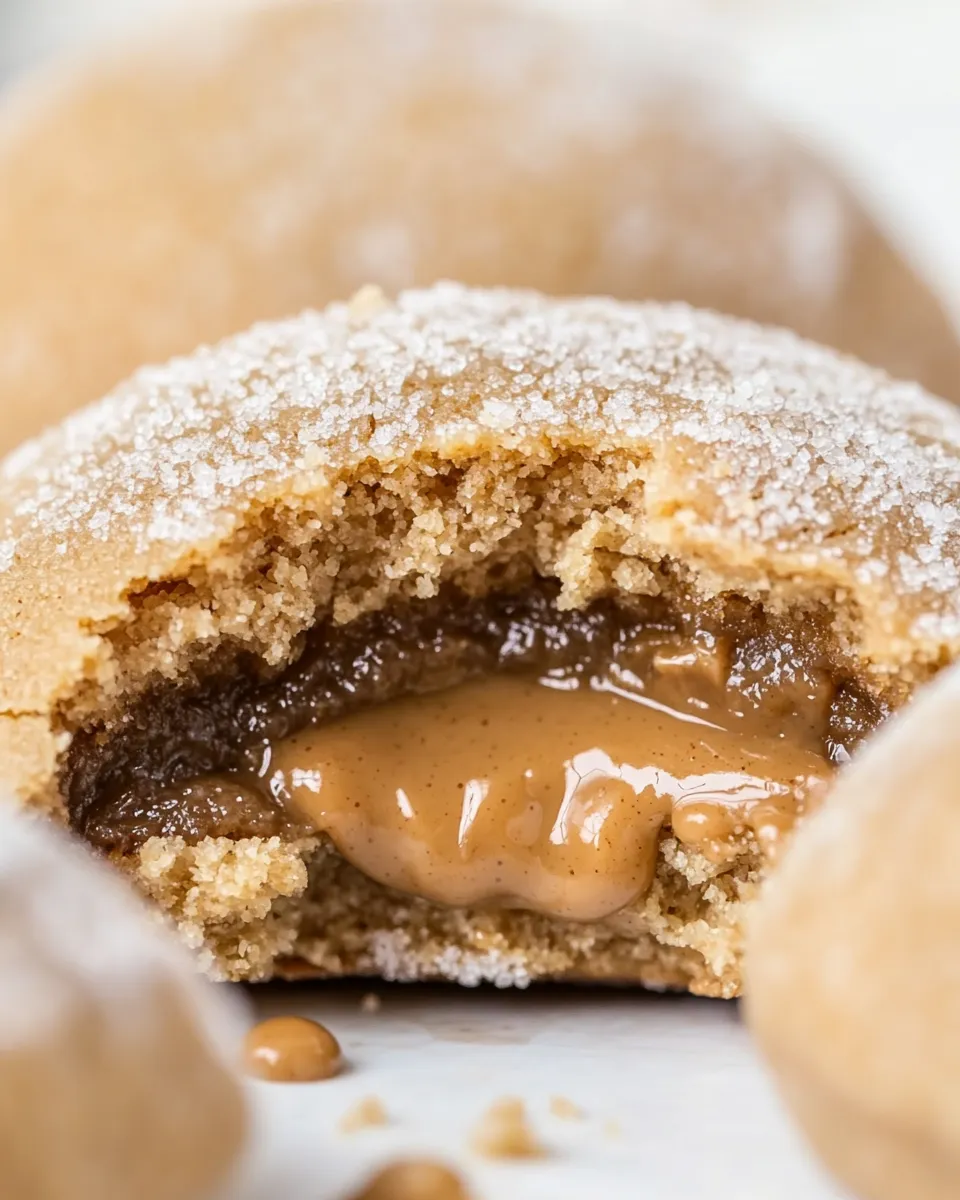
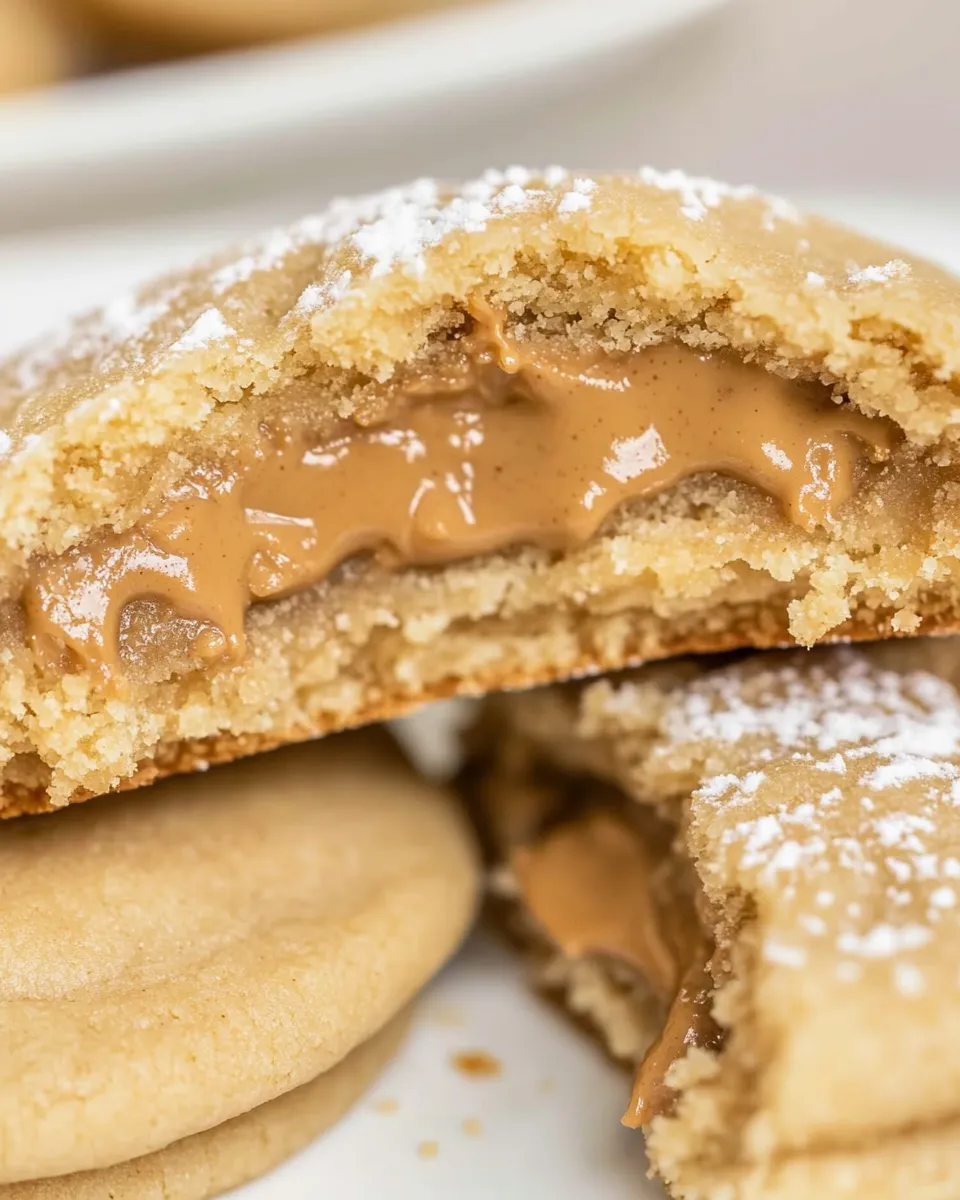
These cookies deliver exactly what their name promises: a crisp, sugary shell that gives way to a molten, sticky peanut butter center. They are quick to assemble, use minimal ingredients, and feel indulgent without a long ingredient list or complicated technique. I make them when I want something comforting and a little dramatic—warm, oozing centers are always a crowd-pleaser.
The method is straightforward: two rolled pie crusts become the pastry, creamy peanut butter fills each round, and a light sugar crust adds crunch and sparkle. The recipe is forgiving, which makes it great for busy weeknights, last-minute guests, or baking with kids. Timing matters at the end—let them rest a couple minutes before transferring off the sheet so the centers don’t run everywhere.
Gather These Ingredients
- 14 oz package of premade Pie Crust — the kind rolled up in a box; you will use both crusts. Let them come to room temperature per the package instructions so they roll smoothly.
- 14 tablespoons creamy peanut butter — JIF original creamy worked best for me. Measure carefully: you’ll spoon 1 tablespoon into each cookie so the number of cookies matches the amount.
- 1 cup granulated sugar — for coating and a small sprinkle on each peanut butter center; it adds crunch and a touch of caramelized sweetness when baked.
Peanut Butter Lava Cookies in Steps
- Preheat the oven to 400°F. Remove both pie crusts from the refrigerator and let them come to room temperature per the package instructions. Line a baking sheet with parchment paper and set aside; place the 1 cup granulated sugar in a shallow bowl for coating and sprinkling.
- Work with one pie crust at a time. Unroll one pie crust onto a clean piece of parchment or a lightly floured surface. Lightly roll the crust with a rolling pin so it is just a bit thinner than it comes (about 1/16–1/8 inch).
- Use a 3-inch round cookie cutter (or the rim of a glass/jar) to cut as many circles as you can from that crust. Re-gather scraps and keep them to reroll later.
- Place half of the cut rounds on your work surface as bottoms. On each bottom round, spoon 1 tablespoon creamy peanut butter into the center.
- Sprinkle about 1/8 teaspoon granulated sugar directly on top of the peanut butter for each cookie, keeping the sugar centered on the peanut butter so it does not reach the edges of the crust.
- Place a second round over each filled bottom to form a sandwich. Press the edges together firmly with your fingers to seal; if desired, crimp the edges with the tines of a fork for a tighter seal.
- Gently roll or dip each sealed cookie in the shallow bowl of granulated sugar to coat the outside, then place the coated cookies on the prepared baking sheet, leaving space between them.
- Reroll the saved scraps from that crust, cut additional rounds, and repeat steps 4–7 until you have used the first crust.
- Bake the cookies on the baking sheet for 12 minutes, or until the pastry is just beginning to brown. Do not overbake.
- While the first baking sheet is in the oven, prepare the second pie crust following steps 2–8. Bake the second batch after the first finishes, using the same temperature and time.
- When a batch comes out of the oven, let the cookies cool on the baking sheet for 2 minutes. Be careful—the peanut butter center will be very hot and in a “lava” state while warm.
- After 2 minutes, transfer the cookies to a wire rack or plate to finish cooling. The peanut butter will firm up as the cookies cool.
Why You’ll Keep Making It
These cookies strike a rare balance: they look impressive but take very little time. You get that fresh-baked aroma and warm filling without mixing dough from scratch. The contrast—flaky pastry, crunchy sugar exterior, and molten peanut butter inside—satisfies multiple cravings at once.
They scale easily. Two store-bought crusts make a lot of cookies, and the process is repetitive and meditative. If you need a dessert for a party, they’re portable, easy to reheat briefly, and most people love a gooey center. Finally, there’s a comfort-factor: they taste like grown-up hand pies with the nostalgia of peanut butter.
Texture-Safe Substitutions
- Nut butter swap: If you must substitute the creamy peanut butter, choose a smooth alternative with similar oil content (sunflower seed butter) to preserve the lava texture. Thicker, oily nut butters can leak; thinner ones may not set as nicely.
- Pie crust option: A sturdier store-bought crust (buttery, all-butter type) will brown faster and give you a flakier shell. Avoid gluten-free crusts unless you test first—thinner or crumblier gluten-free pastry can break during sealing.
- Sugar coating: Granulated sugar gives crunch and sparkle. If you prefer less crunch, use a superfine sugar or dust with powdered sugar after baking, but note that powdered sugar won’t produce the same crisp exterior.
Appliances & Accessories
- Oven set to 400°F — consistent heat gives the pastry its quick browning while keeping the center molten.
- Baking sheet lined with parchment — prevents sticking and helps transfer the cookies.
- 3-inch round cookie cutter or rim of a glass — for clean, uniform rounds.
- Rolling pin — to thin the crust slightly so it bakes evenly and seals well.
- Shallow bowl for sugar — makes coating fast and tidy.
- Fork (optional) — for crimping and extra sealing if you’re worried about leaks.
Easy-to-Miss Gotchas
- Room-temperature crusts: If the pie crusts are too cold they’ll crack when you roll or cut them. Warm them per the package so they’re pliable but not sticky.
- Overfilling: Stick to 1 tablespoon peanut butter per cookie. Too much will push the filling out when baking and lead to messy, flat cookies.
- Sugar placement: Sprinkle the small 1/8 teaspoon sugar directly on the peanut butter, centered. If sugar touches the edges it can draw moisture and prevent a good seal.
- Sealing edges: Press edges firmly. A loose seal invites leaks and a messy pan. Crimp with a fork if you want extra security.
- Baking time: Do not overbake. The pastry should only be just beginning to brown at 12 minutes. Overbaking dries the peanut butter and kills the lava effect.
- Hot centers: The peanut butter will be molten right out of the oven. Cool on the baking sheet for 2 minutes before moving to avoid splatters and burns.
Adaptations for Special Diets
- Gluten-free: Use a tested gluten-free rolled pie crust. Note texture differences; some gluten-free crusts may be more fragile. Test one or two cookies first before committing the whole batch.
- Nut-free: Replace peanut butter with a safe seed butter like sunflower seed butter. Texture matters—pick a creamy, thick brand that behaves similarly to peanut butter.
- Lower sugar: You can reduce the sugar used for coating, but the exterior crunch and the small sugar sprinkle on the filling contribute to contrast. Reducing too much will change the character of the cookie.
- Vegan: Most premade pie crusts are butter-based. Look for labeled vegan pie crusts. Use a vegan creamy peanut butter—the recipe otherwise remains the same.
Pro Tips & Notes
- Plan peanut butter portions: Scoop the 14 tablespoons into 14 even spoonfuls before you start cutting shapes. It speeds assembly and ensures consistent cookies.
- Work in batches: Cut all rounds from one crust, fill half as bottoms, then cover with tops. It’s faster than assembling piecemeal.
- Re-rolling scraps: Keep scraps lightly floured or on parchment so they don’t stick. Don’t overwork the dough—over-rolling can make the pastry tough.
- Uniform size: Use the same 3-inch cutter for both top and bottom rounds so sealing is easier and baking is uniform.
- Test cookie: Bake one or two first to check oven specifics; ovens vary and a tiny timing adjustment can make the difference between molten and too-firm centers.
Storage Pro Tips
- Room temperature short term: Store completely cooled cookies in an airtight container at room temperature for up to 2 days. Put parchment between layers to prevent sticking.
- Refrigeration: If you prefer firmer centers, refrigerate cooled cookies in an airtight container for up to 4 days. The centers will set more solidly.
- Freezing: Freeze baked, cooled cookies in a single layer on a baking sheet until firm, then transfer to a freezer-safe bag or container. Press a layer of parchment between layers. Reheat from frozen in a 325°F oven for 6–8 minutes to revive the lava interior.
- Reheating: Warm in a 300–325°F oven for 4–6 minutes (watch closely) if you want the center to be molten again. Microwaving will heat unevenly and can make the pastry soggy.
Frequently Asked Questions
- Can I use crunchy peanut butter? Yes, but the texture changes—the crunch will add extra texture inside and may slightly alter how the center flows while hot.
- How many cookies does this make? The recipe uses 14 tablespoons of peanut butter; yield depends on cutter placement and re-rolling scraps, but plan for roughly a dozen to fifteen cookies per two-crust package.
- Why did my filling leak? Most leaks come from under-sealing edges or overfilling. Press edges firmly and use a fork crimp if needed.
- Can I make these ahead? Assemble and refrigerate unbaked cookies for up to 24 hours on a parchment-lined tray, then bake as directed. Chilling will make the pastry slightly firmer and can help control spreading.
- My centers didn’t stay molten—what happened? If you overbaked or used an overly firm peanut butter with low oil content, the centers can set. Bake for the recommended time and choose a creamy, commonly used brand for best results.
That’s a Wrap
Peanut Butter Lava Cookies are one of those simple, satisfying desserts that feel special without a lot of fuss. With three pantry-friendly ingredients and a short bake time, you can turn store-bought convenience into something warm and memorable. Follow the steps, watch the seals, and respect that two-minute cool-down—then enjoy a gooey, nostalgic treat.
Make a batch this week. Keep the extras stored the right way and reheat briefly to restore that molten center. They’re worth the tiny bit of assembly for the big payoff at the first bite.
Peanut Butter Lava Cookies
Ingredients
Equipment
Method
- Preheat the oven to 400°F. Remove both pie crusts from the refrigerator and let them come to room temperature per the package instructions. Line a baking sheet with parchment paper and set aside; place the 1 cup granulated sugar in a shallow bowl for coating and sprinkling.
- Work with one pie crust at a time. Unroll one pie crust onto a clean piece of parchment or a lightly floured surface. Lightly roll the crust with a rolling pin so it is just a bit thinner than it comes (about 1/16–1/8 inch).
- Use a 3-inch round cookie cutter (or the rim of a glass/jar) to cut as many circles as you can from that crust. Re-gather scraps and keep them to reroll later.
- Place half of the cut rounds on your work surface as bottoms. On each bottom round, spoon 1 tablespoon creamy peanut butter into the center.
- Sprinkle about 1/8 teaspoon granulated sugar directly on top of the peanut butter for each cookie, keeping the sugar centered on the peanut butter so it does not reach the edges of the crust.
- Place a second round over each filled bottom to form a sandwich. Press the edges together firmly with your fingers to seal; if desired, crimp the edges with the tines of a fork for a tighter seal.
- Gently roll or dip each sealed cookie in the shallow bowl of granulated sugar to coat the outside, then place the coated cookies on the prepared baking sheet, leaving space between them.
- Reroll the saved scraps from that crust, cut additional rounds, and repeat steps 4–7 until you have used the first crust.
- Bake the cookies on the baking sheet for 12 minutes, or until the pastry is just beginning to brown. Do not overbake.
- While the first baking sheet is in the oven, prepare the second pie crust following steps 2–8. Bake the second batch after the first finishes, using the same temperature and time.
- When a batch comes out of the oven, let the cookies cool on the baking sheet for 2 minutes. Be careful—the peanut butter center will be very hot and in a “lava” state while warm.
- After 2 minutes, transfer the cookies to a wire rack or plate to finish cooling. The peanut butter will firm up as the cookies cool.