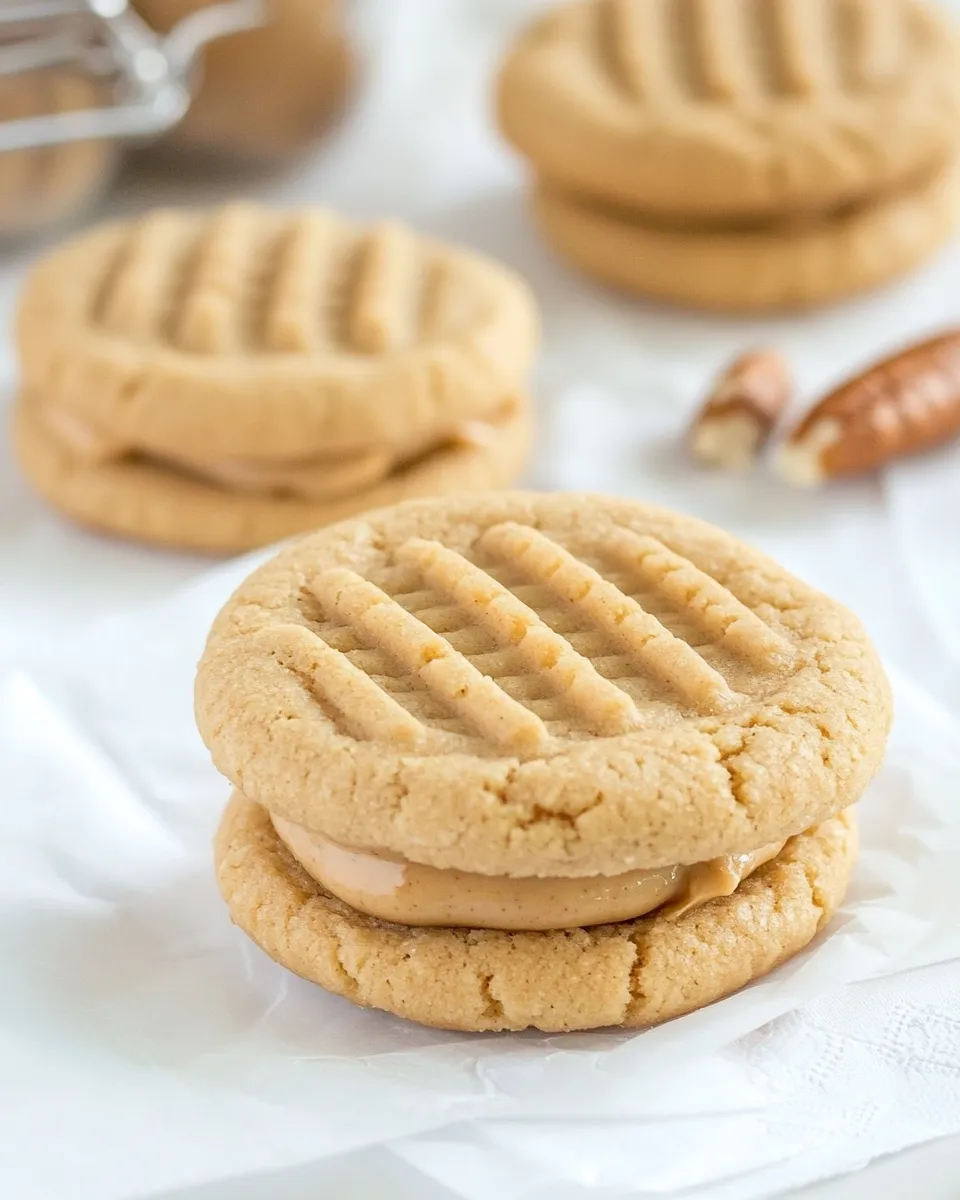
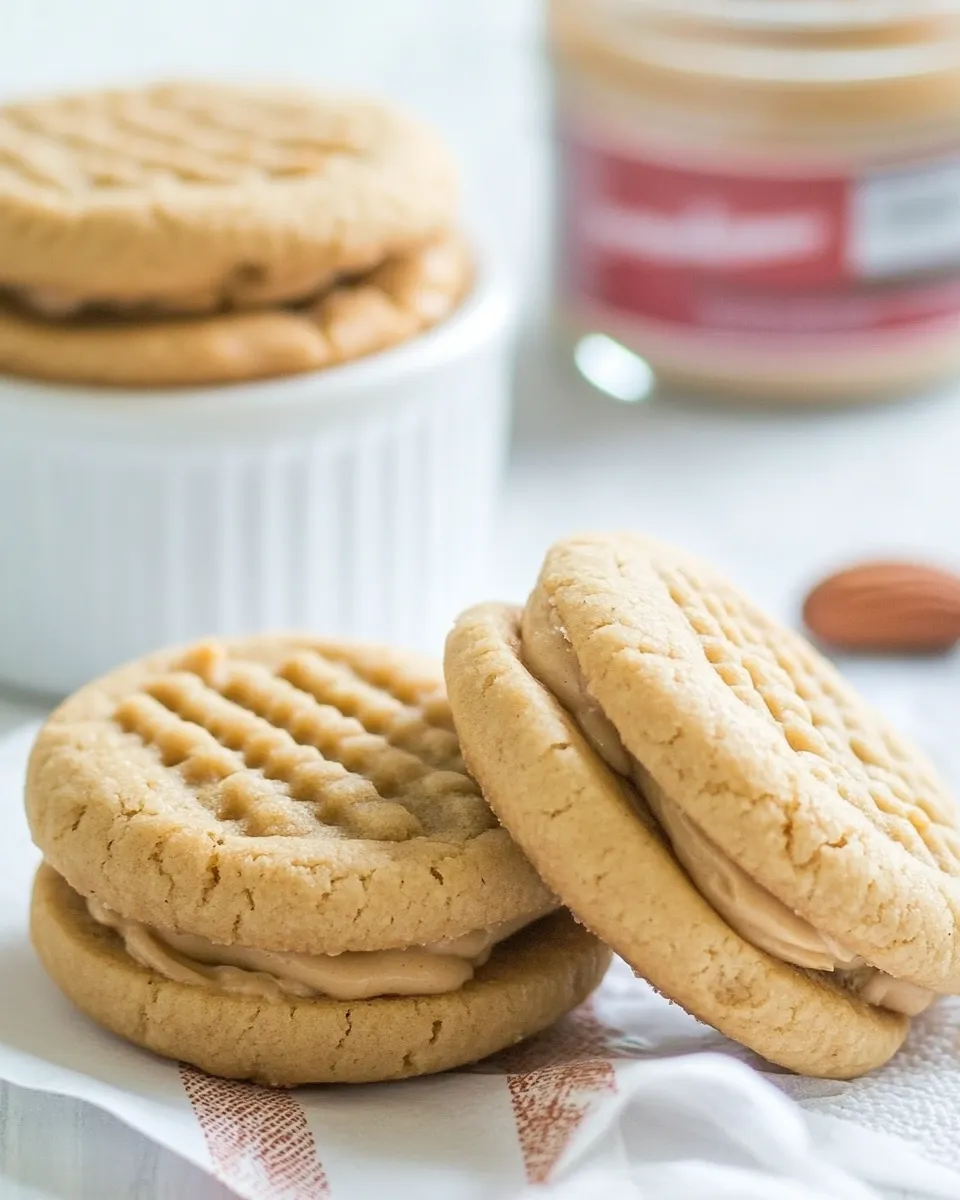
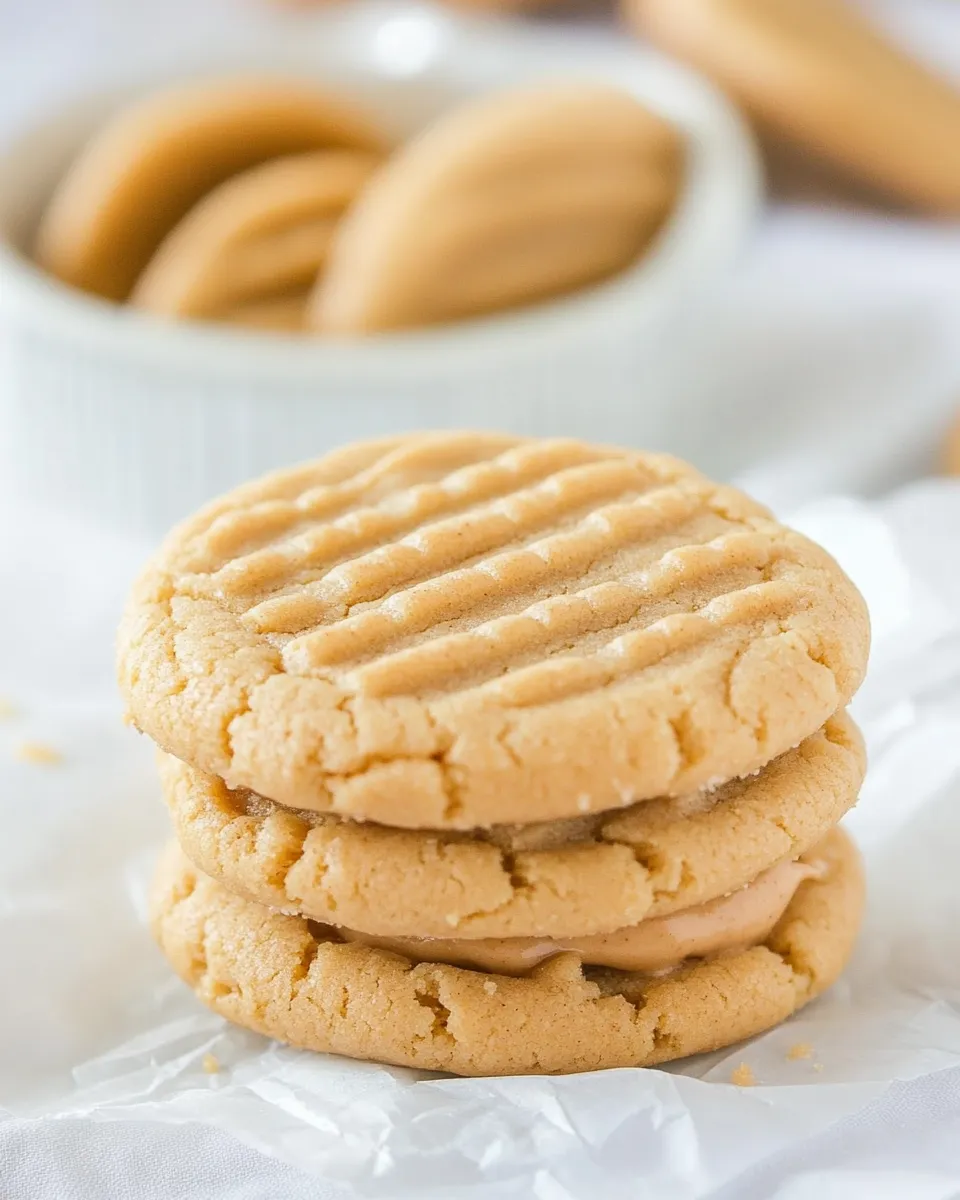
Peanut Butter Maple Cream Sandwich Cookies
These sandwich cookies are exactly the kind of thing I bake when I want something that feels a little special but is completely doable on a weeknight. The cookies are tender and nutty, pressed with the classic fork criss-cross, and the filling combines straight-up peanut butter with a whisper of maple for a rounded, cozy sweetness.
I like that the recipe relies on pantry staples and one short, focused frosting step. The dough comes together quickly, and the filling is thick but easy to spread — you control the creaminess with a tablespoon or two of heavy cream. They’re comfort food that behaves well at cookie swaps and holds up in lunchboxes.
What You’ll Gather
Go through your pantry and fridge before you start: this recipe uses common baking staples and two types of buttered peanut butter — one in the cookie and one in the filling. When the ingredients are on the counter and your oven is preheating, the process becomes pleasantly straightforward.
Ingredients
- 1/2 cup butter (softened) — provides richness and helps the cookie spread slightly; room temperature is important for creaming.
- 3/4 cup peanut butter — contributes the primary peanut flavor and structure in the dough; creamy or crunchy both work, but creamy yields a smoother cookie.
- 3/4 cup packed brown sugar — adds moisture, chew, and depth from the molasses.
- 1/4 cup granulated sugar — balances sweetness and helps with light crisping at the edges.
- 1 large egg — binds the dough and adds tenderness.
- 1 teaspoon vanilla — rounds the flavors.
- 1 tablespoon milk — slightly loosens the dough for proper mixing and texture.
- 1/4 teaspoon salt — enhances flavor; if your peanut butter is salted, taste accordingly.
- 1/2 teaspoon baking soda — gives a gentle lift and some spread.
- 1 3/4 cups all-purpose flour — the structure; measure by spooning into the cup and leveling for accuracy.
- 4 tablespoons unsalted butter (softened) — for the filling; softened so it creams smoothly with peanut butter.
- 1/2 cup creamy peanut butter — the filling’s peanut backbone; creamy keeps the frosting silky.
- 2 cups powdered sugar — sweetens and thickens the filling; add in batches for smoother mixing.
- 2 teaspoons vanilla extract — primary vanilla note in the filling.
- 1 teaspoon maple extract — delivers the maple punch without changing the color or texture.
- 3-5 tablespoons heavy whipping cream — adjusts the filling to a spreadable consistency; add gradually to avoid a runny filling.
Build Peanut Butter Maple Cream Sandwich Cookies Step by Step
- Preheat oven to 350°F. Line two cookie sheets with parchment paper or Silpat baking mats.
- In the bowl of an electric mixer fitted with the paddle attachment (or in a large bowl with a hand mixer), cream 1/2 cup butter (softened), 3/4 cup peanut butter, 3/4 cup packed brown sugar, and 1/4 cup granulated sugar until light and combined.
- Add 1 large egg, 1 teaspoon vanilla, 1 tablespoon milk, 1/4 teaspoon salt, and 1/2 teaspoon baking soda; mix until incorporated.
- Gradually add 1 3/4 cups all-purpose flour and mix on low speed until the dough comes together and no dry flour remains.
- Use a tablespoon to scoop dough into 1-tablespoon balls. Place the balls on the prepared cookie sheets about 2 inches apart.
- Press each dough ball down with the tines of a fork to create a criss-cross pattern.
- Bake for 8–10 minutes, until the cookies just begin to brown at the edges. Allow the cookies to cool completely on the cookie sheets (they will firm up as they cool).
- Make the filling: in a medium bowl, beat 4 tablespoons unsalted butter (softened) and 1/2 cup creamy peanut butter until smooth.
- With the mixer on low, add 2 cups powdered sugar in batches until incorporated and the mixture is thick.
- Add 2 teaspoons vanilla extract and 1 teaspoon maple extract and mix to combine.
- Add 2 tablespoons heavy whipping cream, then add additional heavy whipping cream 1 tablespoon at a time (up to a total of 3–5 tablespoons) until the filling reaches a spreadable consistency.
- Turn half the cooled cookies upside down, spread an even amount of filling on each, and sandwich with the remaining cookies. Store in an airtight container for up to 3 days.
Why This Recipe Belongs in Your Rotation
These cookies are incredibly forgiving. The method is straightforward: cream, mix, scoop, press, bake, and fill. That means you can have a batch on the counter in under an hour from start to finish if you plan well. They also travel well and stay loved by multiple generations — kids often request them for lunchboxes, while adults appreciate the maple note that keeps the peanut butter from feeling one-dimensional.
They strike a good balance between soft and slightly crisp. The filling is rich but not cloying when you temper it with the minimum recommended cream, and you can dial it up for a softer sandwich. If you bake frequently, this recipe becomes a go-to because it uses ingredients most home bakers already have.
Quick Replacement Ideas

- Peanut butter swaps: If you need a different nut butter, almond or cashew butter can work, though flavor and texture will shift.
- Extract alternatives: Omit the maple extract and add an extra teaspoon of vanilla for a straightforward peanut butter cream.
- Milk and cream: Use whole milk instead of heavy cream in the filling if you’re in a pinch, but the filling will be slightly looser.
- Sugar adjustments: You can reduce the powdered sugar by 1/4 cup in the filling for a less-sweet sandwich, but the filling will be softer and may require less cream.
Before You Start: Equipment
Here’s what I find makes the process smooth. None of it is fancy, but it’s helpful to have the right tools within reach.
- Electric mixer with paddle attachment or hand mixer — creaming the butter and peanut butter benefits from good, even mixing.
- Baking sheets — two standard cookie sheets; rotated if needed for even baking.
- Parchment paper or Silpat — prevents sticking and eases cleanup.
- Tablespoon scoop — keeps cookies uniform in size.
- Mixing bowls — at least one medium bowl for the filling and one large for the dough.
- Fork — for the signature criss-cross on top of the cookies.
Troubles You Can Avoid
Cookies spreading too much
If your cookies flatten into thin discs, your butter or peanut butter may have been too warm. Use butter that’s softened but not oily — it should give slightly when pressed. Chill the dough for 10–15 minutes before scooping if your kitchen is very warm.
Dry or crumbly dough
That usually means the flour was over-measured. Spoon the flour into your measuring cup and level it off rather than scooping directly from the bag. Also ensure you’ve added the egg and the tablespoon of milk; they help hydrate the dough.
Filling too runny
Start with the lower end of heavy cream (2–3 tablespoons). If you accidentally add too much, fold in more powdered sugar a tablespoon at a time until it firms up. Chill briefly to reset the texture if needed.
Holiday & Seasonal Touches
These cookies are simple to dress up. For Christmas, press a few green- or red-sprinkle accents into the filling edges before sandwiching. For autumn, swap the maple extract for a teaspoon of cinnamon and a pinch of nutmeg for a spiced peanut butter cream. Maple and brown butter pair exceptionally well; try browning the 1/2 cup butter in the cookie dough for a nuttier depth if you want an elevated version.
Method to the Madness
Understanding why the recipe works makes execution easier. The combination of brown and granulated sugar produces a cookie that’s both tender (brown sugar) and slightly crisped at the edges (granulated sugar). Baking soda is a gentle leavener that gives lift without turning the cookies cakey. The fork press does two things: it flattens the dough so the cookie cooks evenly, and it creates the traditional peanut butter cookie texture that catches the frosting.
The filling is a classic butter-and-sugar creamed base bolstered by peanut butter for flavor and maple extract for an aromatic lift. Heavy cream adjusts texture without watering down flavor like milk sometimes does.
Make-Ahead & Storage
Cookies: Store cooled, unfilled cookies in an airtight container at room temperature for up to 3 days. They keep their shape and texture well.
Filling: You can make the filling up to 48 hours ahead. Store in the refrigerator in an airtight container. Bring it to room temperature and re-whip for a minute before spreading to loosen it.
Assembled sandwiches: Once filled, store the cookies in a single layer or separated by parchment in an airtight container for up to 3 days. If you need longer storage, freeze assembled sandwiches in a single layer on a baking sheet until firm, then stack with parchment between layers in a sealed container for up to 1 month. Thaw at room temperature before serving.
Questions People Ask
Can I use chunky peanut butter?
Yes. Chunky will add texture and a more pronounced peanut presence. The dough and filling both handle it, though your cookies may be a touch more rustic.
Is maple extract necessary?
No. The extract gives a focused maple flavor without changing consistency. If you don’t have it, increase vanilla by 1 teaspoon or omit for a classic peanut butter cream.
Can I make these gluten-free?
Swap the all-purpose flour for a 1:1 gluten-free flour blend that includes xanthan gum. Texture may differ slightly but they should hold together fine.
See You at the Table
These Peanut Butter Maple Cream Sandwich Cookies are the sort of recipe you’ll reach for when you want something familiar with a small twist. They’re approachable, adaptable, and rewarding: a little effort and you have tray-worthy cookies that taste like comfort. If you make them, try one warm from the oven with a dab of the filling — you’ll see why I keep this recipe handy.
Happy baking, and don’t forget to tuck a few into the freezer for the next cookie emergency.
Peanut Butter Maple Cream Sandwich Cookies
Ingredients
Equipment
Method
- Preheat oven to 350°F. Line two cookie sheets with parchment paper or Silpat baking mats.
- In the bowl of an electric mixer fitted with the paddle attachment (or in a large bowl with a hand mixer), cream 1/2 cup butter (softened), 3/4 cup peanut butter, 3/4 cup packed brown sugar, and 1/4 cup granulated sugar until light and combined.
- Add 1 large egg, 1 teaspoon vanilla, 1 tablespoon milk, 1/4 teaspoon salt, and 1/2 teaspoon baking soda; mix until incorporated.
- Gradually add 1 3/4 cups all-purpose flour and mix on low speed until the dough comes together and no dry flour remains.
- Use a tablespoon to scoop dough into 1-tablespoon balls. Place the balls on the prepared cookie sheets about 2 inches apart.
- Press each dough ball down with the tines of a fork to create a criss-cross pattern.
- Bake for 8–10 minutes, until the cookies just begin to brown at the edges. Allow the cookies to cool completely on the cookie sheets (they will firm up as they cool).
- Make the filling: in a medium bowl, beat 4 tablespoons unsalted butter (softened) and 1/2 cup creamy peanut butter until smooth.
- With the mixer on low, add 2 cups powdered sugar in batches until incorporated and the mixture is thick.
- Add 2 teaspoons vanilla extract and 1 teaspoon maple extract and mix to combine.
- Add 2 tablespoons heavy whipping cream, then add additional heavy whipping cream 1 tablespoon at a time (up to a total of 3–5 tablespoons) until the filling reaches a spreadable consistency.
- Turn half the cooled cookies upside down, spread an even amount of filling on each, and sandwich with the remaining cookies. Store in an airtight container for up to 3 days.