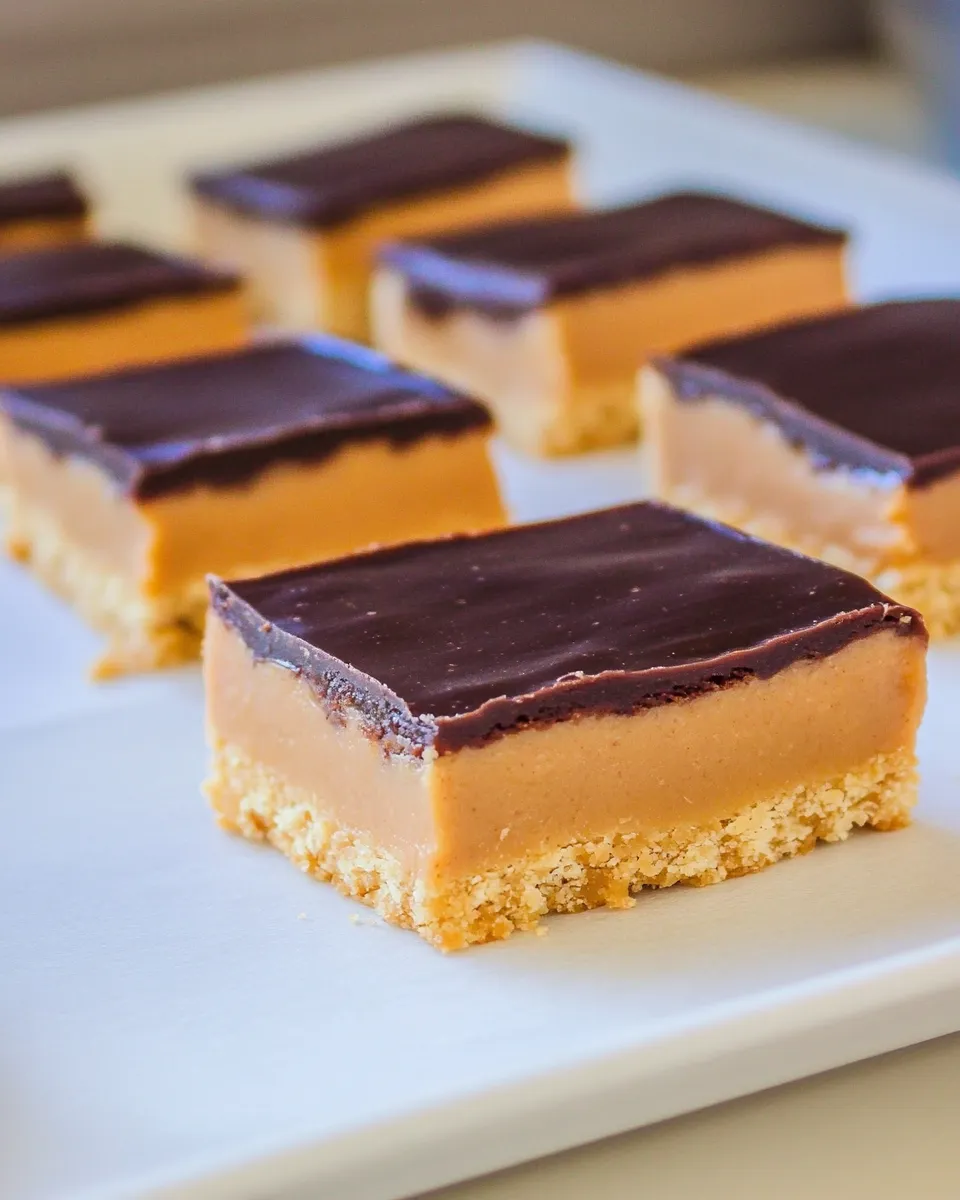
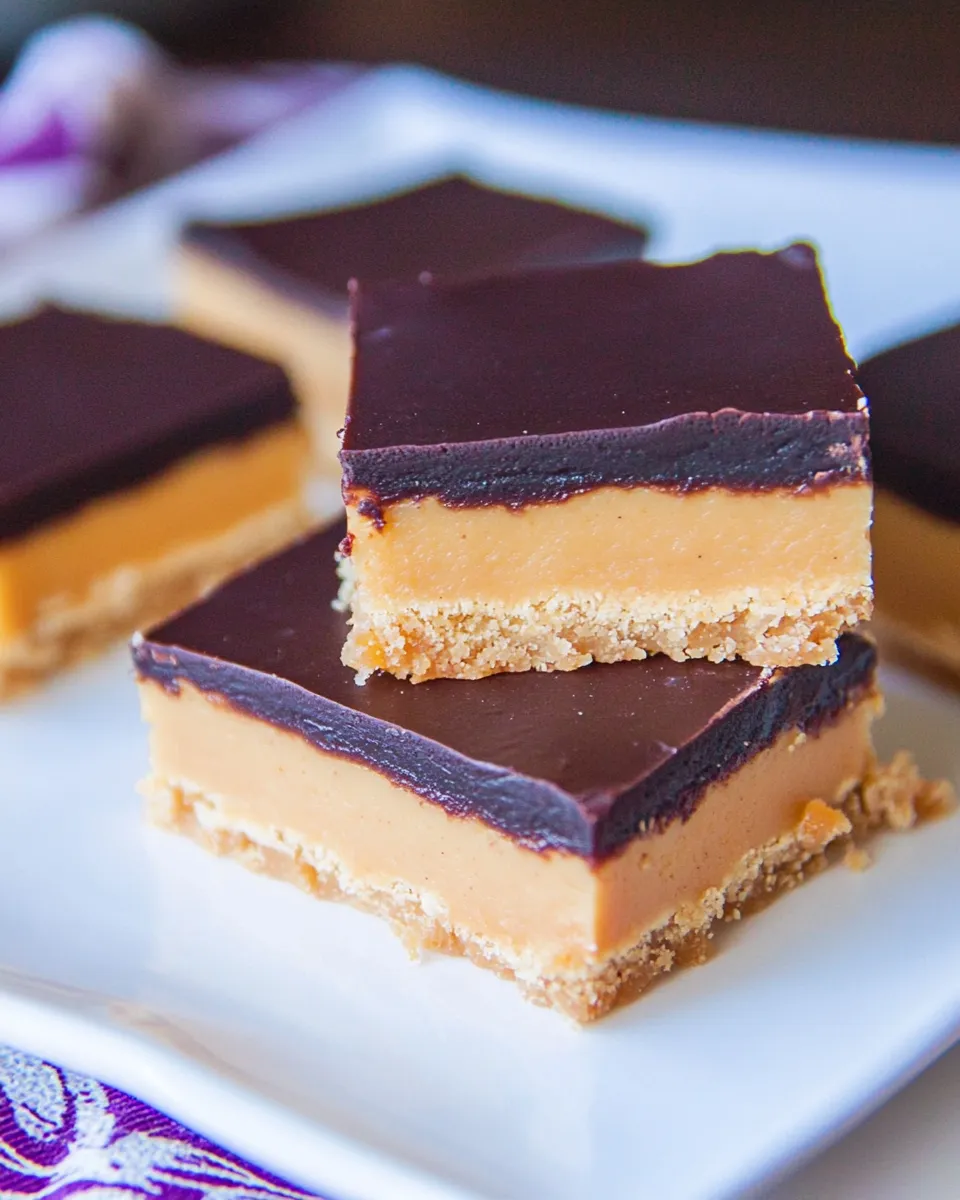
Peanut Butter Tagalong Bars
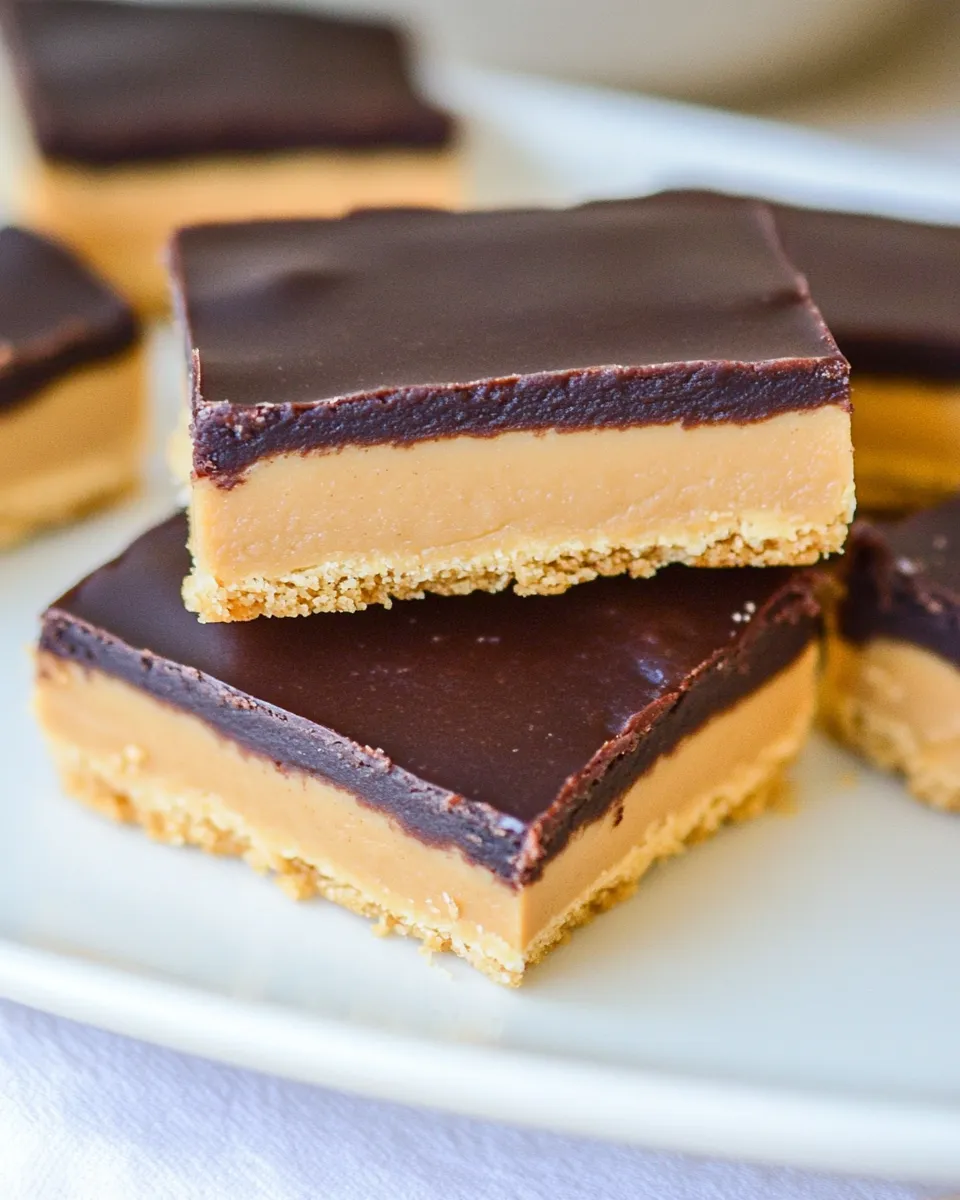
These Peanut Butter Tagalong Bars are the kind of no-fuss treat I turn to when I want something that feels homemade but comes together fast. The base is a simple almond-flour crust, topped with a thin layer of thinned peanut butter and finished with a glossy chocolate layer. They slice clean, travel well, and live up to their inspiration: that satisfying combo of crisp base, peanut butter, and chocolate.
I wrote this recipe to be flexible: use a stevia option for a low-sugar version, swap peanut butter for an allergy-friendly spread if needed, or choose sugar-free chocolate chips. The method is straightforward and forgiving. Press the crust, bake briefly, spread, melt chocolate, chill — that’s the short version.
Below you’ll find a clear shopping list, ingredient notes, step-by-step directions taken straight from the source recipe, and practical tips for troubleshooting, storing, and variations. Read the ingredients and method once, then work confidently — this dessert rewards clean technique more than cake-level precision.
What to Buy
Buy ingredients that match your priorities: blanched almond flour for a fine, tender crust; a peanut butter you like eating straight from the jar; and chocolate chips that melt and taste good to you. If you want a lower-sugar bar, the recipe supports a stevia option and sugar-free chocolate chips.
When you shop, check the label on almond flour for freshness (no off smell) and on chocolate chips for cocoa content and added ingredients. For the peanut butter, natural-style with a thin oil layer will thin more easily; if you prefer, choose a creamy commercial brand for a very smooth salon-like layer.
Ingredients
- 2cupsalmond flour(nut-free version listed above) — the structure for the crust; use a fine blanched almond flour for the best texture.
- just over 1/4 tsp salt — sharpens the flavors and balances sweetness.
- 1/4tspbaking soda — gives a little lift and keeps the crust from being too dense.
- 2tsppure vanilla extract — adds warmth and rounds out the almond flour.
- pinchuncut stevia OR 5 1/2 tbsp pure maple syrup or honey — pick your sweetener: stevia for low sugar, maple or honey for natural sweetness and body.
- Only if using stevia version,add 5 1/2 tbsp water — rehydrates the crust when using the concentrated sweetener option.
- 1/2cuppeanut butter OR allergy-friendly sub,thinned out with milk of choice until spreadable — the peanut-butter layer; thin with a milk you like until it spreads easily.
- 1/2cupchocolate chips, orsugar free chocolate chips — the finishing layer; pick chocolate you enjoy melting and eating.
- optional 1-2 tsp oil,for smoother chocolate sauce — a small amount of neutral oil or coconut oil helps the melted chocolate spread smoother and shine.
Method: Peanut Butter Tagalong Bars
- Preheat oven to 350°F. Line an 8-inch square pan with parchment paper and set aside.
- In a medium bowl, combine 2 cups almond flour, just over 1/4 tsp salt, and 1/4 tsp baking soda.
- Add 2 tsp pure vanilla extract and your chosen sweetener: either a pinch of uncut stevia OR 5 1/2 tbsp pure maple syrup or honey. If you used stevia, also add 5 1/2 tbsp water. Stir until a workable dough forms.
- Transfer the dough to the prepared pan. Place a second sheet of parchment over the dough and press evenly (use your hands or a flat-bottomed measuring cup) until the dough covers the bottom of the pan in an even layer.
- Bake on the center rack for 12 minutes. Remove from the oven and let the crust cool at least 20 minutes at room temperature.
- While the crust cools, thin 1/2 cup peanut butter (or allergy-friendly sub) with milk of choice, a little at a time, until spreadable.
- Spread the thinned peanut butter evenly over the cooled crust. You can do this while the crust is still in the pan or remove the crust first by lifting the parchment.
- Place 1/2 cup chocolate chips in a microwave-safe bowl (or use a double boiler). Add optional 1–2 tsp oil if you want a smoother, easier-to-spread chocolate. Melt carefully, stirring frequently, until smooth.
- Spread the melted chocolate over the peanut butter layer in an even layer.
- Chill in the refrigerator until the chocolate is set (about 15–30 minutes). Use the parchment to lift the bars from the pan and slice into squares.
Why This Recipe Belongs in Your Rotation
It’s quick. From pantry-to-slice in under an hour for active work time, mostly hands-off. The crust takes a single heat spell, and the rest is assembly and cooling.
It’s adaptable. Want low sugar? Use the stevia option and sugar-free chips. Need nut-free? the ingredient list hints at allergy-friendly alternatives for the peanut layer and an alternate base. You keep the same construction and method, so the swap is straightforward.
It travels and stores well. These bars slice neatly and stack. They’re great in lunchboxes, for coffee dates, or for slicing into bite-size pieces for parties. They also make a tidy gift when wrapped in parchment and tied with twine.
Healthier Substitutions
Use the stevia option in the ingredients if you want a lower-sugar bar. The recipe explicitly supports either a pinch of uncut stevia (with added water) or 5 1/2 tbsp pure maple syrup or honey — choose based on taste and dietary needs.
For the chocolate, pick sugar-free chocolate chips if you want to lower net carbs. For nut allergies, the ingredient list already allows an allergy-friendly sub for the peanut butter; any spread that thins and spreads smoothly will behave similarly.
To reduce fat slightly, keep the peanut butter layer thin — it’s more about flavor contrast than volume. But note: fat contributes to texture and mouthfeel; trimming too much will change the experience.
Kitchen Gear Checklist
- 8-inch square baking pan — the recipe fits this size exactly.
- Parchment paper — for lining the pan and easy removal.
- Medium mixing bowl — to combine dry and wet ingredients.
- Flat-bottomed measuring cup or hands — for pressing the crust evenly.
- Measuring spoons and cups — accurate quantities matter for the crust.
- Microwave-safe bowl or small saucepan and heatproof bowl — for melting chocolate (double boiler option).
- Spatula or offset spatula — for spreading peanut butter and chocolate.
- Refrigerator space — for chilling the finished bars.
Watch Outs & How to Fix
Crust is crumbly and won’t press together: you likely needed the fat or liquid balance. If you chose the stevia option, make sure you added the 5 1/2 tbsp water — that rehydrates the crust. If the dough still seems too dry, press firmly with a second piece of parchment to compact it; the short bake helps bind it.
Peanut butter layer is too stiff to spread: thin it gradually with small amounts of milk of choice. Stir well and test the spread. Adding too much liquid at once can make the layer sloppy, so work little by little.
Chocolate seizes or becomes grainy: if using the microwave, melt in short bursts (15–20 seconds), stirring between each. If it looks like it’s starting to seize, add a very small amount of the optional oil (1/4 tsp at a time) and stir to bring it back.
Chocolate doesn’t set: make sure the bars chill in the refrigerator long enough; depending on chocolate and room temperature, give it up to 30 minutes. If your chocolate is thin because you added oil, it will take slightly longer to firm.
Make It Year-Round
These bars are season-proof. In warm months, keep them refrigerated for travel and serving. In cooler months, they’re fine at room temperature for a few hours if the room is not hot. If you’re making them for a party, set them out shortly before serving and keep an eye on the chocolate during long outdoor events.
Freeze for longer storage: wrap slices individually in parchment and place them in an airtight container for up to a month. Thaw in the fridge or at room temperature for 20–30 minutes before serving.
Cook’s Commentary
I make these when I want that familiar peanut-butter-chocolate combo without long baking projects. The almond-flour crust gives just enough structure without a dense, heavy bite. Pressing the crust evenly is the small trick that pays off — use a flat-bottomed cup or an offset spatula and take a minute to level it before baking.
If you prefer a chunkier peanut-butter feel, leave small streaks of unthinned peanut butter and ripple them into the thinned layer with a spoon; the chocolate will bridge them and you’ll get little surprises of texture.
Keep-It-Fresh Plan
Short-term: store in an airtight container in the refrigerator for up to 7 days. The refrigeration keeps the chocolate and peanut butter layers set and preserves freshness.
Long-term: freeze as noted above for up to a month. When wrapping for freezing, use parchment or plastic wrap and a sealed container — that prevents freezer absorption and keeps edges neat.
Ask the Chef
Q: Can I use a different flour for the crust?
A: The recipe is written for almond flour; it gives a tender, slightly crumbly base that bakes quickly. If you substitute another flour, expect changes in texture and absorption. I recommend testing small batches and adjusting binding liquid if needed.
Q: How thin should the peanut butter layer be?
A: Thin enough to spread smoothly but still noticeable — about a single even coating across the crust. If it’s too thick the bars become heavy; too thin and you’ll lose the peanut-butter punch.
Q: Any tips for clean slicing?
A: Chill thoroughly until the chocolate is set. Use a sharp knife warmed under hot water and dried between cuts for neat edges.
Before You Go
If you make these, tag a friend who loves the peanut-butter-and-chocolate combo. They’re simple, satisfying, and easy to customize — a dependable recipe for treating yourself or feeding a small crowd. Enjoy the rhythm of pressing, spreading, and chilling; the payoff is immediate and delicious.
Happy baking — and do come back for more quick, practical recipes that make weekday life sweeter without a lot of fuss.

Peanut Butter Tagalong Bars
Ingredients
Equipment
Method
- Preheat oven to 350°F. Line an 8-inch square pan with parchment paper and set aside.
- In a medium bowl, combine 2 cups almond flour, just over 1/4 tsp salt, and 1/4 tsp baking soda.
- Add 2 tsp pure vanilla extract and your chosen sweetener: either a pinch of uncut stevia OR 5 1/2 tbsp pure maple syrup or honey. If you used stevia, also add 5 1/2 tbsp water. Stir until a workable dough forms.
- Transfer the dough to the prepared pan. Place a second sheet of parchment over the dough and press evenly (use your hands or a flat-bottomed measuring cup) until the dough covers the bottom of the pan in an even layer.
- Bake on the center rack for 12 minutes. Remove from the oven and let the crust cool at least 20 minutes at room temperature.
- While the crust cools, thin 1/2 cup peanut butter (or allergy-friendly sub) with milk of choice, a little at a time, until spreadable.
- Spread the thinned peanut butter evenly over the cooled crust. You can do this while the crust is still in the pan or remove the crust first by lifting the parchment.
- Place 1/2 cup chocolate chips in a microwave-safe bowl (or use a double boiler). Add optional 1–2 tsp oil if you want a smoother, easier-to-spread chocolate. Melt carefully, stirring frequently, until smooth.
- Spread the melted chocolate over the peanut butter layer in an even layer.
- Chill in the refrigerator until the chocolate is set (about 15–30 minutes). Use the parchment to lift the bars from the pan and slice into squares.
Notes
Leftover peanut butter? Make
Peanut Butter Fat Bombs
.