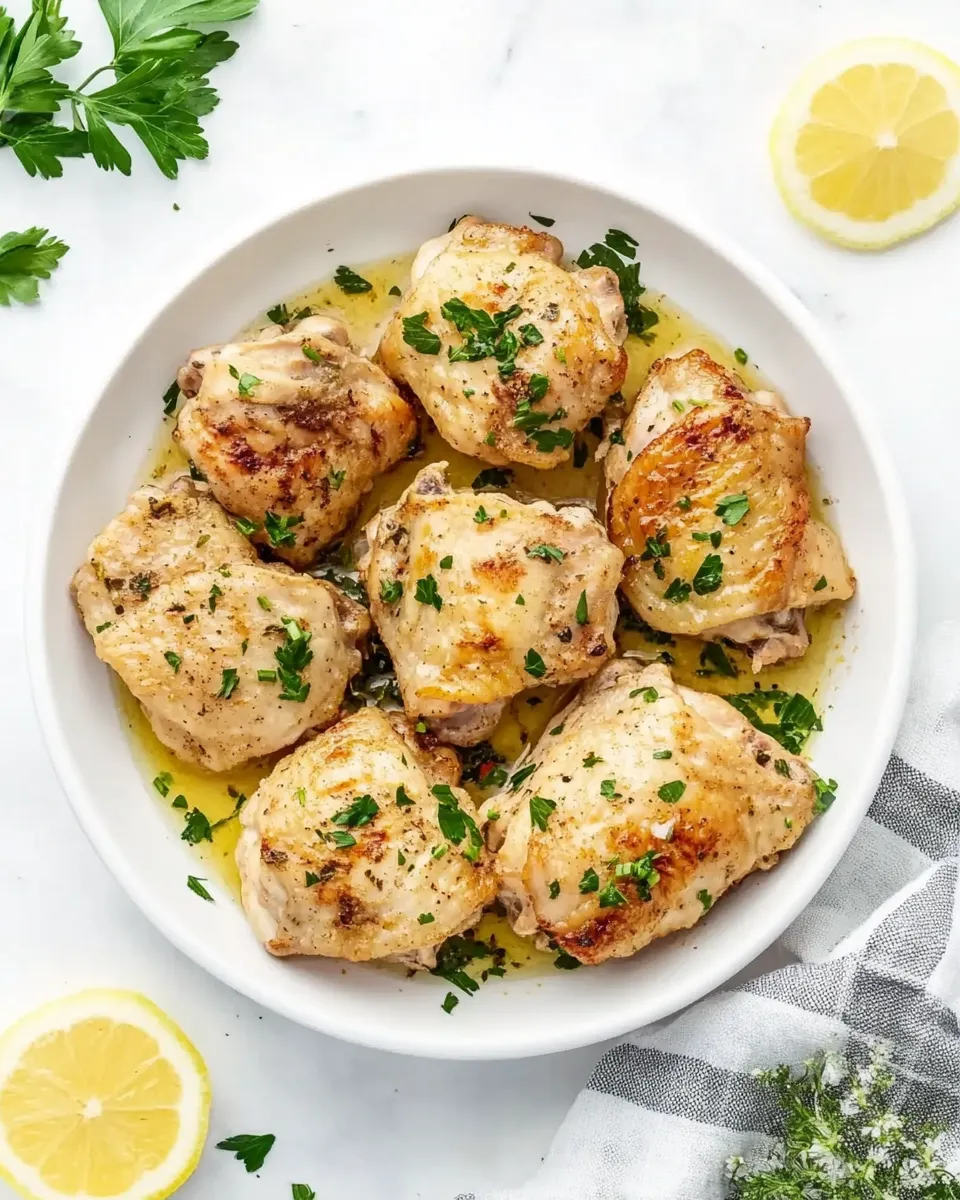
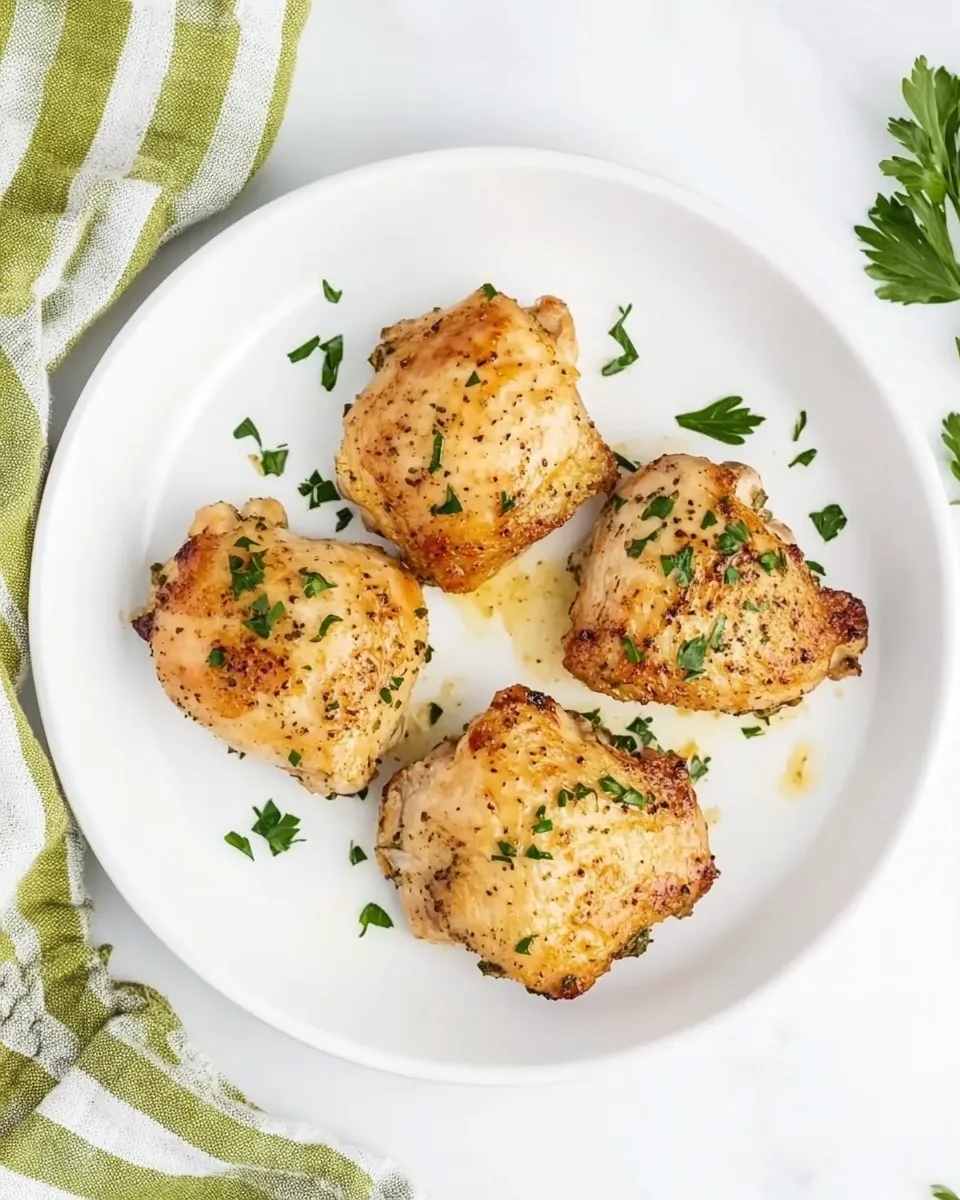
Perfect Instant Pot Chicken Thighs
These Instant Pot chicken thighs are my go-to when I need dinner on the table fast without sacrificing flavor. They cook up tender, reliably juicy, and the simple spice rub gives them a warm, savory backbone that works with rice, salad, or roasted vegetables. I like that the method is forgiving: you can sear for color or skip that step when you’re pressed for time or dealing with frozen thighs.
I’ve tested this recipe with bone-in and boneless thighs, skin-on and skinless, and even frozen thighs. The timing in the recipe reflects those variations. The Instant Pot takes the guesswork out of getting safe, succulent chicken every time, and the short hands-on time means you can prep a quick side while the cooker does the heavy lifting.
No fanciness needed — just a small spice mix, the Instant Pot trivet, and a thermometer to confirm doneness if you like that extra reassurance. Below you’ll find the exact ingredient list and step-by-step directions I followed when testing, plus practical swaps, common pitfalls, and storage notes so you can make this work on weeknights and weekends alike.
Gather These Ingredients
Ingredients
- 1 teaspoon smoked paprika, or regular paprika — adds color and a smoky-sweet depth; smoked if you like a gentle smoke note.
- 1 teaspoon garlic powder — provides savory backbone without the fuss of fresh garlic.
- ½ teaspoon onion powder — rounds out the rub with subtle sweetness.
- ½ teaspoon kosher salt — seasons the meat; adjust if using a different salt.
- ½ teaspoon black pepper — adds a mild heat and complexity.
- ¼ teaspoon dried thyme leaves, not ground thyme — a floral, herby accent that pairs well with chicken.
- 4 chicken thighs, bone-in or boneless; skin-on or skinless — the recipe works with any of these; cooking time differs by type.
- 1 tablespoon olive oil — for optional searing to develop color and flavor.
- 1½ cups water — the cooking liquid for the Instant Pot; it creates the steam needed to build pressure.
Stepwise Method: Perfect Instant Pot Chicken Thighs
- In a small bowl, combine 1 teaspoon smoked paprika (or regular paprika), 1 teaspoon garlic powder, ½ teaspoon onion powder, ½ teaspoon kosher salt, ½ teaspoon black pepper, and ¼ teaspoon dried thyme leaves (not ground thyme). Stir until well combined.
- Trim any excess fat or gristle from the 4 chicken thighs if needed, then pat the thighs dry with paper towels.
- Sprinkle the spice rub evenly over the chicken thighs, rubbing the blend into the meat so both sides are seasoned.
- (Optional) To sear: turn the Instant Pot to Sauté and add 1 tablespoon olive oil. Heat until the oil is shimmering. Working in a single layer (you may need to sear in batches to avoid overcrowding), place the thighs skin-side down if they have skin. Sear 3–4 minutes per side, until golden brown. Transfer seared thighs to a clean plate and turn the Sauté function OFF. Skip this step if your thighs are frozen or if you choose not to sear.
- Pour 1½ cups water into the inner pot. Use a wooden spoon or spatula to scrape up any browned bits from the bottom of the pot.
- Place the trivet in the inner pot. Arrange the chicken thighs on the trivet (they may overlap).
- Secure the lid and set the steam release valve to Sealing. Select High Pressure and set the cooking time according to the type and whether you seared the thighs:
- Bone-in thighs: 8 minutes if seared, 10 minutes if not seared.
- Boneless thighs: 6 minutes if seared, 8 minutes if not seared.
- Frozen thighs: 15 minutes for bone-in, 10 minutes for boneless.
- When the cook time ends, allow the Instant Pot to release pressure naturally for 10 minutes. After 10 minutes, carefully move the steam release valve to Venting to release any remaining pressure. Wait until the float valve drops, then open the lid.
- Check the internal temperature with an instant-read thermometer at the thickest part of the largest thigh (avoid touching bone). The chicken must reach 165°F. If it is below 165°F, reseal and pressure cook for 1–2 more minutes, then repeat a short natural release and recheck.
- Remove the chicken from the pot and serve as desired.
Why I Love This Recipe
This method is dependable. The Instant Pot delivers even heat and steam so thighs come out moist rather than dried out. The spice mix is intentionally simple, built to complement the chicken without hiding its flavor. You can sear for a golden crust when you want that extra depth; if you’re short on time, skip searing and still get excellent results.
I also appreciate the clarity of the timings. Bone-in and boneless cook differently, and the recipe spells that out. That takes the mental math out of quick-cook dinners, especially when you’re juggling kids, work, or last-minute plans.
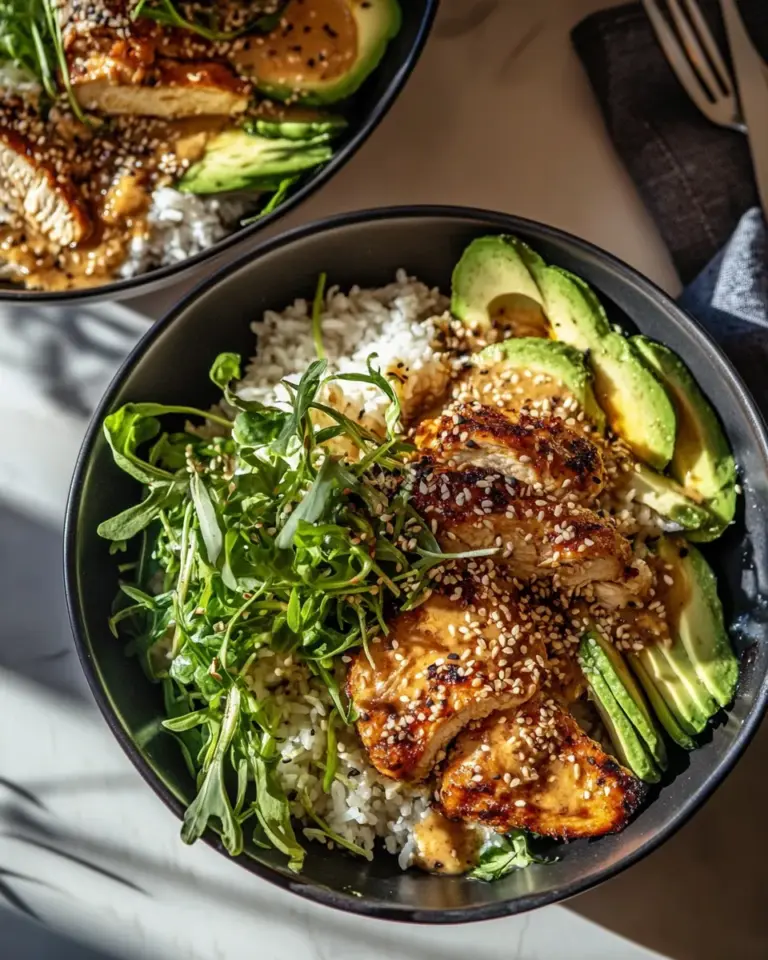
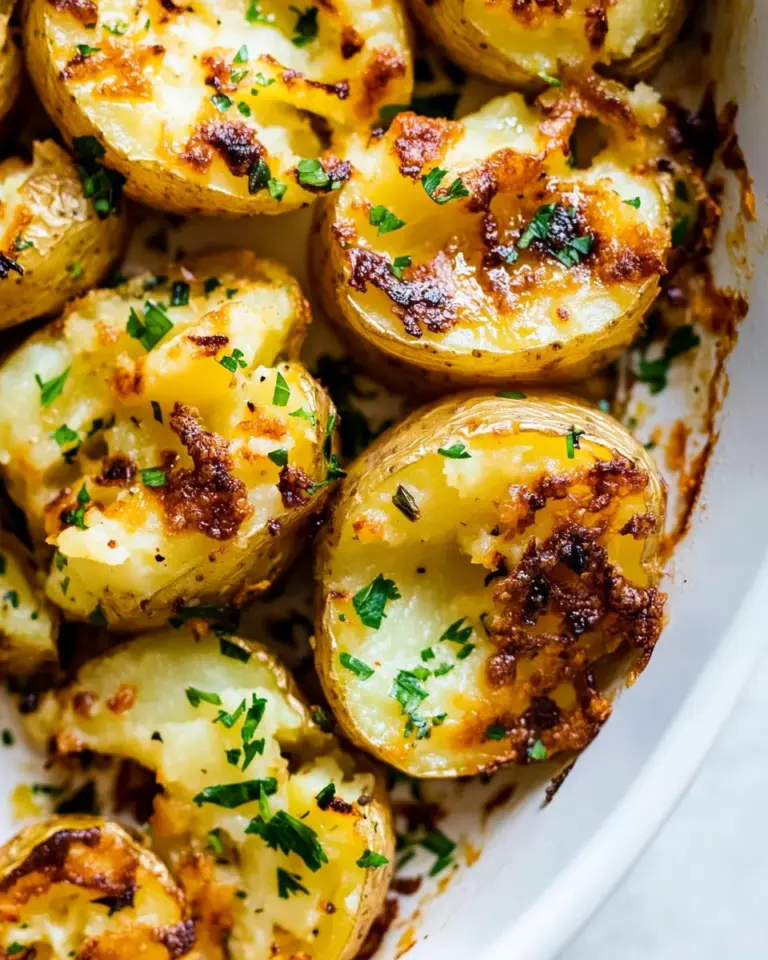
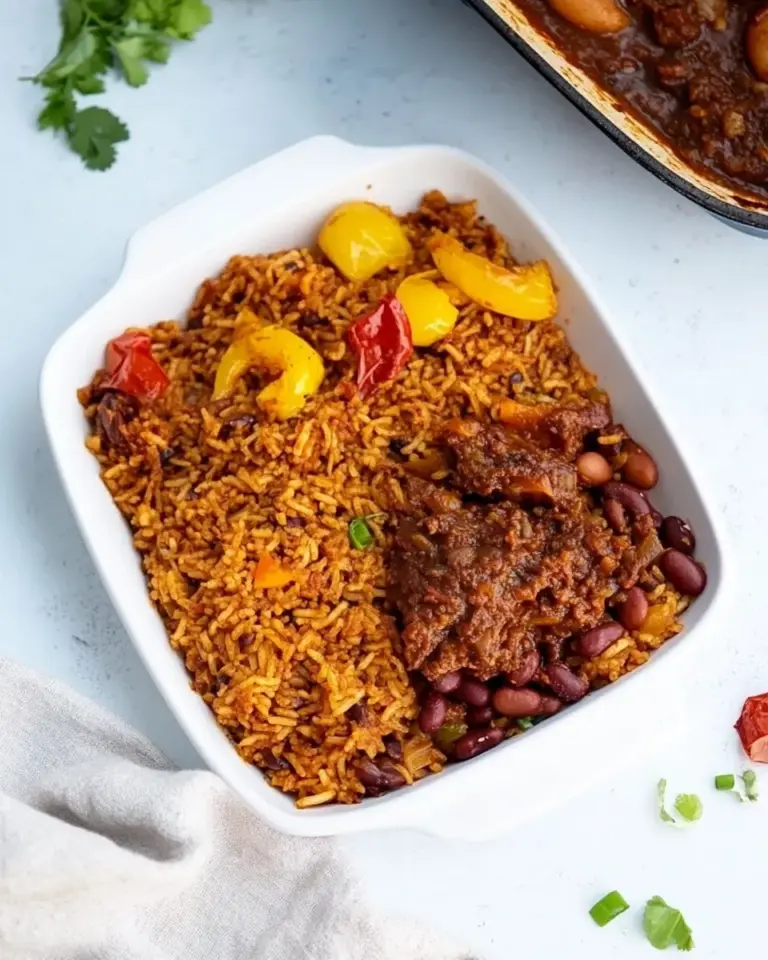
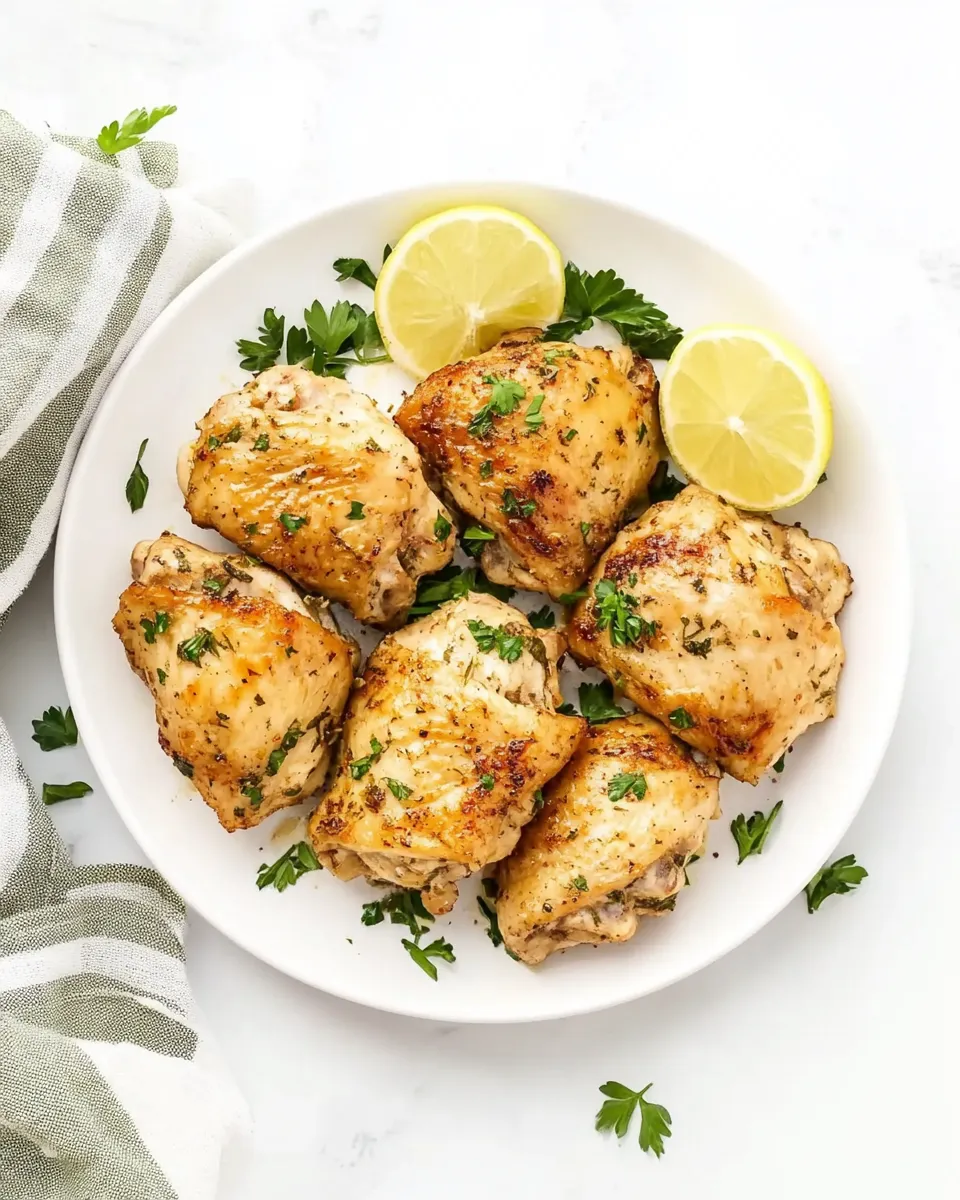
Finally, the results are versatile. These thighs are weeknight dinner-ready alongside rice or mashed potatoes, they shred easily for tacos or salads, and they pair with bright sides like lemony greens or a simple cucumber salad.
Budget & Availability Swaps
- Chicken type — Use bone-in thighs for slightly cheaper per-pound pricing and more flavor; boneless often cooks faster and is easier to shred.
- Paprika — If smoked paprika is unavailable, regular paprika is listed as an exact option in the ingredients.
- Garlic/Onion powders — These pantry staples keep costs down; fresh garlic/onion change texture and timing, so use powders as written.
- Olive oil — Any neutral oil with a high smoke point works for searing if olive oil is pricier or unavailable.
Setup & Equipment
Use a 6-quart Instant Pot or similar electric pressure cooker. You’ll need the trivet that comes with most units so the thighs sit above the water. A small bowl for the rub, paper towels, tongs, and an instant-read thermometer are helpful. If you sear, use the Sauté function on the Instant Pot or a skillet; the recipe includes searing instructions for either approach.
A lid that seals reliably and a functioning steam release valve are essential. The natural release step is part of what keeps the thighs moist, so factor those 10 minutes into your total cook time.
Pitfalls & How to Prevent Them
Here are the mistakes I saw most often and how to avoid them:
- Undercooking — Rely on an instant-read thermometer. The recipe requires 165°F. If the meat is cooler, reseal and pressure cook 1–2 more minutes as directed.
- Overcrowding while searing — Sear in batches if needed. Overcrowding causes steaming instead of browning.
- Skipping liquid — Never omit the 1½ cups water; the Instant Pot needs liquid to build pressure.
- Using frozen thighs and searing — Don’t attempt to sear frozen thighs; skip searing for frozen pieces and use the frozen timing provided.
Dietary Swaps & Alternatives
This recipe is flexible for several preferences.
- No oil sear — If you want to avoid oil, skip searing entirely; the cook times for unseared thighs are included.
- Lower sodium — Reduce the kosher salt to taste or omit if you’re watching sodium; remember flavor will be milder.
- Herb variations — The rub is simple; you can increase dried thyme or add other dried herbs, but keep the listed amounts as your baseline to avoid overpowering the chicken.
What I Learned Testing
Testing repeatedly taught me that a dry surface on the chicken makes a noticeable difference when searing. Pat thighs thoroughly with paper towels before applying the rub. Also, even when thighs overlapped on the trivet, they cooked through evenly — pressure cooking is tolerant of some overlap, which helps when you’re cooking 4 pieces.
Bone-in thighs benefit from the slightly longer cooking time — those extra minutes help the heat penetrate the bone and yield richer flavor. Boneless cooks faster and is easier to shred for salads or tacos. When testing frozen thighs, the longer times consistently hit the temperature target without drying the meat.
Make-Ahead & Storage
Make-ahead: You can season the thighs up to 24 hours in advance and keep them refrigerated, covered. If you want to complete steps ahead, sear and cool the thighs, then refrigerate and finish in the Instant Pot; add a minute or two to the cook time if serving from cold.
Storage: Refrigerate cooked chicken in an airtight container for up to 4 days. Reheat gently in a low oven or in the Instant Pot using the Sauté function briefly, or microwave covered to retain moisture. For longer storage, freeze cooked thighs for up to 3 months; thaw overnight in the fridge before reheating. Use the retained pan juices saved from the pot to keep the meat moist during reheating.
Reader Q&A
Q: Can I double the recipe?
A: Yes. You can double the thighs as long as they fit on the trivet without overflowing the pot. The cook time stays the same; pressure cookers cook by time, not volume. Just make sure you still have at least 1½ cups of liquid (some recipes increase liquid with volume, but this one relies on steam and 1½ cups is sufficient for up to about double in standard practice). Use common sense and don’t exceed your pot’s max fill line.
Q: Do I need to natural release for 10 minutes?
A: The short 10-minute natural release in step 8 helps the thighs stay juicy and finish cooking gently. Immediate quick release can sometimes cause liquid to sputter and the meat to tighten. Follow the 10-minute natural release when possible.
Q: My chicken was rubbery. Why?
A: Rubberiness usually means the thighs were overcooked or cooked at too high a heat for too long. Follow the timing for the specific type (bone-in vs boneless, seared vs not seared), and check with a thermometer. Also avoid excessive quick releases immediately after high-pressure cooking; a gentle natural release helps keep texture tender.
Final Bite
This is a practical, no-nonsense recipe that delivers dependable, juicy chicken thighs with minimal fuss. The spice blend is simple and adaptable, and the Instant Pot makes it speedy. Use the searing option when you want color and a little extra flavor. Otherwise, skip it and appreciate how forgiving the cooker is — especially with frozen pieces. Keep a thermometer handy, follow the times for your thigh type, and you’ll have dinner ready reliably.
Make it tonight, and don’t be surprised if it becomes one of your most-used weeknight recipes. Simple, effective, and endlessly adaptable — that’s what I aim for when I cook, and these thighs check all the boxes.
Perfect Instant Pot Chicken Thighs
Ingredients
Equipment
Method
- In a small bowl, combine 1 teaspoon smoked paprika (or regular paprika), 1 teaspoon garlic powder, ½ teaspoon onion powder, ½ teaspoon kosher salt, ½ teaspoon black pepper, and ¼ teaspoon dried thyme leaves (not ground thyme). Stir until well combined.
- Trim any excess fat or gristle from the 4 chicken thighs if needed, then pat the thighs dry with paper towels.
- Sprinkle the spice rub evenly over the chicken thighs, rubbing the blend into the meat so both sides are seasoned.
- (Optional) To sear: turn the Instant Pot to Sauté and add 1 tablespoon olive oil. Heat until the oil is shimmering. Working in a single layer (you may need to sear in batches to avoid overcrowding), place the thighs skin-side down if they have skin. Sear 3–4 minutes per side, until golden brown. Transfer seared thighs to a clean plate and turn the Sauté function OFF. Skip this step if your thighs are frozen or if you choose not to sear.
- Pour 1½ cups water into the inner pot. Use a wooden spoon or spatula to scrape up any browned bits from the bottom of the pot.
- Place the trivet in the inner pot. Arrange the chicken thighs on the trivet (they may overlap).
- Secure the lid and set the steam release valve to Sealing. Select High Pressure and set the cooking time according to the type and whether you seared the thighs: - Bone-in thighs: 8 minutes if seared, 10 minutes if not seared. - Boneless thighs: 6 minutes if seared, 8 minutes if not seared. - Frozen thighs: 15 minutes for bone-in, 10 minutes for boneless.
- When the cook time ends, allow the Instant Pot to release pressure naturally for 10 minutes. After 10 minutes, carefully move the steam release valve to Venting to release any remaining pressure. Wait until the float valve drops, then open the lid.
- Check the internal temperature with an instant-read thermometer at the thickest part of the largest thigh (avoid touching bone). The chicken must reach 165°F. If it is below 165°F, reseal and pressure cook for 1–2 more minutes, then repeat a short natural release and recheck.
- Remove the chicken from the pot and serve as desired.
Notes
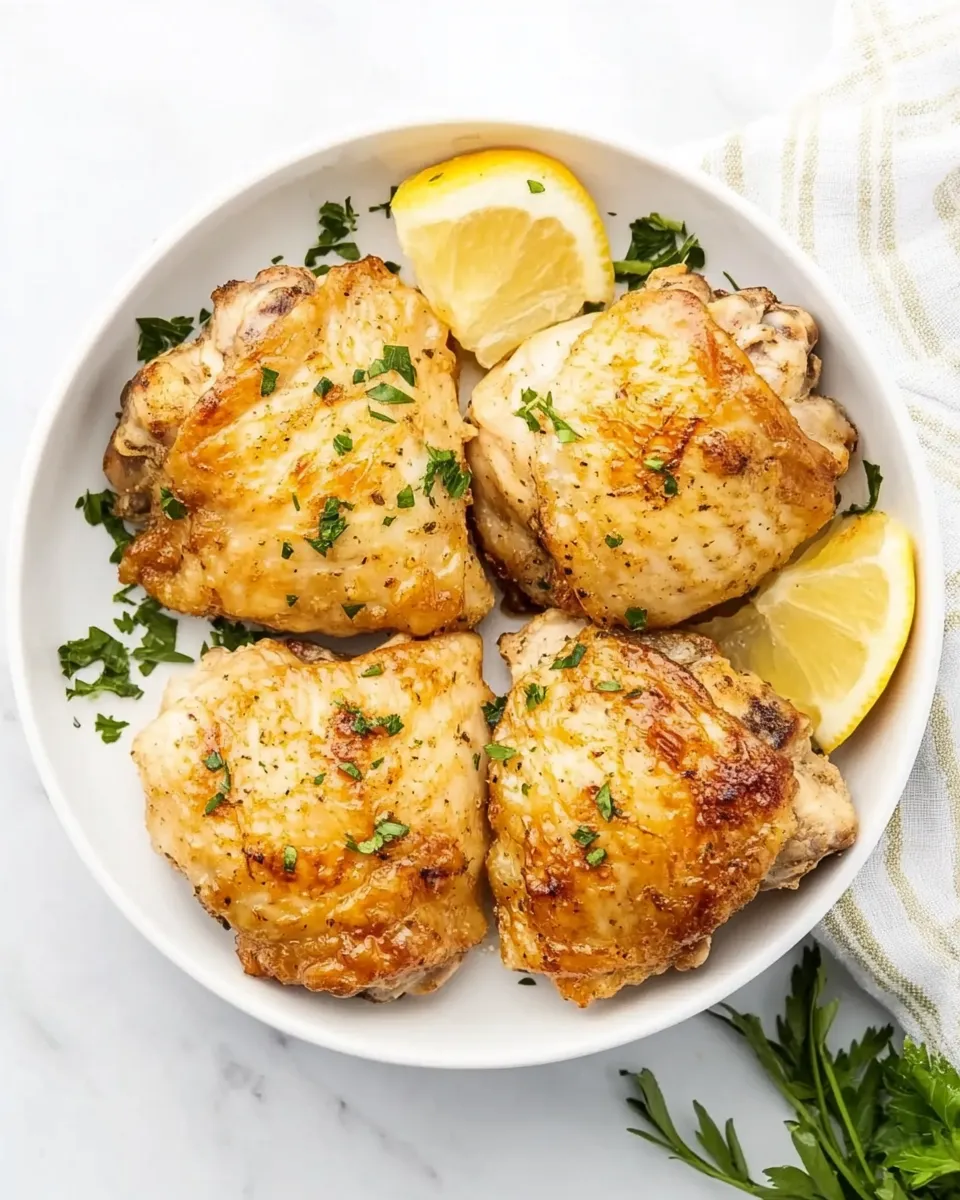
Super Crispy Skin:
Place the cooked chicken thighs on a broiler pan, skin side up. Broil the chicken thighs on high for 1-3 minutes, until nice and crispy.
Storage:
Store leftover chicken thighs in an airtight container in the refrigerator for up to 3 days. Alternatively, dice or shred the chicken meat and freeze it in freezer-safe bags for up to 3 months.