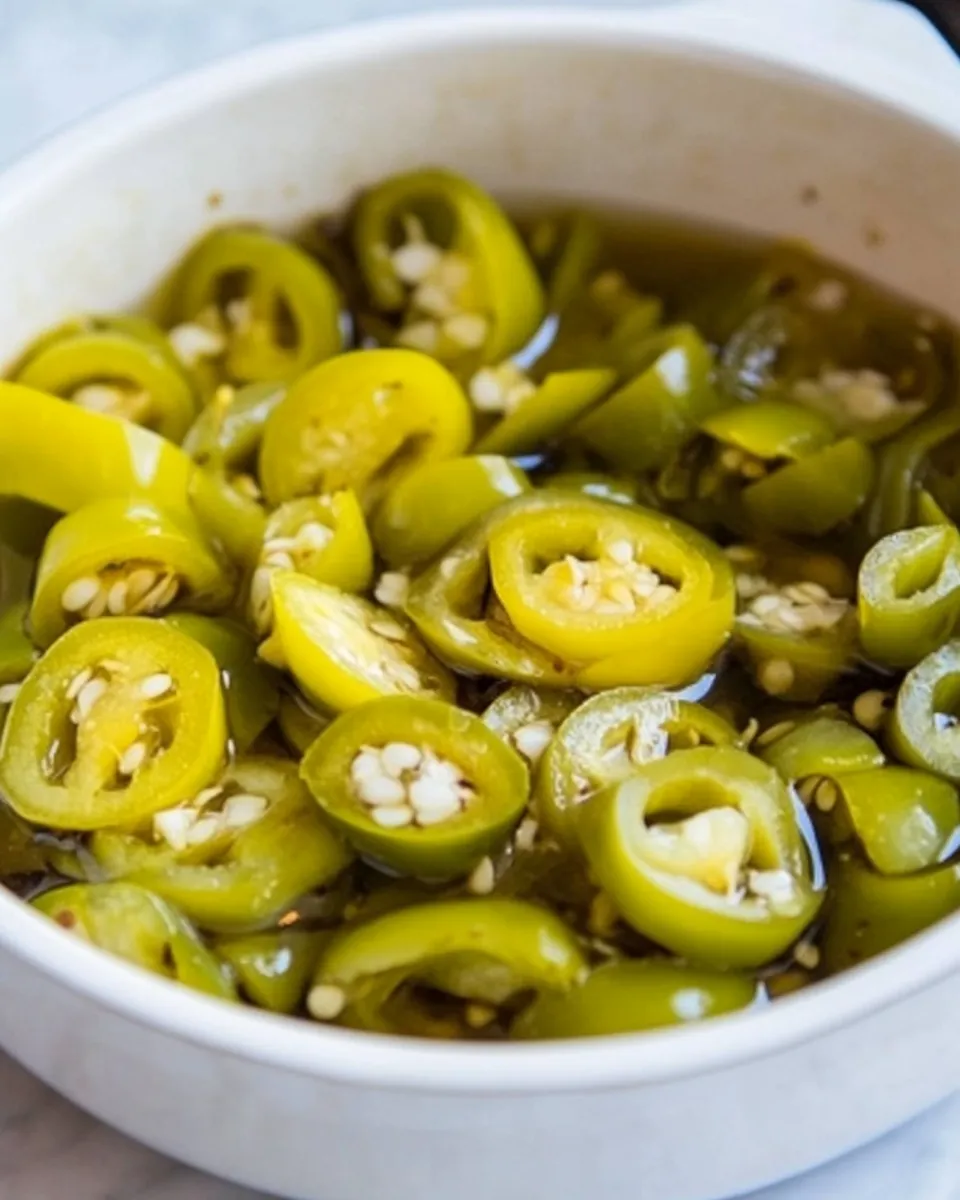
Pickled Chilies
These pickled chilies are one of my favorite quick-preserve tricks. They take minutes to prep, transform ordinary chilies into something bright and tangy, and hang out in the fridge waiting to lift sandwiches, noodles, tacos, and stir-fries. No long boiling baths. No canning pressure. Just a short soak, a simple brine, and patience for a night.
I love that this recipe is forgiving yet precise where it matters: the salt, sugar, vinegar, and heat balance. You’ll get a crunchy, slightly softened chili with a clean vinegar punch. Use whatever green chilies you can find — the recipe keeps it simple so the pepper flavor stays forward.
Follow the steps below exactly for consistent results, then tweak small things later once you get comfortable. These keep in the fridge and get better after a couple of days. They’re a tiny pantry win that rewards your future meals.
Ingredient Breakdown
Ingredients
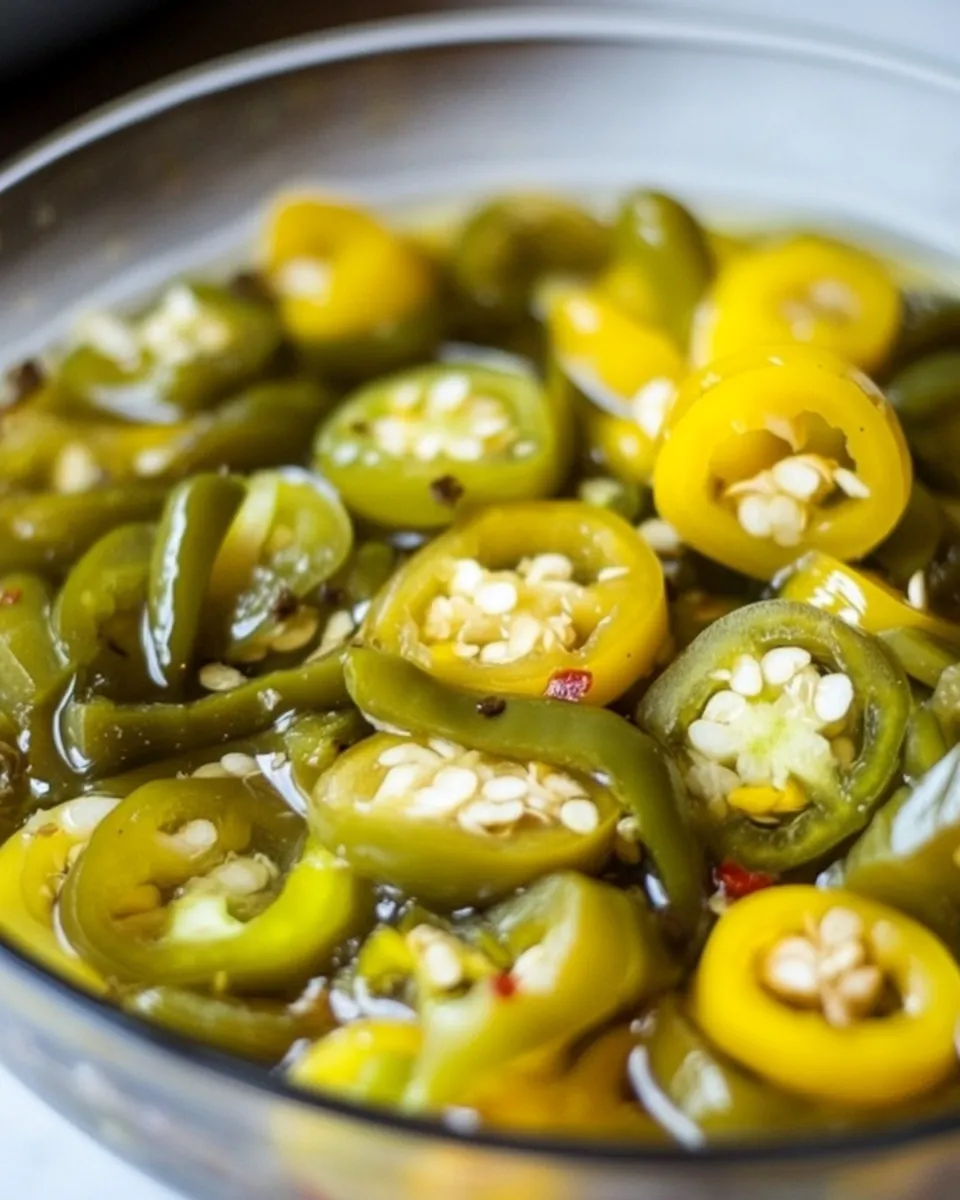
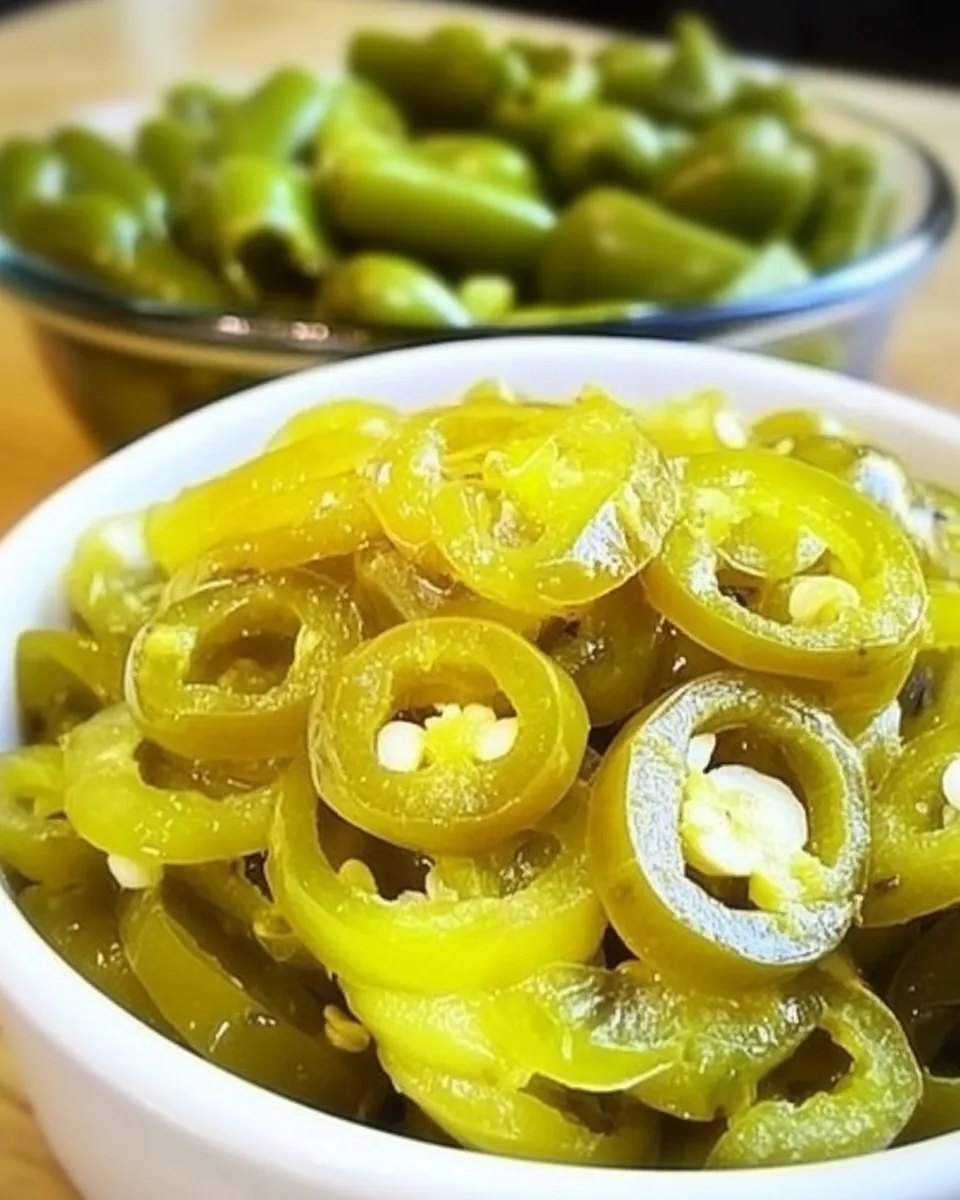
- 4oz (125g) green chilies, discard the seeds and sliced into pieces — The main ingredient: fresh heat and crunch. Removing seeds cuts the harshest heat and makes texture more pleasant.
- 1cup Chinese rice vinegar — Provides the bright, slightly sweet acidic backbone. Chinese rice vinegar is mild and not overwhelmingly sharp.
- 1teaspoonsalt — Balances and seasons the chilies; it also helps break down the pepper slightly for better flavor absorption.
- 1/2teaspoonsugar — Softens the vinegar’s edge and rounds the flavor.
- 1cupwater, boiled — Used to briefly heat the chilies for a quick blanch and to help dissolve salt and sugar when mixed.
Pickled Chilies Cooking Guide
- Measure 4 oz (125 g) green chilies, cut off and discard the seeds, and slice the chilies into pieces; place the sliced chilies in a small heatproof bowl.
- Bring 1 cup water to a boil.
- Carefully pour the 1 cup of boiling water over the chilies in the bowl and let them sit in the hot water for about 10 seconds.
- Drain the chilies and discard the hot water.
- To the same bowl with the drained chilies, add 1 cup Chinese rice vinegar, 1 teaspoon salt, and 1/2 teaspoon sugar. Stir until the salt and sugar are dissolved.
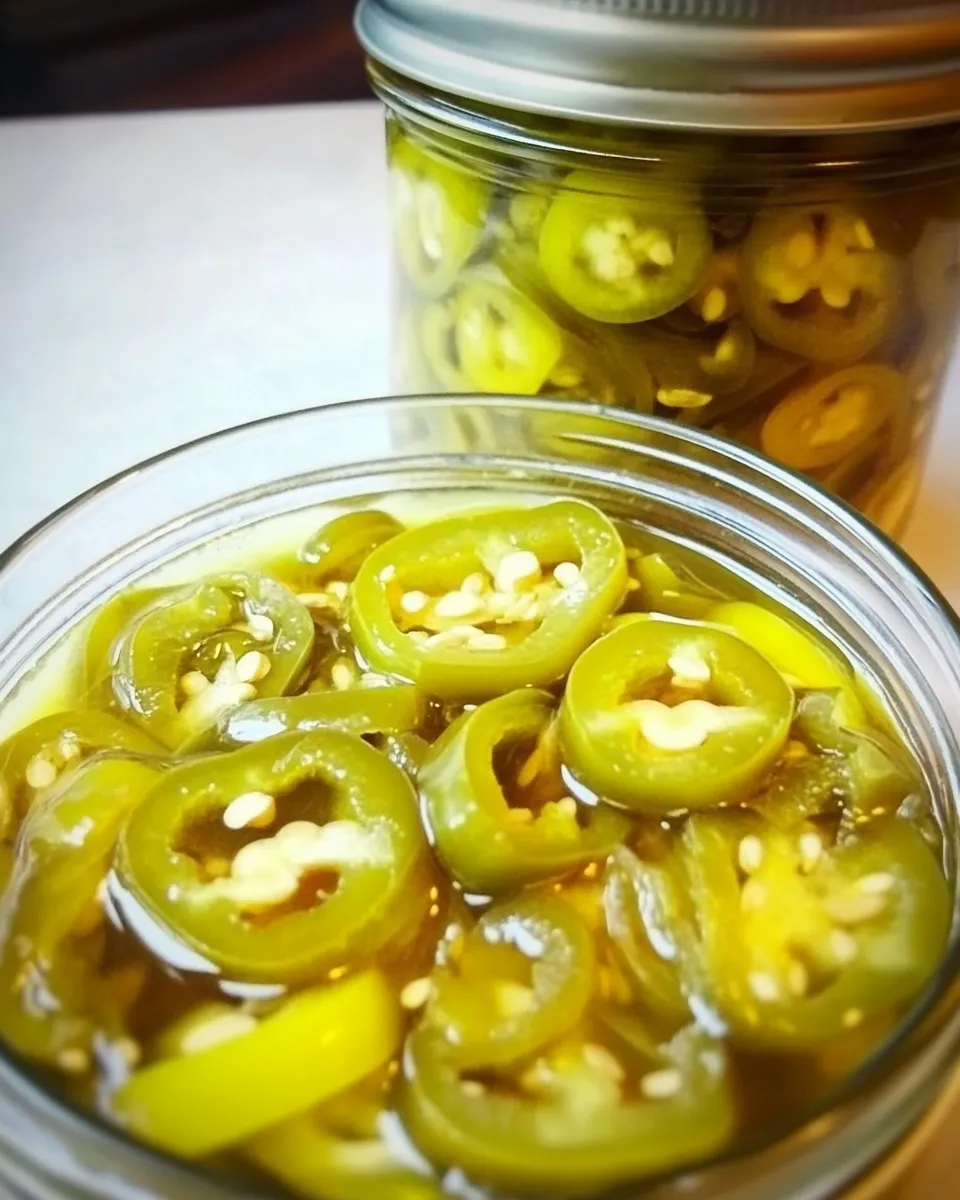
- Transfer the chilies and pickling liquid into a small glass container or jar, cover, and refrigerate overnight.
- The pickled green chilies will be ready to use the next day.
Why You’ll Love This Recipe
It’s fast. From prep to fridge it takes under ten minutes. That means you can whip up a small jar the same day you notice a few lonely chilies in the produce drawer. The method preserves the fresh pepper flavor rather than turning it into something stewed or jammy.
The balance is clean. Chinese rice vinegar gives acidity without aggressive sharpness, and the salt and sugar create a tidy background that lets the pepper shine. The texture is slightly softened but still snappy — perfect when you want chili presence without overpowering heat.
And it’s versatile. These chilies do great chopped into salads, layered over fried eggs, tucked into sandwiches, stirred into noodle bowls, or served alongside grilled meats. They’re an instant flavor-booster.
Easy Ingredient Swaps
If you don’t have everything on hand, the recipe is forgiving in small ways. Swap ideas below are meant to keep you moving without changing the method.
- Vinegar: If you don’t have Chinese rice vinegar, a mild rice vinegar or a light white wine vinegar will work. Avoid very sharp vinegars without diluting slightly.
- Chilies: Use any fresh green chilies you like. Milder varieties keep things approachable; hotter varieties increase heat quickly. Seed removal controls heat intensity.
- Sweetener: If you prefer a less sweet brine, reduce the sugar a touch or replace it with an equal amount of honey or agave for a different floral note. Stir to dissolve.
- Salt: Kosher salt vs. table salt will differ by volume. If you use kosher, taste and adjust carefully; the recipe calls for 1 teaspoon of salt.
Equipment & Tools
You don’t need fancy tools. Gather:
- A small heatproof bowl for the chilies while you pour boiling water.
- A kettle or saucepan to bring 1 cup of water to a boil.
- A small glass container or jar with a lid for the final storage.
- A sharp knife and cutting board to remove seeds and slice chilies cleanly.
- A spoon to stir the vinegar, salt, and sugar until dissolved.
Problems & Prevention
Here are the common small things that can go wrong and how to avoid them.
Too salty or too sour
If your jar tastes overly salty or acidic, dilute with a little plain water next time or reduce the salt by 1/4 teaspoon. Vinegar strength varies by brand; choose a milder vinegar if sharpness bothers you.
Chilies turn mushy
Overblanching or using very mature peppers can create a soft result. The recipe calls for a very short 10-second pour of boiling water; stick to that timing and handle the chilies gently. Store chilled to preserve texture.
Uneven flavor
Slice chilies to similar thickness so each piece absorbs the brine consistently. Stir the brine so the salt and sugar fully dissolve before transferring to the jar.
Holiday & Seasonal Touches
Pickled chilies make thoughtful additions to seasonal spreads. Use them as a bright counterpoint to richer winter dishes like roast pork or holiday hams. Chop them finely and fold into compound butter to slather on grilled vegetables or roasted turkey.
In summer, they’re great with grilled corn, fish tacos, and chilled noodle salads. Keep a jar in the fridge during barbecue season for an instant hit of acidity and heat.
Pro Tips & Notes
Timing and texture
The recipe says to refrigerate overnight. That’s the sweet spot for flavor development. If you’re impatient, they’ll still be usable after a few hours, but the flavor deepens after 24 hours.
Flavor layering
Want extra aromatics? Add whole garlic cloves, coriander seeds, or a torn bay leaf to the jar. Do this carefully — these additions change the flavor profile. Start with a small amount and taste after 24 hours.
Sanitation and safety
Use clean glass jars and utensils. This recipe is a quick refrigerator pickle rather than a shelf-stable canned product, so keep jars refrigerated and consume within a reasonable window (see storage tips below).
Store, Freeze & Reheat
Storage: Seal the jar and keep it refrigerated. These pickled chilies are best used within 2–3 weeks for top texture and flavor, though they can often keep longer if the brine covers the chilies and they remain refrigerated.
Freeze: I don’t recommend freezing. Freezing breaks the cell structure of the peppers and makes them mushy upon thawing.
Reheat: No reheating needed. These are designed as a cold condiment. If you want warm pickled chilies, spoon them into a small pan and warm briefly on low, but avoid heating the brine to boiling — that will soften them further.
Top Questions & Answers
- How spicy will these be? — The heat level depends on the chilies you start with and whether you remove the seeds. Removing the seeds reduces the sharpest heat. For a milder jar, choose milder green chilies.
- Can I use other types of vinegar? — Yes. Mild rice vinegar is ideal. If you swap in something sharper, consider reducing the quantity or adding a touch more sugar to balance.
- Are these shelf-stable? — No. This recipe produces a refrigerator pickle. Keep it chilled and do not leave it at room temperature for extended periods.
- How long until they’re ready? — The recipe says refrigerate overnight. They’ll be usable after that, but flavor improves over 24 hours.
- Can I reuse the brine? — You can reuse the brine once for another batch of chilies in a pinch, but flavor and acidity will dilute. It’s better to make fresh brine for best results.
The Last Word
Simple, quick, and reliably delicious — that’s what I love about these pickled chilies. They’re a small effort with a big payoff: a jar in the fridge that upgrades dozens of meals. Follow the steps exactly the first time, then experiment sparingly once you know how the flavors land for you. Keep one jar on hand and you’ll reach for it more than you expect.
Pickled Chilies
Ingredients
Equipment
Method
- Measure 4 oz (125 g) green chilies, cut off and discard the seeds, and slice the chilies into pieces; place the sliced chilies in a small heatproof bowl.
- Bring 1 cup water to a boil.
- Carefully pour the 1 cup of boiling water over the chilies in the bowl and let them sit in the hot water for about 10 seconds.
- Drain the chilies and discard the hot water.
- To the same bowl with the drained chilies, add 1 cup Chinese rice vinegar, 1 teaspoon salt, and 1/2 teaspoon sugar. Stir until the salt and sugar are dissolved.
- Transfer the chilies and pickling liquid into a small glass container or jar, cover, and refrigerate overnight.
- The pickled green chilies will be ready to use the next day.
Notes
Any green chilies (except bird eye’s chilies) can be used. If you are in the US, you can use green serrano pepper or jalapeno.