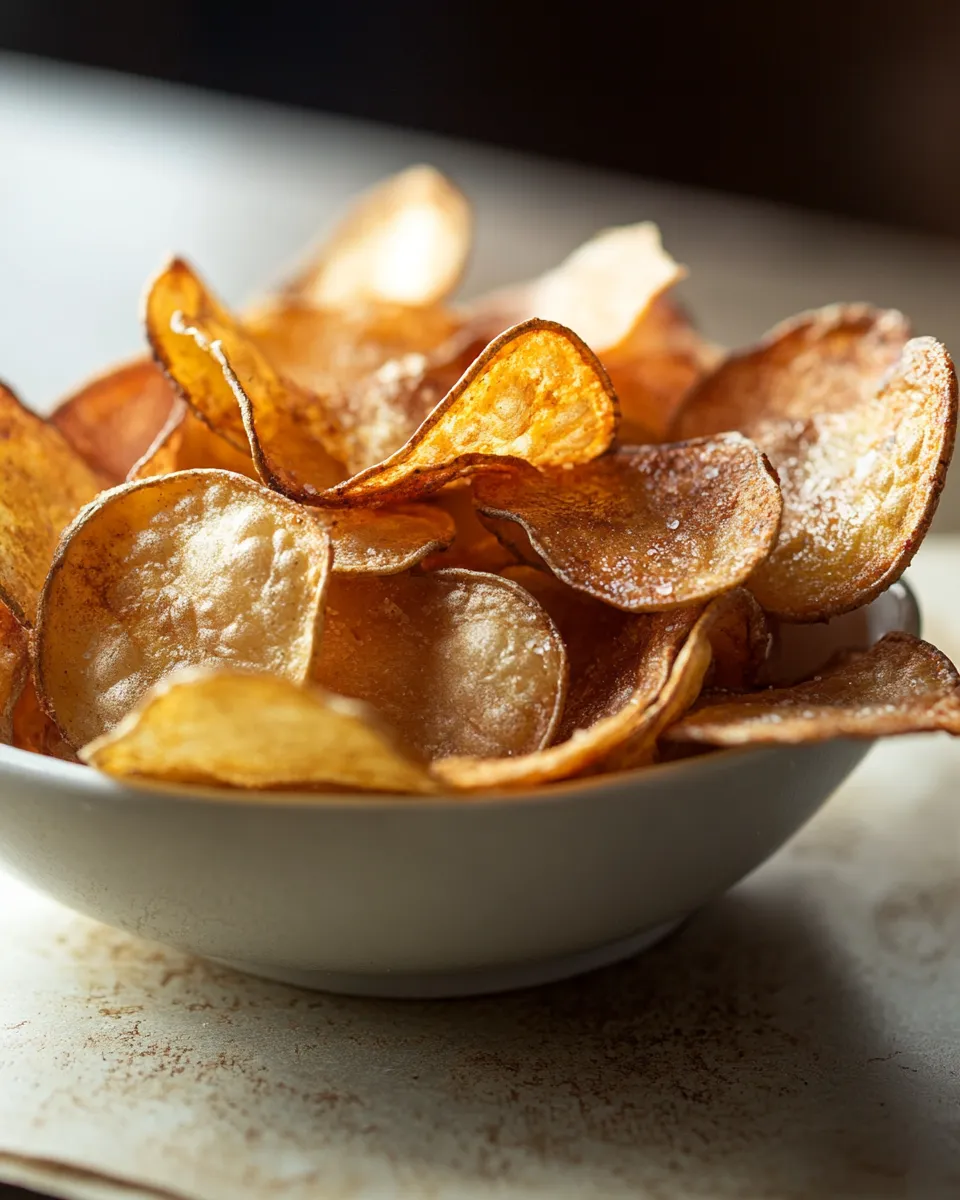
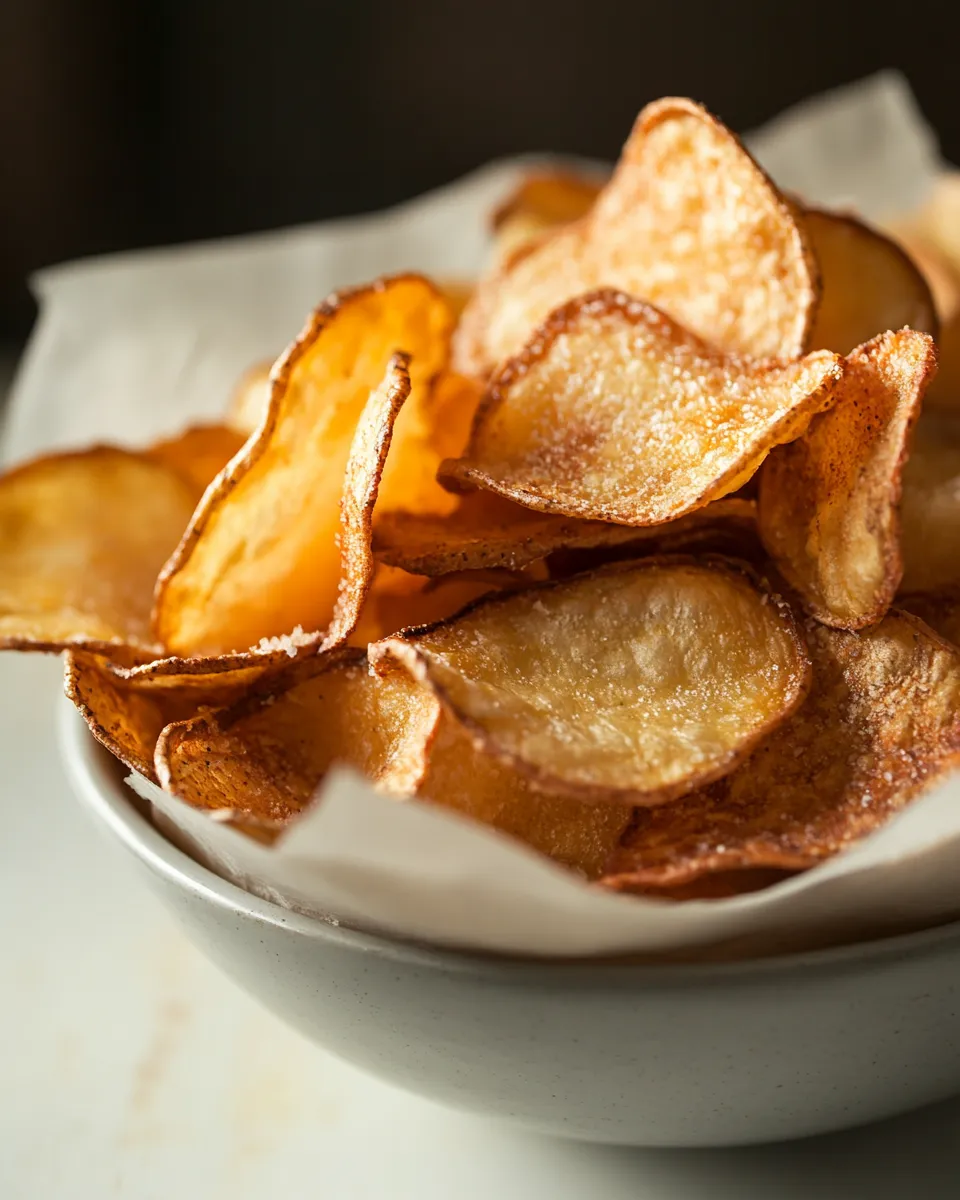
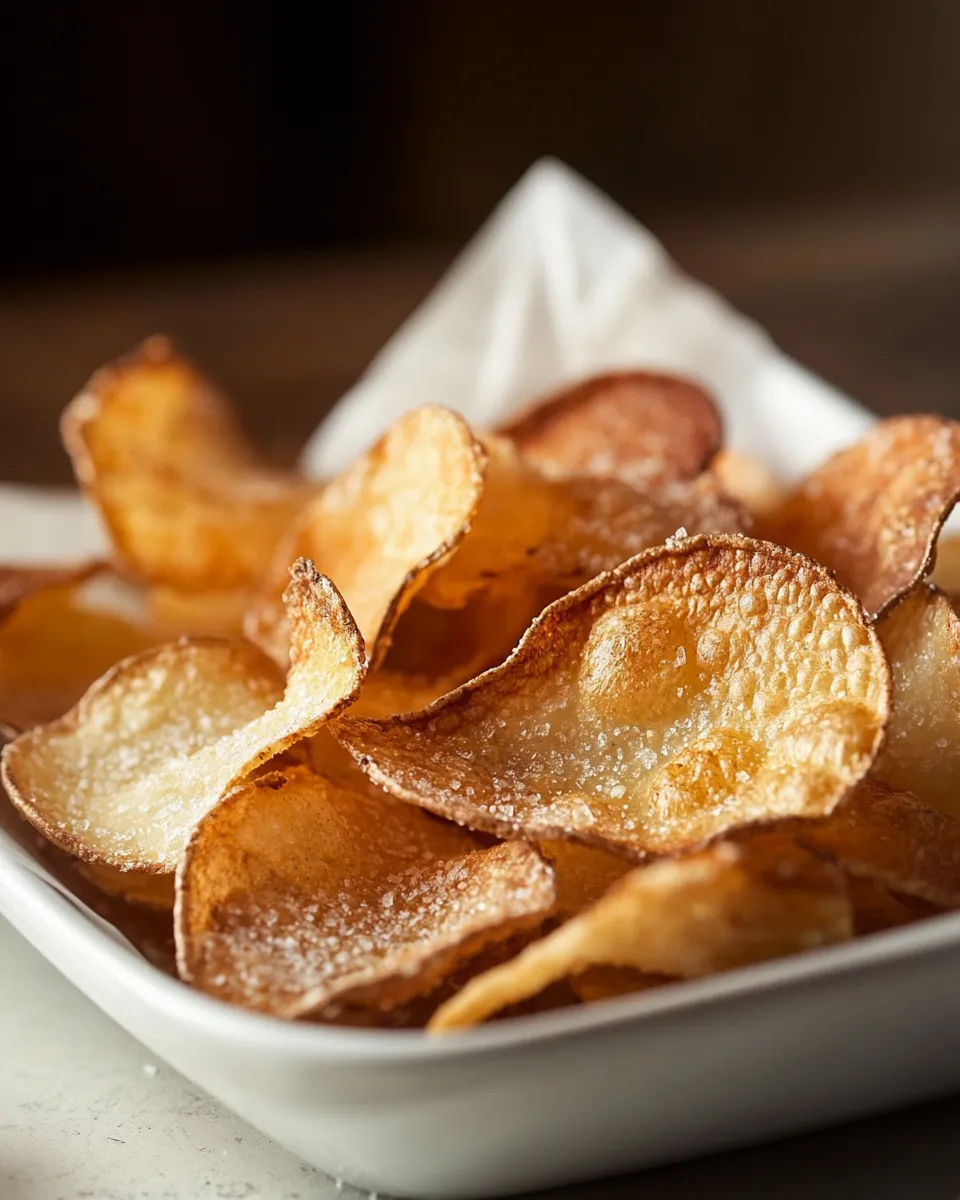
Potato Chips in the Microwave
These are the kind of snacks I make when I want something crisp and homemade without hauling out a deep fryer. Microwave potato chips are fast, require minimal hands-on time, and reward you with that satisfying crunch in minutes. They’re forgiving, too — as long as you follow a few key steps, you’ll end up with tasty chips that beat any store-bought bag for freshness.
I love this method because it highlights two simple truths: thin, even slices and dry surfaces make all the difference. The microwave heats differently than an oven or fryer, so the technique focuses on removing excess moisture and controlling power and time. That makes it a great weekday treat or an easy party nibble.
Below you’ll find the exact ingredient list and step-by-step directions I use every time. I’ll also share why this recipe is worth your time, what not to do, handy swaps, gear you actually need, and storage tips so your batch lasts as long as possible.
Ingredient List
- 2 medium sized potatoes — the main ingredient; choose firm potatoes without blemishes for even slicing.
- 2 tbsp olive oil — helps the chips brown and crisp; use it sparingly and distribute evenly.
- salt, to taste — finishes the chips; sprinkle after oil so it sticks and seasons evenly.
Potato Chips in the Microwave in Steps
- Rinse the 2 medium potatoes under cold running water and scrub off any dirt. Pat dry.
- Using a sharp knife, vegetable peeler, or mandoline, slice each potato into uniform 1/8-inch (about 3 mm) thin rounds.
- As you slice, immediately place the potato slices into a bowl of cold water to prevent browning and remove surface starch. Continue until all slices are in the bowl.
- Let the slices sit in the cold water for at least 5 minutes, then drain them in a colander.
- Spread the drained slices out on clean paper towels or a clean kitchen towel and pat them very dry. The drier the slices, the crisper the chips will be.
- Line a microwave-safe plate with fresh paper towels. Arrange a single layer of potato slices on the plate so they do not touch. (Work in batches if the slices won’t fit in one layer.)
- Brush both sides of the arranged slices with the 2 tablespoons of olive oil, distributing the oil evenly across all batches. Sprinkle salt to taste over the slices.
- Microwave the plate at 50% power for 2 minutes. Carefully remove the plate (it will be hot), flip each slice, and return the plate to the microwave.
- Microwave on High for 1 minute 30 seconds. If the chips are not yet crisp, continue microwaving on High in additional 30-second increments, checking after each until they reach your desired crispness.
- Let the chips cool on the paper towels for a minute or two to finish crisping, then serve.
Why Potato Chips in the Microwave is Worth Your Time
First, you get fresh chips with minimal fuss. No splattering oil, no large equipment, no long preheats. The microwave method is time-efficient: from scrub to snack in about 15–20 minutes depending on batch size. That’s perfect for last-minute cravings.
Second, you control the ingredients. Store chips can have additives and heavy oils. With this method, you know exactly what’s on your potato: just oil and salt, and nothing hidden. That makes it a better everyday snack and easy to adapt to dietary preferences.
Finally, it’s forgiving and scalable. You can make a small plate for one or work in batches for a crowd. The most important parts—thin, even slices and very dry surfaces—are straightforward, and once you get the rhythm the results are reliably crisp and satisfying.
Easy Ingredient Swaps
Want to tweak flavor or texture? Here are simple swaps that keep the method intact.
- Change the oil: substitute another neutral or high-smoke-point oil for the 2 tbsp olive oil if you prefer. Use the same quantity and distribute it evenly.
- Use different potatoes: any medium, firm potato will work. Keep the same two-potato quantity and slice thickness for consistent cooking.
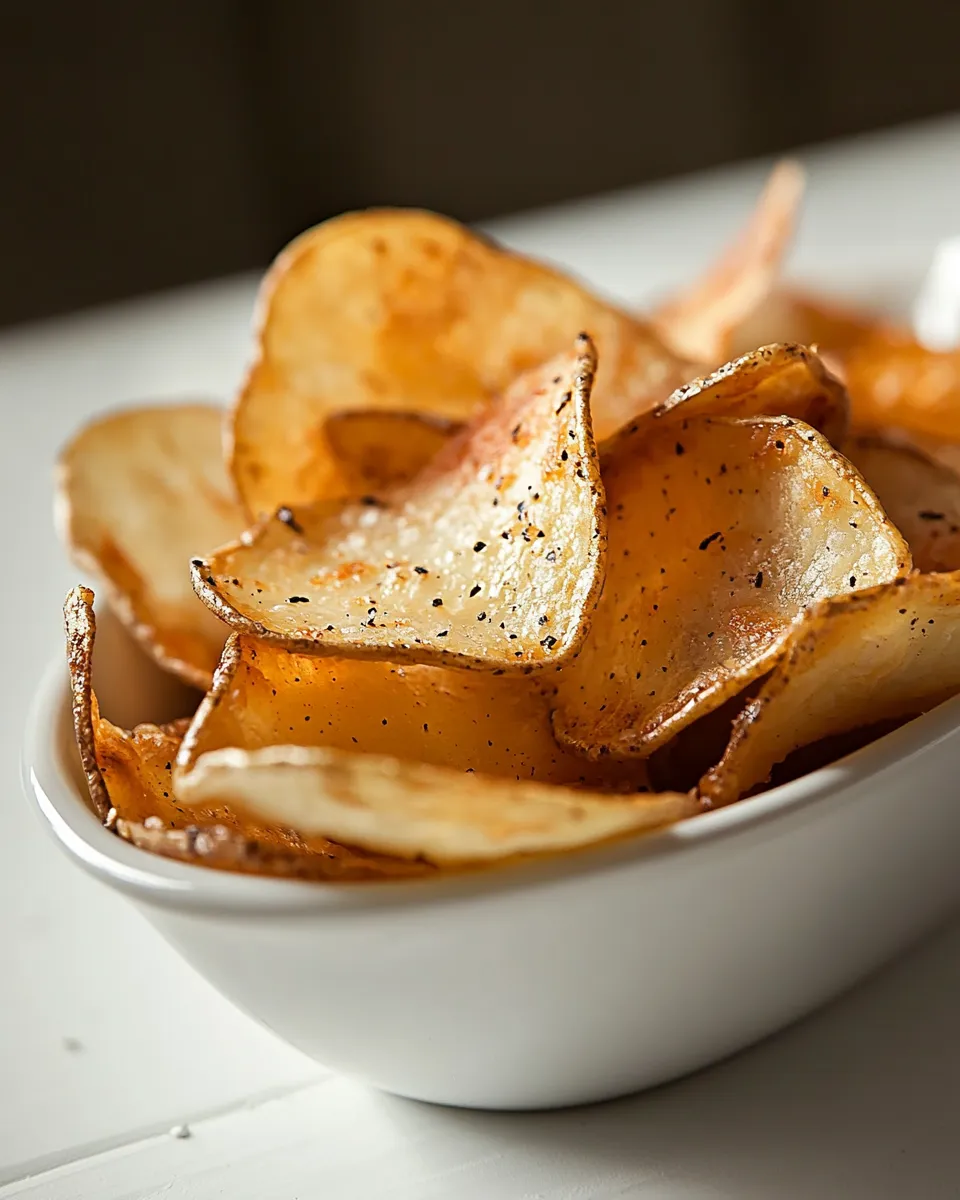
- Season creatively: instead of plain salt, finish with other seasonings after oiling—smoked salt, garlic powder, or a pinch of cayenne—to taste. Add spices lightly so they don’t burn in the microwave.
What’s in the Gear List
- Sharp knife, vegetable peeler, or mandoline — for uniform 1/8-inch (3 mm) slices.
- Large bowl and colander — for the cold water soak and draining.
- Paper towels or a clean kitchen towel — to dry slices thoroughly.
- Microwave-safe plate — large enough to hold a single layer of slices per batch.
- Small brush or your fingers — to apply the 2 tbsp olive oil evenly.
Don’t Do This
Common mistakes that ruin the batch
Don’t skip the cold water soak. That step removes surface starch and prevents the slices from sticking together and becoming gloopy instead of crisp.
Don’t attempt thick slices. If slices are thicker than 1/8 inch, they won’t dehydrate properly in the microwave and will stay soft in the center. Thin and even is critical.
Don’t overcrowd the plate. Chips need space. If slices touch, they steam rather than crisp. Work in batches so every slice has exposure to heat and air.
Don’t leave them in the microwave unattended during the final high-power increments. Microwaves vary, and thin slices can go from perfect to burnt quickly. Check in 30-second bursts if they need more time.
In-Season Flavor Ideas
Seasoning after oiling and immediately before microwaving gives you the best adhesion and flavor. Here are ideas that echo seasonal produce or pantry finds.
- Spring: a light dusting of dried herb blend with lemon zest added after cooking brightens fresh-tasting chips.
- Summer: finish with a pinch of smoked paprika and a tiny sprinkle of lime zest for a picnic-ready chip.
- Autumn: try ground rosemary or a whisper of nutmeg mixed with salt for a cozy twist.
- Winter: garlic powder plus cracked black pepper and a little flaky salt after cooking makes for hearty chips that pair well with soups.
Chef’s Rationale
The technique focuses on two culinary principles: control of moisture and controlled, staged heat. Soaking the slices in cold water pulls surface starch away; that starch would otherwise hold moisture and prevent crisping. Patting slices dry removes the surface water that would turn to steam under heat, which is the enemy of crispness.
Microwaving at 50% power first gives the slices a chance to dehydrate gently without burning. Flipping them mid-way exposes both faces to the microwave’s energy and promotes even texture. The final burst on High finishes the job by browning and crisping the exterior. This staged approach mimics what an oven or fryer does but in a microwave-friendly sequence.
Save for Later: Storage Tips
Microwave chips are best fresh. They’re crispiest within an hour or two. If you must store them, cool completely on a rack or paper towel so no residual steam is trapped, then place in an airtight container lined with a paper towel to absorb moisture. Use within 24–48 hours for best texture.
To re-crisp slightly stale chips, spread them on a microwave-safe plate separated in a single layer and heat on High in 15–20 second bursts, checking between bursts. The microwave can revive some crispness, but it won’t fully restore freshly made crunch.
FAQ
Q: Can I make these in one large batch?
A: Work in batches so slices don’t touch. Overcrowding causes steaming and soft chips. The method is designed for single layers per plate.
Q: What potato works best?
A: Any medium, firm potato will work. The key is uniformity—slice consistently and use two medium potatoes as specified.
Q: Can I skip oil?
A: Oil helps with browning and crisping. Skipping it will yield drier, paler chips with less flavor. If you must, try a very light mist of cooking spray, but results will differ.
Q: My chips burned on the edges but were soft in the center. What happened?
A: Likely uneven slice thickness or too much power early on. Ensure uniform 1/8-inch slices, dry thoroughly, and follow the 50% power then High sequence. Also check your microwave’s wattage and adjust final increments in 30-second bursts.
Ready, Set, Cook
Grab your potatoes, sharpen that mandoline or knife, and set a timer. The process is short, predictable, and satisfying. I keep the method simple because it works every time: remove starch, dry the slices, oil lightly, use the two-stage microwave timing, and cool briefly before digging in. You’ll have homemade, crunchy potato chips in under 20 minutes — quick, clean, and worth the little effort it takes.
Potato Chips in the Microwave
Ingredients
Equipment
Method
- Rinse the 2 medium potatoes under cold running water and scrub off any dirt. Pat dry.
- Using a sharp knife, vegetable peeler, or mandoline, slice each potato into uniform 1/8-inch (about 3 mm) thin rounds.
- As you slice, immediately place the potato slices into a bowl of cold water to prevent browning and remove surface starch. Continue until all slices are in the bowl.
- Let the slices sit in the cold water for at least 5 minutes, then drain them in a colander.
- Spread the drained slices out on clean paper towels or a clean kitchen towel and pat them very dry. The drier the slices, the crisper the chips will be.
- Line a microwave-safe plate with fresh paper towels. Arrange a single layer of potato slices on the plate so they do not touch. (Work in batches if the slices won’t fit in one layer.)
- Brush both sides of the arranged slices with the 2 tablespoons of olive oil, distributing the oil evenly across all batches. Sprinkle salt to taste over the slices.
- Microwave the plate at 50% power for 2 minutes. Carefully remove the plate (it will be hot), flip each slice, and return the plate to the microwave.
- Microwave on High for 1 minute 30 seconds. If the chips are not yet crisp, continue microwaving on High in additional 30-second increments, checking after each until they reach your desired crispness.
- Let the chips cool on the paper towels for a minute or two to finish crisping, then serve.